StarTed
Senior Chief Petty Officer
- Joined
- Jul 14, 2015
- Messages
- 694
Correct if this is not in the right place.
Since I ran out of abrasive chop saw wheels, I moved on to another project.
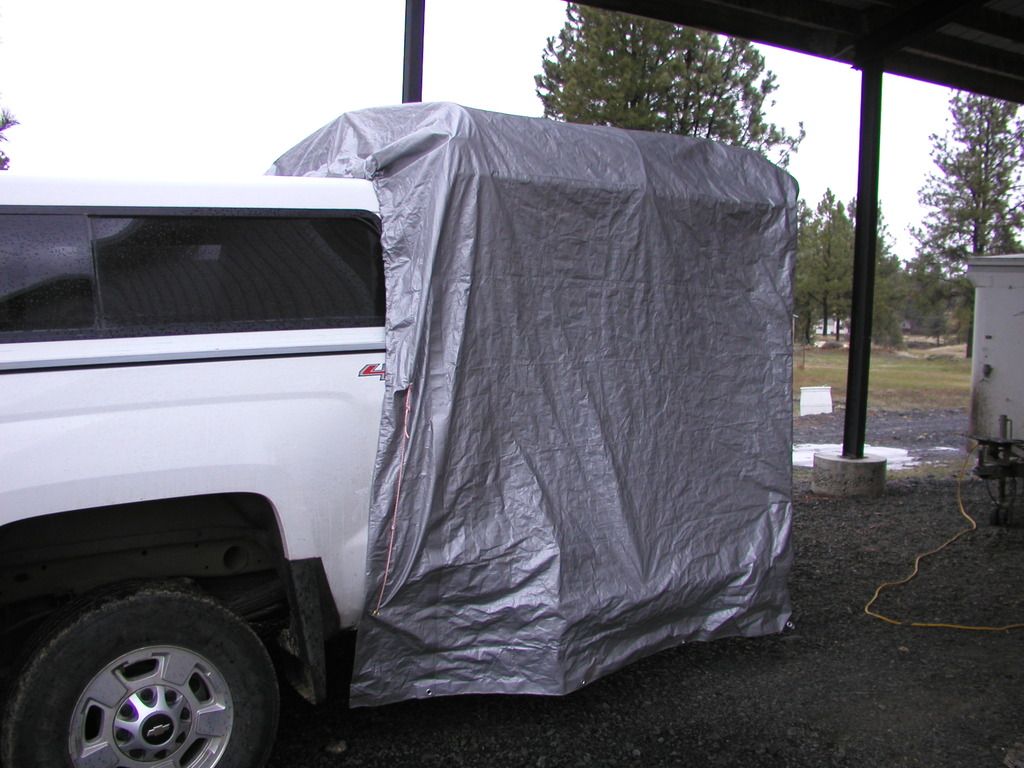
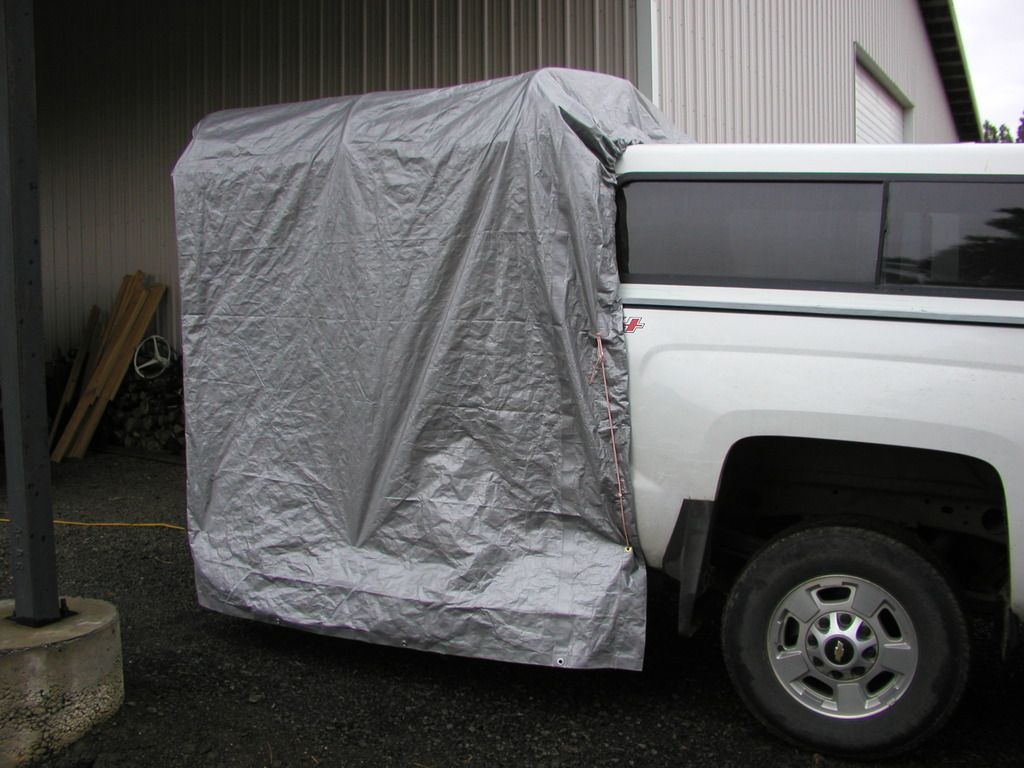
I hope to try some steelhead fishing in the Snake next week and don't really want to pull my homemade camping trailer or put on my camper I thought that I'd upgraded my camping in the back of my pickup canopy.
I have some bent PVC conduit lying around from an abandoned other project that didn't work out to my liking. The admiral was sore about that but that's behind us now.
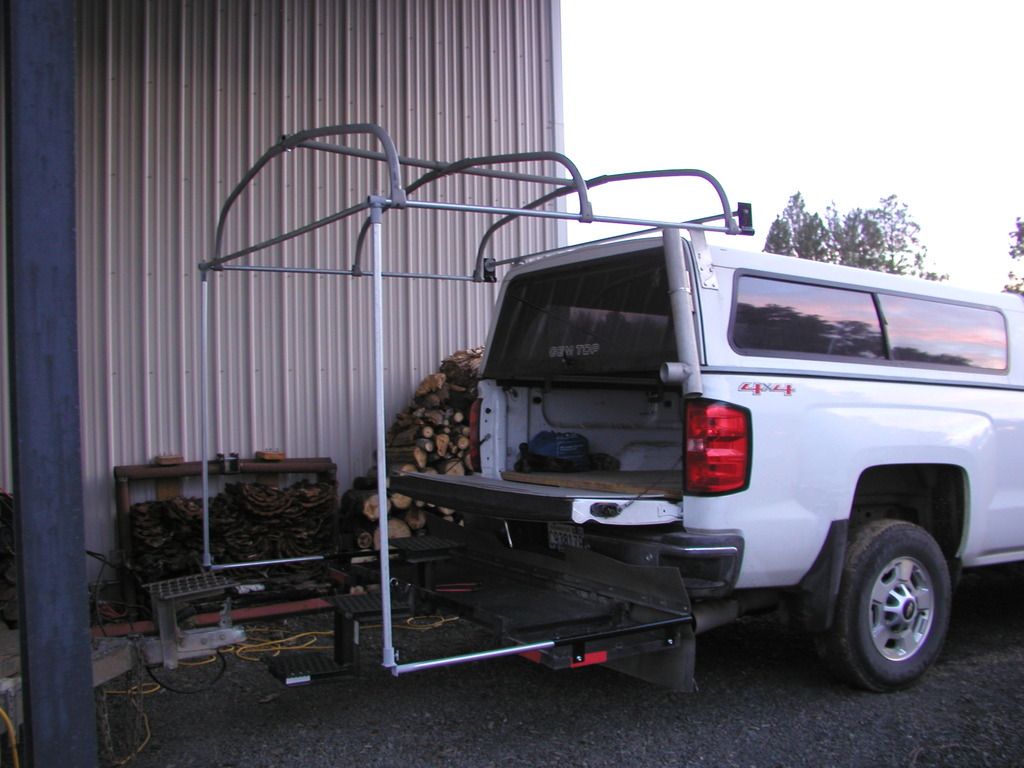
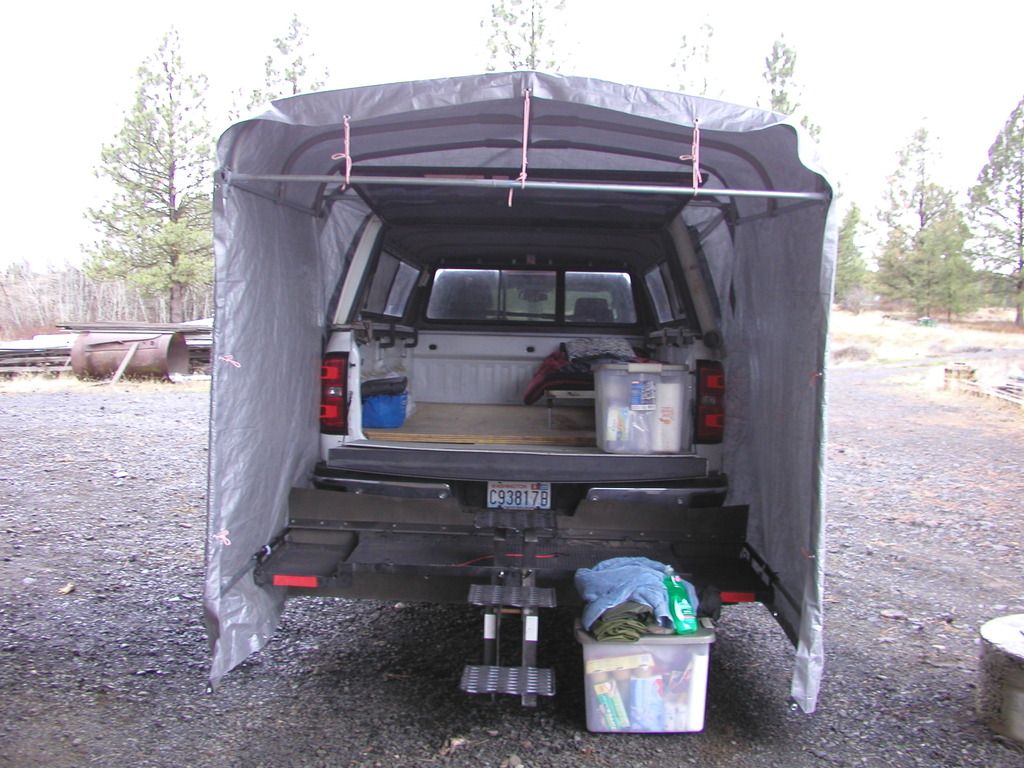
I've moved on. I plan to modify 6 of the pieces to make an extension off the back of my pickup. It has to be free standing so I can move the pickup around without making any changes but I don't intend to drive any long distances with it in place. A few miles maybe but not back and forth to home.
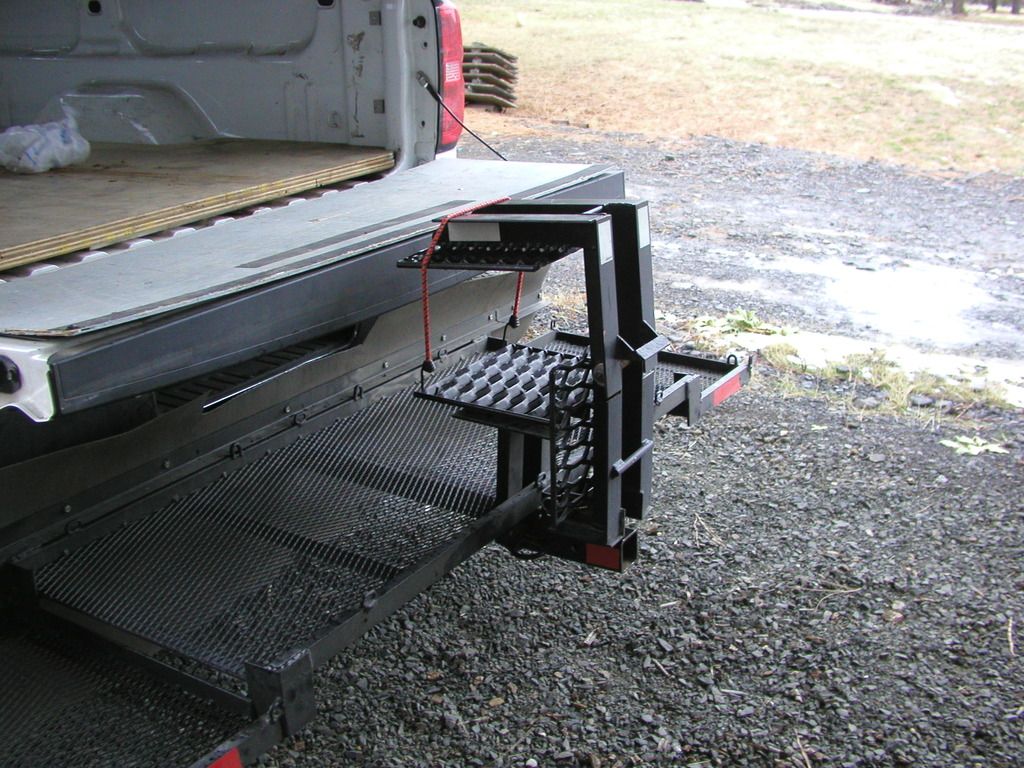
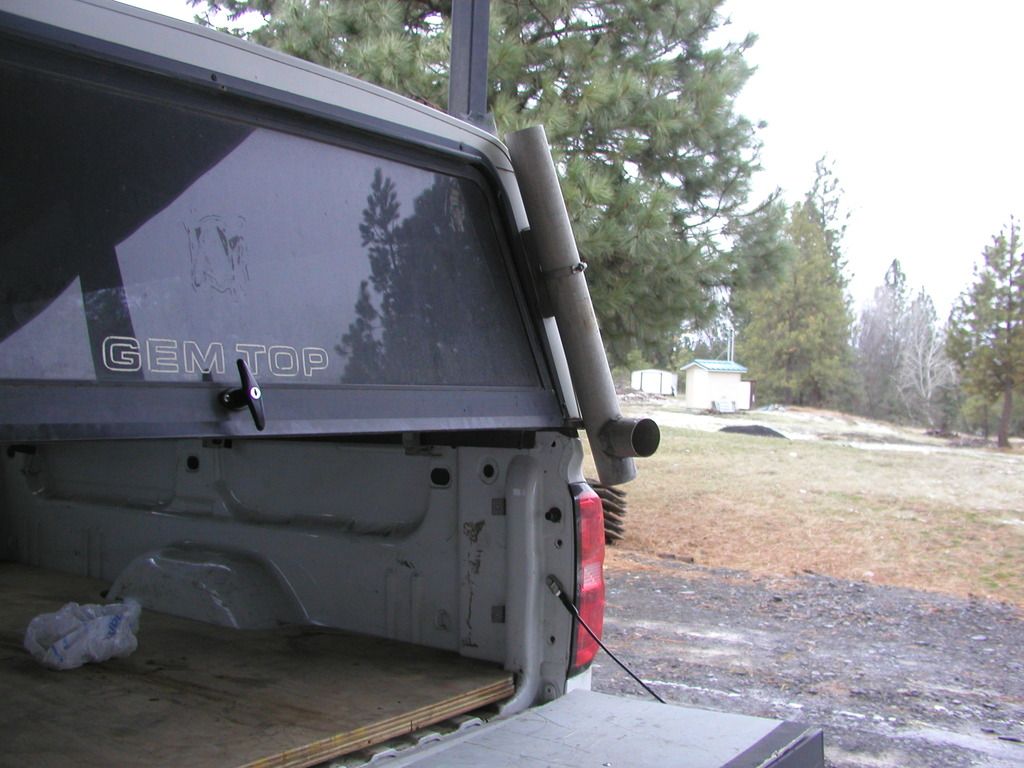
Here is what I have. I built a propane furnace a couple of years ago that I plan to use and have a false wall and door that sit behind the tailgate that I can leave in place when driving down the road. The furnace's exhaust will be disconnected in order to close the tailgate so the furnace will also be turned off. The propane bottle can sit on the tailgate and be fastened to the pickup with a bungee cord or two. I'll cook off the tailgate and leave the tailgate open when camping. The canopy door will be closed when I want it and while I sleep inside. I have a thermostat opposite the furnace on the canopy and hang a smoke/CO detector in the canopy. I need an extension to keep out the wind and rain/snow. When the canopy door is open it funnels water into the back of the pickup. That is unacceptable to me.
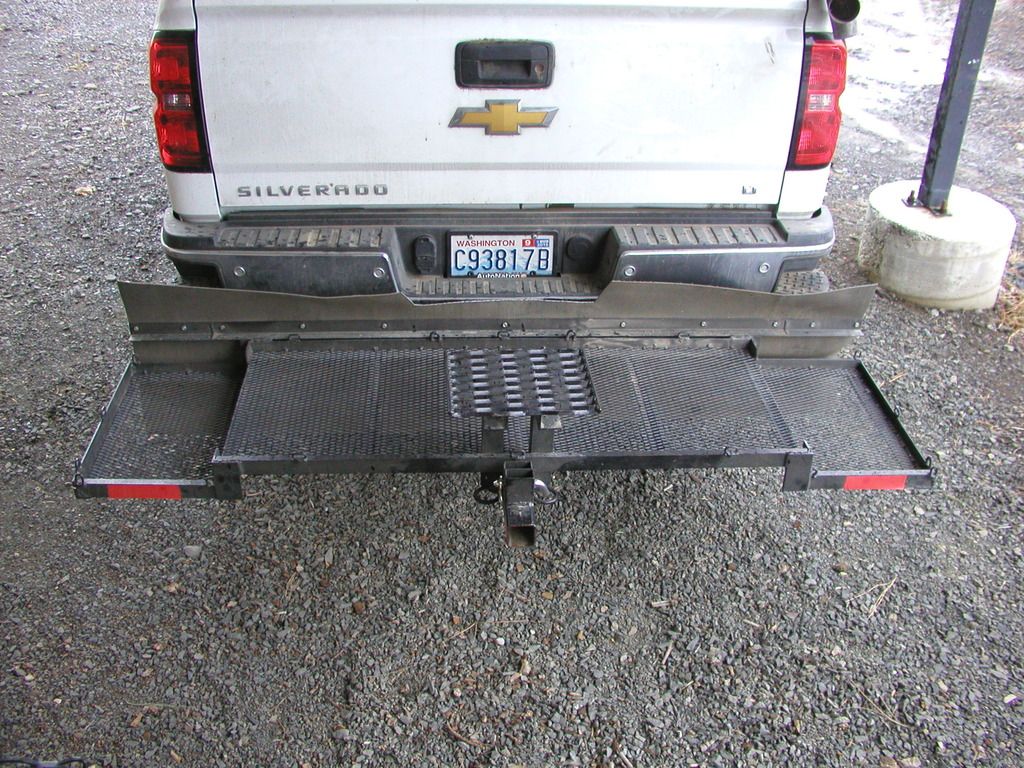
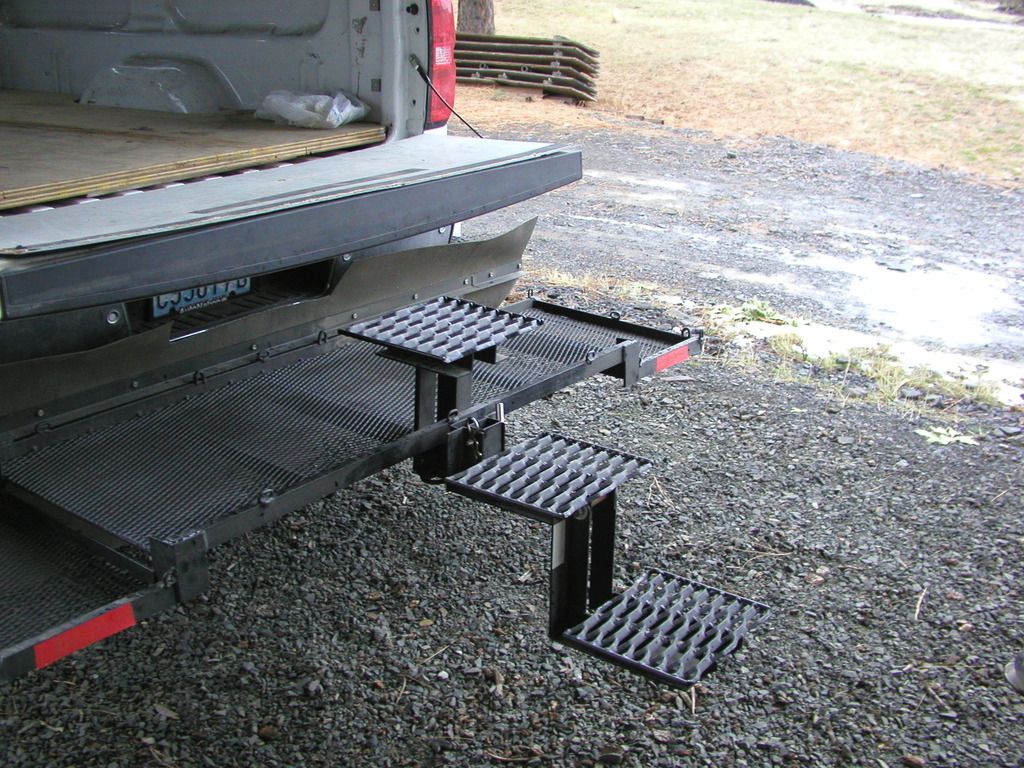
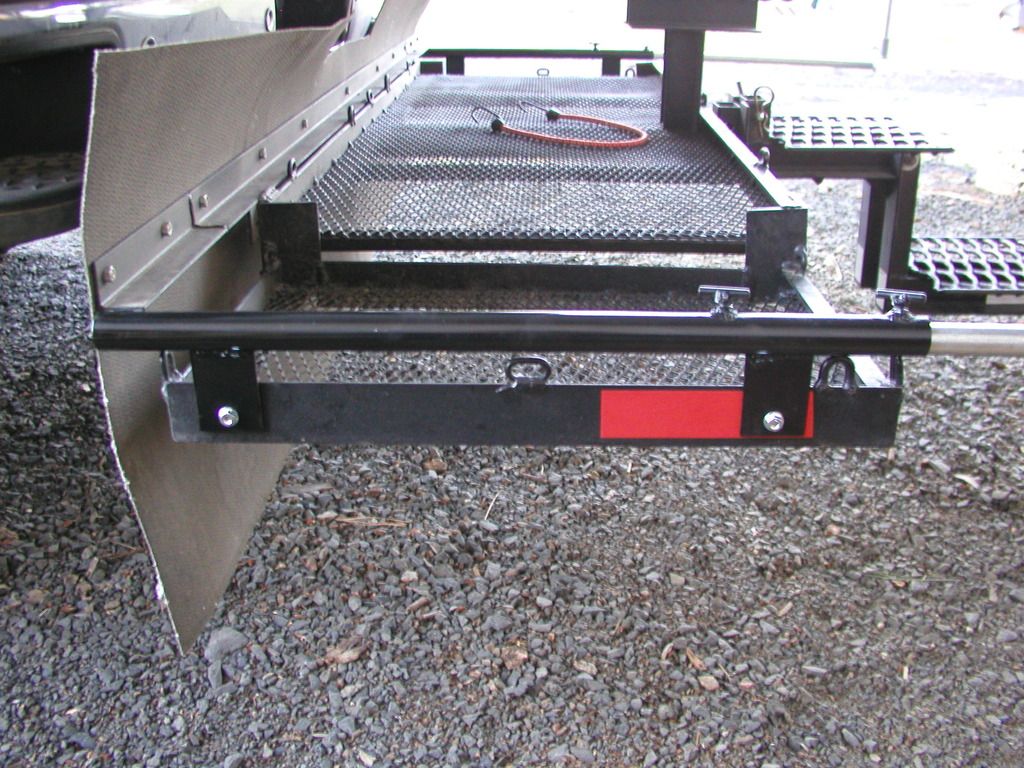
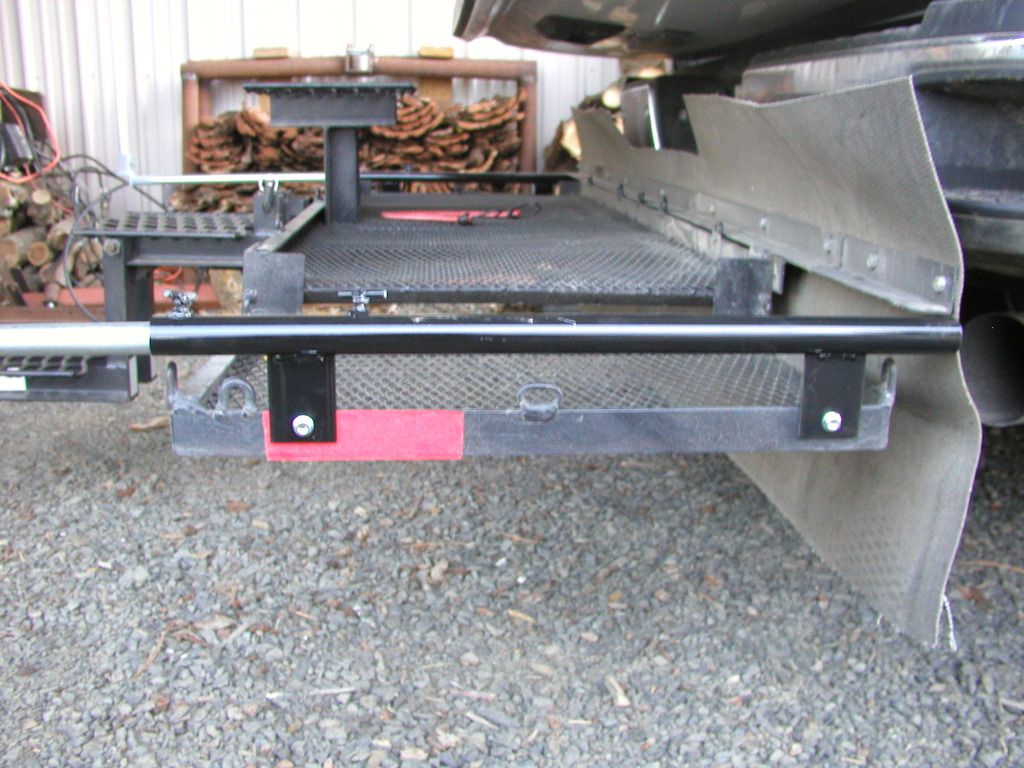
I plan to make up a poly tarp for a cover. I've sewn these before with good success. I've even sewn in sippers, velcro and loops that hold well. I prefer a white tarp but a green or silver will do. I'm depending upon the admiral to get one for me. The tarp will be held up over some PVC hoops fastened to EMT conduit and supported on my home built hitch carrier. I'll provide pictures as it progresses. Many of the parts are already built. I'm hoping some of the techniques I use will spark some further ideas you may use in you projects.
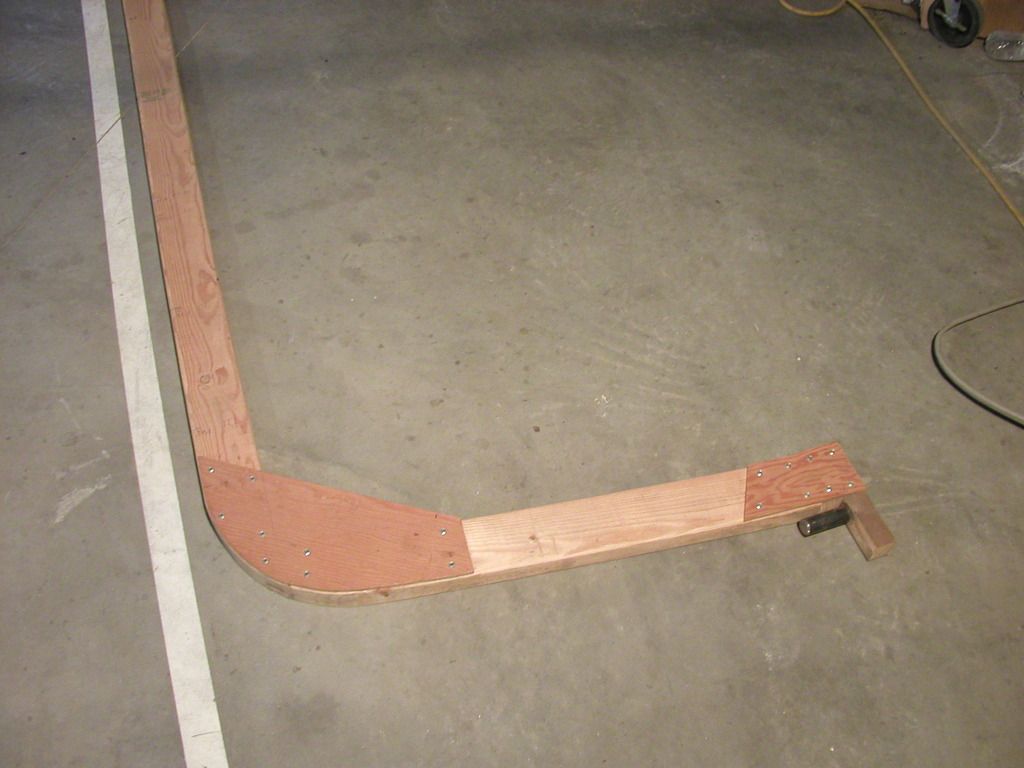 I made this framework to bend the PVC for the original project.
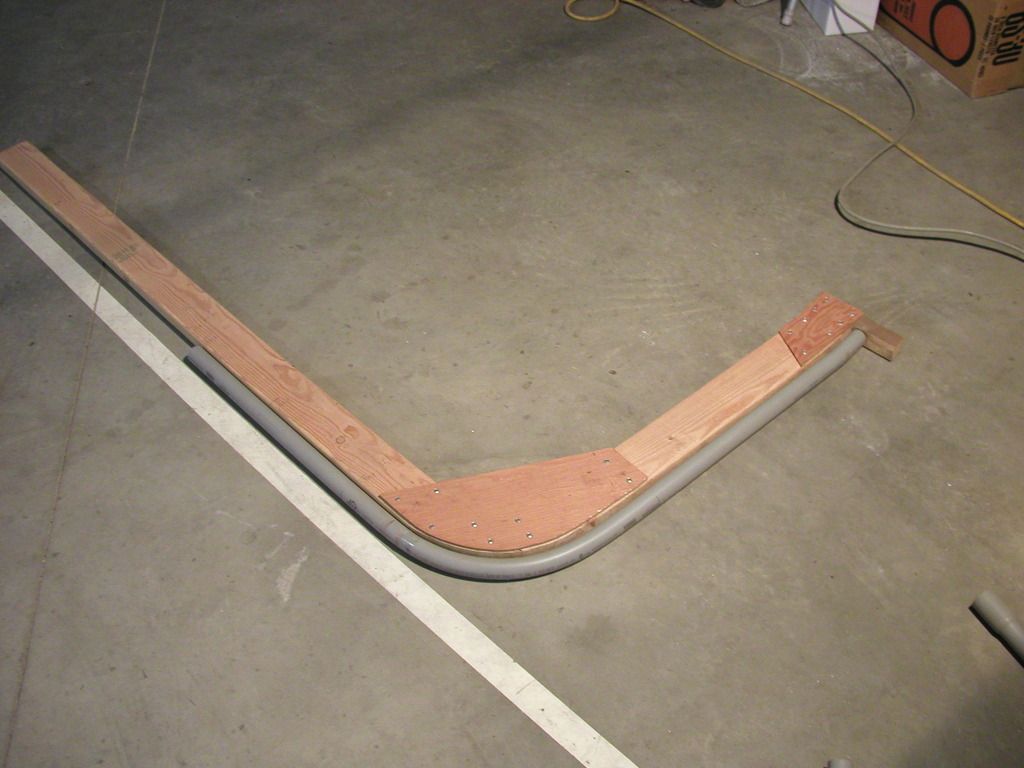
Here is one of the old PVC pieces placed over the framework to show how it was used.
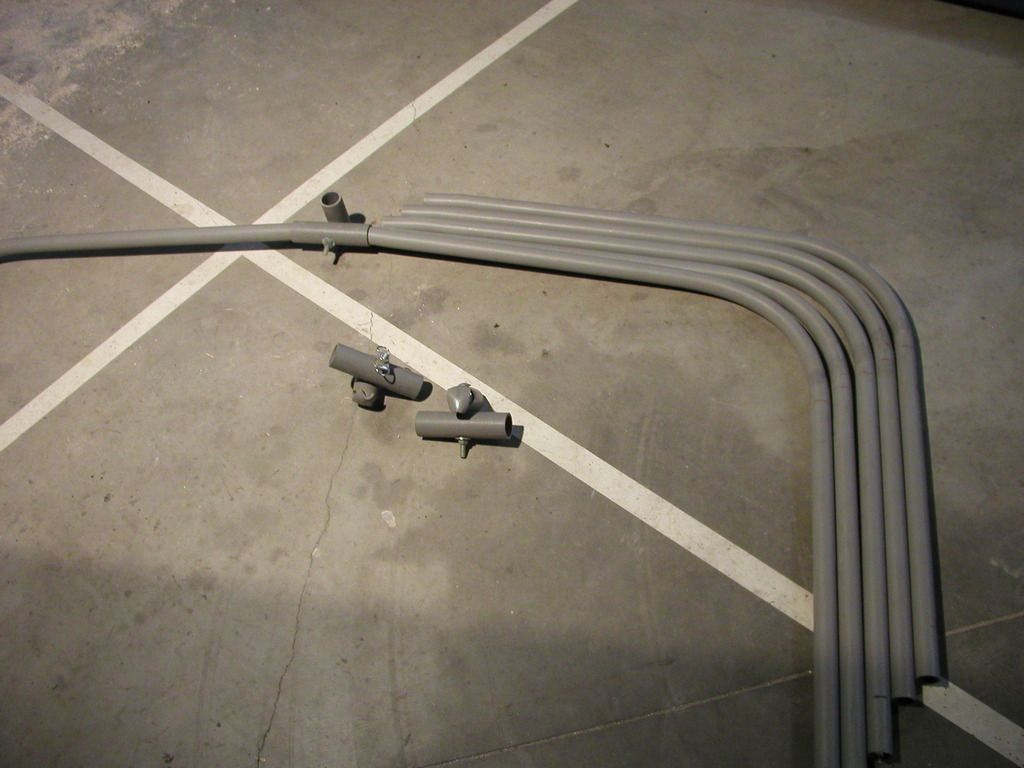 The side pieces still need to be cut off and the center connecters will be modified with longer connectors because they are too short on that end.
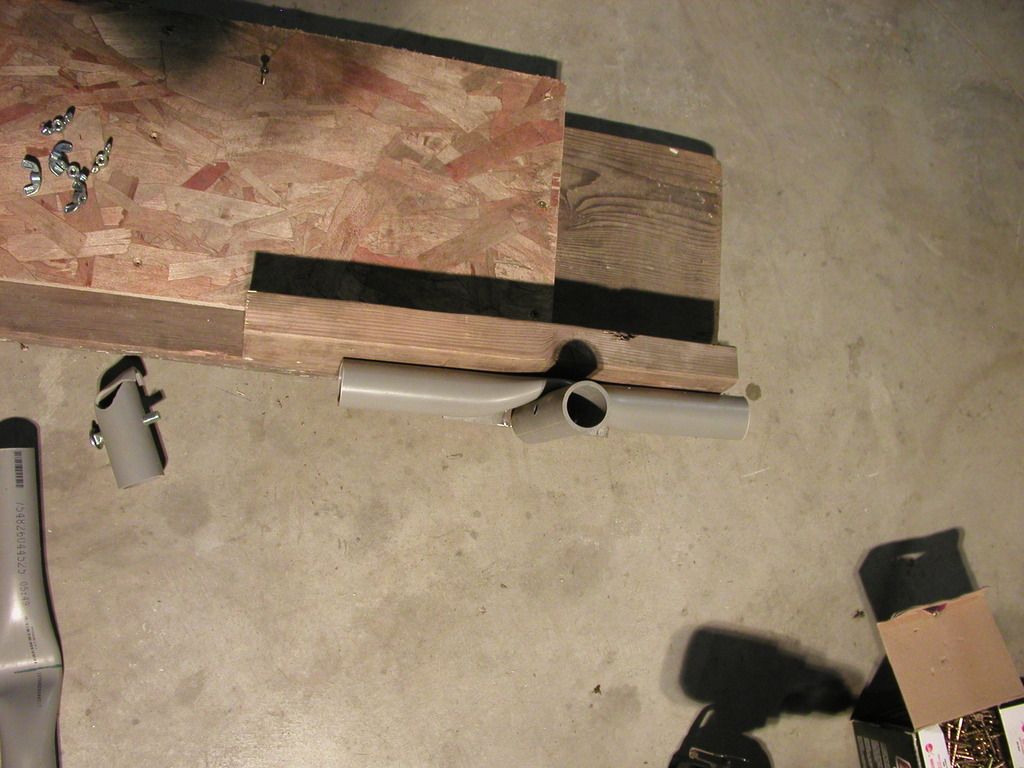
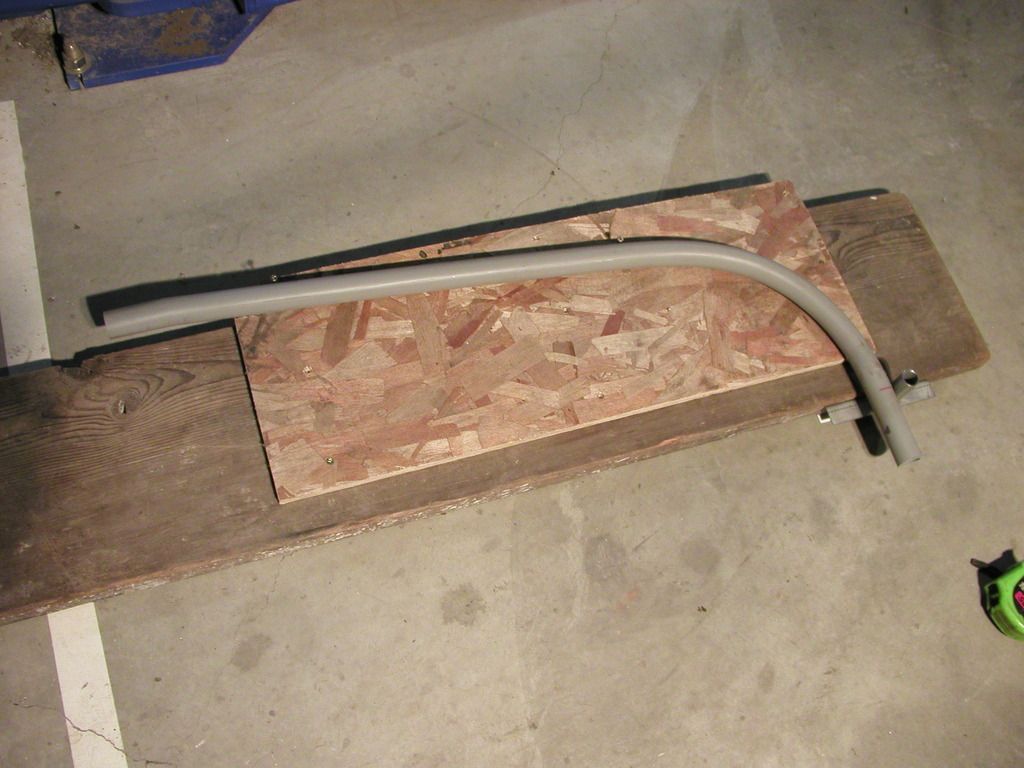 This shows the PVC cut to length on a temporary jig to bend the end around the 3/4" EMT conduit stub fastened to the side of the 2 X 12. Next is to heat the PVC end to bend it around the EMT.
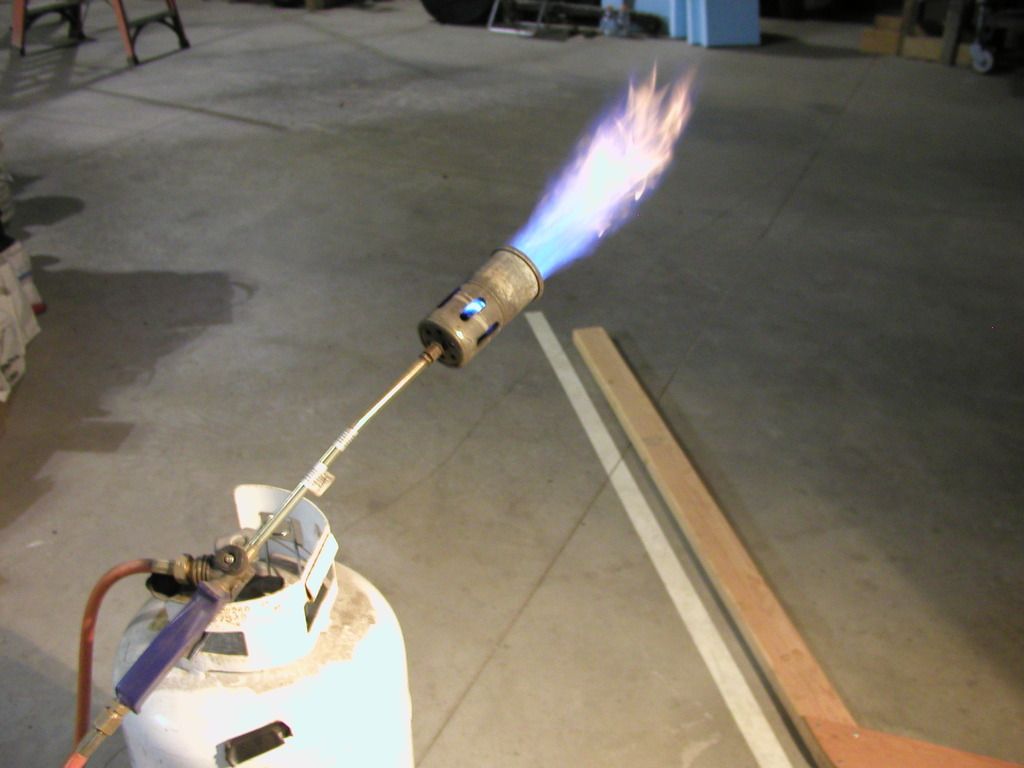 Here is my heating method. I can't overstress the issue that in order to heat the PVC it needs to be at least 4" above the flame and kept moving. Since these pieces are already bent it is more difficult to rotate them but that must be done. Failure to do so makes them look like marshmallows.
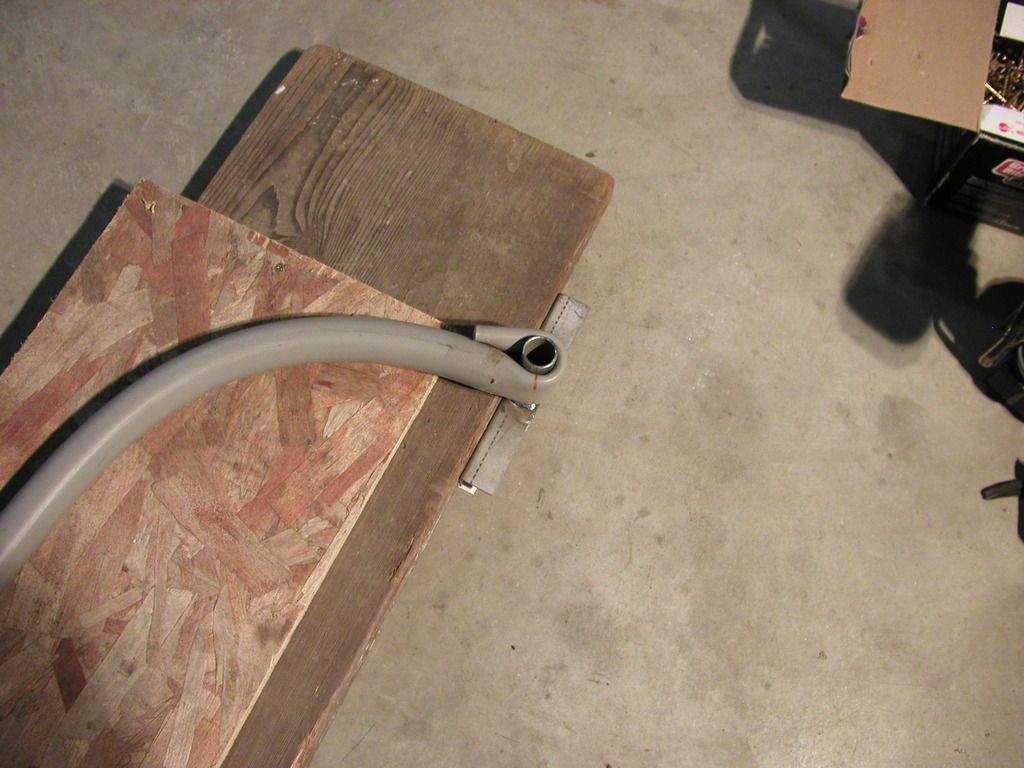 The end is bent around the EMT in this picture. Note, I didn't burn it.
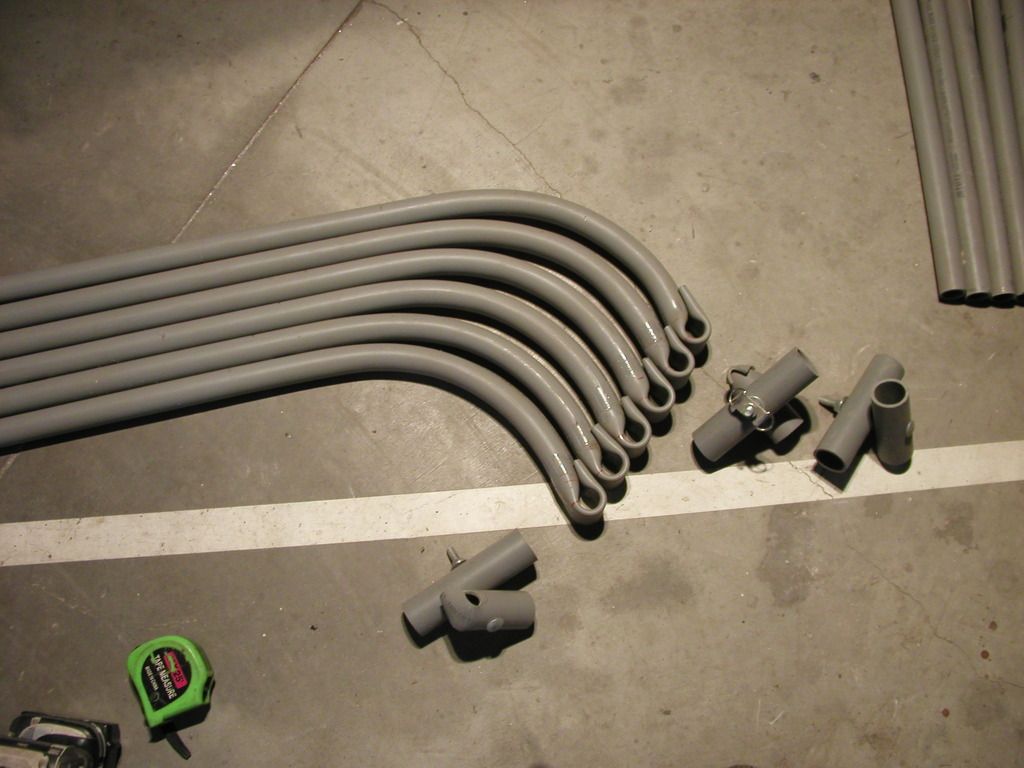 All the ends are bent. Now to use the same piece of EMT to bend the new center sections. That picture did not upload to Photobucket. I'll get that later.
 This picture shows the new center section temporarily in place on one hoop. There will be 3 such hoops.
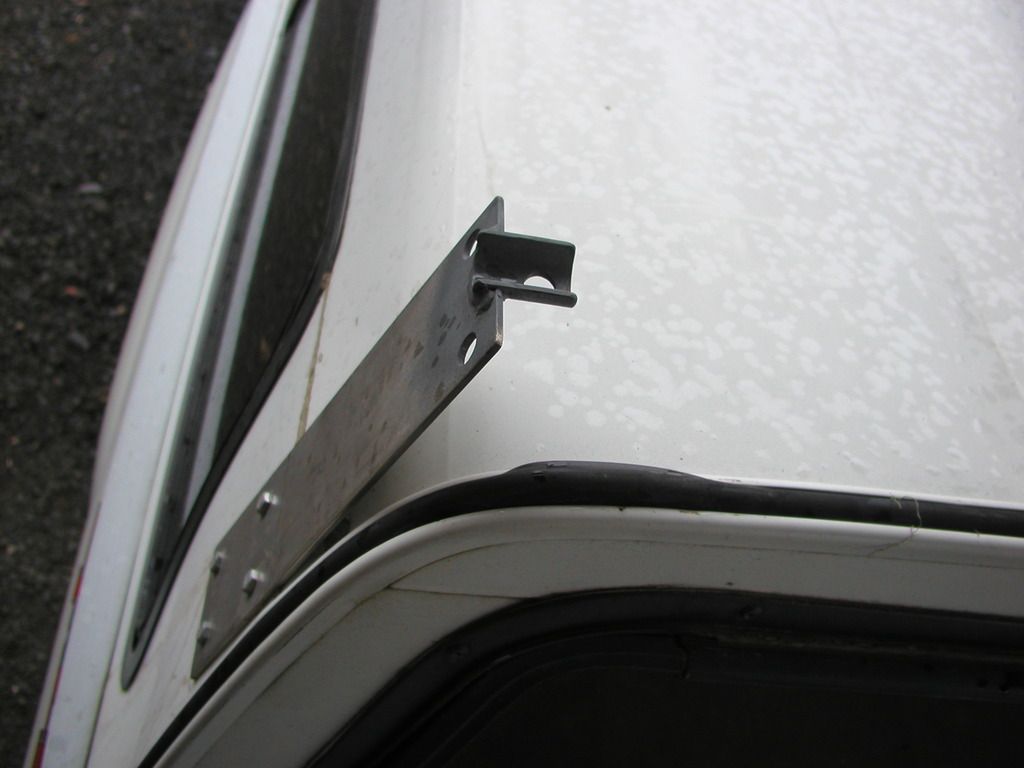
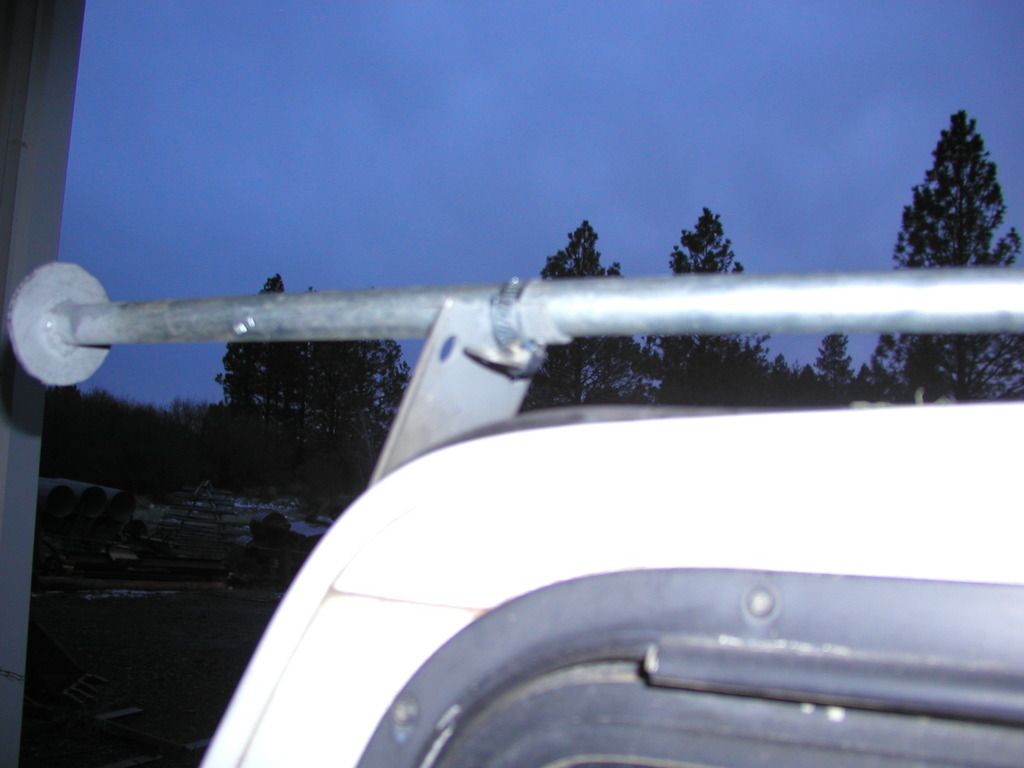
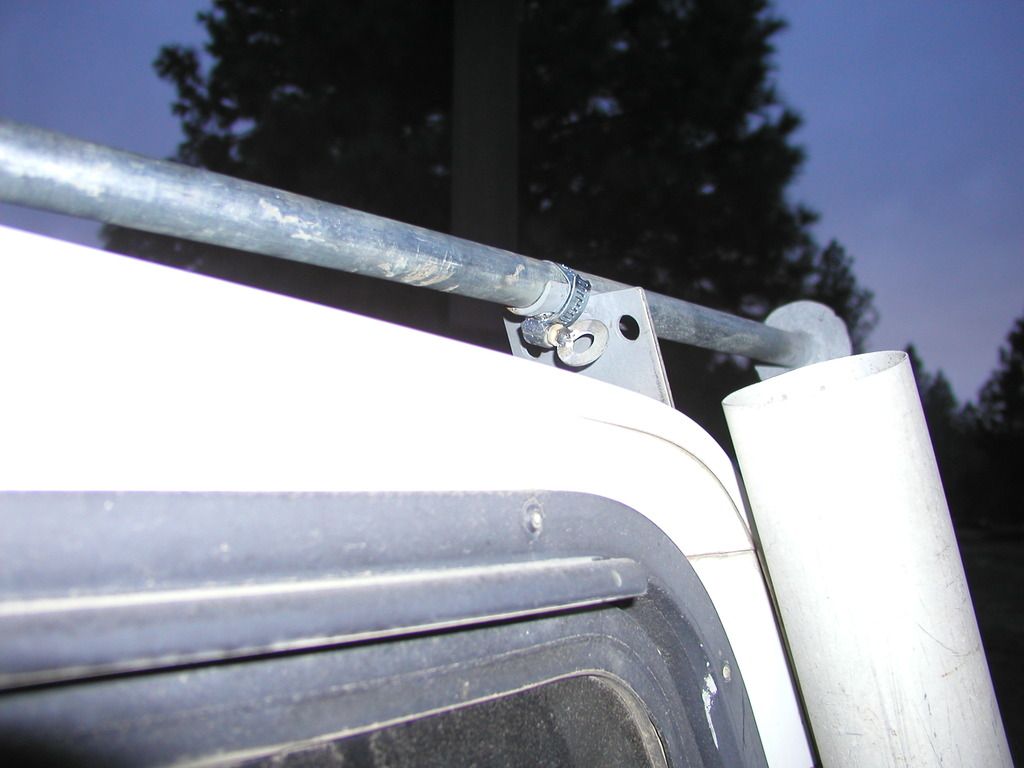
The outside PVC conduit is 1 1/4" and the inside is 1". Those sizes fit together well so I choose them. The two side EMT conduits are held from separating by the rack fastening at the pickup and one at the other end. These EMT spreaders will keep the PVC from spreading out under load. At the pickup they will rotate up and down while the other end will be solid. The EMT is 3/4" and it slips into 1" schedule 40 iron pipe (non galvenized), There is some welding here. I make my own wing bolts using 1/4 - 20 X 1/2" bolts with 1/4" or so rod welded across the not.
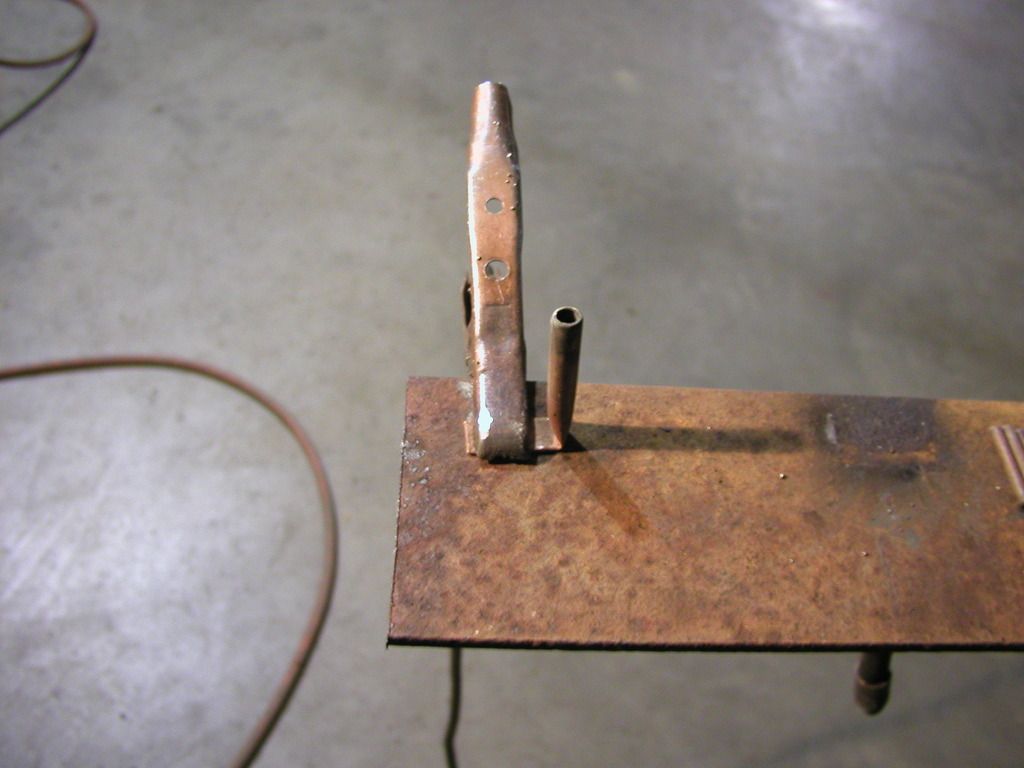 I use a piece of copper tubing flattened on one end to hold the bolt. There is less arcing this way because it makes a good connection and protects the threads.
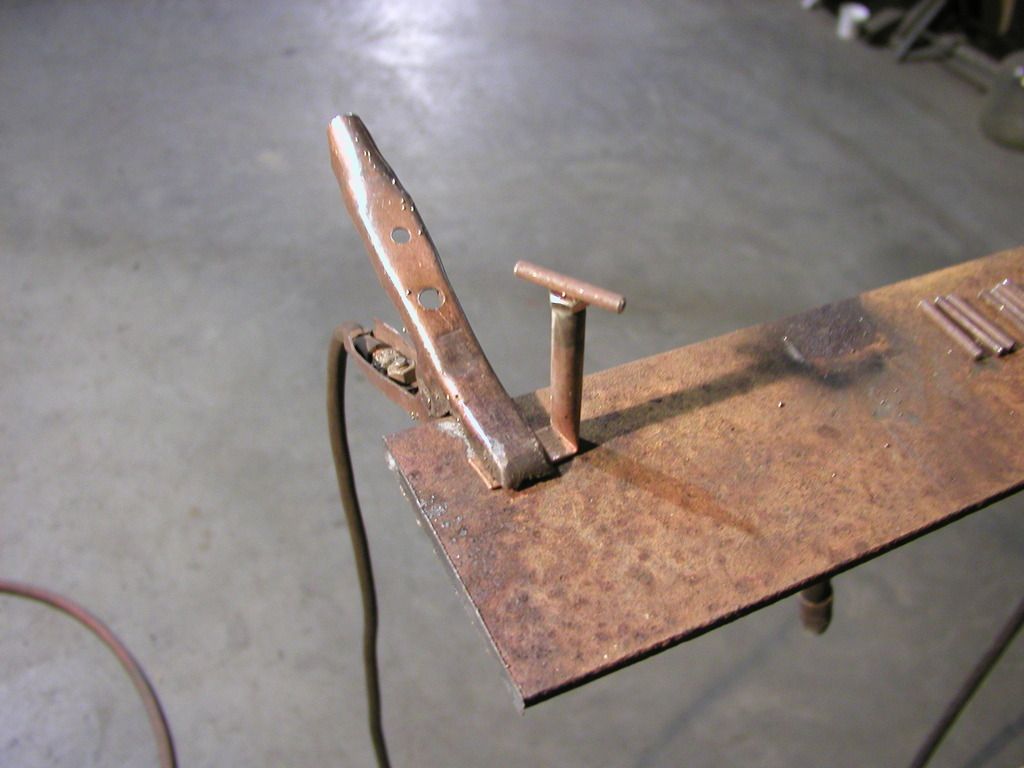
This shows a bolt in the copper tubing with a rod on top.
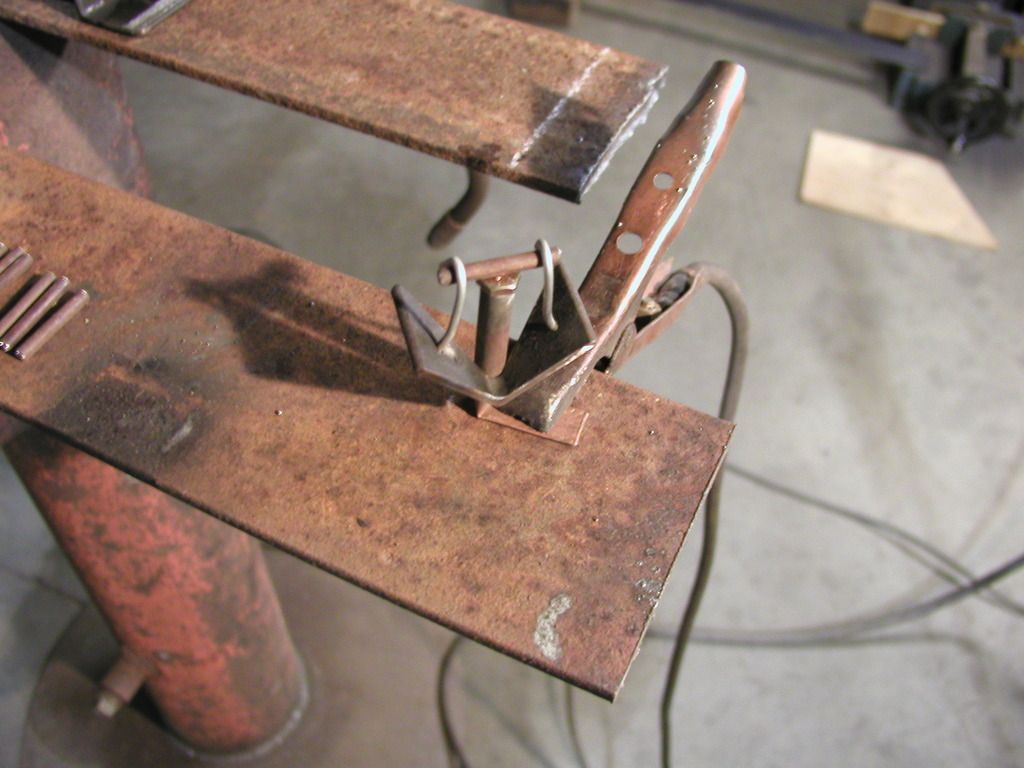
My homemade holder in place to hold the rod for welding
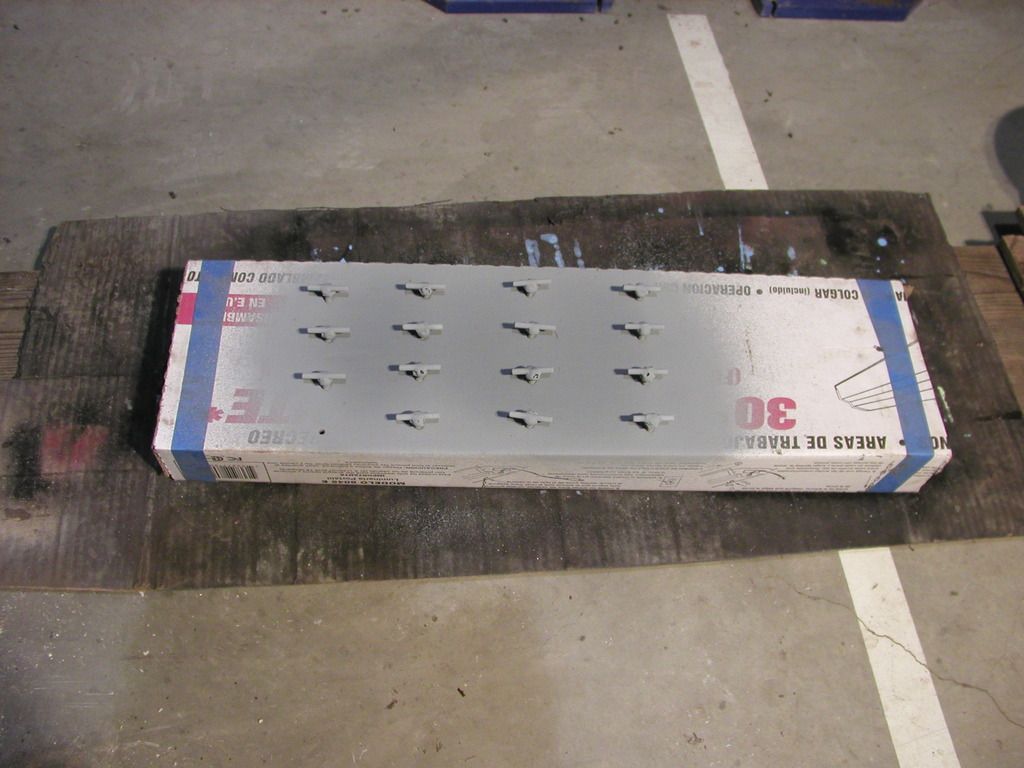
These wing bolts have been sprayed with cold galvanizing from Rustoleum.
Now I need to get back to work. The paint has been drying next to the stove.
Since I ran out of abrasive chop saw wheels, I moved on to another project.
I hope to try some steelhead fishing in the Snake next week and don't really want to pull my homemade camping trailer or put on my camper I thought that I'd upgraded my camping in the back of my pickup canopy.
I have some bent PVC conduit lying around from an abandoned other project that didn't work out to my liking. The admiral was sore about that but that's behind us now.
I've moved on. I plan to modify 6 of the pieces to make an extension off the back of my pickup. It has to be free standing so I can move the pickup around without making any changes but I don't intend to drive any long distances with it in place. A few miles maybe but not back and forth to home.
Here is what I have. I built a propane furnace a couple of years ago that I plan to use and have a false wall and door that sit behind the tailgate that I can leave in place when driving down the road. The furnace's exhaust will be disconnected in order to close the tailgate so the furnace will also be turned off. The propane bottle can sit on the tailgate and be fastened to the pickup with a bungee cord or two. I'll cook off the tailgate and leave the tailgate open when camping. The canopy door will be closed when I want it and while I sleep inside. I have a thermostat opposite the furnace on the canopy and hang a smoke/CO detector in the canopy. I need an extension to keep out the wind and rain/snow. When the canopy door is open it funnels water into the back of the pickup. That is unacceptable to me.
I plan to make up a poly tarp for a cover. I've sewn these before with good success. I've even sewn in sippers, velcro and loops that hold well. I prefer a white tarp but a green or silver will do. I'm depending upon the admiral to get one for me. The tarp will be held up over some PVC hoops fastened to EMT conduit and supported on my home built hitch carrier. I'll provide pictures as it progresses. Many of the parts are already built. I'm hoping some of the techniques I use will spark some further ideas you may use in you projects.
 I made this framework to bend the PVC for the original project.
Here is one of the old PVC pieces placed over the framework to show how it was used.
 The side pieces still need to be cut off and the center connecters will be modified with longer connectors because they are too short on that end.
 This shows the PVC cut to length on a temporary jig to bend the end around the 3/4" EMT conduit stub fastened to the side of the 2 X 12. Next is to heat the PVC end to bend it around the EMT.
 Here is my heating method. I can't overstress the issue that in order to heat the PVC it needs to be at least 4" above the flame and kept moving. Since these pieces are already bent it is more difficult to rotate them but that must be done. Failure to do so makes them look like marshmallows.
 The end is bent around the EMT in this picture. Note, I didn't burn it.
 All the ends are bent. Now to use the same piece of EMT to bend the new center sections. That picture did not upload to Photobucket. I'll get that later.
 This picture shows the new center section temporarily in place on one hoop. There will be 3 such hoops.
The outside PVC conduit is 1 1/4" and the inside is 1". Those sizes fit together well so I choose them. The two side EMT conduits are held from separating by the rack fastening at the pickup and one at the other end. These EMT spreaders will keep the PVC from spreading out under load. At the pickup they will rotate up and down while the other end will be solid. The EMT is 3/4" and it slips into 1" schedule 40 iron pipe (non galvenized), There is some welding here. I make my own wing bolts using 1/4 - 20 X 1/2" bolts with 1/4" or so rod welded across the not.
 I use a piece of copper tubing flattened on one end to hold the bolt. There is less arcing this way because it makes a good connection and protects the threads.
This shows a bolt in the copper tubing with a rod on top.

My homemade holder in place to hold the rod for welding
These wing bolts have been sprayed with cold galvanizing from Rustoleum.
Now I need to get back to work. The paint has been drying next to the stove.
Last edited:


