45Auto
Commander
- Joined
- May 31, 2002
- Messages
- 2,842
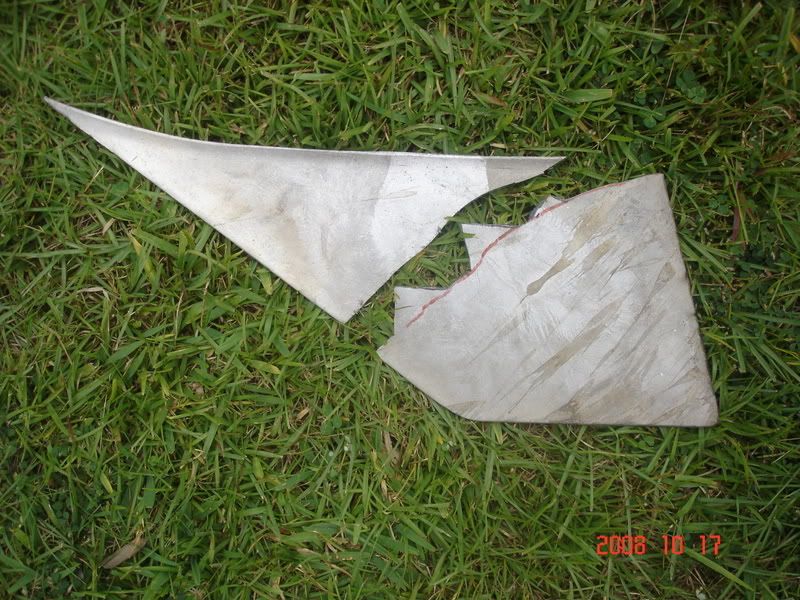
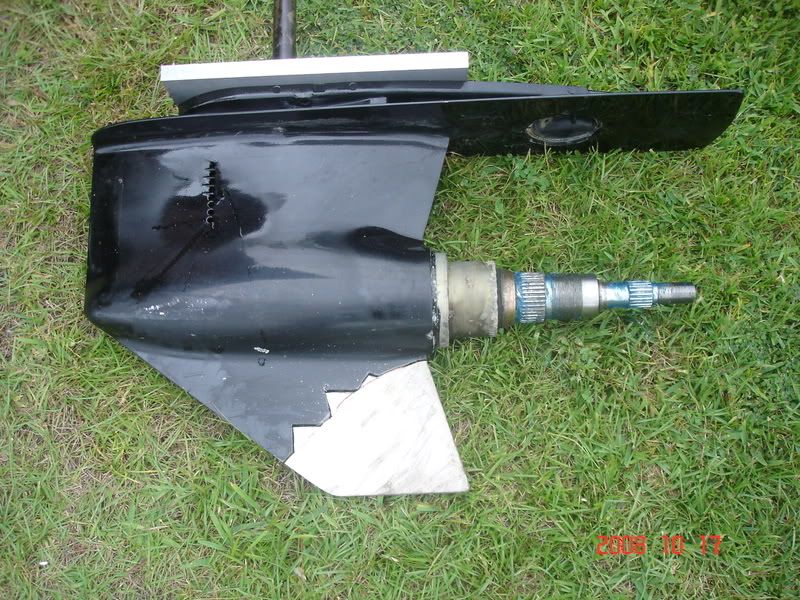
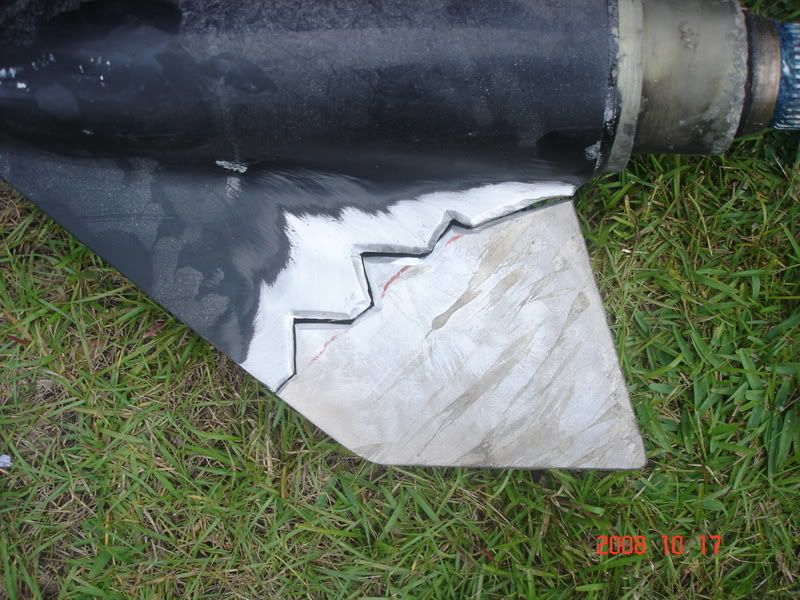
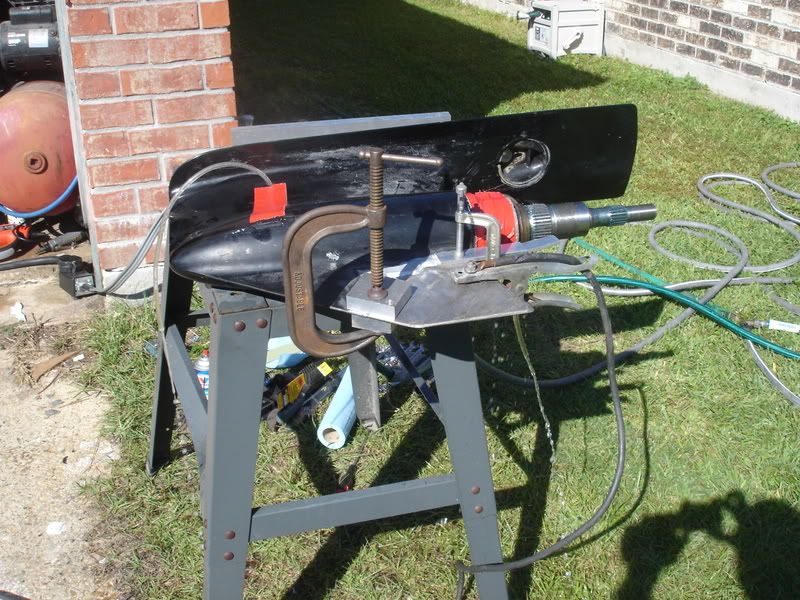
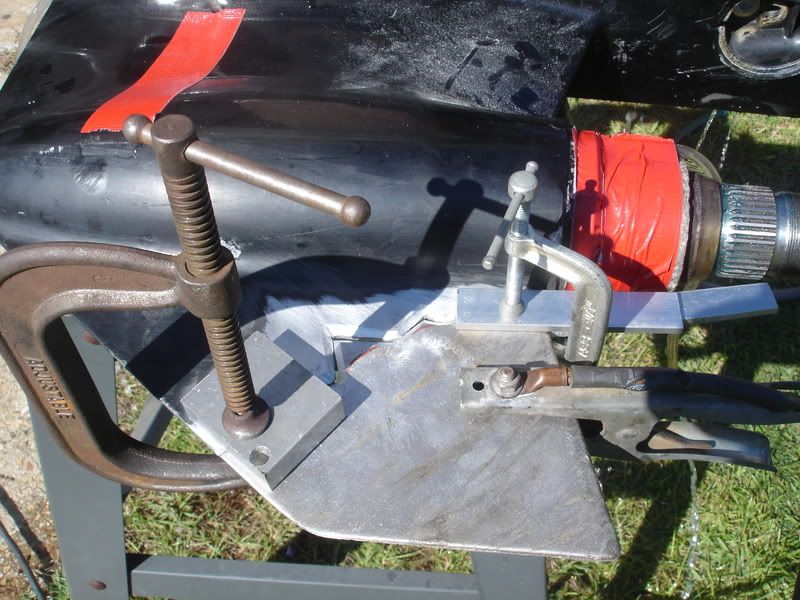
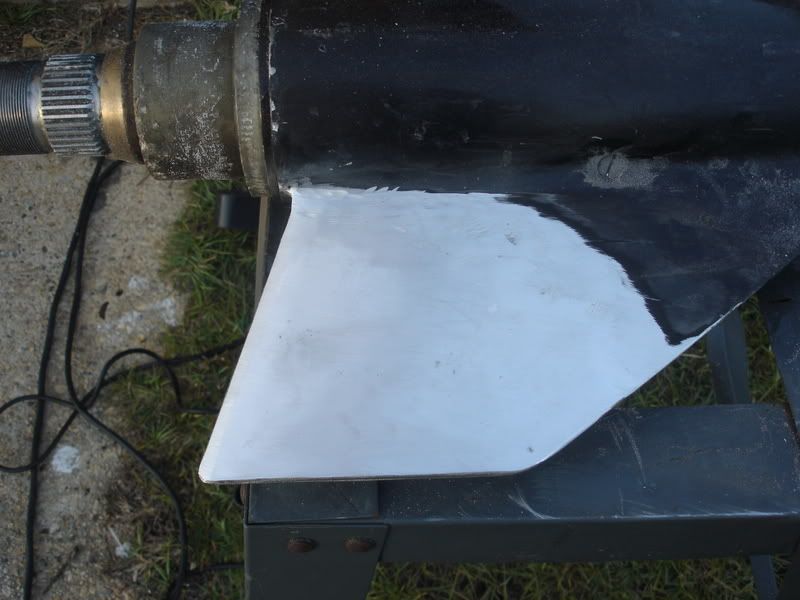
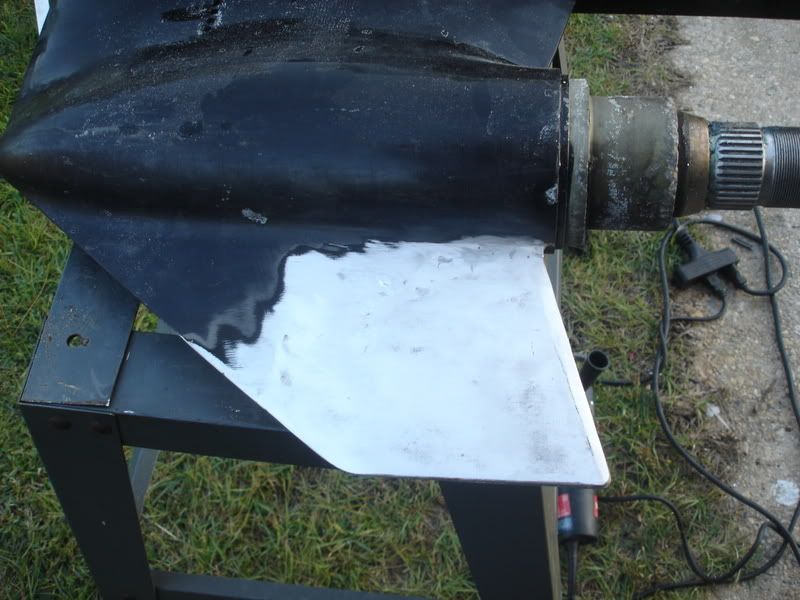
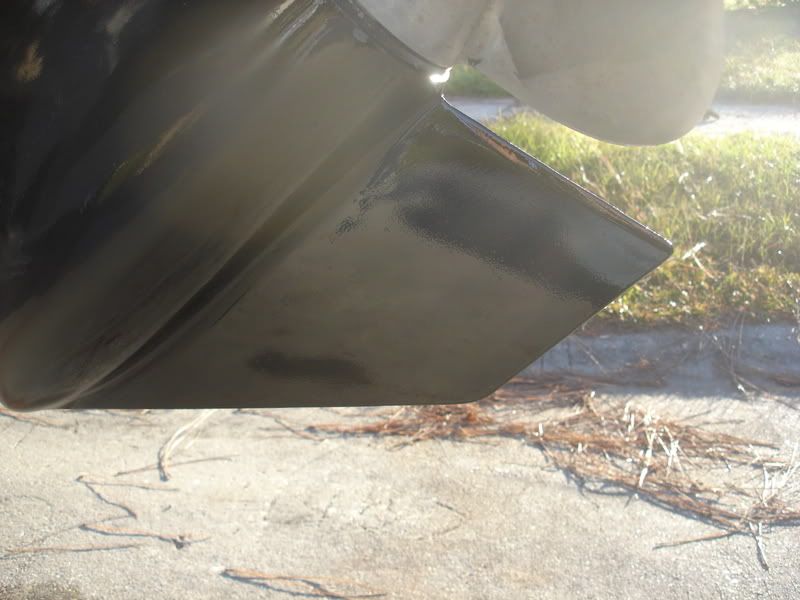
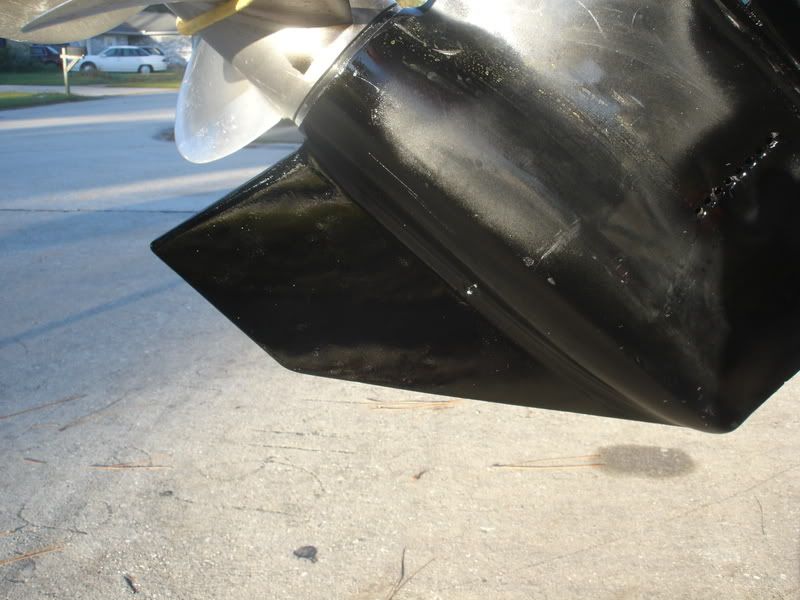
Interesting week with the boat last week. Cleverly forgot to tilt the outdrive up a couple of weeks ago when putting the boat in the backyard. Hooked the sidewalk with the corner of the skeg. Bent the end of it like a banana and broke it off.
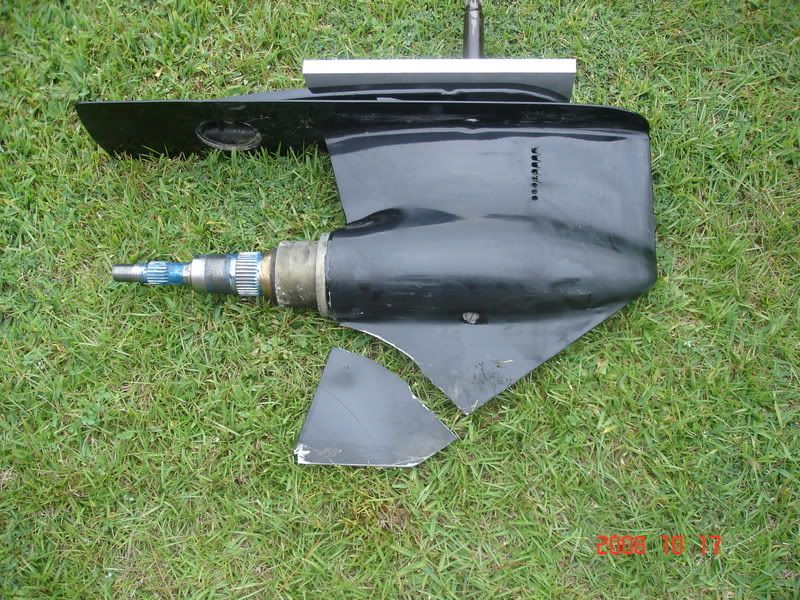
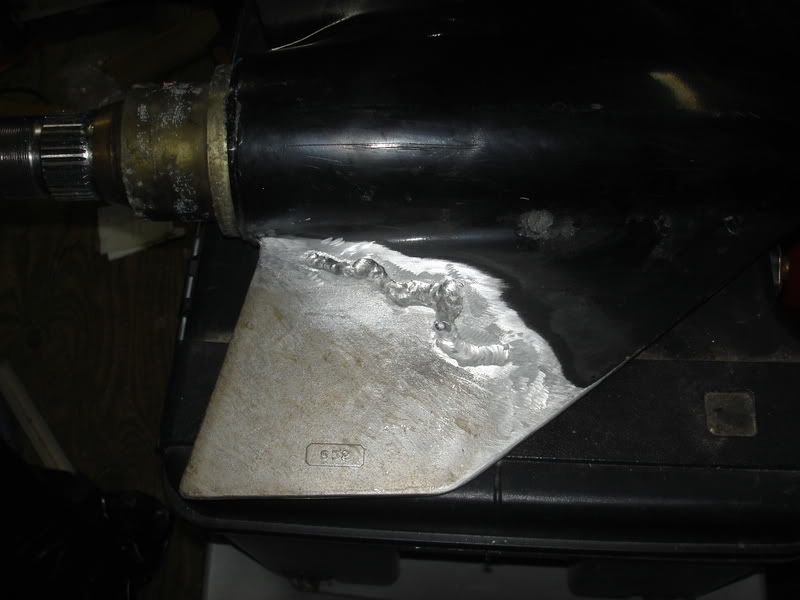
Figured I could straighten the broken piece out and weld it back on. Found out that those people who say trying to straighten a bent skeg will break it are right. The bent piece broke in half when I tried to straighten it with the press.
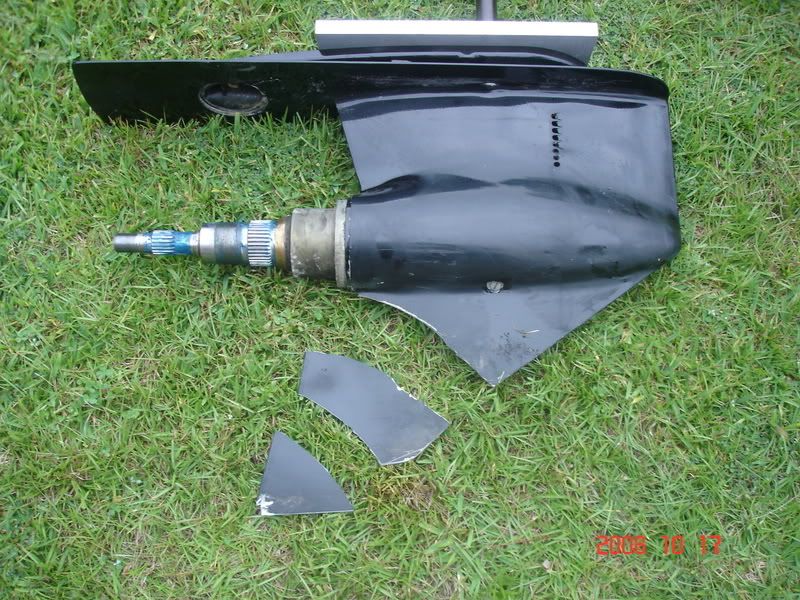
Took it out Friday a week ago with the broken skeg, ran for 20 miles. Everything worked great, couldn?t tell a piece of it was missing.
Went out again Saturday a week ago. About halfway through the day, was idling down a narrow part of the river (30-40 feet wide) and there was a huge bump and the back of the boat moved about 5 feet sideways. Must have been a sunken log. River water is like brown paint, can?t see into it at all. Figured it was time to turn around so moved over to the other side of the river. Another big bump and the engine cut off. Chunks of chopped up wood come floating up. Apparently those stainless B3 props (no hubs, solidly mounted to shafts) make good chippers. So I tilt the drive all the way up and idle past it. No bump this time. Put the drive back down, everythings working fine. Kept going, put another 30 miles or so on the boat the rest of the day with no problems. Looked at the props when I pulled it out, no dings or scratches.
Went to put the boat in at the launch the next day, Sunday. Backed it down into the water, went to lower the drive, would only go halfway down, to the very top of the gauge. Cussing to myself, now I have to troubleshoot the freaking trim system! Raised it a couple of times, the third time it went on down, ran it up and down through the drive range a few times, worked fine. Went on out, had a great day on the water.
Went out last Monday evening to take a look and figure out what to do about the skeg. Wasn?t crazy about any of the bolt on stuff. While looking at the skeg I notice a fine crack across the support ear on the gimbal ring. Tilt the drive up and it isn?t a crack, the ear is broken off and hanging by the hydraulic ram pin! Try to lower the drive and the corner of the broken ear hangs it up. Bump it up and down once or twice and the broken piece finally slides by, slips back into position and lets it down. Now I know what was going on with the trim trying to launch Sunday. I figure it broke the ear when I hit the log Saturday afternoon, then ran the rest of the day Saturday and all day Sunday with the broken ear.
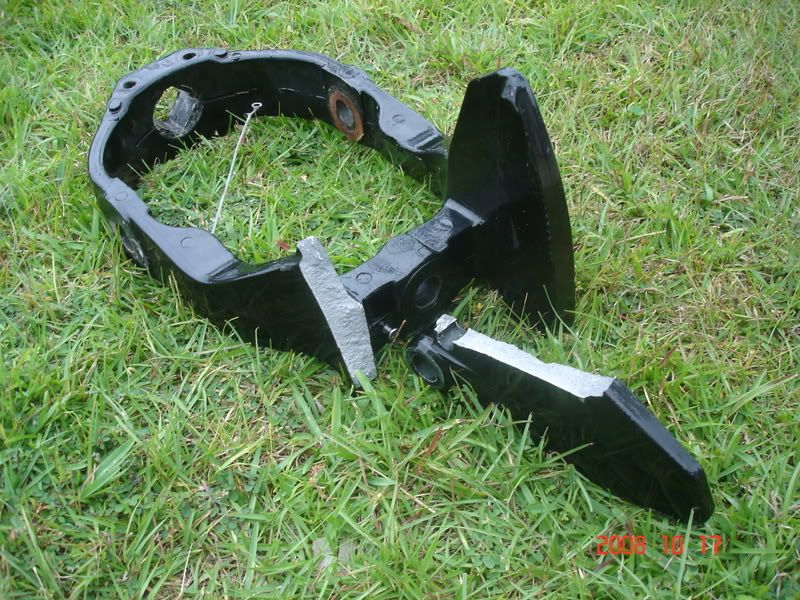
So I order a new gimbal ring. Got a great deal on a ?takeoff? gimbal ring from Imco. Brand new ring they took off a boat to replace with one of their high performance rings. My junk doesn?t classify as ?high performance?, it?s perfectly happy with the stock ring as long as I don?t bounce it off a log.

Figured I could straighten the broken piece out and weld it back on. Found out that those people who say trying to straighten a bent skeg will break it are right. The bent piece broke in half when I tried to straighten it with the press.

Took it out Friday a week ago with the broken skeg, ran for 20 miles. Everything worked great, couldn?t tell a piece of it was missing.
Went out again Saturday a week ago. About halfway through the day, was idling down a narrow part of the river (30-40 feet wide) and there was a huge bump and the back of the boat moved about 5 feet sideways. Must have been a sunken log. River water is like brown paint, can?t see into it at all. Figured it was time to turn around so moved over to the other side of the river. Another big bump and the engine cut off. Chunks of chopped up wood come floating up. Apparently those stainless B3 props (no hubs, solidly mounted to shafts) make good chippers. So I tilt the drive all the way up and idle past it. No bump this time. Put the drive back down, everythings working fine. Kept going, put another 30 miles or so on the boat the rest of the day with no problems. Looked at the props when I pulled it out, no dings or scratches.
Went to put the boat in at the launch the next day, Sunday. Backed it down into the water, went to lower the drive, would only go halfway down, to the very top of the gauge. Cussing to myself, now I have to troubleshoot the freaking trim system! Raised it a couple of times, the third time it went on down, ran it up and down through the drive range a few times, worked fine. Went on out, had a great day on the water.
Went out last Monday evening to take a look and figure out what to do about the skeg. Wasn?t crazy about any of the bolt on stuff. While looking at the skeg I notice a fine crack across the support ear on the gimbal ring. Tilt the drive up and it isn?t a crack, the ear is broken off and hanging by the hydraulic ram pin! Try to lower the drive and the corner of the broken ear hangs it up. Bump it up and down once or twice and the broken piece finally slides by, slips back into position and lets it down. Now I know what was going on with the trim trying to launch Sunday. I figure it broke the ear when I hit the log Saturday afternoon, then ran the rest of the day Saturday and all day Sunday with the broken ear.

So I order a new gimbal ring. Got a great deal on a ?takeoff? gimbal ring from Imco. Brand new ring they took off a boat to replace with one of their high performance rings. My junk doesn?t classify as ?high performance?, it?s perfectly happy with the stock ring as long as I don?t bounce it off a log.


