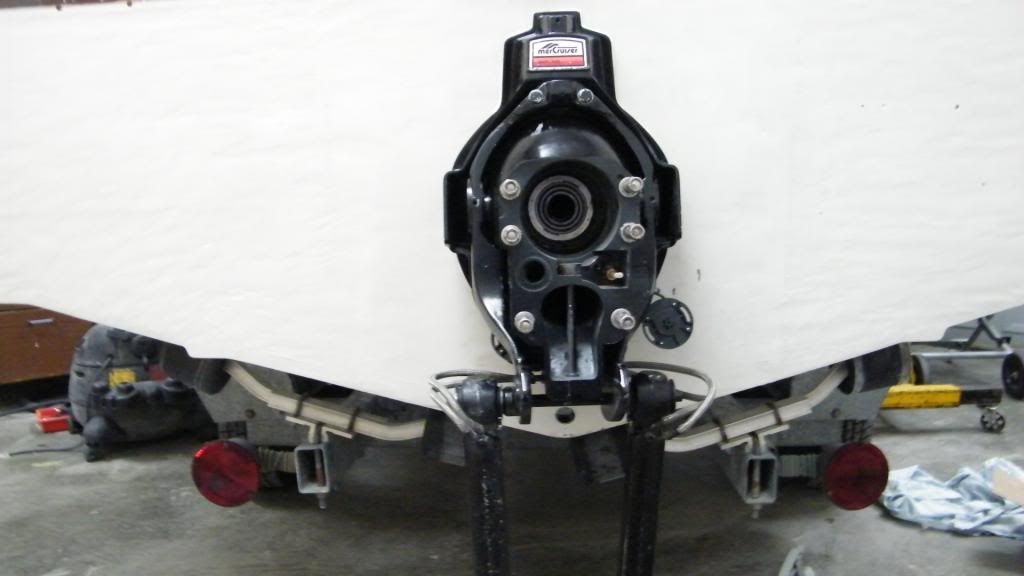
Alpha one Gen one Complete gimble rebuild assembly order

Jimmy H.

Petty Officer 1st Class
Joined
May 15, 2012
Messages
220
Hello, my winter project was a near complete resto of a 19' glass bowrider. New transom, stringers, deck, etc... It's my first time and have learned many lessons during it, some good and some bad. Wondering if anyone can somewhat walk me through the right order of re-assembling the Gimble housing. I am sanding down the three parts of it which are all seperated and soon priming and painting them. I have new seals, gimble bearing, bellows, and shifter cable. It's been apart for a while and since I just removed the gimble bearing and seal behind the bearing I know at least the seal will be the first piece to go back in and then the bearing 2nd.
What would be the right order for the rest? I have the manual for it that will help with each individual part but as far as the order I dont know. I would like to not put pieces 3,4,6,7,8 on and then realize I forgot #5 and have to remove 6,7 and 8. Or at least something like that.
I have pictures and serial numbers on hand if needed
Thanks in advance.
James
 

Don S

Honorary Moderator Emeritus
Joined
Aug 31, 2004
Messages
62,321
Re: Alpha one Gen one Complete gimble rebuild assembly order

Here is the service manual for your drive and transom shield. Sections 4A and 4B should answer your questions.
 

blkzoe

Seaman
Joined
Jan 16, 2013
Messages
74
Re: Alpha one Gen one Complete gimble rebuild assembly order

Am currently in the middle of the same effort w/ Alpha 1 Gen 1. Be sure that you don't have any rot (corrosion) on your GIMBAL HOUSING ASSEMBLY particularly where the seal is on the exterior plate. The bottom of the GIMBAL HOUSING ASSEMBLY is particularly vulnerable. Also, on your gimbal grease seal and gimbal bearing; be aware of orientation issues that are not covered well in the manual. The manual doesn't address the orientation of the grease seal. The general rule is lips towards the grease. Also, be sure to align your bearing grease port, the TOLERANCE RING gap, and the channel to the grease fitting before mounting the bearing. The grease port is NOT at 6 o'clock, it's about at 4 o'clock (learn from my screw-up). I'm not a big fan of beating the crap out of bearings to seat them. Suggest using all thread, very large washers or large sockets, and air tools to seat the bearing. It worked for me without damaging any of the housing assembly. Liberally grease the contact surfaces of the bearing, tolerance ring, and housing assembly. NOTCHES ON THE BEARING FACE THE ENGINE (per the manual, but seems to be open to discussion) I used Quicksilver U-Joint and Gimbal Bearing Grease. Kind of a tight fit..... Squeeze a couple of shots of grease thru the housing assembly nipple so you can ensure the channel is open to the bearing
 

Jimmy H.

Petty Officer 1st Class
Joined
May 15, 2012
Messages
220
Re: Alpha one Gen one Complete gimble rebuild assembly order

Thanks for the advice guys. Like I said I do have the manuals I was just more concerned about what parts go on in what order. I think Im prepared as far as the bearing and the housing to driveshaft seal goes. Mine is pretty good as far a corrosion goes but yes there is more on the bottom for sure. I was sanding another two hours last night, I probably need another two hours and they'll be ready for paint this Saturday. I have hopes of installing the motor back in and maybe running it the weekend of March 16th.
Thanks!
 

Jimmy H.

Petty Officer 1st Class
Joined
May 15, 2012
Messages
220
Re: Alpha one Gen one Complete gimble rebuild assembly order

Hi just wondering if I install the gimble ring onto the housing with the steering shaft all together than is it a good idea to mount that to the transom and then install bellows, cables, bell housing, etc...
Or is it easier to install the bellows, shift cable, bellhousing, etc. While the gimble housing is off the transom?
Thanks
 

dubs283

Vice Admiral
Joined
Jul 27, 2005
Messages
5,322
Re: Alpha one Gen one Complete gimble rebuild assembly order

Hi just wondering if I install the gimble ring onto the housing with the steering shaft all together than is it a good idea to mount that to the transom and then install bellows, cables, bell housing, etc...
Thanks

if you have the entire transom assy removed from the boat it will be much easier to assemble the whole thing OFF the boat

with the OEM manual it should be fairly straightforward as to how to reassemble the transom assy
 

Jimmy H.

Petty Officer 1st Class
Joined
May 15, 2012
Messages
220
Re: Alpha one Gen one Complete gimble rebuild assembly order

Thanks all for the advice. Got everything ready yesterday.
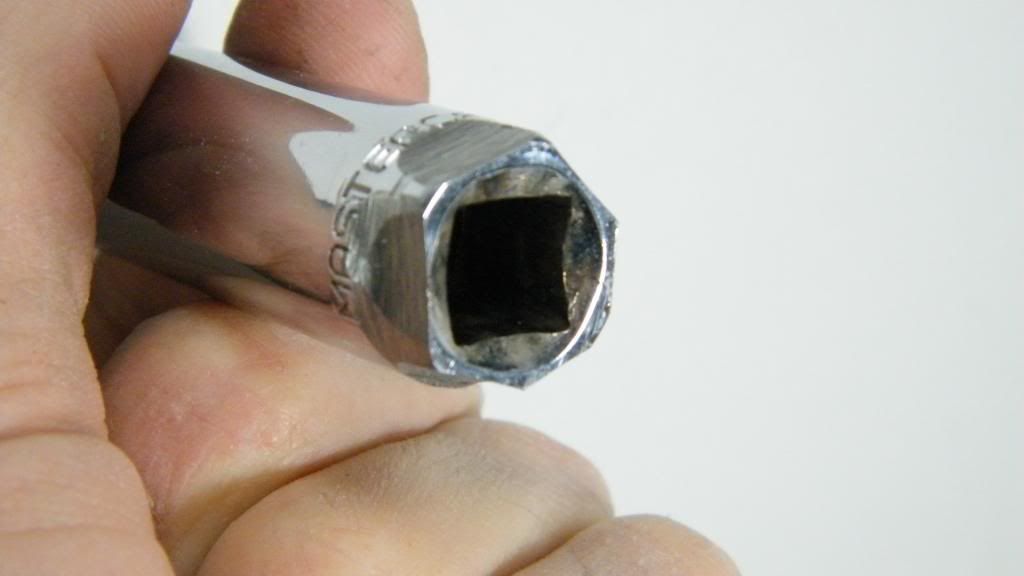
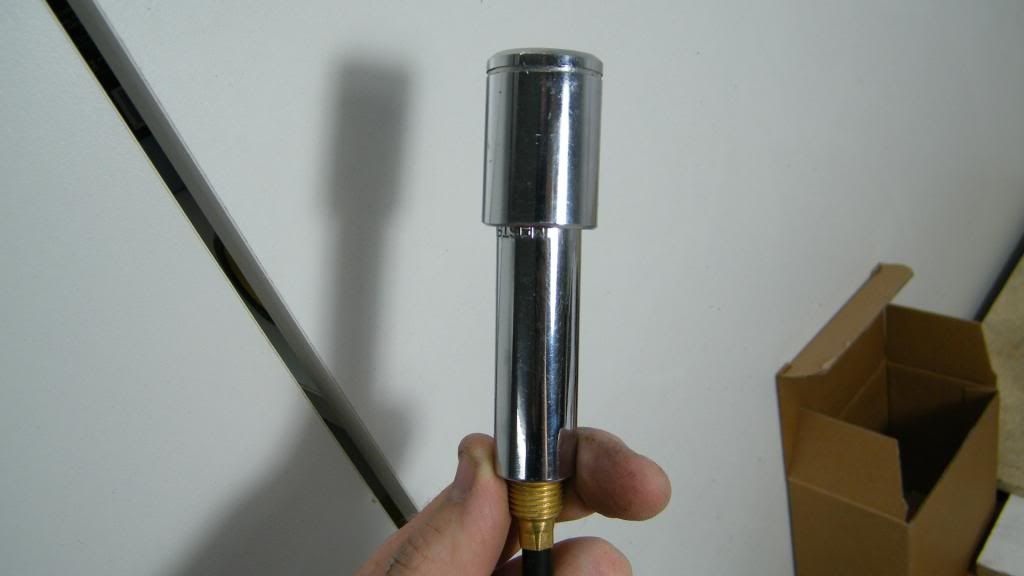
Made my own special tool for the shifter cable nut as my longest socket was too short. I ground down the ratchet end to a rough six sides to be able to fit another socket onto it and it worked good.
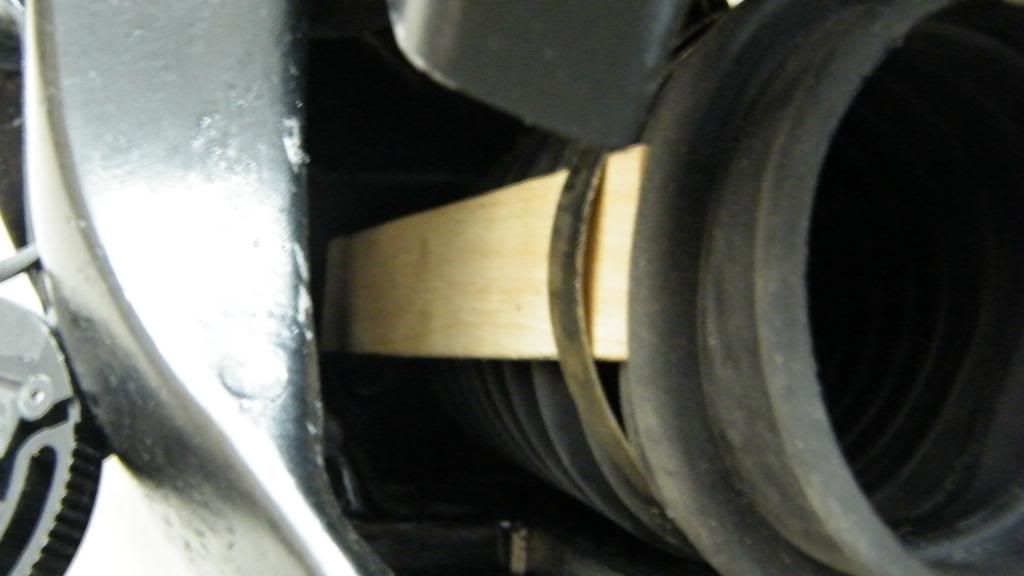
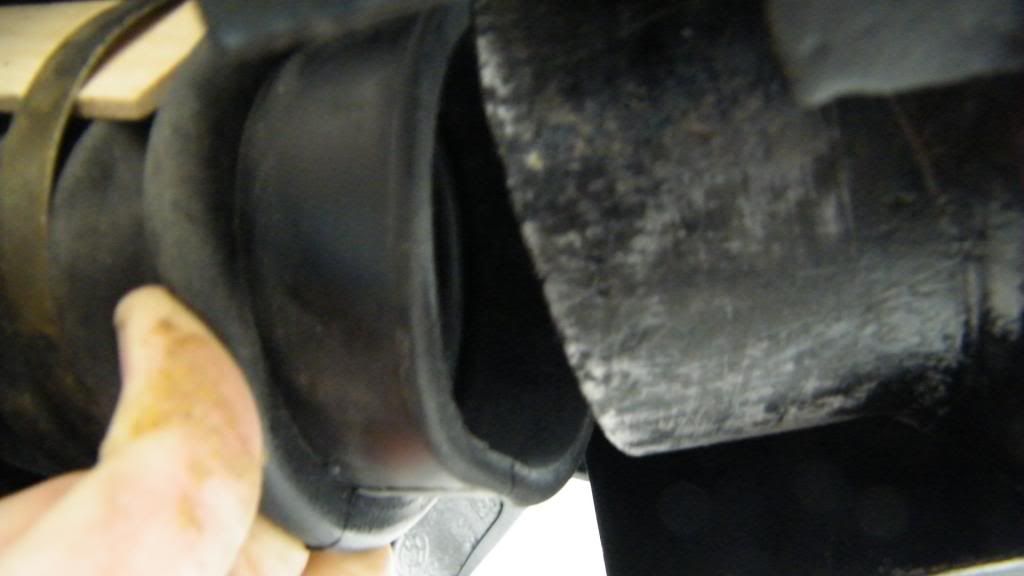
For the exhaust bellows attaching to the bell housing I saw a video on you tube using a paint stick to hold the bellows out and it worked very well if you dont have the expander tool. I just need to change the impeller in the drive, pressure test the drive and I will be ready to bolt it on.
Thanks again

DSCF2859_zpsb2dd5610.jpg


DSCF2860_zpsbd6e4aa9.jpg


DSCF2863_zpsce421e8f.jpg


DSCF2866_zps2034ebc5.jpg


DSCF2867_zpscf2a71b2.jpg
 

blkzoe

Seaman
Joined
Jan 16, 2013
Messages
74
Re: Alpha one Gen one Complete gimble rebuild assembly order

Hi just wondering if I install the gimble ring onto the housing with the steering shaft all together than is it a good idea to mount that to the transom and then install bellows, cables, bell housing, etc...
Or is it easier to install the bellows, shift cable, bellhousing, etc. While the gimble housing is off the transom?
Thanks

I'm doing it off the transom; then mounting as a single unit.


NOTE: Water pipe issue w/ Alpha ones - The original water pipe that runs through the gimbal housing (from the water pump in the outdrive) is copper and 5/8" in diameter. Due to corrosion and over-heating issues at the engine, the replacement pipe is plastic and 3/4"! You might want to swap out to the upgrade. Cheap. Make sure you also get the 3/4" bushing and the 3/4" collar. A lost cost solution to prevent high $ repairs.

See part# 27 (pipe)

http://www.**********/parts/search/... SQUARE-SPLINED UPPER SWIVEL SHAFT/parts.html
 
Top