Re: 1996 Yamaha Wave Venture fuel problems
Might need to take them to a Yamaha shop to fix - although, like Fireman431 said - it would be best. But if you don't have the funds and you feel comfortable doing it, then follow these steps.
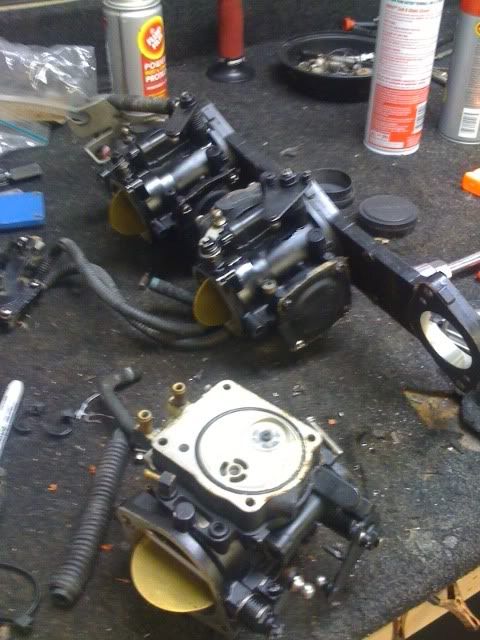
Pull the carbs and take off each fuel bowl. Be careful not to set the carbs down on the bowl side without the bowls attached - you may bend the floats or float settings.
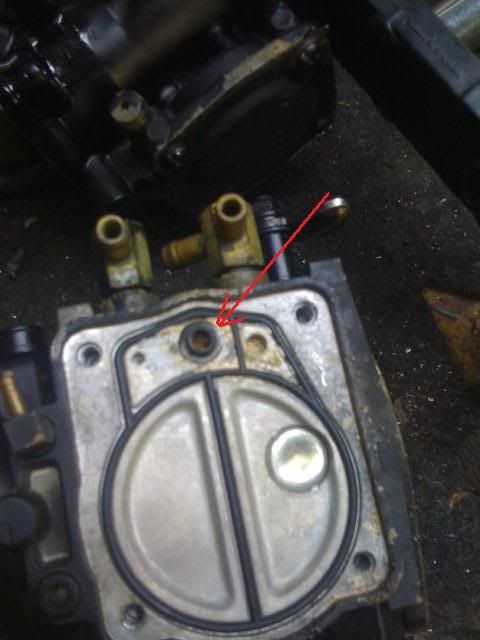
Then look for the obstacles clogging the jets or neddle valves. If it's apparent that they are clogged, use a carb cleaner from an aerosol can to spray into the holes from the venturi side (air intake side) to blast out the obstacles. Whatever you do, do not use wire or anything to "poke"into these orifices. You may damage the jets or valves.
If you can't get cleaner to come through these passages, then you'll need to remove the main jets and the floats, needle springs, and needle valves. Again, be delicate with these parts so that you don't bend the float frames or you'll knock them WAY out of adjustment. They are very difficult to get back into the right setting.
Once the needle valves are out, check the rubber sealing ends of them for excessive wear, also the sides of the needles for excessive wear. One way to check if they seem to be excessively worn is abserve the needle valves while squirting the cleaner through that passage from the venturi side. If the needle stays shut, then replace them. Probably best with that finding to buy carb kits and replace all the parts that come in the kit which would include needle valves and springs.
I have spent many hours with carburetors and replacing needles, jets, etc. I have found that on many instances, a sticking needle valve causes many different symptoms like starting and running good for a while, then "BLAP" - nothing after that. Maybe a "cough" or two trying tio get it started again. Then after a while sitting, it runs for a while again.
That's the best advice I have right now and it is what this problem sounds like to me. Just be sure to really look over that motor closely on the outside for cracked hoses, electrical wiring frayed, and similar before you start taking things apart.
Hope this helps -


")