Re: 1983 Evinrude 35 ELCTS clutch dog dance... (quick fixes? parts sourcing?)
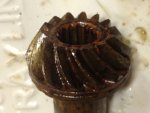
SUCCESS!!! After several attempts I have finally cured my "jerking" motor problem. My clutch dog and forward gear, while rusty with surface rust; didn't look bad enough to be causing the problem, but replacing both of them and all the bearings in my lower end seems to have fixed the problem. I'll post what I learned and some pictures in the hopes of helping someone with this problem in the future.
You CAN actually rebuild the lower unit without the official Evinrude tools described in the manual. You have to get creative and be patient and read and re-read the service manual many times. Special attention has to be paid when separating the lower unit from the leg and when disassembling the lower unit itself. Again, read the manual... it helps and has "special words" which are sections that are very important.
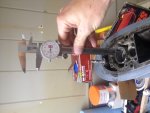
As mentioned above and in other threads, you'll want to take very precise measurements or create a jig using threaded rod and washers and nuts to try and document exactly how deep to press the pinion bearing and drive shaft bearing in the lower unit housing. I used a good set of calipers and measured the existing depths and distances to within hundredths of inches. My first attempt at reassembly was not close enough and when testing the fit of the pinion gear and forward and reverse gears, it was binding so I had to drive the bearings out and reassemble again. If it doesn't spin and shift smoothly with your hand, adding the power of the engine will likely result in disaster for your gears... And yes, shifting it by hand requires a bit of force (and maybe plyers on the shift rod), but not an excessive amount.
Note: the manual says to put the clutch dog in the forward position when inserting the shaft and clutch dog. This I believe is supposed to give you more room to get the shift lever "arms" under the clutch and into the grooves more easily. My experience was that this caused the detent balls to fall out because they are right at the edge of escaping. I found that if I left the clutch in the neutral position (firmly holding the detent balls), I still had the ability to get the shift lever arms in place. Tricky, but with patience and a long skinny screwdriver, I was successful. (Oh, and a piece of string through the shift lever's pivot hole so that I could manipulate it in several directions. Remove the piece of string before putting the pivot screw in or it won't come out easily.)
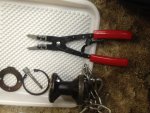
Putting the large snap ring back into the correct groove was also challenging, but doable, even with my $9 snap ring plyers from Harbor Freight. If I did this for a living I'd buy an $80 pair.
The other valuable lesson I learned is that you have to pay special attention to the water tube that connects at the top of the water impeller housing and then runs up through the exhaust leg to another fitting. Mine came loose up above (unbenounced to me) and so I had no cooling water to the engine on my first test. Had to drop the lower end again and realize that the water tube had become disconnected at the top end. Using a hand mirror and flashlight I was able to get it inserted again.
When separating the 2 halves of the shift rod through the water intake window, hold the lower nut still using a 1/2" wrench while unscrewing the upper nut using another 1/2" open end wrench. The lower rod is threaded into the clutch shift lever and can be unscrewed upward later.
I could not figure out how to get the upper half of the shift rod to pull all the way clear of the metal plate on the bottom of the water impeller housing. The manual refers to a "retainer" but mine doesn't have a retainer, just a metal threaded end that will not come through that plate. As a result, I dropped the lower end by unbolting the water impeller housing and leaving it with the exhaust leg. The drive shaft also stayed with the engine / exhaust leg which I discovered should be pulled intact with the lower unit. I believe what I SHOULD have done is pulled the starter, and disconnected the shift rod up above... Live and learn, RTFM!

CORRECTION!!! My shift linkage rod DOES have a retainer keeping the threaded part from sliding off the end of the rod where joins the lower half of the shift rod. Slide the threaded piece up the upper half of the rod, and look for a black plastic part that has a vertical slit in it. That black plastic part will flex and come off the rod, allowing the threaded part to slide all the way off. This will allow you to drop the lower end without having to mess with the impeller pump cover... And if memory serves me correctly, the drive shaft pulls out and stays with the lower end unit!
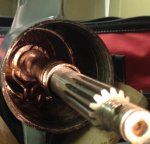
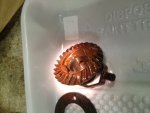
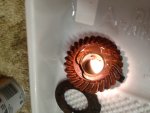
The pics:
Measuring the drive shaft bearing depth. Same method used to measuer the pinion bearing depth.
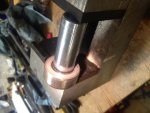
A pic of pressing the new bearing into the bearing retainer / holder using a vise.
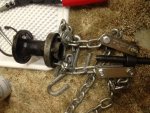
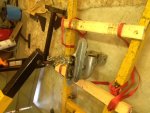
Used a cherry picker engine hoist to pull the drive shaft bearing container (threaded rod and appropriate washers and nut on the backside). Pinion bearing can be driven downward and retrieved easily. New pinion bearing can be driven from the top once the drive shaft bearing and holder is out of the way.
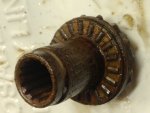
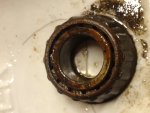
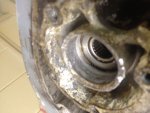
A pic of the drive shaft bearing.
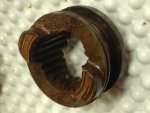
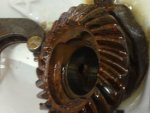
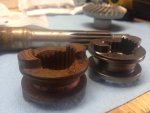
A pic of the new clutch dog next to the old one...
CONCLUSION: Even a hack like me can successfully rebuild a lower end. Took the 13'6" Whaler on a test run yesterday and did about 12 miles without a hiccup! And she's FAST! Faster than I need to go without a seatbelt... Topped out at about 36mph, cruised nicely at 25mph.


