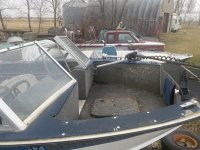
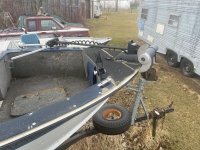
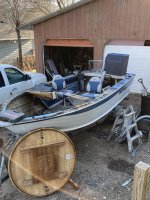
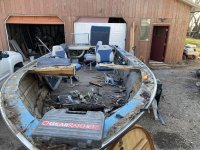
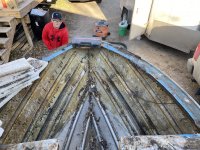
I just picked up a 76 holiday with the 140 mercruiser. Previous owner hacked out the enclosed bow to make it a mock super sport. 


")

I just finished going through you 75 SS build. I am very impressed with all the rivet work and that polished look is amazing. Did you seal it with a clear coat after polishing?Welcome to the Starmada! You're off to a great start on the rehab and paying your mob dues!
I'm a polishing U alum. I'm glad that I did it and I'm glad that it's done b/c it was no walk in the park. Hopefully your starting aluminum is in better shape than mine (full of corroded micropits)...regardless, you'll be cursing those faux lapstrakes.
You have what we'd refer to as a "bowectomy"...some are done really well where one would struggle to determine whether or not it's factory.
Lookin' forward to see what you do with her!
Thanks! No clear...I doubt that it would adhere. I used the Zephyr polish/sealer on the sides & Sharkhyde on the bottom. I bet a heavy wax could be used as well; I recall @astor using Collinite.I just finished going through you 75 SS build. I am very impressed with all the rivet work and that polished look is amazing. Did you seal it with a clear coat after polishing?
One more question, would you do your chine bracing the same way if you were to do it again?Thanks! No clear...I doubt that it would adhere. I used the Zephyr polish/sealer on the sides & Sharkhyde on the bottom. I bet a heavy wax could be used as well; I recall @astor using Collinite.
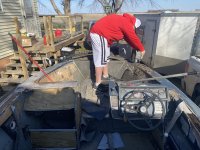
my rig had alot of fatigue damage so I really had no choice. The spray rail patches that required removing/replacing the double-seam rivets was probably overkill. The vertical risers with the wide plates (along with fiberglass-reinforced sidepanel) should provide plenty of support IMO.One more question, would you do your chine bracing the same way if you were to do it again?
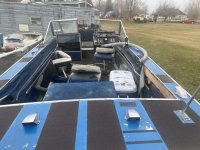
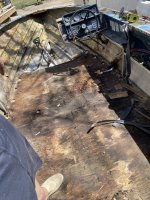
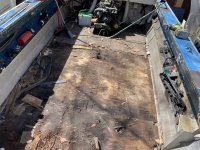
I’d say strip the paint first in case heavy coating of a repaint is actually preventing the rivet to leak.Now that I have the floor out and all the foam out do I strip the paint before I do a leak test on the rivets ?
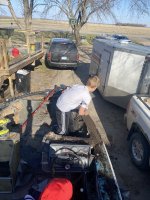
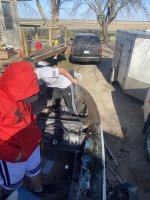
Flip it is easiest, but a cradle works, especially if you don’t wish to pull the motor. Sling cradles are especially handy because you can angle the boat up side to side so you don’t have to roll around on a creeper.This is probably a dumb question, but do I have to pull the motor and flip it to do the bottom (strip the paint) or can I make a cradle to set it in?
Ok. I have another weird question, due to the lumber prices being stupid ridiculous I really can’t afford to pay these prices for plywood at the moment. I have a lot of 3/4” cedar fence boards. Would I be able to edge join them and use them to make my floor?