Remove Bravo III Drive

agallant80

Commander
Joined
Oct 25, 2010
Messages
2,328
Well the new boat has hit 20 hours. I would like to pull the drive, check the u-joints, alignment etc. It has always made a strange sound and I would like to make sure everything is OK back there. Any advice on pulling the drive? I have watched several utube videos and it seams simple. Any gotcha things I should be looking out for?
 

Don S

Honorary Moderator Emeritus
Joined
Aug 31, 2004
Messages
62,321
Re: Remove Bravo III Drive

Look at the manual, and don't expect the videos to be accurate. 90% of the videos I see are done by DIYers and leave a lot to be desired.
 

tpenfield

Moderator
Staff member
Joined
Jul 18, 2011
Messages
18,082
Re: Remove Bravo III Drive

Yes, read through the Bravo manual first so you are familiar with the sequence. Not gonna have the dealer do that for you . . . or are they too far away, IIRC ??

In my recent experience, the B3 is a tad heavier than the B1 . .. or maybe I am just that much older :rolleyes:
 

MarkSee

Lieutenant Junior Grade
Joined
Sep 10, 2010
Messages
1,172
Re: Remove Bravo III Drive

. .. or maybe I am just that much older......

Nope; B3 is one heavy piece of gear.

While it's pretty feasible to take off yourself, having a helper with you putting it back on is a good idea.

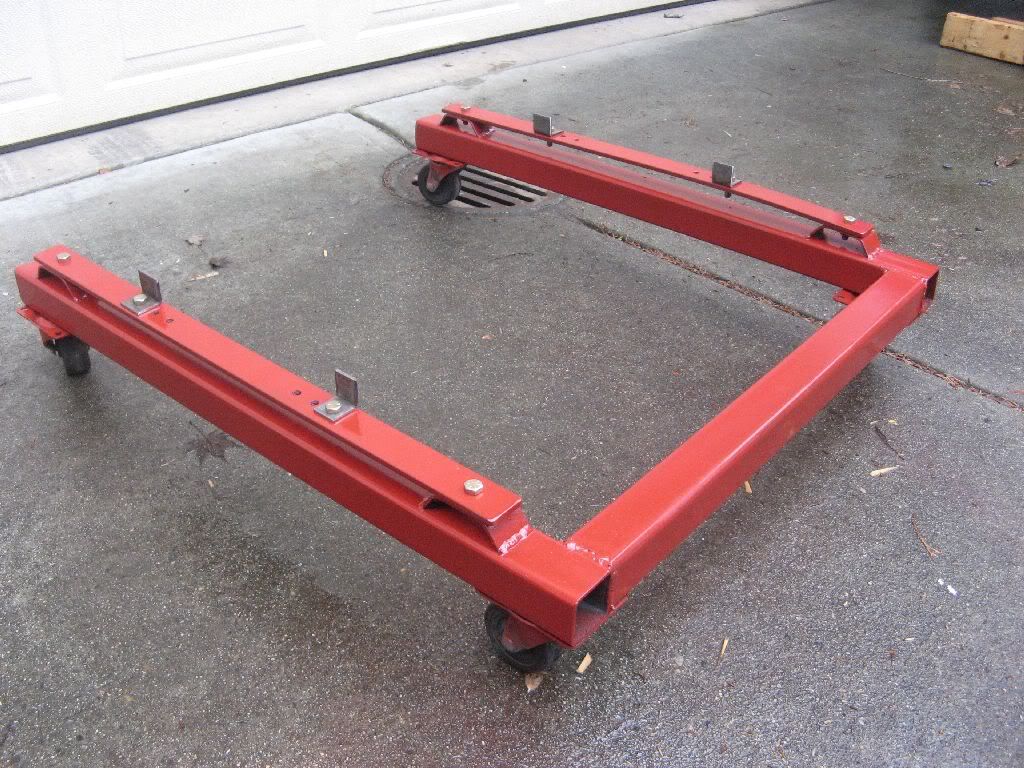
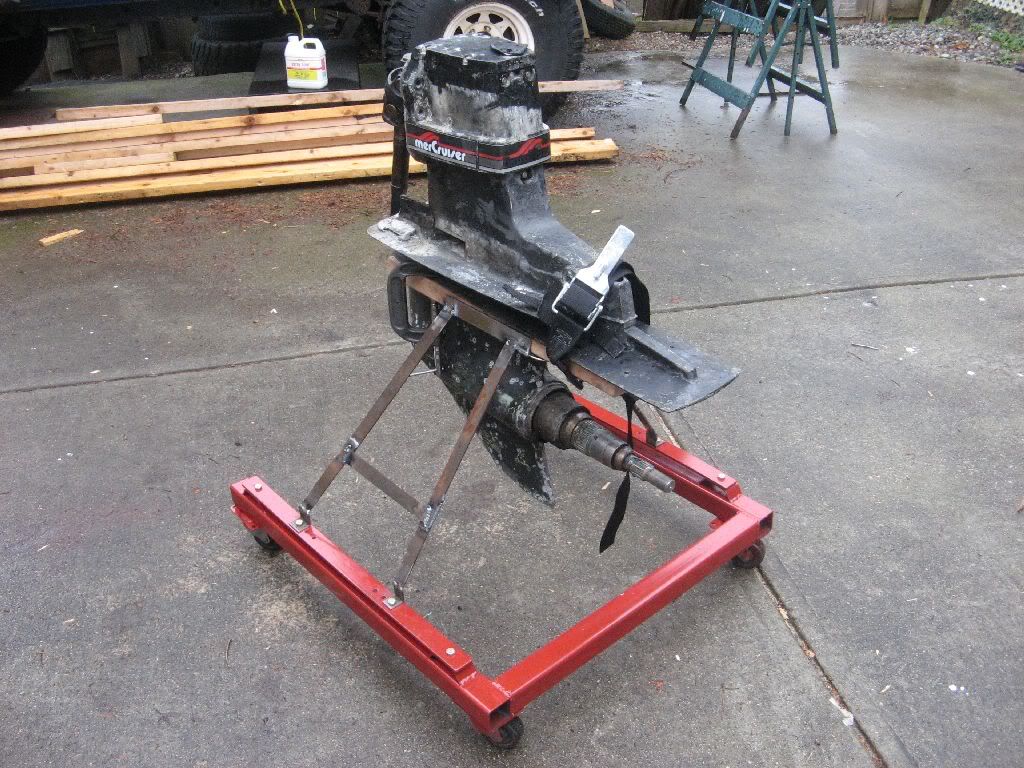
I built a "rolling stand" to the height of just under the cavitation plate so as I pull the drive away from the boat, it "slides" onto the stand.
I use some small cinder blocks as a counter weight on the back side of the stand to counter the weight of the drive on the front.

Be sure to use grease to hold the "jaws" open when putting the drive back on and watch that the shift cable really goes into the jaws and not just push the jaws back.

Mark
 

makonnen

Petty Officer 2nd Class
Joined
Apr 4, 2012
Messages
184
Re: Remove Bravo III Drive

At 20 hours, you're probably not going to go deeper than a simple drive R+R. I did mine last year and replaced the shift cable, all bellows, gimbal bearing, coupler etc..

Here is the simple drive removal:

Disassembly - removing the outdrive

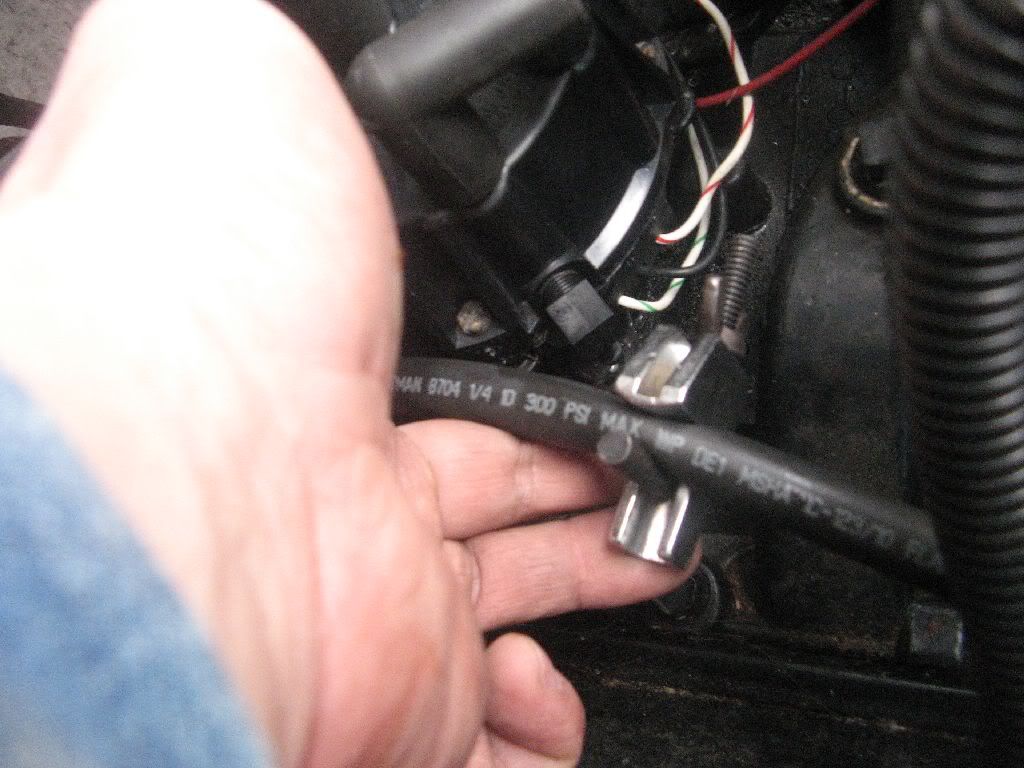
Find the drive lube tube inside the engine compartment and block it off. That way, when you remove the leg, your drive lube doesn’t get everywhere. This is really not that needed as there is a check valve where the drive meets the bellhousing.
bravo44.jpg


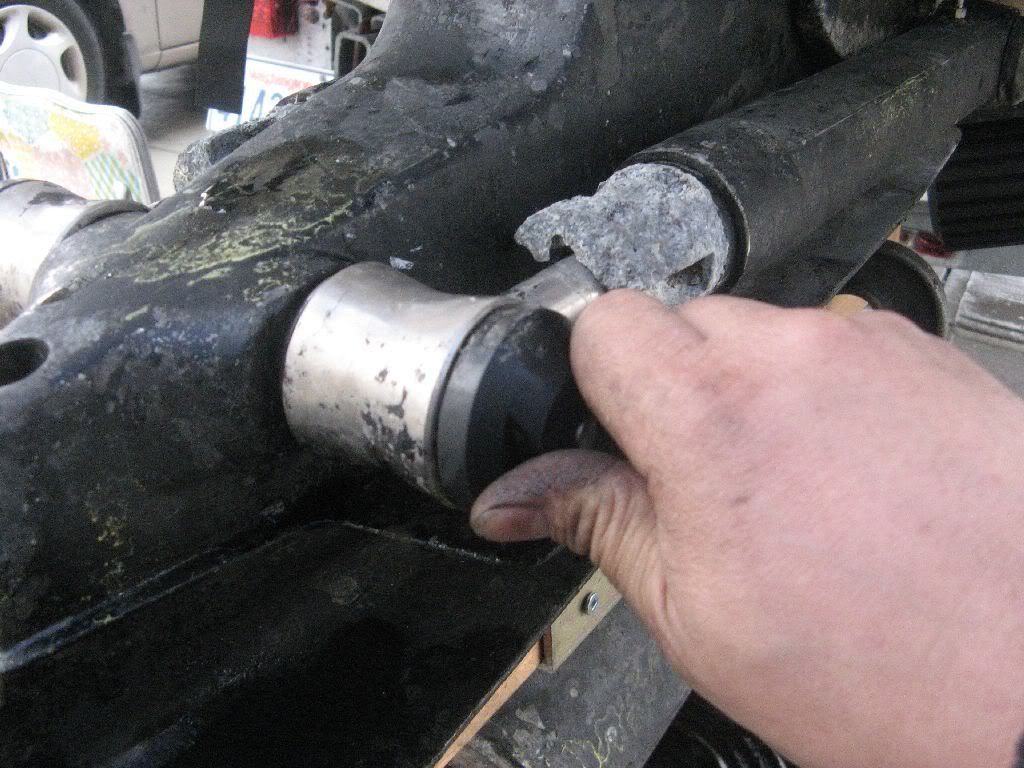
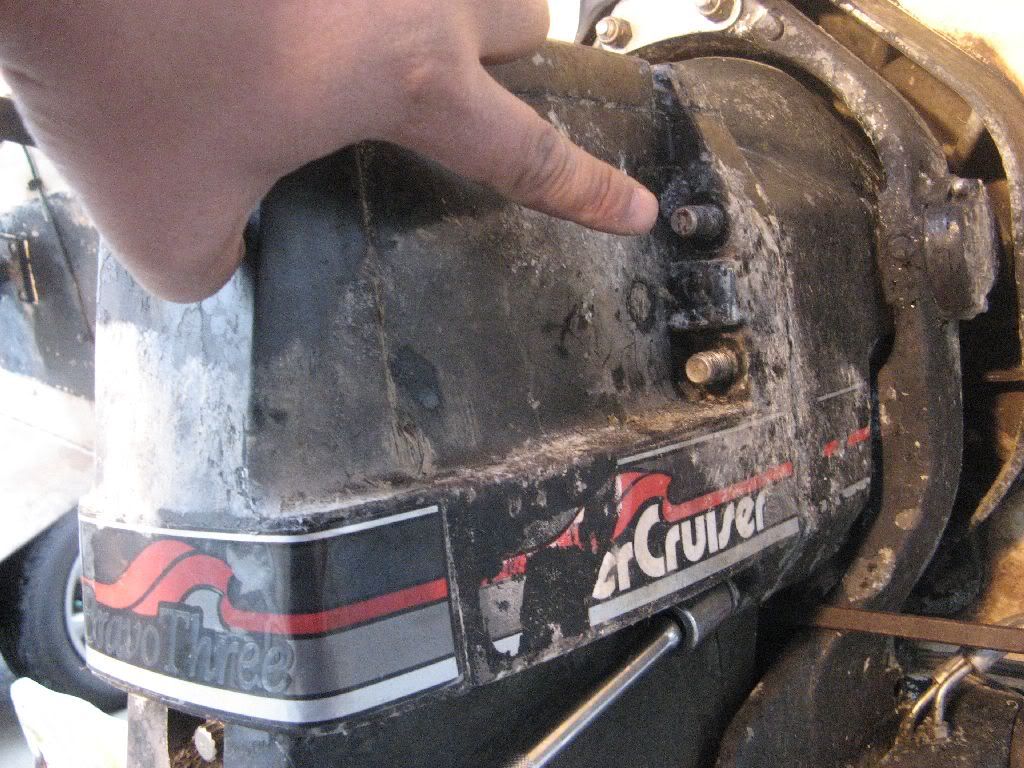
Unscrew the plastic caps on the trim cylinders
bravo40.jpg


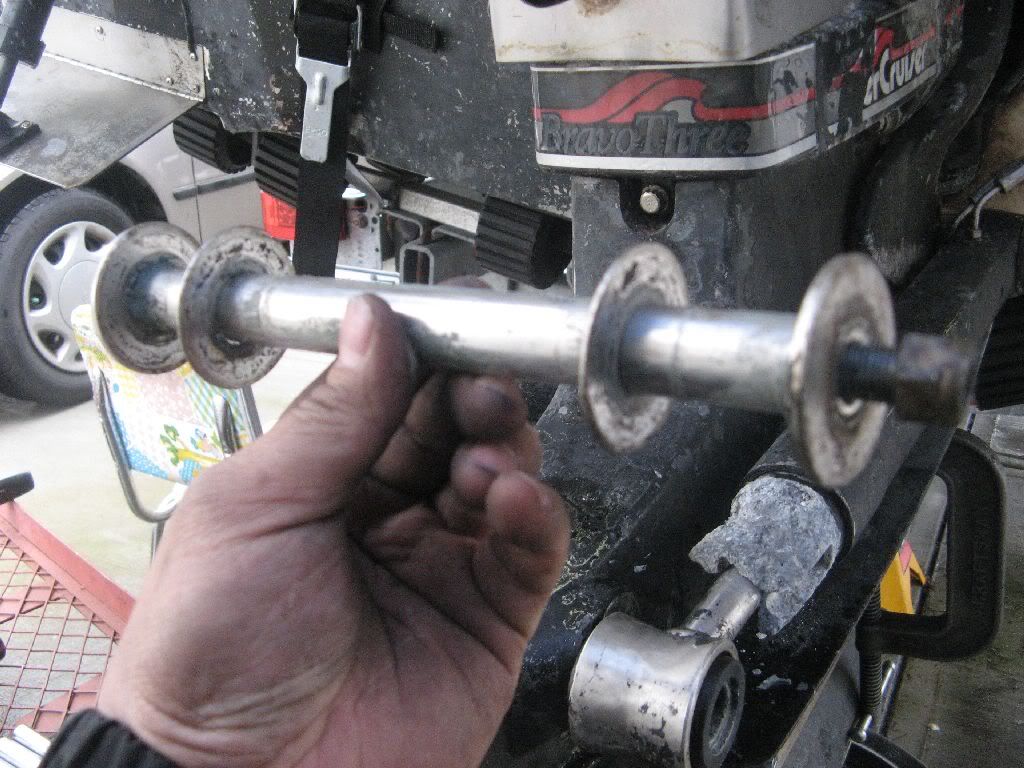
Here is what the threaded rod looks like that holds onto the trim cylinders on the lower leg
bravo41.jpg


Use a prybar to prop the leg up a bit, this will straighten the U-joint and make it easier to remove and install.
bravo42.jpg


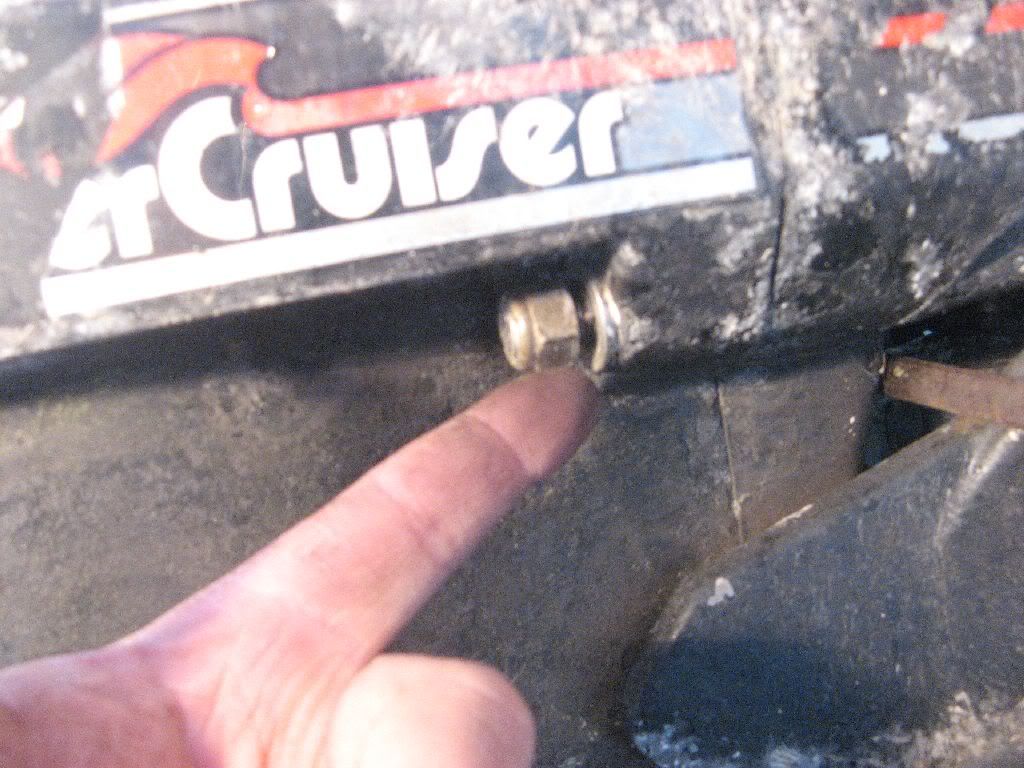
Remove the 6 bolts that connects the upper drive to the bell housing
bravo43.jpg
 

makonnen

Petty Officer 2nd Class
Joined
Apr 4, 2012
Messages
184
Re: Remove Bravo III Drive

Leave a couple of nut loose … that way, when you are prying off the leg, it doesn’t POP off. This ain’t no Alpha 1, the Bravo’s are heavy!
bravo45.jpg


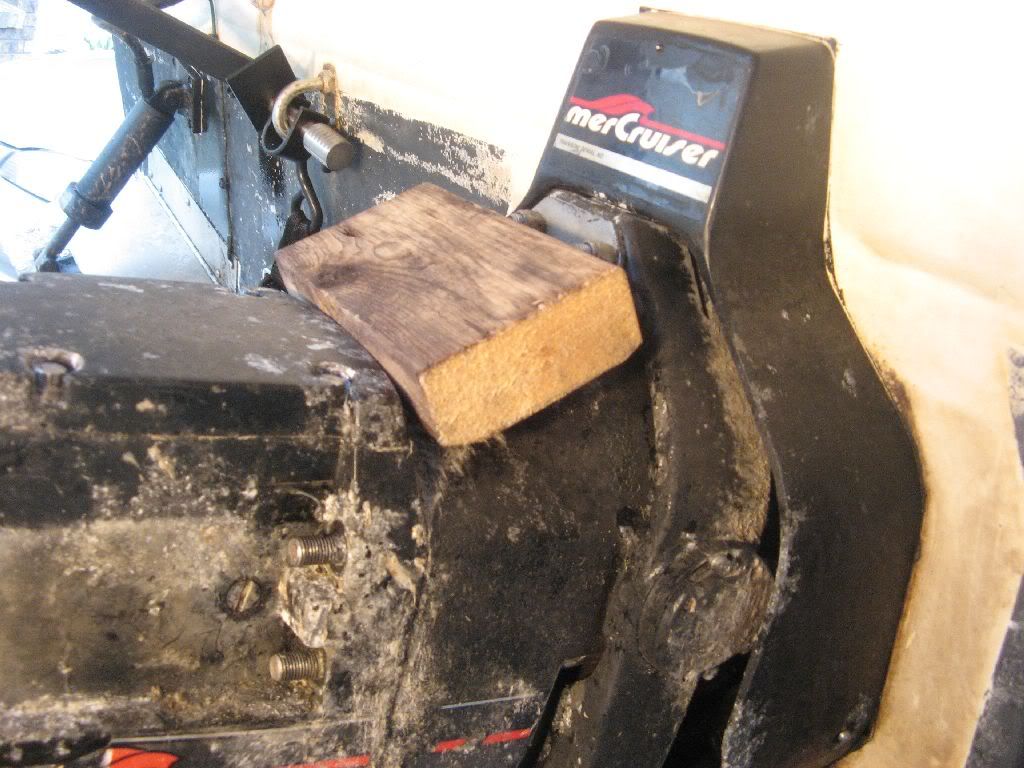
Wedge a 2x4 between the upper leg and the gimbal ring, then lift the leg. This will pry the leg away from the bell housing. Remember, leave a couple of bolts in place to make sure the leg wont fly off the studs in the bellhousing.
bravo46.jpg


Ok, well this step can be a bit tricky I guess... you’re going to need something to be able to support the leg. It weights probably a couple hundred pounds, at minimum, get another person to help you. I built myself a really nice leg dolly.
bravo47.jpg


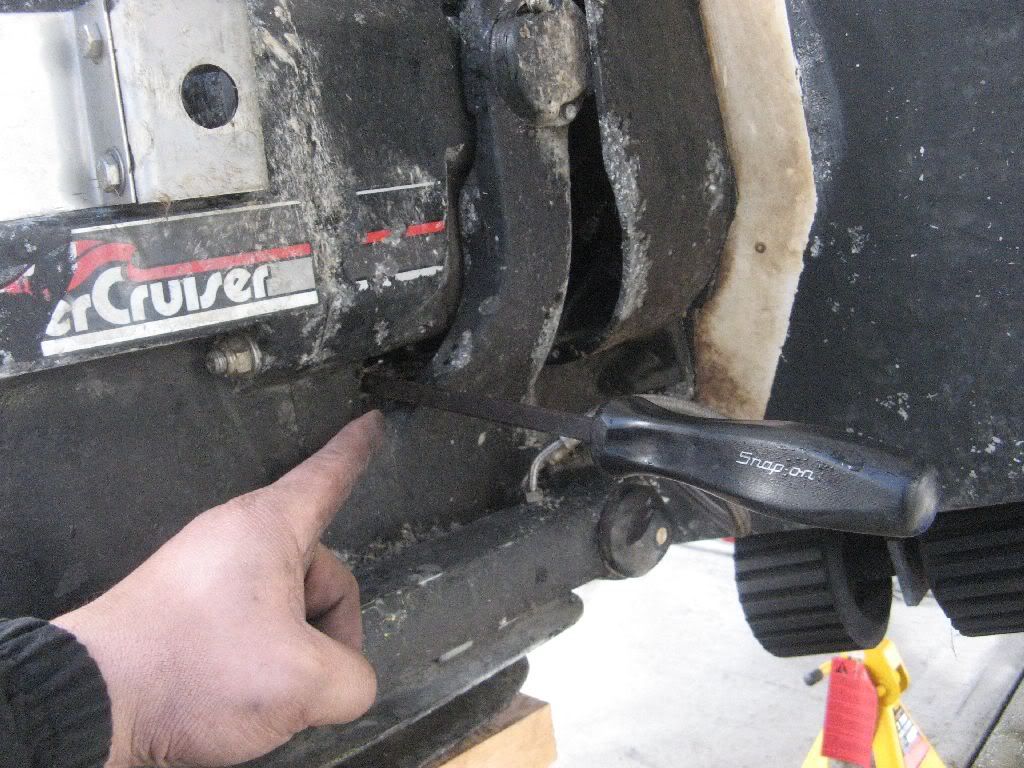
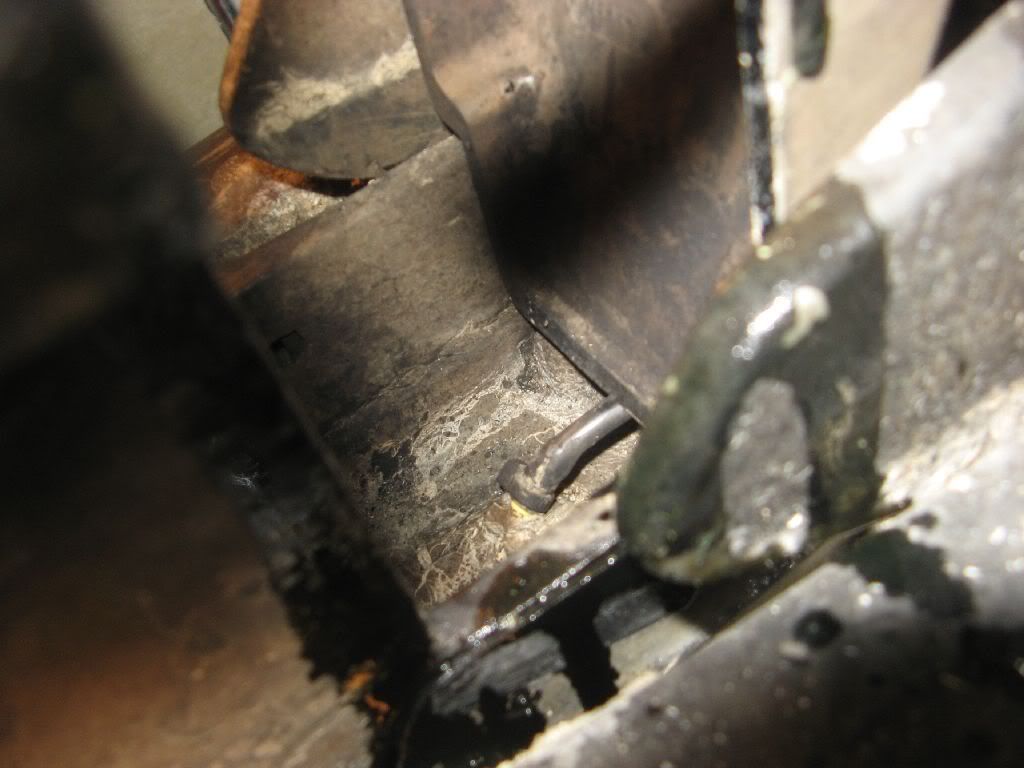
At this point, there are a few things that need to come apart before you completely separate the leg from the bell housing. First, pull it back and make sure the shift cable end unlatches from the clamp in the upper leg. SOmetimes you have to encourage it a bit with a screwdriver.
bravo49.jpg


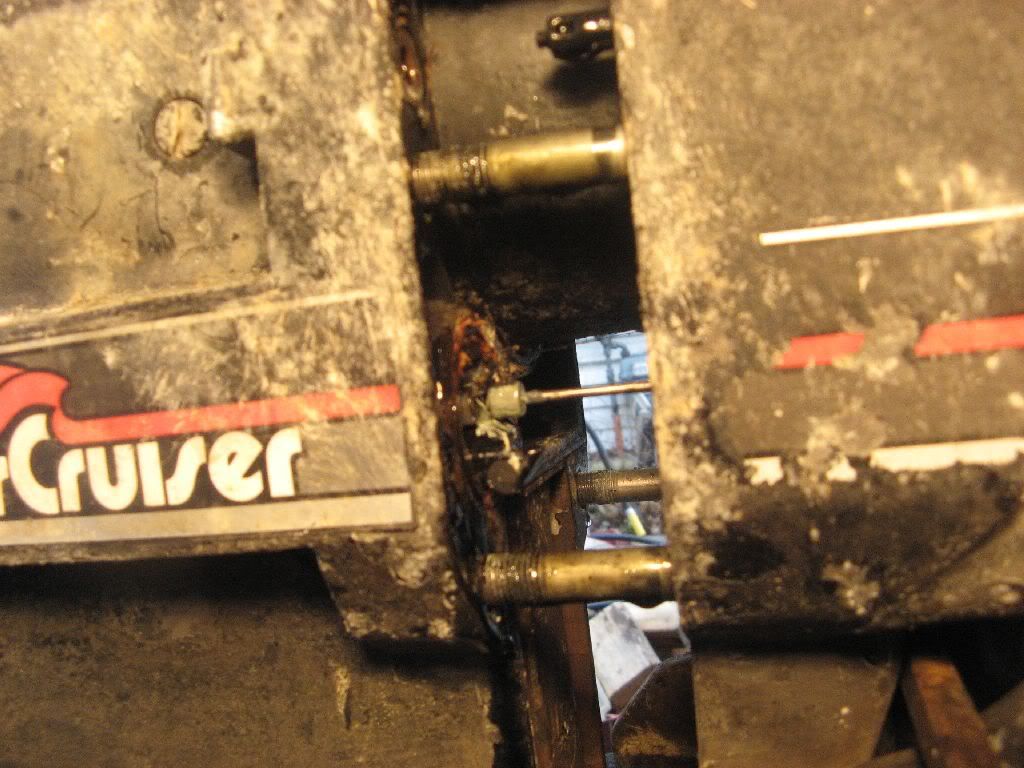
Look down the middle of the leg disconnect the speedometer tube. Use a screwdriver or small prybar for this. A bottle of WD-40 can help too.
bravo50.jpg


Finished: the upper and lower leg is completely removed from the bell housing.
bravo56.jpg
 

dubs283

Vice Admiral
Joined
Jul 27, 2005
Messages
5,322
Re: Remove Bravo III Drive

3 things i see wrong with makonnen's instructions:

1. never use a pry bar anywhere when removing your drive, just rest the skeg on a block of wood after you have removed the rear trim pin

2. with the drive trimmed all the way up, before removing any nuts or bolts, disconnect the speedo coupler - you risk breaking it otherwise

3. the block of wood used between the top cap and gimble ring to pry the drive off indicates a lack of lube/severely worn coupler, improper engine aligmnent, or the drive has not been off for service in a long time - a few strong wiggles ought to be enough the free the drive from the bellhousing with the hardware removed


and makonnen, you should replace your drive anodes, that is why you are seeing all the corrosion on your drive
 

tpenfield

Moderator
Staff member
Joined
Jul 18, 2011
Messages
18,082
Re: Remove Bravo III Drive

My outdrives just slid off once I had removed the bolts . . . had to actually catch one of them :eek:

The alignments were really good, so, probably a good indicator if your drive does not readily come off, then plan of having to adjust the alignment.

On my 'old' boat, the outdrive was tougher to remove, and I discovered some alignment issues accordingly.
 

OllieC

Chief Petty Officer
Joined
Dec 8, 2011
Messages
533
Re: Remove Bravo III Drive

Well the new boat has hit 20 hours. I would like to pull the drive, check the u-joints, alignment etc. It has always made a strange sound and I would like to make sure everything is OK back there. Any advice on pulling the drive? I have watched several utube videos and it seams simple. Any gotcha things I should be looking out for?

I made that assumption and had the Marina pull my drive (lack of driveway space, stand, a helping buddy etc.) off last year. At WOT, it seemed rough sounding to my ears.

Well, $200 later, it was nothing and they said the drive, bearing, UJoint all looked brand new. It was me not used to the sound of a WOT Bravo 3. I had them replace the gaskets seeing as they were in there.

I'm not saying don't do what you are doing by any means - just telling you my experience.

Ollie
 

makonnen

Petty Officer 2nd Class
Joined
Apr 4, 2012
Messages
184
Re: Remove Bravo III Drive

3 things i see wrong with makonnen's instructions:

1. never use a pry bar anywhere when removing your drive, just rest the skeg on a block of wood after you have removed the rear trim pin

2. with the drive trimmed all the way up, before removing any nuts or bolts, disconnect the speedo coupler - you risk breaking it otherwise

3. the block of wood used between the top cap and gimble ring to pry the drive off indicates a lack of lube/severely worn coupler, improper engine aligmnent, or the drive has not been off for service in a long time - a few strong wiggles ought to be enough the free the drive from the bellhousing with the hardware removed

and makonnen, you should replace your drive anodes, that is why you are seeing all the corrosion on your drive

1. The prybar was to hold the bellhousing up a bit so it comes out a bit straighter

2. Damned.

3. Saw it in a video.

The outdrive condition is why I'm even boating right now, it was a major bargaining point. I just got the boat.
 

Alwhite00

Master Chief Petty Officer
Joined
Apr 14, 2011
Messages
885
Re: Remove Bravo III Drive

Lots of good info to pick through.

LK
 
Top