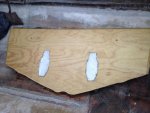
Starting new project 1973 Sea Ray 240 SRV

kcassells

Fleet Admiral
Joined
Oct 16, 2012
Messages
8,605
Anniversary date went great. Went to one of the Kohler American Club restaurants.
I am going to clamp like Frisco did.
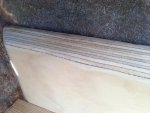
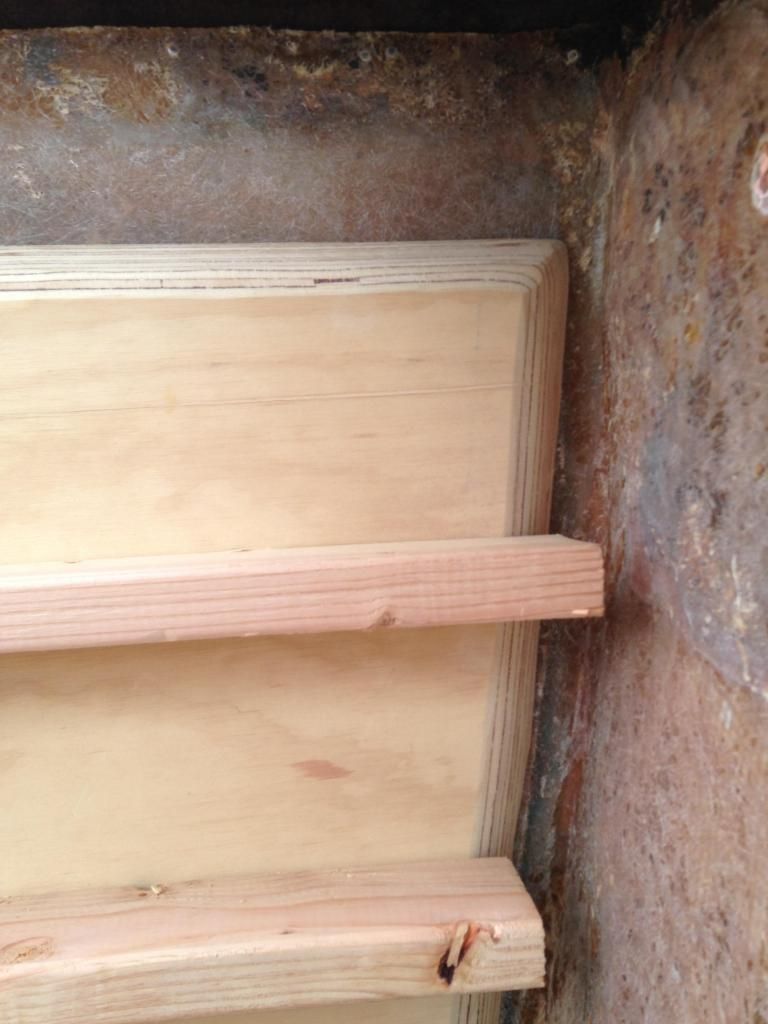
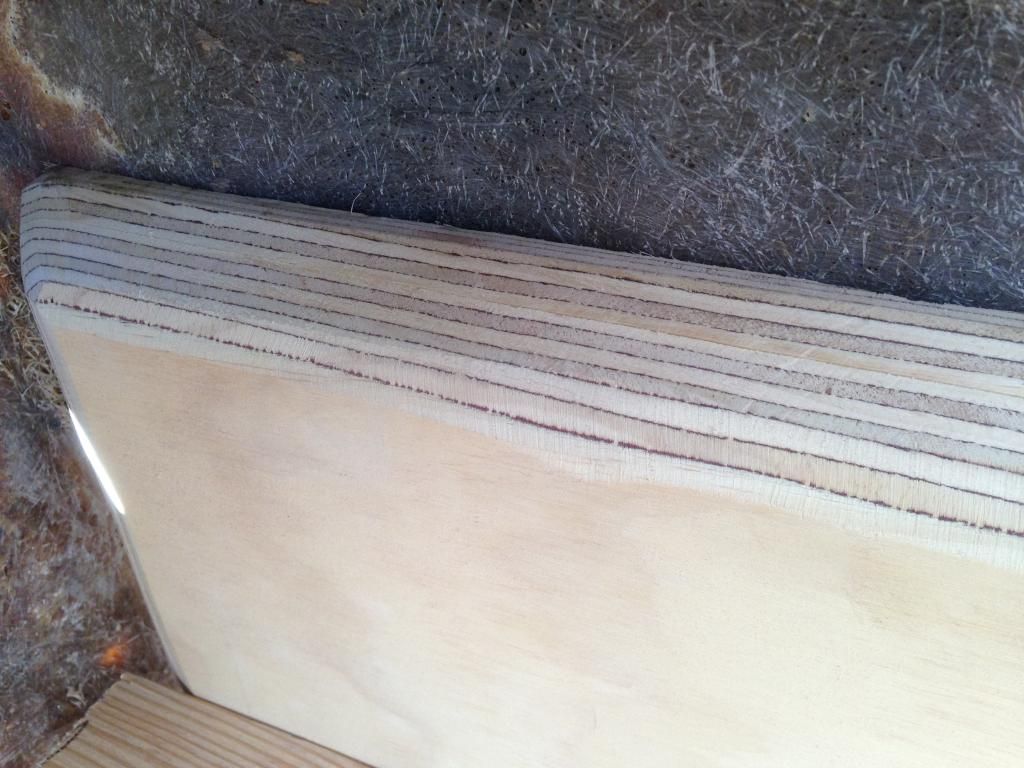
As for the tapering, the old transom went the full width of the boat with fill between the edge and the side of the hull and no tabbing that I could tell. Instead of filling in that 1.5" depth I plan on placing a 45 angle on the sides for 3/4" leaving 3/4" thickness and filling from there. The strength will come from tabbing into the sides and will reduce how much filter I am using and make it easier to get the filling all the way to the bottom. For the top I am going to taper 45 all the way down to make an easy transition to the top of the transom. When you look how the transom wood is installed in Frisco's videos for a 454 and I am running two 4 cylinders, there will be more then enough strength. I am 42" tall at the center of the transom and running the full 84" width with a double layer of 3/4" plywood. The bottom of the transom at the hull will have no taper, will just be filled in with a filet like Frisco did.

Well LaTiDA for you two! Just went to the website and it sure does look like one great special place to revive wedding vows. I'm sure it was nice.
Yup Frisco boater set up is cool and works pretty good. I have also heard whichever way you go to make some rear holes in the transom fiberglass that lets air out and also lets you know the pb is down there. Just something I heard. Alot of guys don't want to do it cause then they have to patch it up later. Your call. I wish I did that when I installed my transom. Hmm come to think of it since I need to fix some holes back there maybe I will do alittle drilling for my own pc of mind.
Also I understand your concept with the taperring. Seems like a good plan. Now Go put your feet up and rest that back for the next adventure. lol!
 

sheboyganjohn

Senior Chief Petty Officer
Joined
Aug 2, 2005
Messages
753
It was very nice until I got the check, but I guess we can do that every 20 years.

As for the holes in the transom, I have that covered. There are less holes in swiss cheese then the transom of my boat. There are holes from multiple transducer mounts over the years, trim tabs, swim platform, cooler drain holes and holes I have no idea why you would put them there.. I started counting one day and gave up when I hit 20 and was not half way across the transom.

Back cracker tomorrow if I can get in. Tried beer, margaritas, and now trying wine tonight.
 

sheboyganjohn

Senior Chief Petty Officer
Joined
Aug 2, 2005
Messages
753
Got into the back cracker today, feeling good, just a bit sore, but no pain.

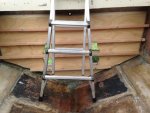
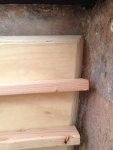
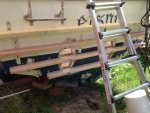
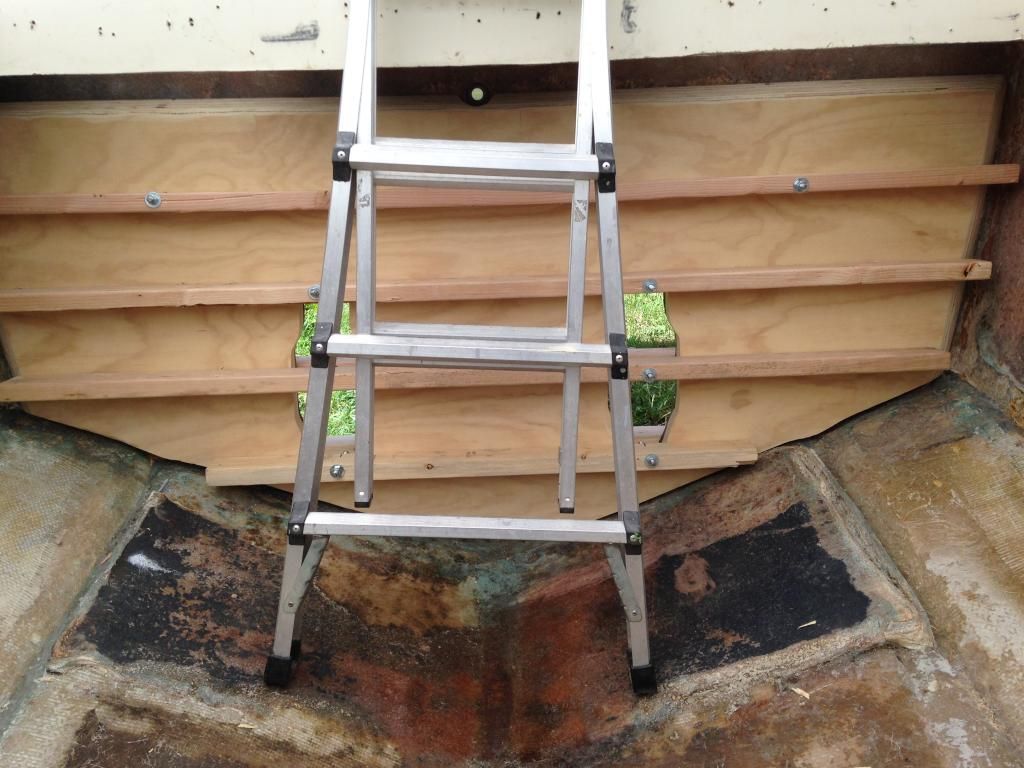
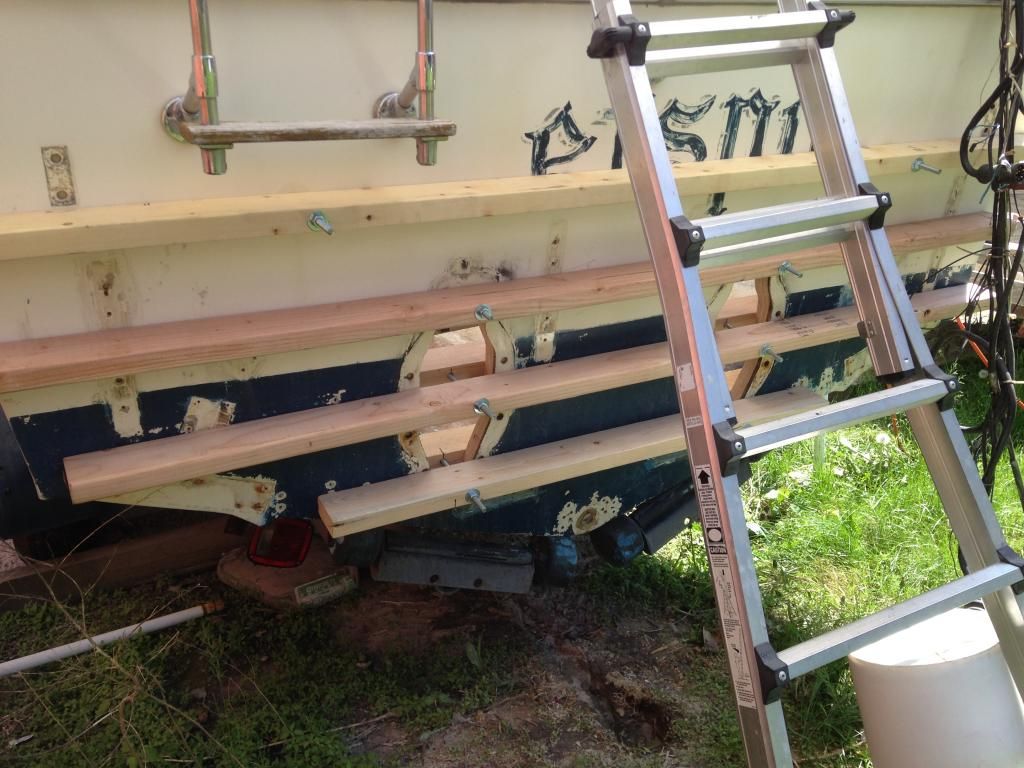
Did the taper job on the transom, picked up glassing supplies (cups, gloves, rollers, brushes etc) and make the clamps. Transom has been dry fitted with the clamps. If all goes well I will get the layer of CSM on the inside tonight and get the transom glued in tomorrow. Here are the pics from today along with close ups of the taper.

IMG_0327.JPG IMG_0328.JPG IMG_0329.JPG IMG_0330.JPG
 
Last edited:

kcassells

Fleet Admiral
Joined
Oct 16, 2012
Messages
8,605
Got into the back cracker today, feeling good, just a bit sore, but no pain.
Did the taper job on the transom, picked up glassing supplies (cups, gloves, rollers, brushes etc) and make the clamps. Transom has been dry fitted with the clamps. If all goes well I will get the layer of CSM on the inside tonight and get the transom glued in tomorrow. Here are the pics from today along with close ups of the taper.


Well Damn....that sure look s pretty!! Just a quick couple of questions;

-Of course I know you're gonna seal the transom with epoxy resin or poly, don't remember what your using.
-Are you gonna throw a sheet of glass on the new transom before you install it, front and back? Much more strength. Could be wrong so maybe someone else should chirp in.
-Be prepared for the squeeze out when you tighten the clamps to make partial or full fillets.
-I see some of the old mildew so bleach it out clean or use that other stuff you referenced I can't pronounce. Squeeze out will blow yoyr mind so you need it cleaned to adhere.
-Get someone to help you. It's heavy, sloppy and fast, depnding on the pb, temp. mix, stress + your back.
Can't wait for the after pics. Looks great!
 

kcassells

Fleet Admiral
Joined
Oct 16, 2012
Messages
8,605
Got into the back cracker today, feeling good, just a bit sore, but no pain. Did the taper job on the transom, picked up glassing supplies (cups, gloves, rollers, brushes etc) and make the clamps. Transom has been dry fitted with the clamps. If all goes well I will get the layer of CSM on the inside tonight and get the transom glued in tomorrow. Here are the pics from today along with close ups of the taper.
Well Damn....that sure look s pretty!! Just a quick couple of questions; -Of course I know you're gonna seal the transom with epoxy resin or poly, don't remember what your using. -Are you gonna throw a sheet of glass on the new transom before you install it, front and back? Much more strength. Could be wrong so maybe someone else should chirp in. -Be prepared for the squeeze out when you tighten the clamps to make partial or full fillets. -I see some of the old mildew so bleach it out clean or use that other stuff you referenced I can't pronounce. Squeeze out will blow yoyr mind so you need it cleaned to adhere. -Get someone to help you. It's heavy, sloppy and fast, depnding on the pb, temp. mix, stress + your back. Can't wait for the after pics. Looks great!
 

kcassells

Fleet Admiral
Joined
Oct 16, 2012
Messages
8,605
Just a quickie..put some tape, or rub/wax anywhere on the rear/inside transom that you don't want to have to grind out later.
 

kcassells

Fleet Admiral
Joined
Oct 16, 2012
Messages
8,605
Just a quickie..put some tape, or rub/wax anywhere on the rear/inside /outside transom that you don't want to have to grind out later.
 

sheboyganjohn

Senior Chief Petty Officer
Joined
Aug 2, 2005
Messages
753
Well Damn....that sure look s pretty!! Just a quick couple of questions; -Of course I know you're gonna seal the transom with epoxy resin or poly, don't remember what your using. -Are you gonna throw a sheet of glass on the new transom before you install it, front and back? Much more strength. Could be wrong so maybe someone else should chirp in. -Be prepared for the squeeze out when you tighten the clamps to make partial or full fillets. -I see some of the old mildew so bleach it out clean or use that other stuff you referenced I can't pronounce. Squeeze out will blow yoyr mind so you need it cleaned to adhere. -Get someone to help you. It's heavy, sloppy and fast, depnding on the pb, temp. mix, stress + your back. Can't wait for the after pics. Looks great!

I don't know what is going on with what looks like mildew. I used both an acid sanitizer that I use for sanitizing my beer bottles (home brew) mixed 10x strength and a round of warm bleach water mixed at 20%. Scrubbed the snot out of the transom both times. Let it soak for at least 15 minutes each time and nothing came off. I use to have a camper and had no issue cleaning mildew of the awning an such.so I have no idea what the crap is.

I'm going with poly this time. Already put a layer of glass on the outside (picture below). I am going to leave the glass off the inside but will mix some chopped strand into the PB I use for the adhesive. Plan on putting a coating of resin on the wood just to fill in the open grain, put a layer of PB on the transom and trowel smooth, then put a laver of PB on the transom with a notched tile trowel. Bolt it on then do all the joints around the side.
 

sheboyganjohn

Senior Chief Petty Officer
Joined
Aug 2, 2005
Messages
753
Transom with a layer of CSM on it. First time working with poly, I used epoxy for the dory build. Not too bad to work with but does not taste too well. Splashed a bit when pouring and got a drop in the corner of the mouth. At least it was not catalyzed.
IMG_0331.JPG
 
Last edited:

sheboyganjohn

Senior Chief Petty Officer
Joined
Aug 2, 2005
Messages
753
Looks Good to Go!

Well not quite. Did the transom last night around 7pm with a 1% mix. Temps dropped to 47 overnight. This morning it was still real tacky and white dots everywhere. When I would push down on the dots you could see the glass press down and lift up again. Ended up mixing another 500 ml at just over 2%. Was able to get all the white spots out. Hopefully that will kick off. Only suppose to hit 60 here today. Why do I get good grinding weather when I want to glass. I will just have to see. It usually gets hotter under the canopy then the air temp. If I can get to the mid 60's I may go for it, assuming the outer skin on the transom sets up.
 

sheboyganjohn

Senior Chief Petty Officer
Joined
Aug 2, 2005
Messages
753
Everything cooperated and I was able to get the transom in this afternoon. Was mixing a liter of resin with a liter of cabosil and a half liter of chopped strand. Seemed to work well. I lost count but I think it was 4 liters of resin used, not counting the half liter for the wet-out coat on the wood. No new pictures, looks just like the test clamping above but with resin oozing out of the holes in the transom.

Instead of waxing the boards, I used packing tape on them. I'm not worried about a mess on the outside of the transom, I have a lot of work to do on it. Cleaning some hardened resin off of it is the least of my worries.

And a quick comment for the ones that say its America, stop this metric crap, its a lot easier to figure out 1% of 1000 ml then 1% of a quart.
 

kcassells

Fleet Admiral
Joined
Oct 16, 2012
Messages
8,605
Nice progress SheBoy! Just been still cutting, fitting and re-fitting all the wood in my boat. Gonna pull the gas tank out from under the tarp today and give her a looksy at whats to do there.
 

sheboyganjohn

Senior Chief Petty Officer
Joined
Aug 2, 2005
Messages
753
Put the filler layer of the filet around the outer rim of the transom. I find it easier to put a filler layer in and then come back after it sets up and put the nice rounded filet on. Its off to the in-laws for fathers day. I'll put the rounded filet on tomorrow and if it sets fast enough I will put the first layer of 1208 tabbing on.
 

kcassells

Fleet Admiral
Joined
Oct 16, 2012
Messages
8,605
Cool...Ended up cooking dinner for Fathers Day, cause I can. Pub burgers, Amish mac salad and most of all..Southern style hash browns. First ime in a long time I did that from scratch. Almost all gone.
Ont eh other note I pulled out the gas tank and founf alot of pitting, I grounded it out witha palm sander. Found some new duhickie stuff I'm gonna use to fill the pits. Something called HTS-2000, new technologies or something like that. It's an aluminum brazing rod package. Looking for ward to the use. If not looks like a new tank. 80 gals..ouch.
 

sheboyganjohn

Senior Chief Petty Officer
Joined
Aug 2, 2005
Messages
753
That is a good sounding meal. Home made hash browns sounds real good. I think I will have to add that to the menu for this week.

I feel your pain with the fuel tank. Mine is also 80 gallons and does not look that good on the outside (rusty and crusty) but the only factory made ones that have a chance of fitting in the spot are almost a grand. Way out of my budget.
 

kcassells

Fleet Admiral
Joined
Oct 16, 2012
Messages
8,605
Sanded the ole hog {gas tank 80 gals, aluminum} down for the last two days. Filled er up with soapy water to remove fuelish stuff. Let's see...80 gals water x 8.33 # per water @ 700 lbs on my work spot stands and ply. Well was looking good most of the day. Crawled under the table to get a tool...Guess what happened... Yup, collapsed at the same dam time I was under it.
Went into ninja/fear reaction and jumped out from under the collapse in milli/less tha milli seconds. Damn says I to the world! And I will admit I screamed like a *****.
Crappy scrape on my knee and a smashed finger. Very very lucky.
Drained her out, back on the table and continued sanding out the pits again tonight. Looking forward to the stuff I mentioned earlier.
Still alive, BTY.... Hash Browns didn't last the day. yum yum says I!
 

sheboyganjohn

Senior Chief Petty Officer
Joined
Aug 2, 2005
Messages
753
OK WTF?!?!?! I had posted a reply to you yesterday, reloaded the thread to make sure it was there, now it is gone.

Yes you were lucky. Murphy struck you good. The old law, anything heavy held up by something will give out at the worst time. That is why I hate climbing under anything, even a car up on jack stands.

With the rain we have been having, I am holding off on anymore glass work until at least Friday. .
 

kcassells

Fleet Admiral
Joined
Oct 16, 2012
Messages
8,605
Yup site is weird. I found a post of mine in another complete topic/posting by someone else. Catch up to you later.
 

Scott Danforth

Grumpy Vintage Moderator still playing with boats
Staff member
Joined
Jul 23, 2011
Messages
47,584
guys, attempting to sand the pits out of an aluminum tank is not smart, attempting to alumi-braze is even less smart. it reduces the strength greatly due to the annealing of the material. buy a new tank.

Plenty of custom tank folks. sheboyganjohn, if you need someone to make you an aluminum tank in WI, check with valley radiator up in De Pere. Tell Mike I sent you. He will treat you right.
 
Top