Mid 1960's OMC Evinrude gull-wing, a work in progress.

Quantumn

Petty Officer 2nd Class
Joined
Jul 17, 2012
Messages
142
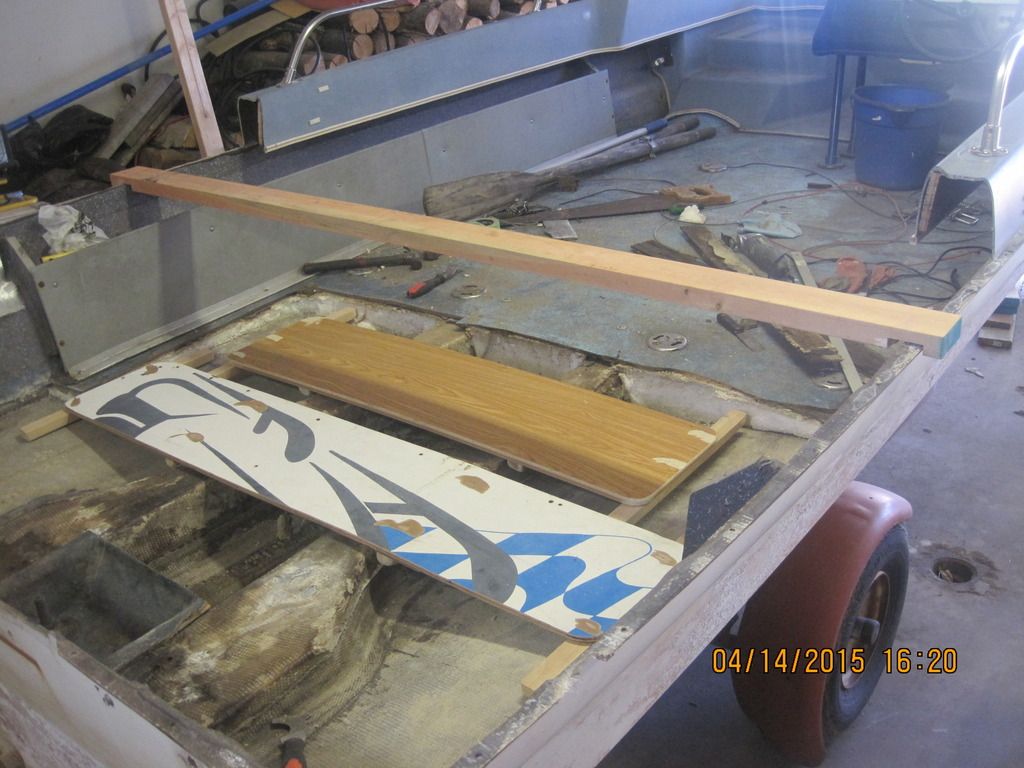
So a quick question, the cross-braces which are not attached to anything, just laying in place supported by the foam, sort of makes me nervous:


My thoughts are that they should at least reach to the far sides of the hull and be secured to either the stringers or floor. Should I be concerned about this?
 

Mark72233

Ensign
Joined
Jul 11, 2014
Messages
926
Quantumn I am not seeing any pictures don't know if its me or on your end. Someone once told me that if you don't copy and the pictures correctly from photobucket (If that is what you are using) your posts wont have pictures. On your computer you can see the pictures in the post but we cant.
 

Quantumn

Petty Officer 2nd Class
Joined
Jul 17, 2012
Messages
142
Disregard that it was a glitch on my end. Now I can see the pictures. :crazy:
You had me jumping there for a second, glad the pictures are posting. Thanks Mark72/233 for taking a look. :spy: Almost done with the stands/supports. Pictures to follow soon.
 

Quantumn

Petty Officer 2nd Class
Joined
Jul 17, 2012
Messages
142
So I was able today to make some make shift braces and support platforms. Nothing special, but helps in moving around without punching a hole through with my fat feet, hehe.


The cross brace 2x4 on top is to help keep the hull from spreading, I think, lol. Works in my mind at least, lets see if theory agrees.
 

sphelps

Supreme Mariner
Joined
Nov 16, 2011
Messages
11,436
Making good progress ! make sure ya put plenty of extra support under the hull like bunk boards shored up to help keep it's shape ...
 

Quantumn

Petty Officer 2nd Class
Joined
Jul 17, 2012
Messages
142
Making good progress ! make sure ya put plenty of extra support under the hull like bunk boards shored up to help keep it's shape ...
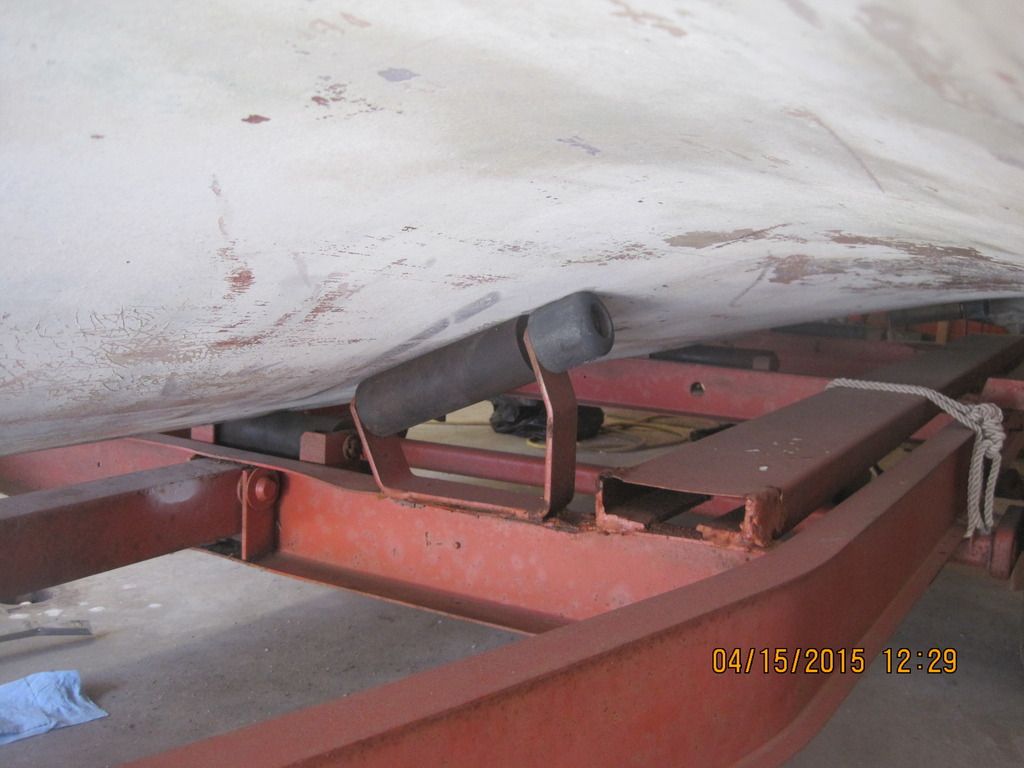
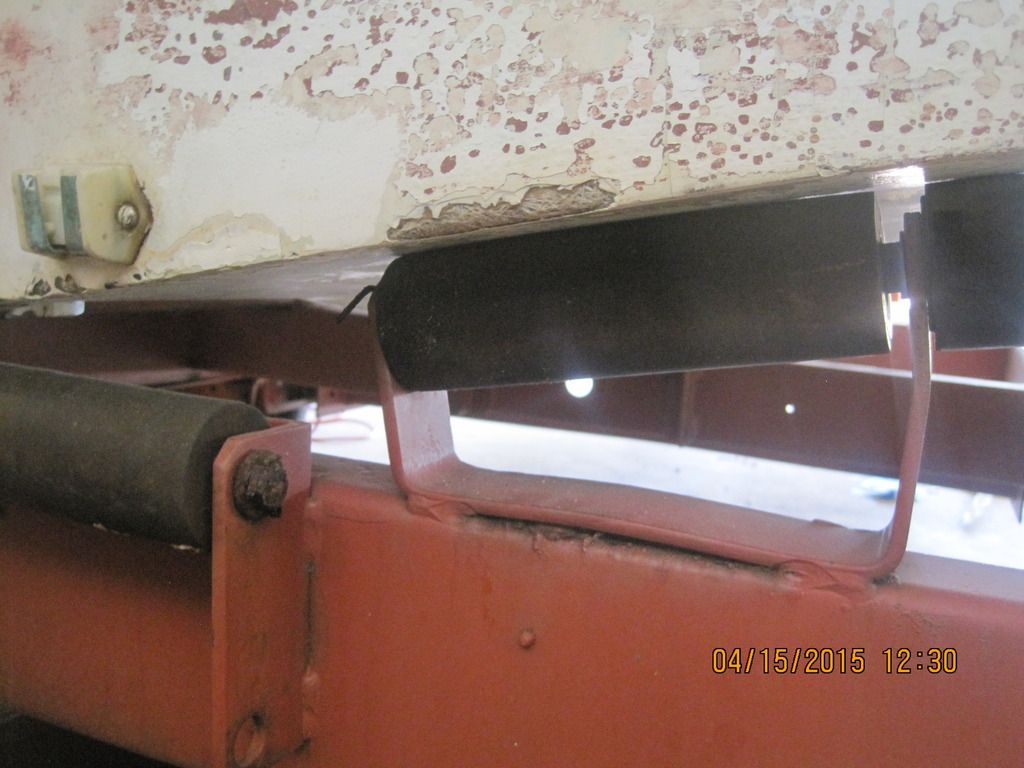
Thanks Sphelps for the insight. The last thing we would want is for it to lose its shape. A couple things I currently have set up are these:
Cross member 2X4 holding the top from spreading:

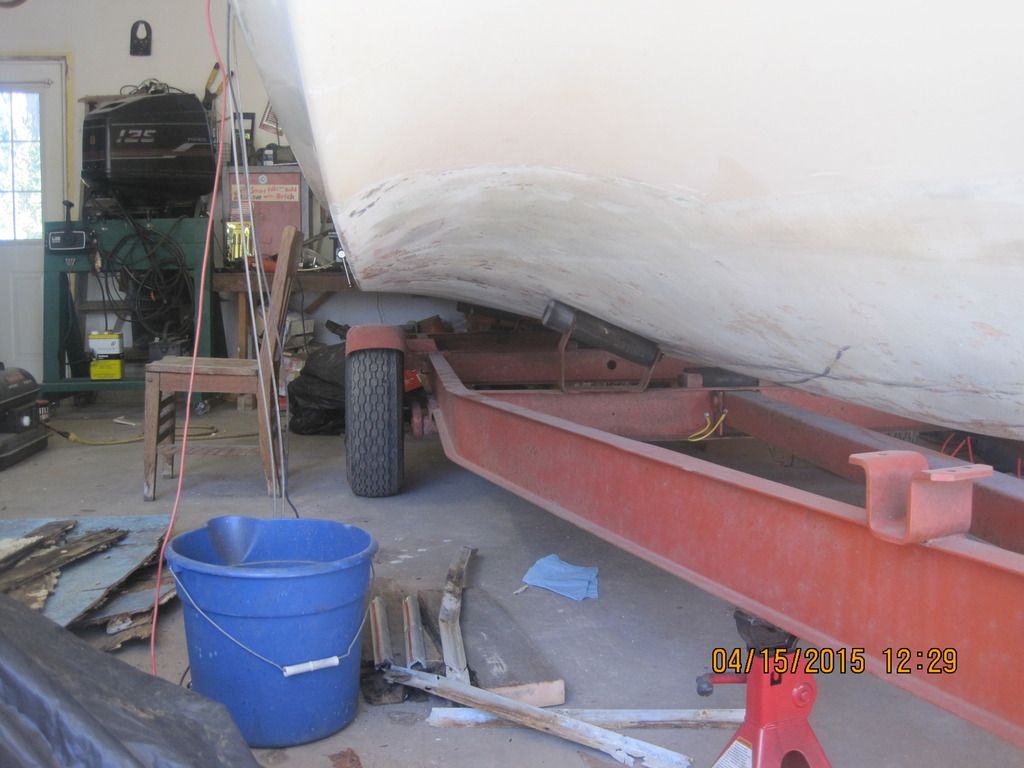
Also, the trailer cradles the hull rather well, it was actually built specifically for this very vessel. During 1964, evinrude manufactured only 3 boat designs, and also three trailers for each boat design.


And I have to admit, we had a casualty in the process. Nothing that duct tape couldn't fix though, as Red Green said, "If the lady's don't find you handsome, at least they will find you handy!"


UConnMRB

Petty Officer 2nd Class
Joined
Jul 18, 2014
Messages
119
Can you please slow down on your restore...you are putting me to shame..just kidding...love the boat, great work, I will be tagging along.
 

Quantumn

Petty Officer 2nd Class
Joined
Jul 17, 2012
Messages
142
Can you please slow down on your restore...you are putting me to shame..just kidding...love the boat, great work, I will be tagging along.
Lol, UConnMRB, I thought I was going slow. Every free moment I have, my mind tells me to keep it up, the reward will be wonderful. Welcome aboard and feel free to chime in with some thoughts. :welcome:
 

Woodonglass

Supreme Mariner
Joined
Dec 29, 2009
Messages
25,924
Those big ole' rectangular glass covered stingers lead me to believe that they are probably either hollow or foam cored. Have you drilled into them yet to see what's inside? You may luck out and NOT have to do anything to them.Don't worry to much about the cross pieces. Time will tell. They're mainly for attaching the deck. The foam and stringers do most of the support work. Have you marked the sides of the hull where the origingal deck was. It helps when you go beck with the new one.
 

Quantumn

Petty Officer 2nd Class
Joined
Jul 17, 2012
Messages
142
This here is a picture of the front part of the stringer. It is 9" tall and 5" wide. Real beefy if I may add. I have been wondering if they were filled with foam and if so, I am sure it will need to be removed as well due to waterlogging. I'm just having issues finding my hole saw kit, lol.


Thanks for the advice WOG of marking where the original floor met with the hull sides, I have left a 3" lip of the original floor just for that purpose.
 

Woodonglass

Supreme Mariner
Joined
Dec 29, 2009
Messages
25,924
If they are foam filled and water logged, you can cut the tops off, remove the foam and then just recover the tops. The foam core is not needed. We can discuss further when the time comes.
 

Quantumn

Petty Officer 2nd Class
Joined
Jul 17, 2012
Messages
142
If they are foam filled and water logged, you can cut the tops off, remove the foam and then just recover the tops. The foam core is not needed. We can discuss further when the time comes.
Sounds like a plan, good sir. I'm hoping to get into them by weeks end. Still working on the front 1/3 demolish work.
 

gm280

Supreme Mariner
Joined
Jun 26, 2011
Messages
14,597
Quantumn, I just finished reading through all your thread and I have to say, I think you have this under total control. I like your attitude and I think you are doing a great job. I will be tagging along as well if that is okay. I'm presently doing a rehab tri-hull project on here as well and I am seeing many of the same rotted wood and soggy foam pictures with yours. I removed a ton of weight ( well not really a ton but lots) with my soaked foam as well. I think I'll be watching your progress because I know what you're dealing with presently and I like to see other ideas and great work.... :thumb:
 

Quantumn

Petty Officer 2nd Class
Joined
Jul 17, 2012
Messages
142
Quantumn, I just finished reading through all your thread and I have to say, I think you have this under total control. I like your attitude and I think you are doing a great job. I will be tagging along as well if that is okay. I'm presently doing a rehab tri-hull project on here as well and I am seeing many of the same rotted wood and soggy foam pictures with yours. I removed a ton of weight ( well not really a ton but lots) with my soaked foam as well. I think I'll be watching your progress because I know what you're dealing with presently and I like to see other ideas and great work.... :thumb:
Welcome aboard GM280 :welcome:. Always a pleasure to have other IBoaters to offer suggestions and praise. If it was not for the knowledge of our members and their desire to help I wouldn't even be here. I have been following your thread as well, and I must admit, if I can do half the job your doing, I will be fortunate. Keep plugging away sir and lets get these classic tri-hull/gull-wings seabound. :fish2:
 

gm280

Supreme Mariner
Joined
Jun 26, 2011
Messages
14,597
Welcome aboard GM280 :welcome:. Always a pleasure to have other IBoaters to offer suggestions and praise. If it was not for the knowledge of our members and their desire to help I wouldn't even be here. I have been following your thread as well, and I must admit, if I can do half the job your doing, I will be fortunate. Keep plugging away sir and lets get these classic tri-hull/gull-wings seabound. :fish2:

Thanks for welcoming me aboard. I think you're doing very good work. I see so much in common between our project boats. So I will be watching your progress closely as well for pointers and interesting ideas. :thumb:
 

Quantumn

Petty Officer 2nd Class
Joined
Jul 17, 2012
Messages
142
Since last report, not much progress, unless you call brainstorming/dreaming/staring progress. I have thought of a plan to support the console once I remove the front flooring/foam. K.I.S.S. (keep it simple dupid). Yesterday consisted of yard work, which was in need of much attention. Today I hope to move forward on the gull-wing and give some updates, stay tuned everyone. (Who let the dog's out? Woof Woof) :dog:
 

Quantumn

Petty Officer 2nd Class
Joined
Jul 17, 2012
Messages
142
Well, seeing as I have a day off from work, finally, its time to get busy. Need more power!!!


Upon removing the majority of the floor structure, it was imperative to fabricate a temp floor to support my weight. Working on getting the last of the foam out now, which should be interesting enough.


Quantumn

Petty Officer 2nd Class
Joined
Jul 17, 2012
Messages
142
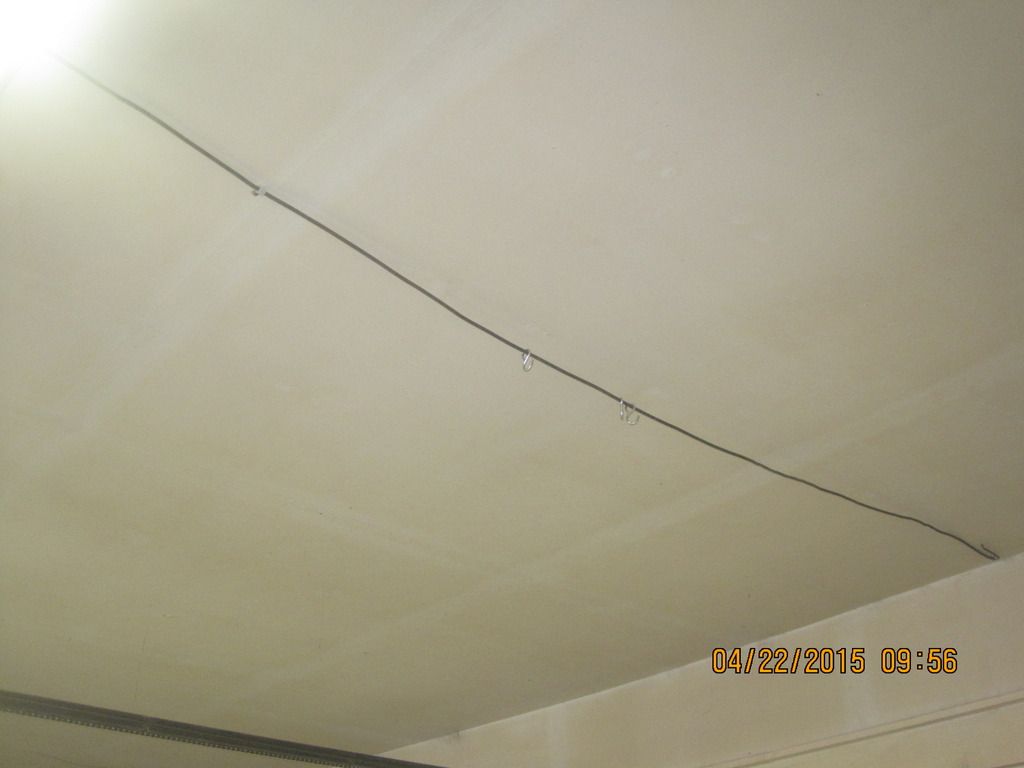
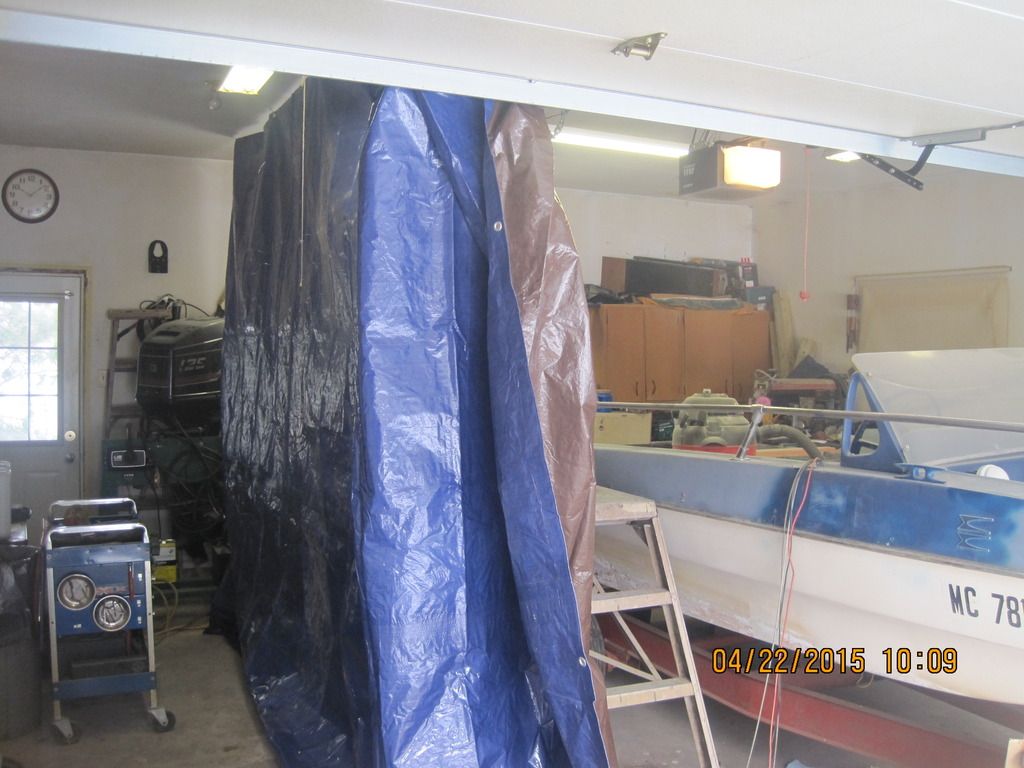
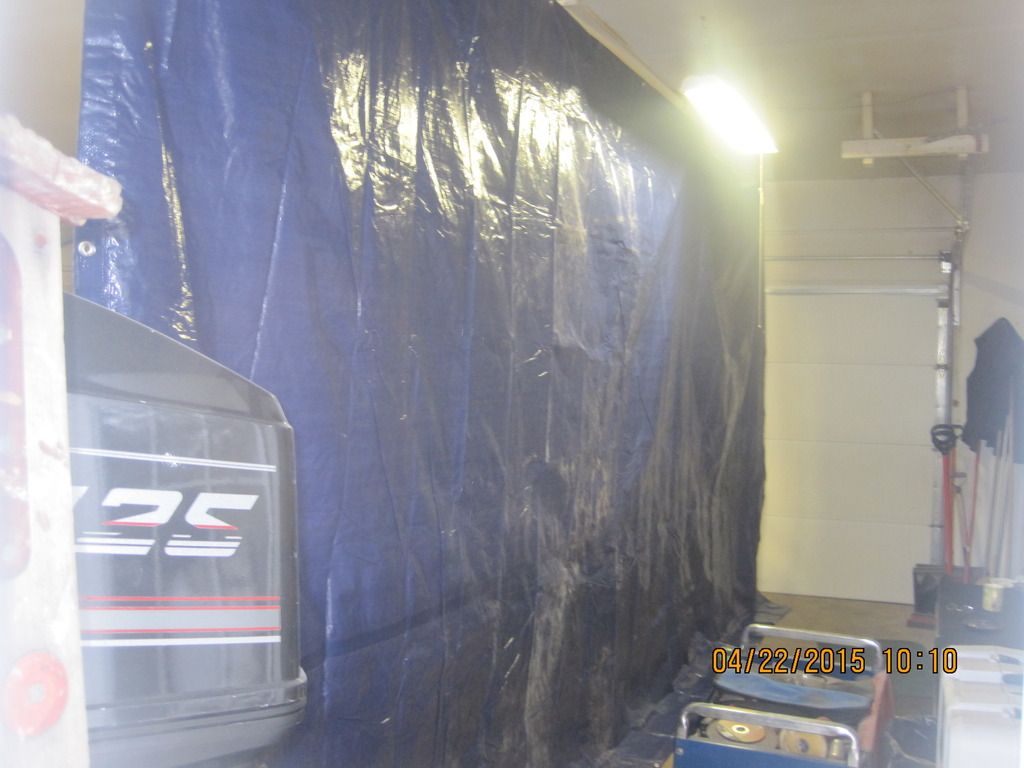
A couple days ago, I did some preliminary grinding, and immediately decided I needed to keep Mamma happy. As everyone knows that has been through this process, the dust will go everywhere. 10 minutes of grinding produced some artifacts (dust) in the house, :ballchain: was not happy. So I decided to make a temporary "clean room". Nothing fancy but should help to keep the dust down. Just a simple 10' x 20' tarp suspended from the ceiling, also able to slide where the garage door opens. Hopefully this keeps me in Mamma's good graces. :cheer2:


gm280

Supreme Mariner
Joined
Jun 26, 2011
Messages
14,597
Oh yeah, that grinding dust goes everywhere. I did all my initial hull grinding outside because I could see it was going to get intense. I honestly hope your are PPE'ed up with a respirator and eye protection as a minimum. I used Tyvek total cover suits and gloves and a 3M 6700 series respirator and goggles for the eyes, and the dust and crap still find its way into your skin. And it looked like it snow all around the hull for about 50 yards or so. So anything you can install to help control that dust is a blessing indeed. If you use a shop vac to clean up that junk, you will have to clean the filters quite often too. I seen somebody take a PVC pipe and a 90 degree elbow and install it inside their shop vac container so all the dust has to go through a little water in the bottom of their vacuum cleaner to help keep the filter clean. I haven't tried it, but it look promising. I do like your temporary flooring too. I had to do something very similar because I was causing more problems with the hull then solving. Keep up the work, I'll be watching... :thumb:
 
Top