Watermann
Starmada Splash of the Year 2014
- Joined
- Jan 12, 2013
- Messages
- 13,753
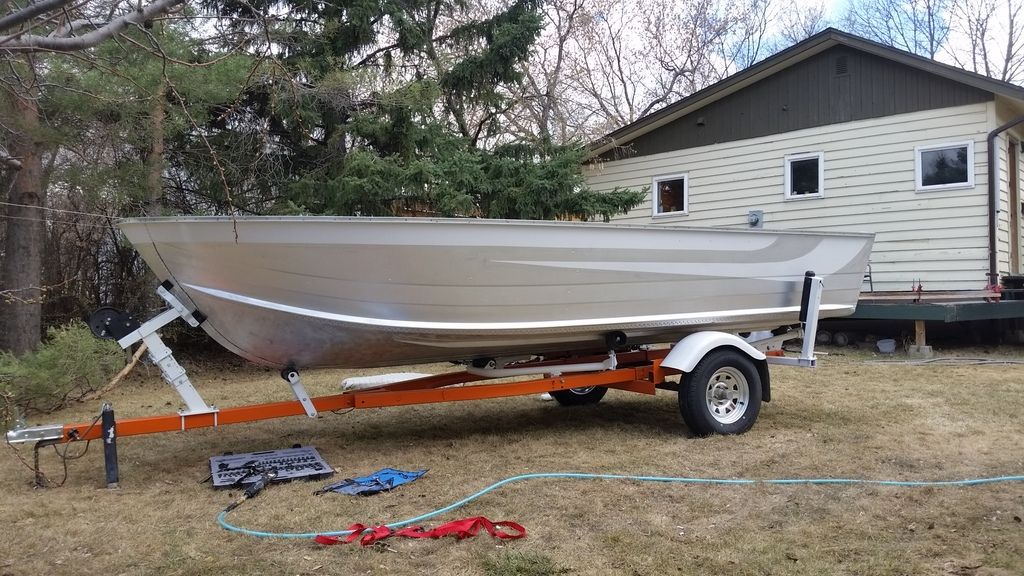
Nice work, I do enjoy seeing the SC swoosh. Those lines would pop right out if you were to edge them with a darker pin stripe. It would also clean up any imperfections or bleed out on the lines. CJ put some pin striping on his Chief's dividing line and it looked pretty good.
Looks like your on track for some fun on the water this summer! :thumb:
Looks like your on track for some fun on the water this summer! :thumb: