'83 Lund "Sirius" total gut and rebuild

sphelps

Supreme Mariner
Joined
Nov 16, 2011
Messages
11,435
Yep time to buy some stock at Sharpie ! ;)
As far as the hook, in my uneducated assumption the only ones I would worry about are the last 4 or 5 ft of the stern area . While on plane thats the only part that will be in the water . You may want to call Lund and see if they designed it that way ..
 

Corjen1

Lieutenant Junior Grade
Joined
Aug 24, 2013
Messages
1,237
Nurseman......here is the quote WoG gave me when I started the bottom of mine.....

"I spent a LOT of time DETAILING the bottom of my Hull. 15 mins. after splashing the boat the first time I already scratch the hull and then when loading it on the trailer the first time totally destroyed the keel again!!! Morale of the story, Don't FUSS over the bottom of the hull TOO MUCH! IT"s NOT a show boat and ONLY YOU will know about the little blemishes that aren't perfect!!!

PS. I KNOW you will ignore everything I just said!!!! AND...Thats OK."

Someone else told me the the fish wont be saying " WOW....look at the bottom of that boat" !!!

I did my best to listen, but I have to say I failed to listen as well. I stressed and worried sanded and filled, sanded and filled and it came out beautifully, then when I put it on the trailer, scratched the hell out of the bottom...my point is, the fish will not care at all.....if you catch someone under your boat criticizing your work, kick them in the shin and tell them to get the heck away from your boat!!! Fix the things that need to be fix and try to remember that you are not painting the sistine chapel on the bottom of your boat.

Im sure you wont be able to help yourself but try to keep this in the back of your mind when you get to your 8th or 9th round of filling and sanding

Everything looks great by the way....
 

Woodonglass

Supreme Mariner
Joined
Dec 29, 2009
Messages
25,924
Anything 1/4" or less is not gunna matter much Grind/Sand her down with 40 grit, mix up some fairing material using resin, bubbles and a bit of cabosil and make it just a bit thicker than ketchup and use a 12" plastic knife to spread it out on the low spots. It'll be like NEW and smooth as a baby's bottom when you're done. And like Cordell says. After the first outing or so, it'll be a moot point anyhow!!!:eek::D;) You shoulda been a surveyor!!!
 

Tnstratofam

Commander
Joined
Aug 18, 2013
Messages
2,679
Thank you for your help to those in need. We have so much here we take for granted. We forget that we should share our skills not only with our neighbors close at hand, but also with those abroad. Thank you again.

Now about your flip. In the words of my favorite Star Wars character " Impressive! Most Impressive! " Like Corjen stated above even though it is hard not to try to make the whole boat beautiful, the bottom is gonna get scared through normal use. So I'd be cautious not to spend a lot of valuable time and effort trying to make it perfect. About the hook. I'll let more qualified people tackle that question. The boat is looking great by the way.
 

nurseman

Lieutenant Junior Grade
Joined
Jun 2, 2013
Messages
1,045
Thanks for the complements and the good advice about the hull everyone!

Do the hollow spots relate or align with the rollers on the trailer? if so, then that instantly converts me to bunks on my trailer!
Good to have you back, keep up the excellent work.
Greetings from Oz.:cool:

Yea, the rollers sat right in the hollow spots. Don't know if they caused the problem or not, but I am converting my trailer to bunks anyway.

Nurseman......here is the quote WoG gave me when I started the bottom of mine.....

"I spent a LOT of time DETAILING the bottom of my Hull. 15 mins. after splashing the boat the first time I already scratch the hull and then when loading it on the trailer the first time totally destroyed the keel again!!! Morale of the story, Don't FUSS over the bottom of the hull TOO MUCH! IT"s NOT a show boat and ONLY YOU will know about the little blemishes that aren't perfect!!!

PS. I KNOW you will ignore everything I just said!!!! AND...Thats OK."

Someone else told me the the fish wont be saying " WOW....look at the bottom of that boat" !!!

I did my best to listen, but I have to say I failed to listen as well. I stressed and worried sanded and filled, sanded and filled and it came out beautifully, then when I put it on the trailer, scratched the hell out of the bottom...my point is, the fish will not care at all.....if you catch someone under your boat criticizing your work, kick them in the shin and tell them to get the heck away from your boat!!! Fix the things that need to be fix and try to remember that you are not painting the sistine chapel on the bottom of your boat.

Im sure you wont be able to help yourself but try to keep this in the back of your mind when you get to your 8th or 9th round of filling and sanding

Everything looks great by the way....

I told myself that when I flipped her, that I would not obsess with trying to make it perfect...but there is always that one spot that needs a touch more sanding.:lol:​


Anything 1/4" or less is not gunna matter much Grind/Sand her down with 40 grit, mix up some fairing material using resin, bubbles and a bit of cabosil and make it just a bit thicker than ketchup and use a 12" plastic knife to spread it out on the low spots.
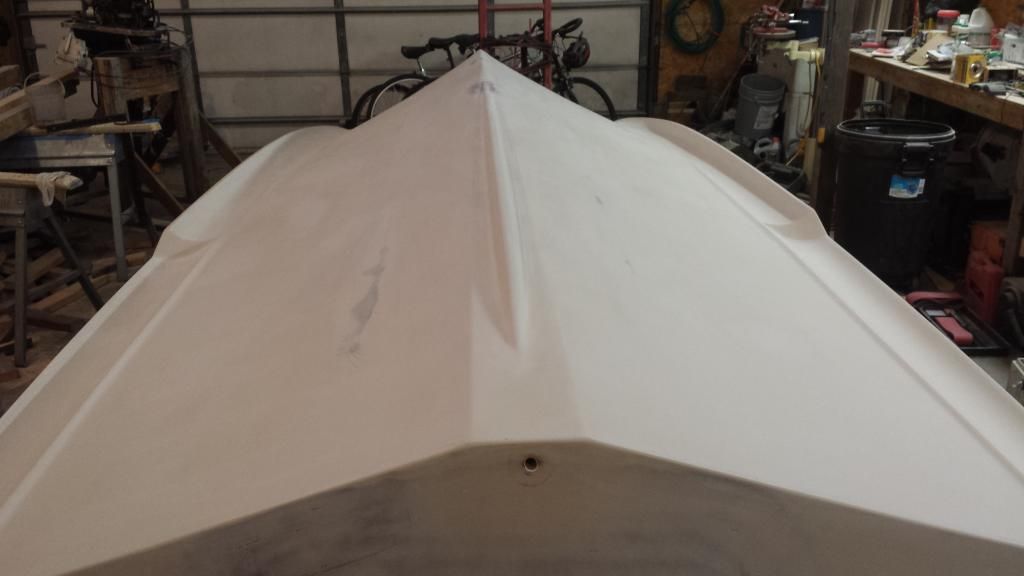
Thanks WoG, that is what I am working on.
 

nurseman

Lieutenant Junior Grade
Joined
Jun 2, 2013
Messages
1,045
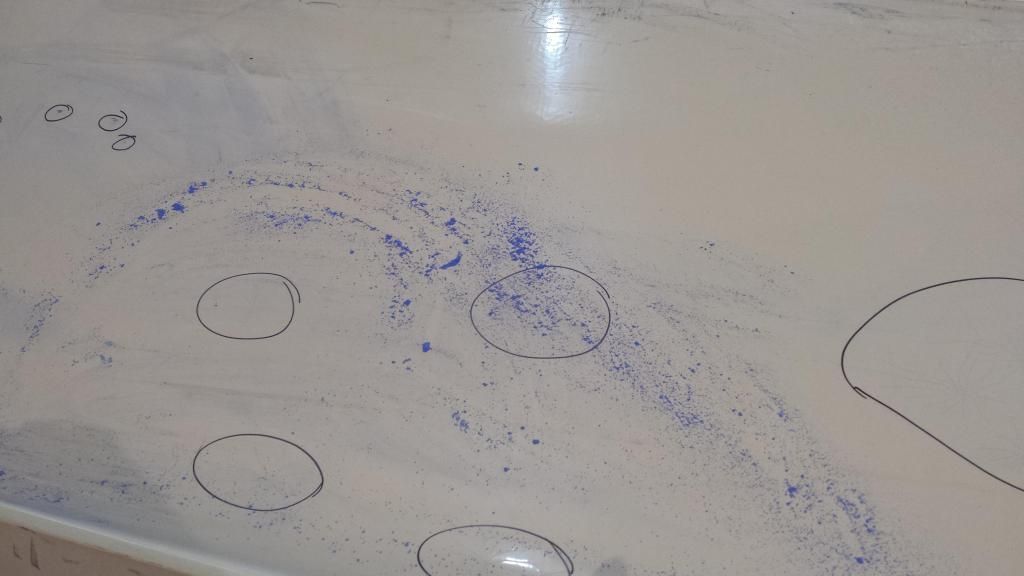
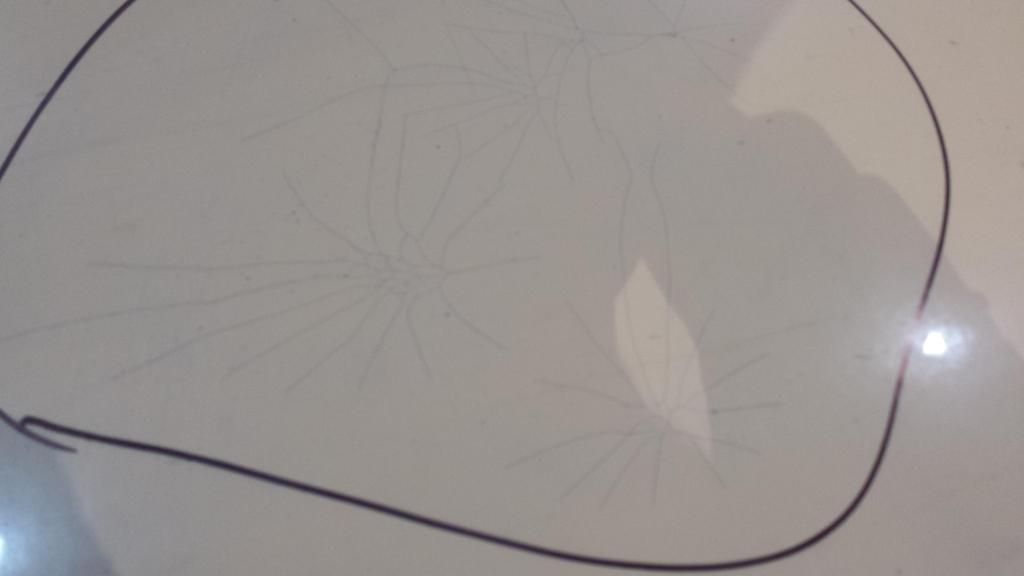
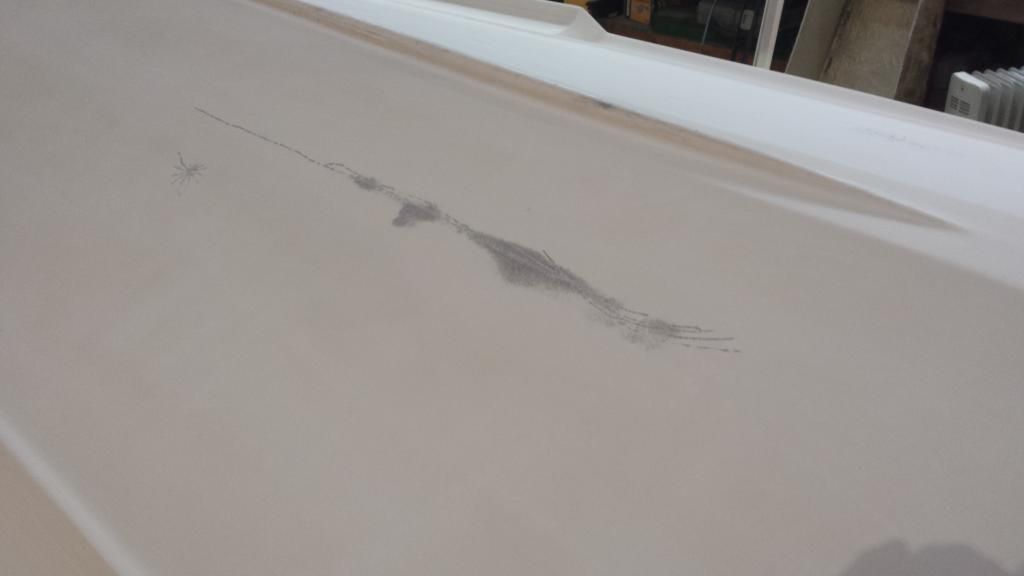
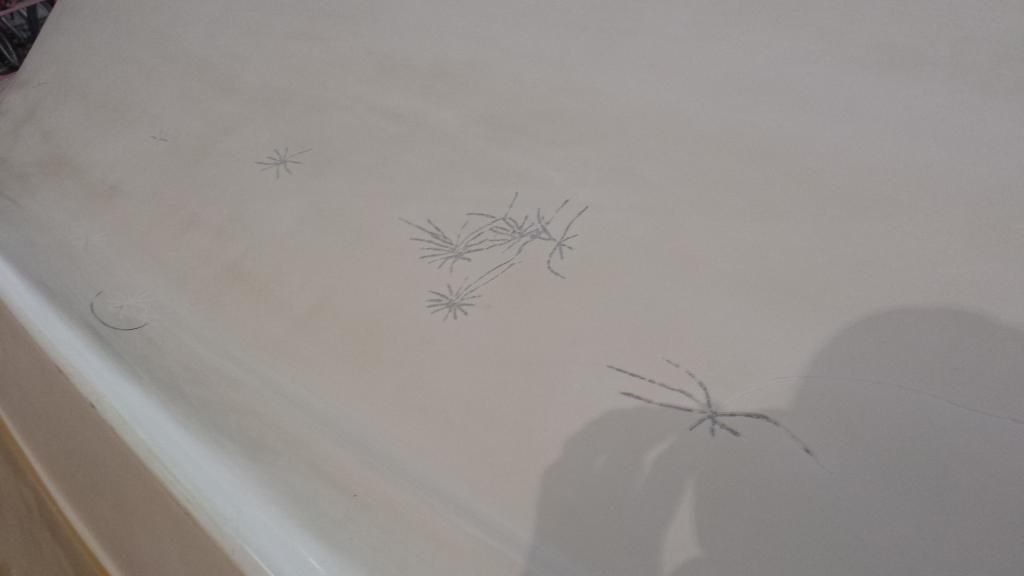
Got all the spider cracks ground out with the dremel last night. Rubbed some blue chalk on the cracks first.


Made the cracks easy to see.


All done


Found several spots that need some reinforcing.


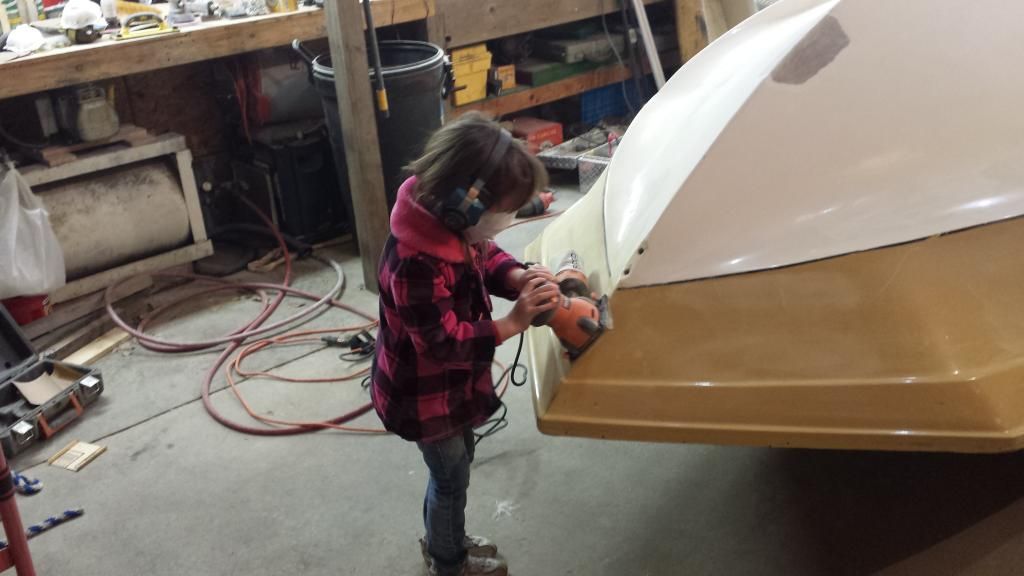
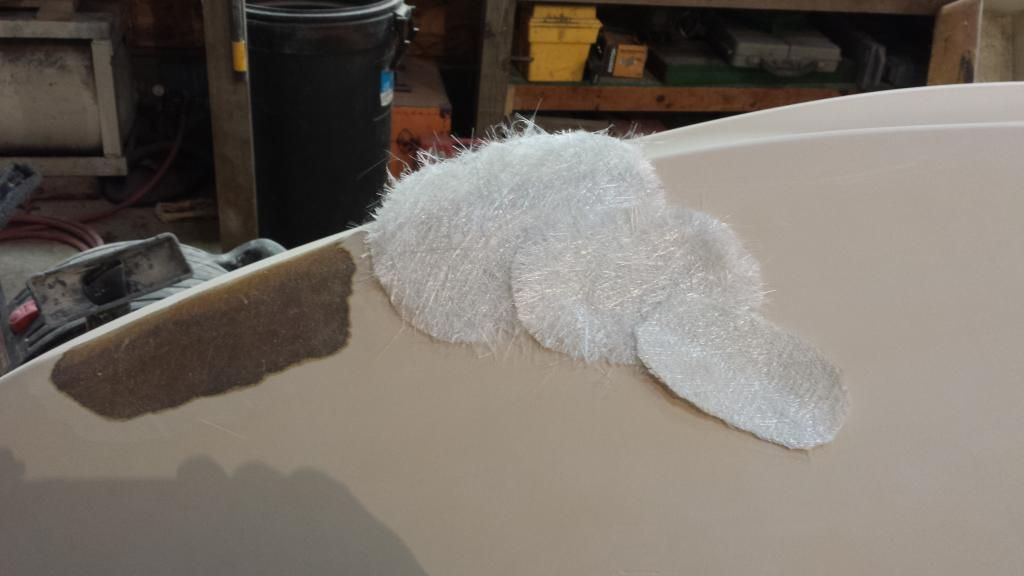
Got the glass ready for the patches and did some more sanding tonight. Had the expert help for a little bit.


Gonna try and do the glass patching and get a layer of filler on this weekend.
 

sphelps

Supreme Mariner
Joined
Nov 16, 2011
Messages
11,435
Had to bring in the good help to get this boat done I see ! Was this before or after ya told her there was spiders on the boat ? :eek:
:spider::fear::bolt::behindsofa:
 

nurseman

Lieutenant Junior Grade
Joined
Jun 2, 2013
Messages
1,045
Ha! If I would have told her that, she wouldn't have even come in the shop!
 

Woodonglass

Supreme Mariner
Joined
Dec 29, 2009
Messages
25,924
Hmmm, Utilizing PROFESSIONAL FEMALE assistance on sanding your hull??? I'm not sure if that's allowed here on the DIY forum???? I'll have to check!!! One thing for sure...It's gunna be a GREAT HULL NOW!!!!! That's a GREAT IDEA on using Blue linesman chalk to highlight the cracks. That's going in the knowledge library!!!!;):D
 

Tnstratofam

Commander
Joined
Aug 18, 2013
Messages
2,679
Great job on the repairs to the cracks. I'm sure impressed with the helper too. She looks like she's got that sanding down pat. I'm curious what did you use to fill the cracks? May be a dumb question.
 

nurseman

Lieutenant Junior Grade
Joined
Jun 2, 2013
Messages
1,045
Great job on the repairs to the cracks. I'm sure impressed with the helper too. She looks like she's got that sanding down pat. I'm curious what did you use to fill the cracks? May be a dumb question.

Cracks were filled with resin mixed with a bit of cabosil and glass bubbles. (and surfacing wax)
 

nurseman

Lieutenant Junior Grade
Joined
Jun 2, 2013
Messages
1,045
Got quite a bit done this weekend. Spent ALL day Saturday sanding, and sanding, and sanding, and sanding. Then I did some glass patching and filling, and sanded some more. Needless to say, I was a little stiff this morning!

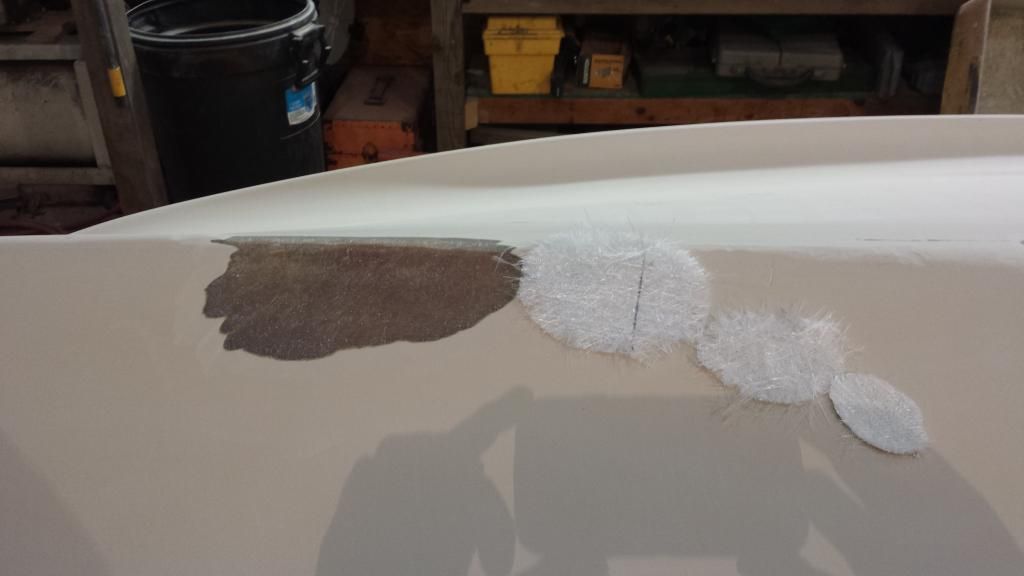
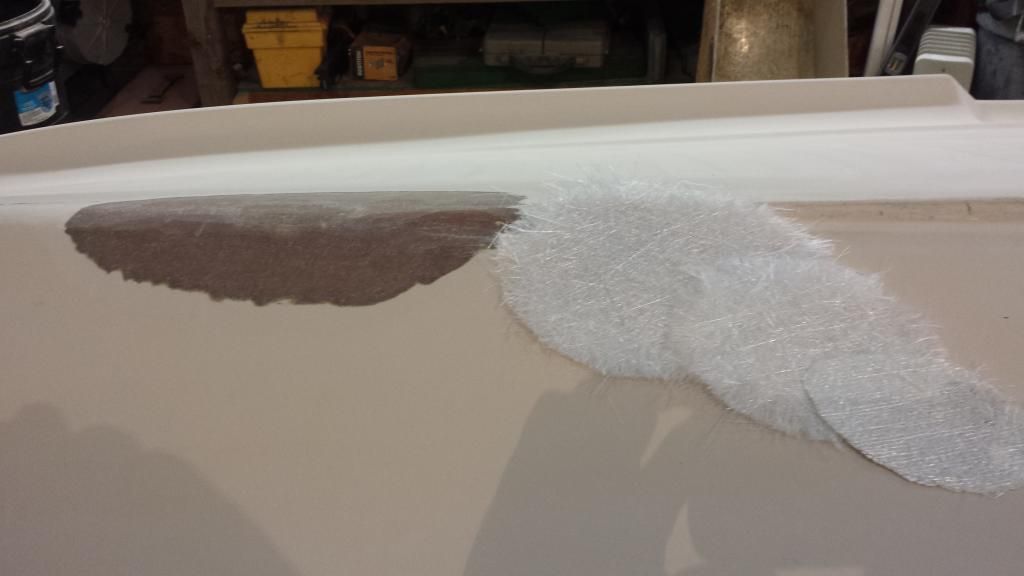
Here are the pieces of glass cut and ready


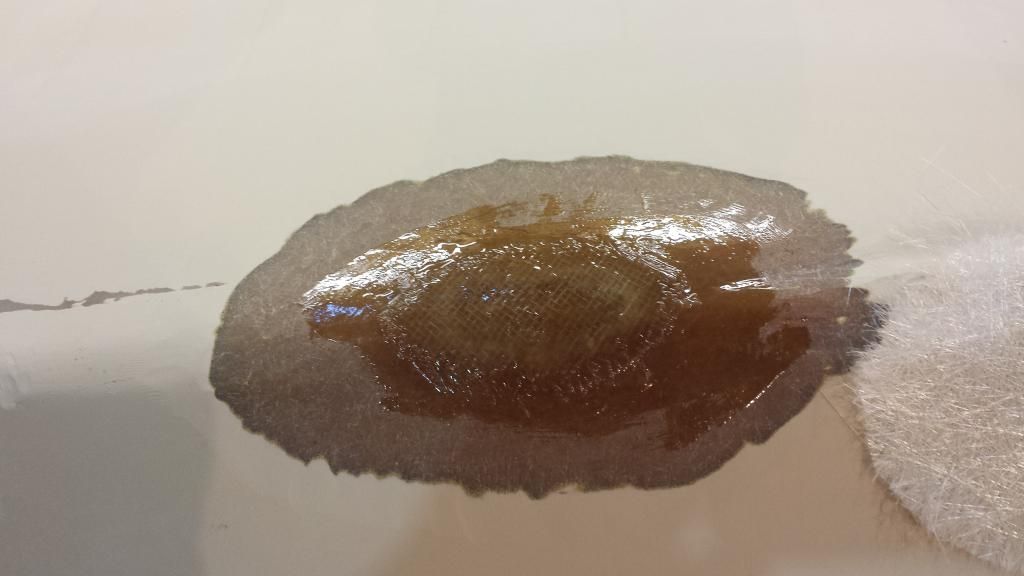
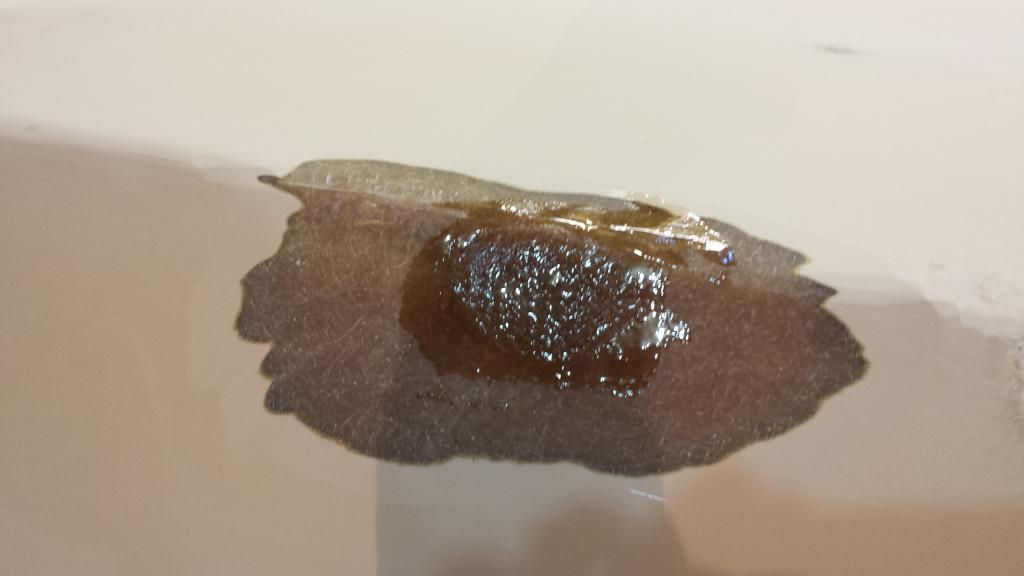
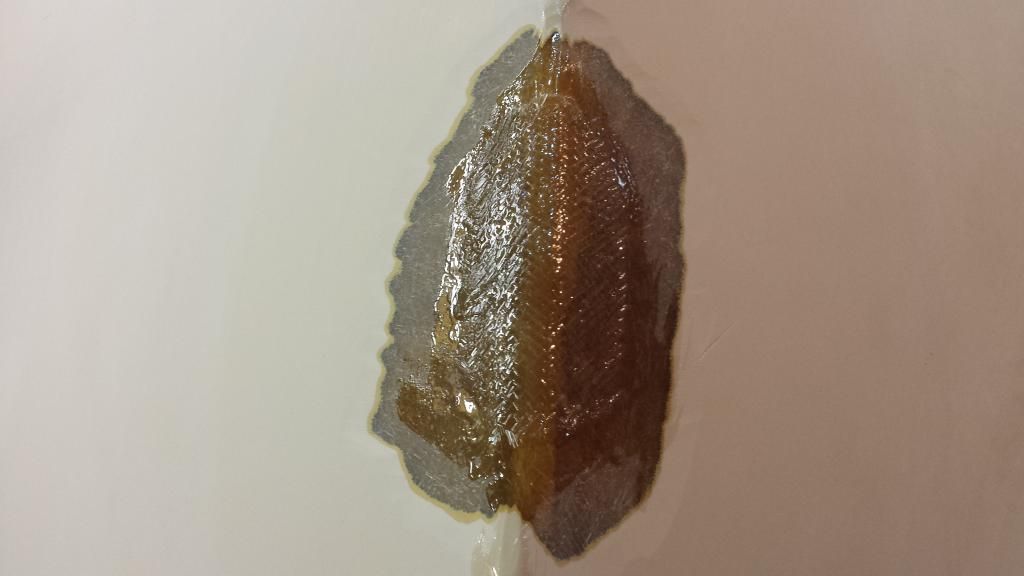
First layer wetted out.


I didn't get pictures of the other two layers, because after I had them wetted out, I had resin left over. So I hustled and mixed it into filler and filled the spider cracks and put a layer of filler over the patches right away.
 
Last edited:

nurseman

Lieutenant Junior Grade
Joined
Jun 2, 2013
Messages
1,045
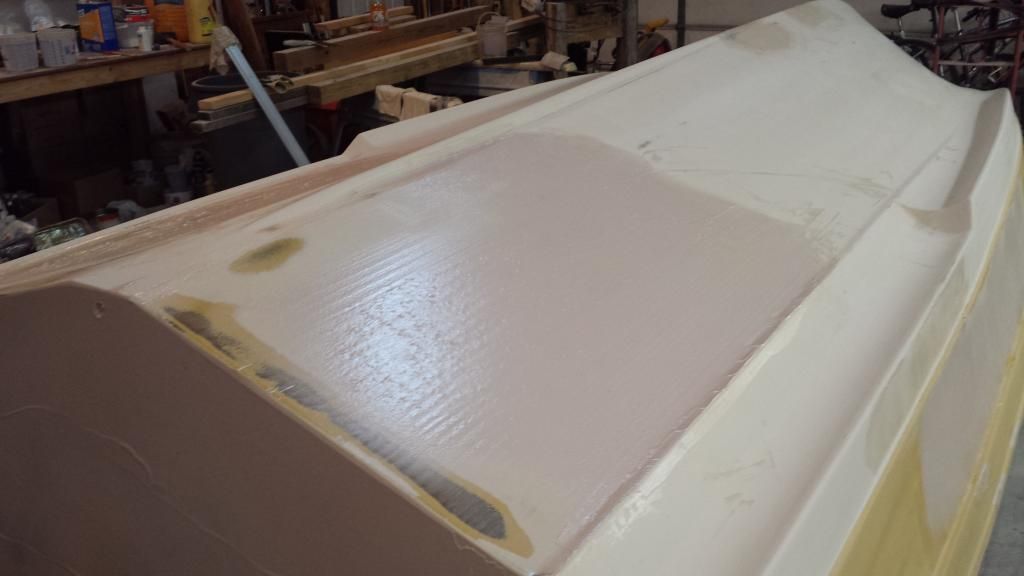
Some shots of the first coat of filler


After sanding the first coat


I will have to admit that I find the sanding rather satisfying, just tiring.
 

nurseman

Lieutenant Junior Grade
Joined
Jun 2, 2013
Messages
1,045
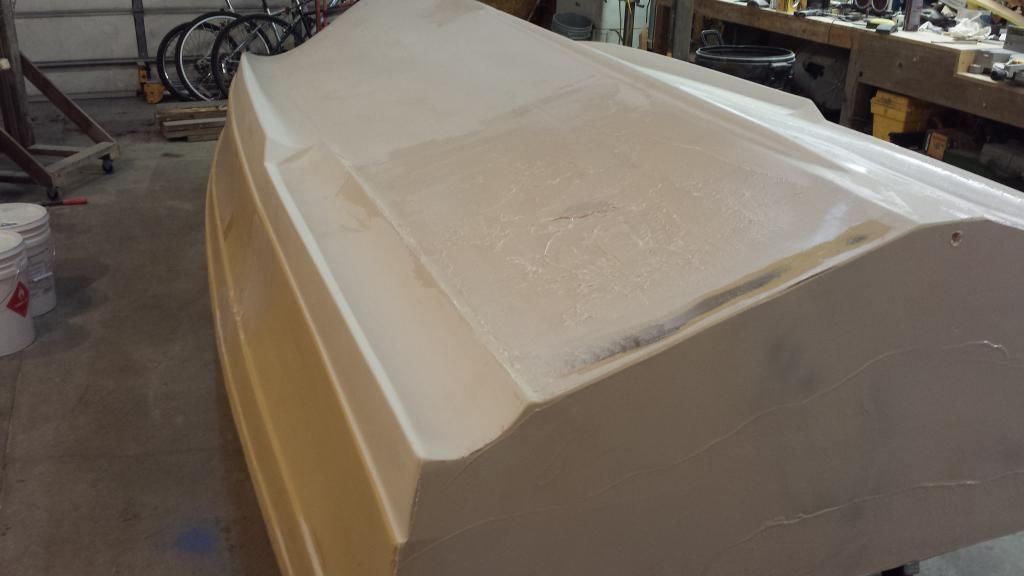
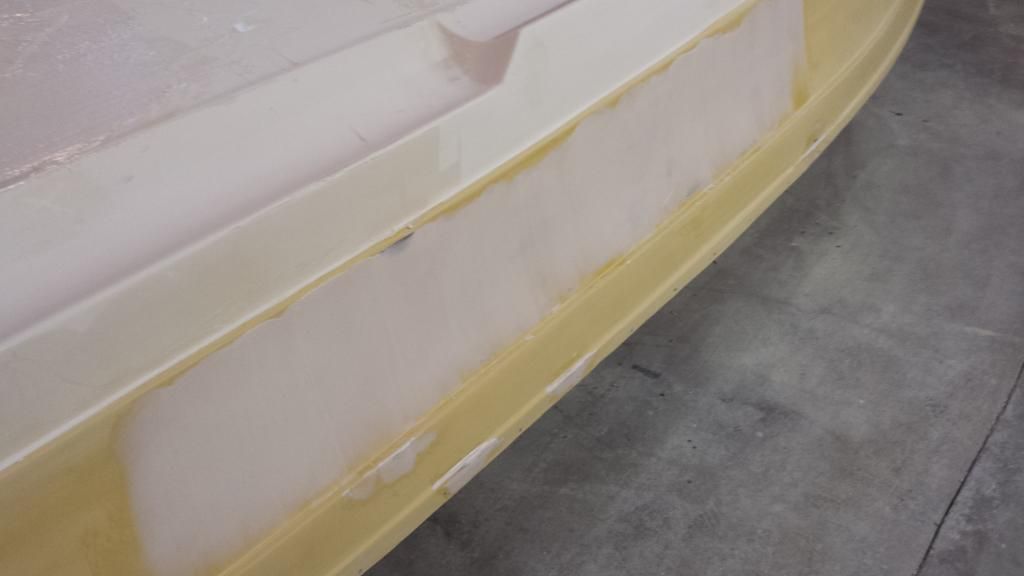
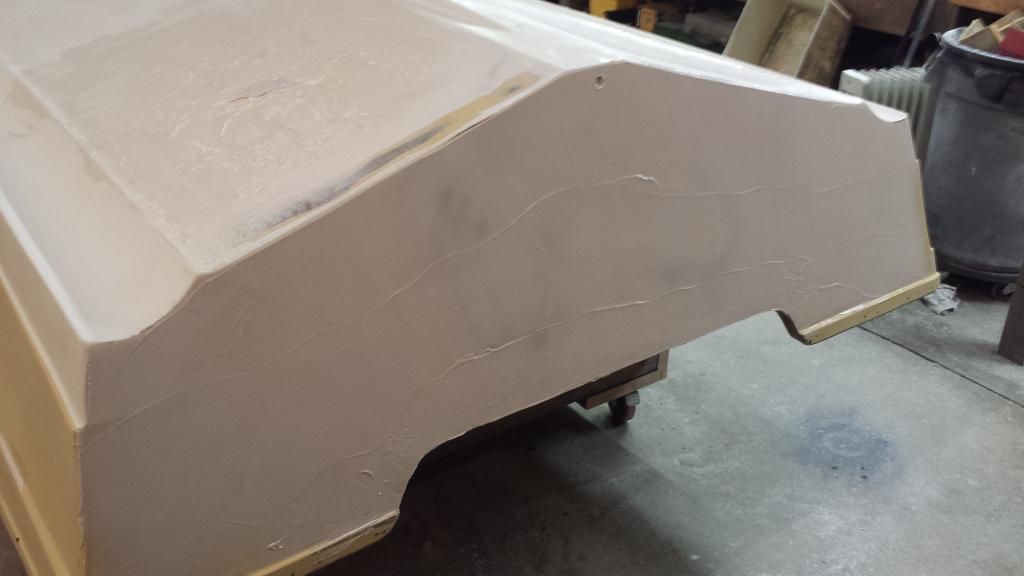
After all that sanding, I tackled the hook at the stern. First, I used the belt sander and removed as much gel coat as I could right at the transom. I probably removed at least 1/8" before I got to the glass. Then I mixed some filler (no wax) to a thick ketchup consistency, poured it on the hull and used a 4' straight edge to screed it off. I have to say that it worked pretty good.


Got a second coat on the sides and the transom as well. I used a plastic spreader on the sides, and a 12" knife on the transom.


Also got the three patches on the keel coated a second time

 
Last edited:

nurseman

Lieutenant Junior Grade
Joined
Jun 2, 2013
Messages
1,045
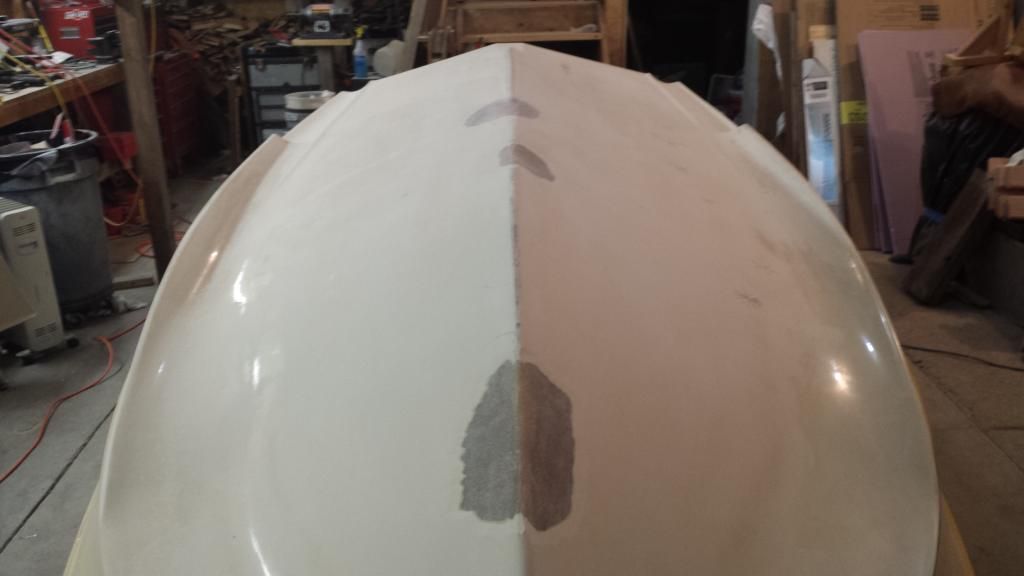
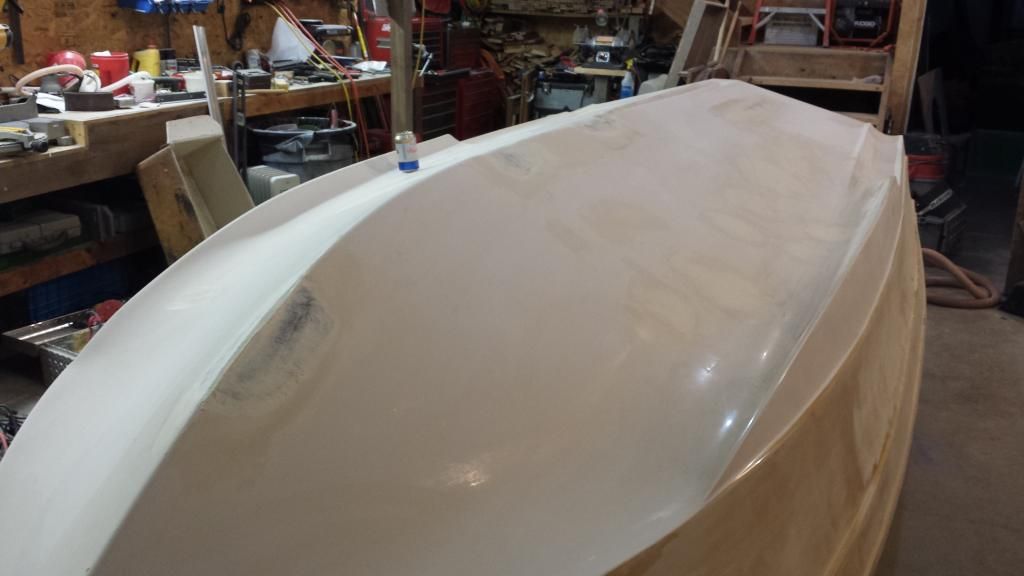
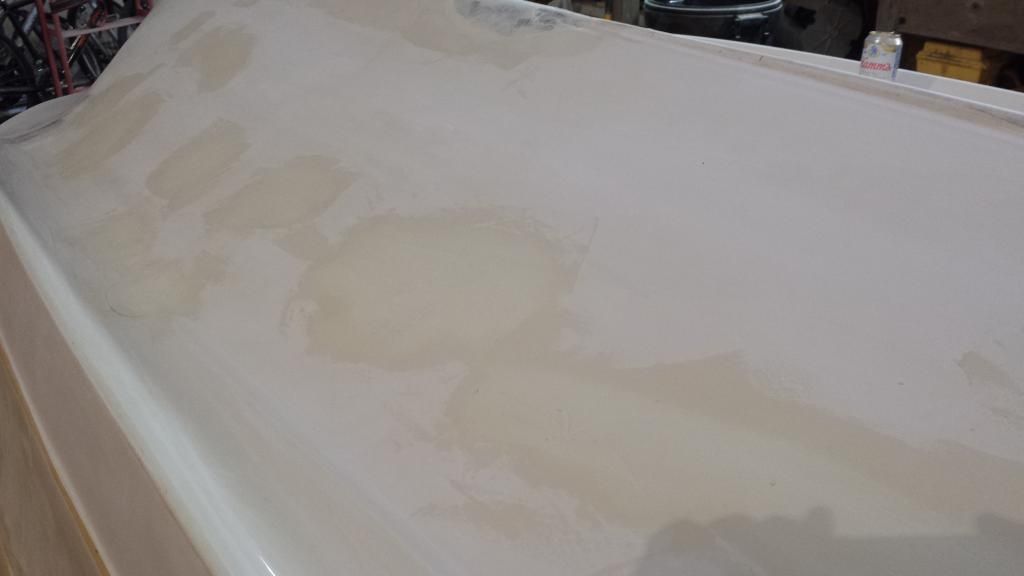
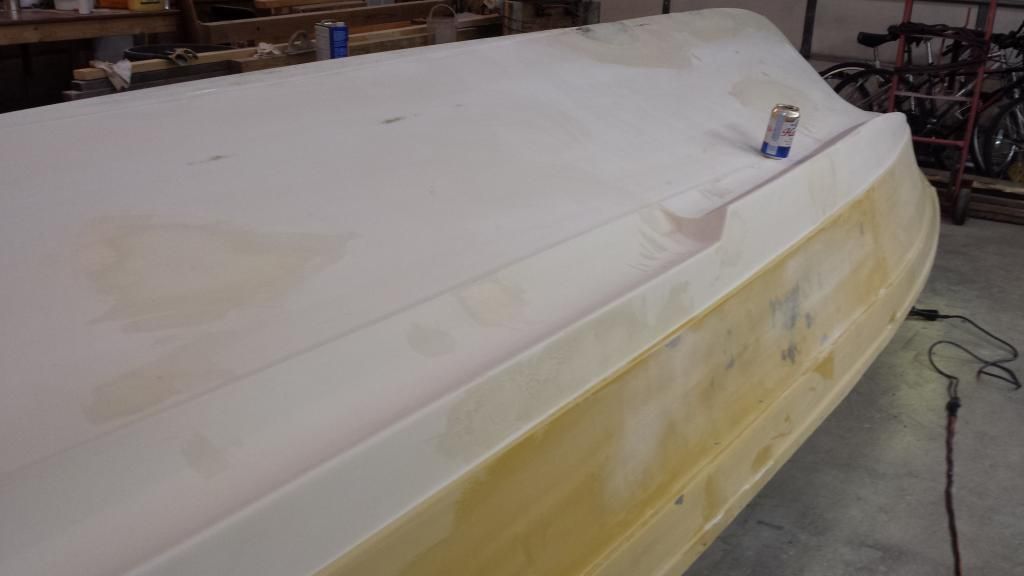
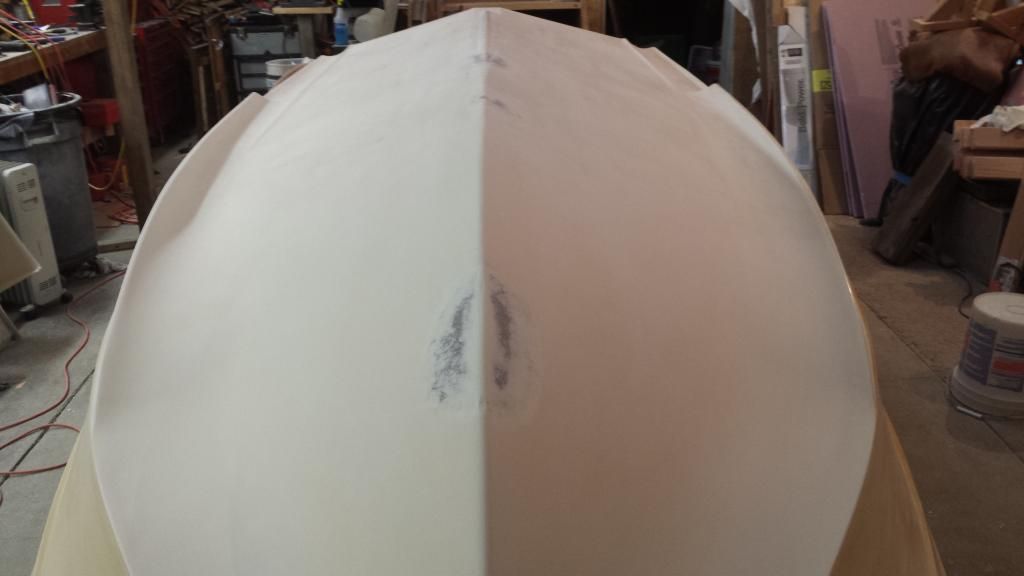
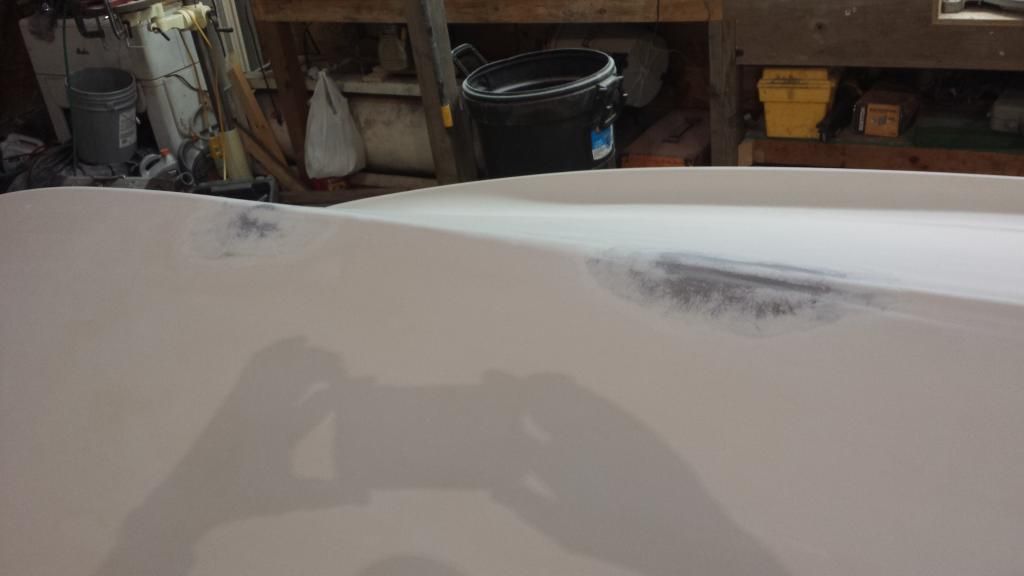
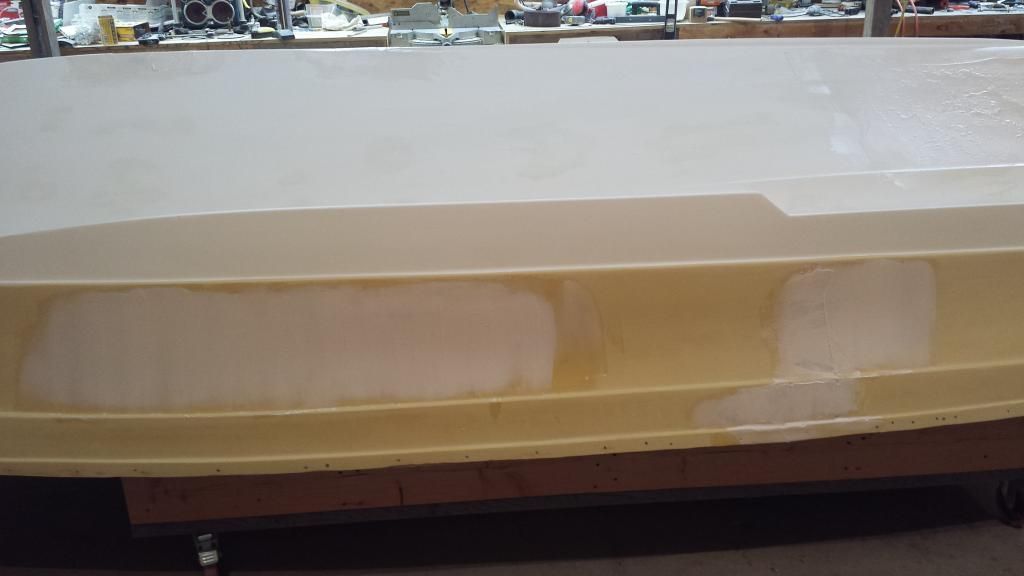
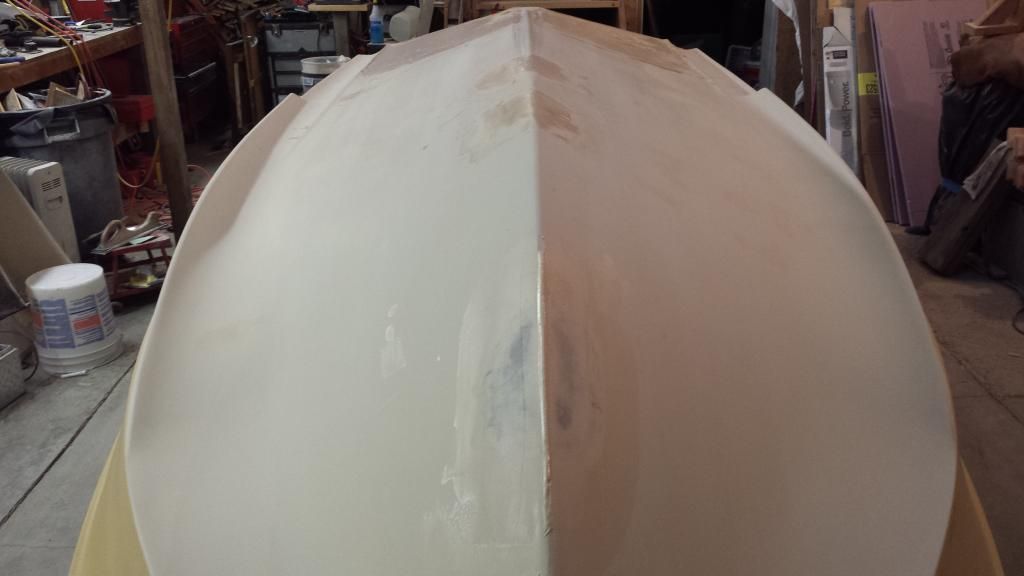
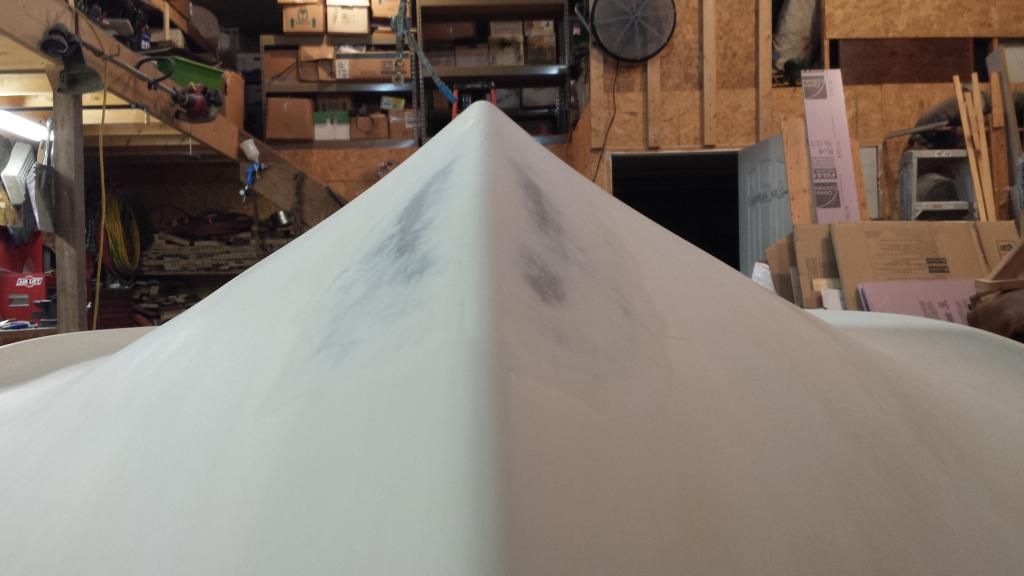
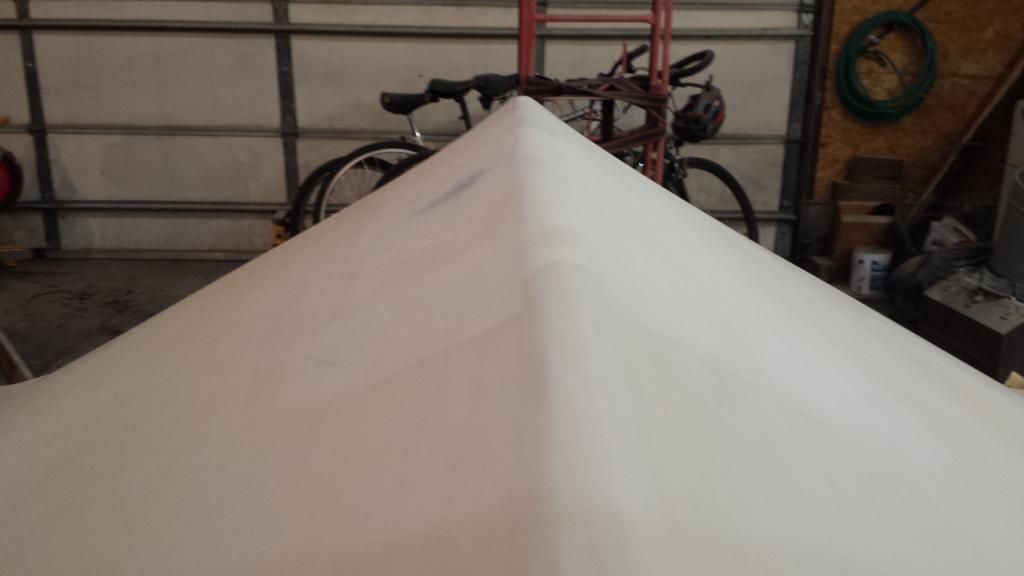
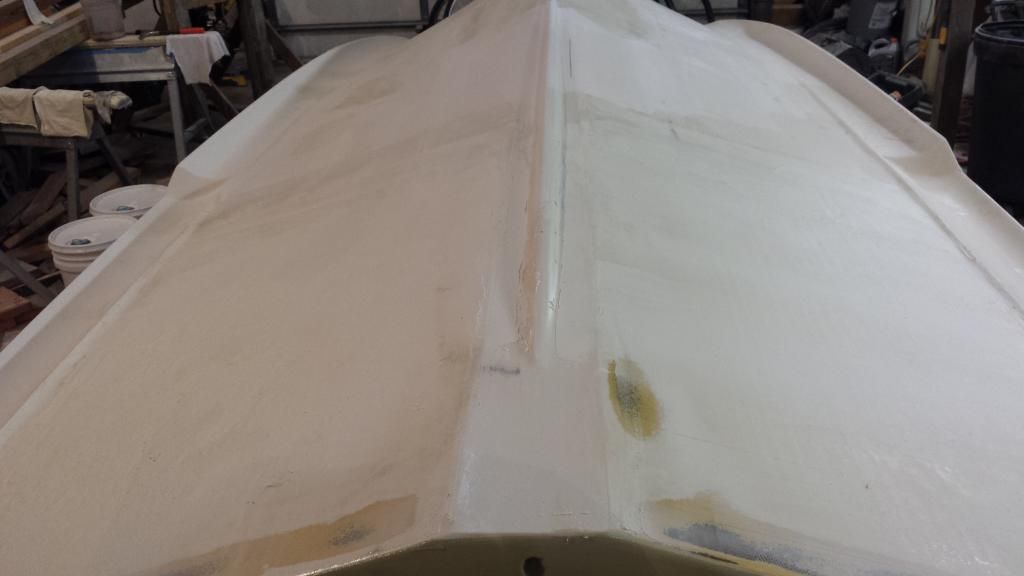
Today I sanded the spots on the keel. I am very pleased with how it is turning out.


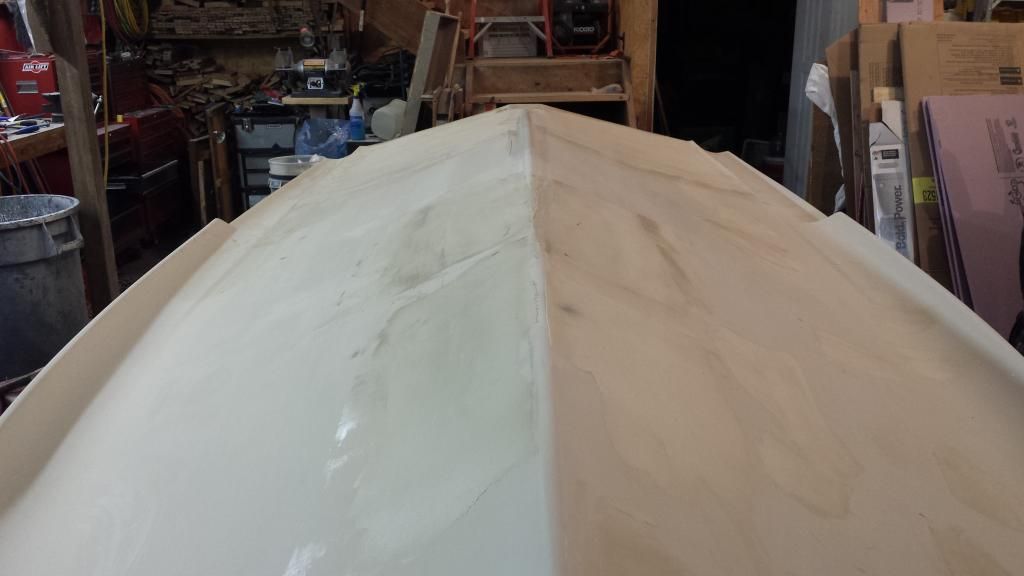
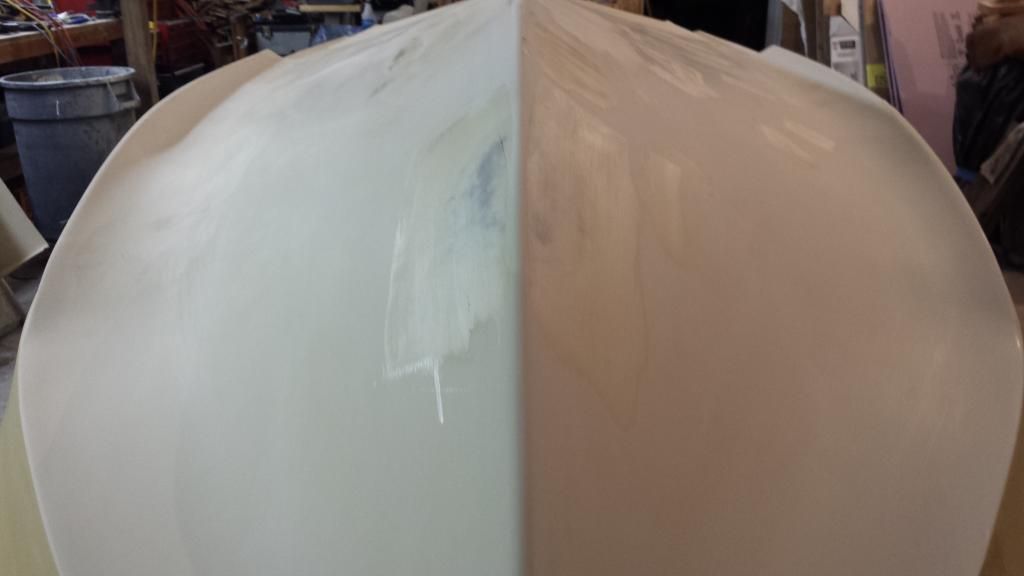
and put another coat of filler on the hull.


Other than the hook repair, I think that I have the below water portion about done. However, I reserve the right to fill and sand more after I shoot some primer on her. The above water portion of the sides will receive more attention before I call it good.

Hope everyone has a fast week!
 

Tnstratofam

Commander
Joined
Aug 18, 2013
Messages
2,679
Awesome job! That is an amazing amount of work. You really are on the move with the bottom work. Nice to stand back and have the results of all that hard work to admire.
 

Mark72233

Ensign
Joined
Jul 11, 2014
Messages
926
Nurseman take a few, stand back with an adult beverage and pat yourself on the back. That hard work is looking good.
 

Mikeopsycho

Senior Chief Petty Officer
Joined
Feb 6, 2014
Messages
738
Looking awesome!!!! :yo: :encouragement: Good to see someone is getting some work done around here.......:rolleyes:
 
Top