72 Thunderbird Formula w/twin 165hp Mercs

Mark72233

Ensign
Joined
Jul 11, 2014
Messages
926
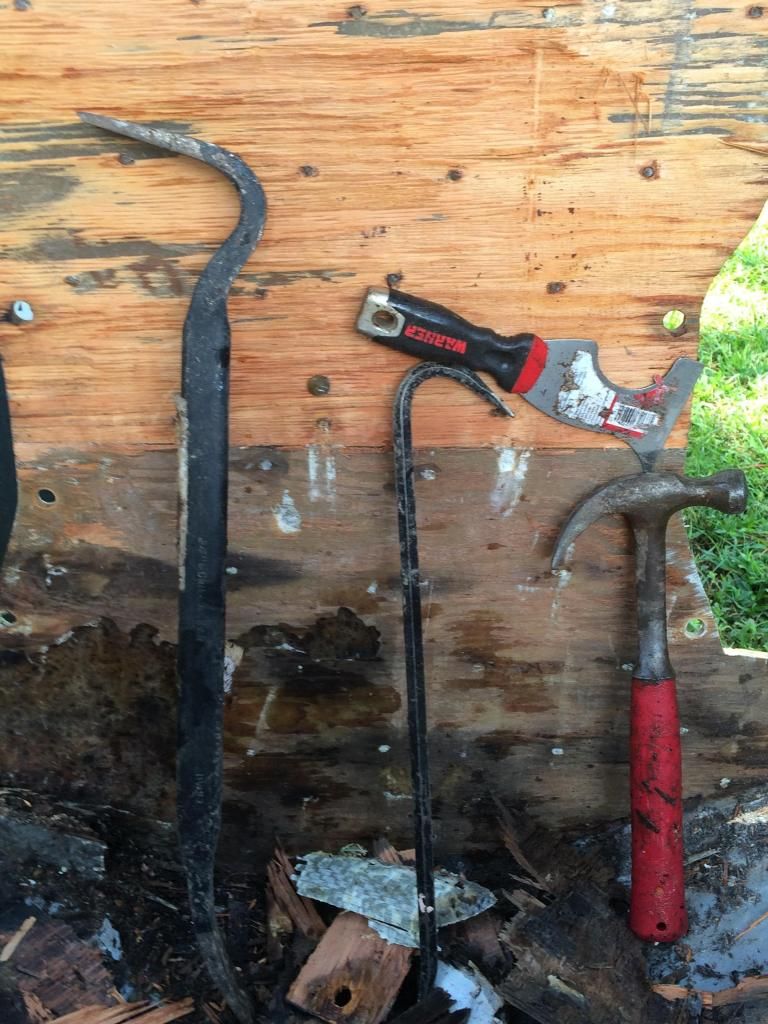
Finally started on the transom removal. After cutting the transom skin with a Skil saw I used the typical tools to remove the fiberglass and wood.


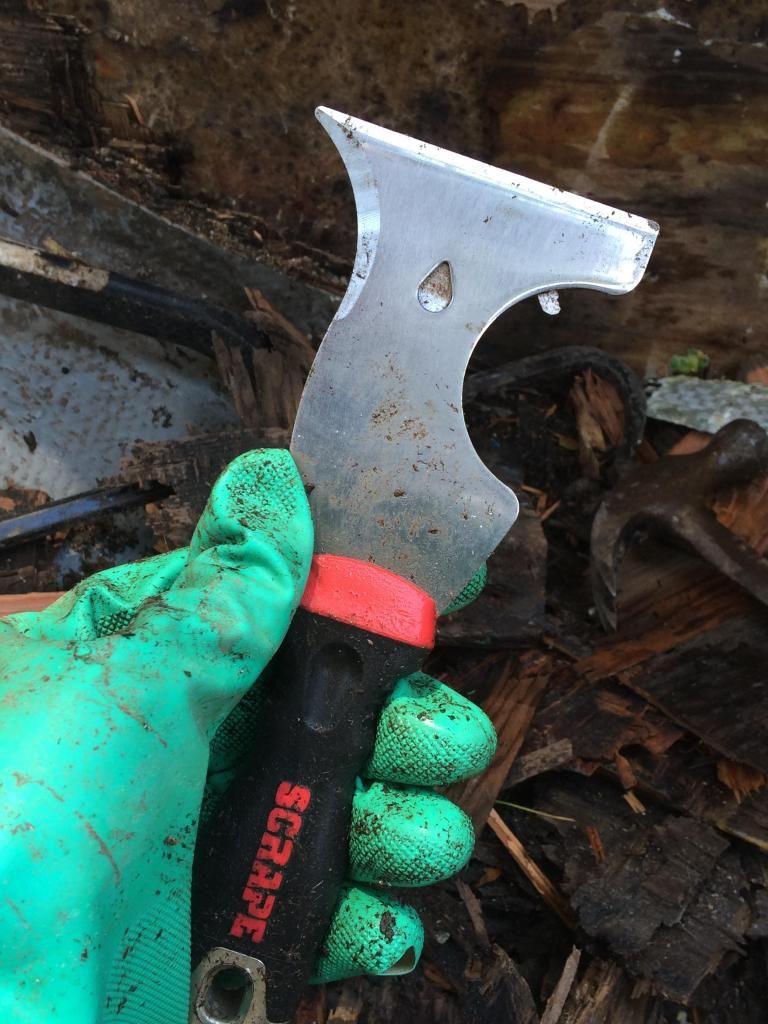
After the bigger pieces came off this tool was perfect for getting the rest.


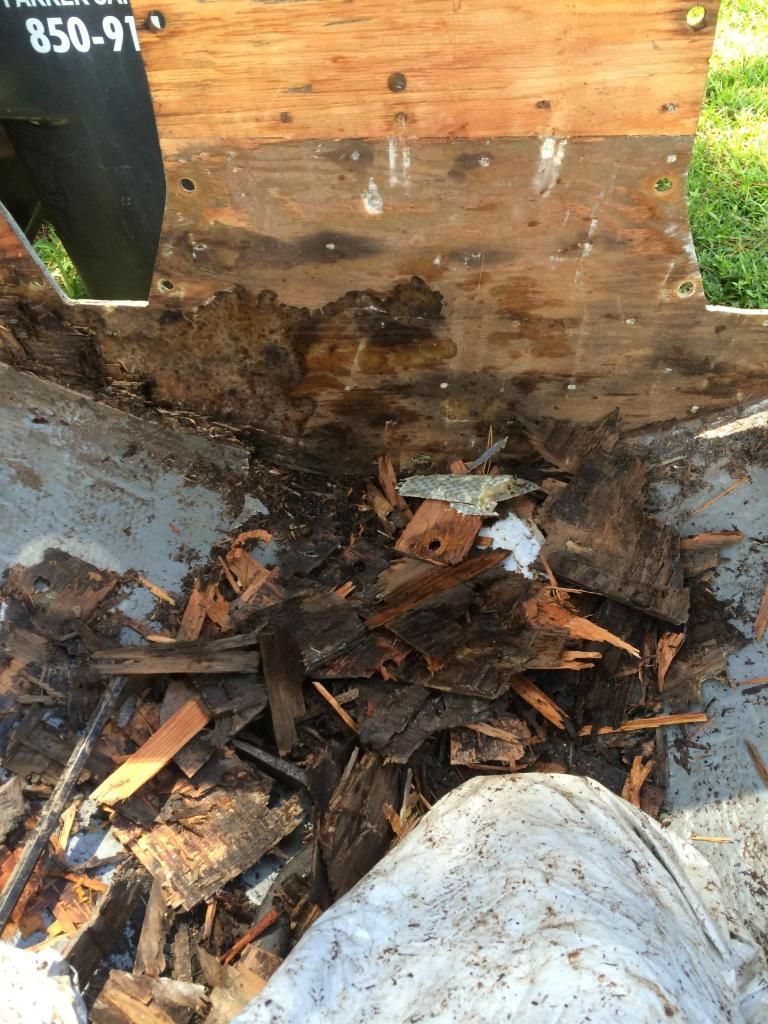
The original transom from 42 years ago had nails in it.


Most of the wood is off and time to start grinding.


Mark72233

Ensign
Joined
Jul 11, 2014
Messages
926
Started grinding out the old tabbing and peanut butter on the transom. I had the Tyvek suit and full face mask in 95* heat, pouring sweat and blinded by a cloud of fiberglass dust. OK that is just an excuse, I got a little carried away with the grinder and have now joined a club I didn't want to be a member of. The "I cut a hole in my boat club" :eek:
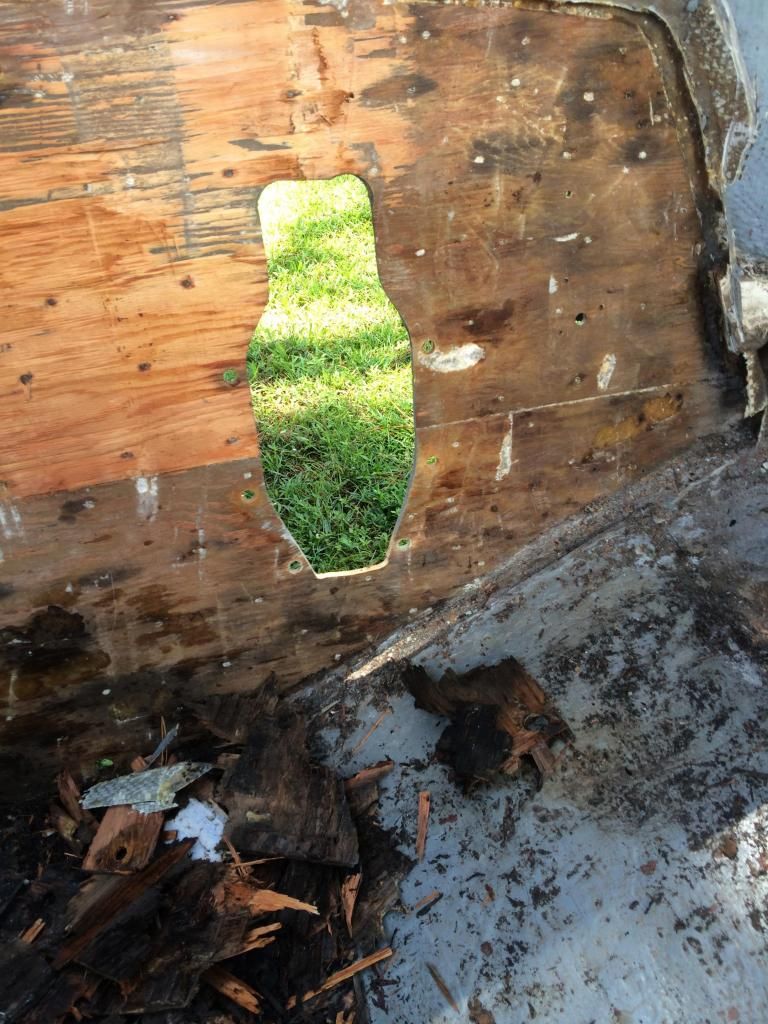
:faint2::facepalm::mad-new: :grumpy: I have seen it many times in the forum so I know its no big deal and its fiberglass and it can be fixed.
It also gives me an opportunity to learn how to fix it under the guidance of the experts here. :help:


WOEISMEIGOTTA470

Petty Officer 1st Class
Joined
Aug 31, 2012
Messages
375
...I got a little carried away with the grinder and have now joined a club I didn't want to be a member of. The "I cut a hole in my boat club"... :eek::faint2::facepalm::mad-new: :grumpy: :help:

Ouch!!! oops! Yeah I can fully understand being uncomfortable, in contorted positions, just wanting to get the job done quickly...but as my momma says "haste makes waste!" Not the end of the world by any means, you can build that area back up to the original thickness with some csm and maybe 1708, then gelcoat repair on the outside. Going forward, I recommend having the shop vac handy and periodically cleaning your work area. Also for tight intricate areas and corners, it's sometimes better to switch to a smaller tool, such as a dremel that can get in there, or possibly a less aggressive sanding disc. I know it's tempting to use the big grinder everywhere as it makes quick work, but if you slip and loose balance that grinder can cut fast and eat through layers in a hurry. 'Tis but a scratch, you'll get it fixed right without too much effort.

Keep up the pace though, nothing like demo getting rid of all the crap and starting with a clean slate! Looking good!
 

nurseman

Lieutenant Junior Grade
Joined
Jun 2, 2013
Messages
1,045
Progress is looking good! You will feel better about everything when you have a clean hull to look at! Those 5 in 1 painter's scrapers are awesome! I consider it to be one of the essential tools to have in a tool bag. And yea, I ground through my hull as well when doing the demo, and I wish I could say I only did it once! :facepalm:
 

Mark72233

Ensign
Joined
Jul 11, 2014
Messages
926
Question. I plan on starting to cut my transom wood and install it this weekend. I have seen where I will need to soak my wood in resin prior to installing it into the boat. I am not sure if this is done with straight resin with or without hardener. And should this be done ideally the same day or give it some time to soak it up and dry
 

Rickmerrill

Senior Chief Petty Officer
Joined
Mar 13, 2014
Messages
686
You want to use hardener, mix a little on the slow side. Once it tacks up you are good. After 16 hours you should scuff the new before bonding so the sooner the better. Lately Wood has advised you only need to put CSM on the side of the wood in contact with the outer skin, the inner skin will give you your waterproofing for that side.
 

GT1000000

Rear Admiral
Joined
Jul 13, 2011
Messages
4,916
Always use catalyst!
You can coat the wood with resin just prior to installation, just mix the resin with a ratio of .75-1.0% catalyst in a cool environment so that it cures as slowly as possible and has the best chance to soak into the wood, this is also done to prevent the wood from sucking the resin out of the first layers of cloth/mat that are applied...as soon as it becomes hard, yet sticky/tacky, you can go ahead and either add a layer of CSM to both faces and the edges to completely waterproof it or you can go ahead and install it with PB in the hull...
Be sure to read Woody's transom install guide and rehearse a couple of times with whoever is going to help you,[Highly recommended to have an assistant], before committing to actually adding catalyst all of the resin/PB...
 

Rickmerrill

Senior Chief Petty Officer
Joined
Mar 13, 2014
Messages
686
I still think if you're going to put two layers of 1708 on the inside of the transom and you assume the CSM stitched to the back is adequate it's just a waste of CSM and resin to put it on the inside but that's just me. Now, I have wondered if you are using PB to glue the transom to the outer skin if the layer of CSM is really needed there for waterproofing.
 

Mark72233

Ensign
Joined
Jul 11, 2014
Messages
926
I have spent most of the day grinding. Pictures and words do not due this task justice. This sucks. It is 105* with the heat index and where am I, outside in a Tyvek suit and full respirator mask. We must be insane doing this stuff. Then again it was satisfying seeing the old nasty glass, wood and bilge paint slowly transform into a massive cloud of toxic powder. I will get some pics of the progress and soon as I can get off the garage floor.
 

WOEISMEIGOTTA470

Petty Officer 1st Class
Joined
Aug 31, 2012
Messages
375
... We must be insane doing this stuff...

Yup. I still sweat in my tyvek suit and I'm working in 70*F temps lol. Can't imagine 100+, I would wilt into a puddle and would probably have to drain my suit every 5 mins, power to ya for grinding it out. I've really lucked out with the weather in NY this summer, it broke 90*F only 4 times this year, so far the coolest summer here in a decade! Tyvek is still the best option, I tired a cheaper brand and it was a plasticy material that didn't breath at all, very uncomfortable.
But yeah, we're all insane :clock:Stay hydrated!
 

Mark72233

Ensign
Joined
Jul 11, 2014
Messages
926
Here is my 10x30 canopy I got off Ebay for $130 delivered. It has 8 detachable side pieces. So far working good for shade and keeping the dust manageable.


I have the transom almost done. Mostly trying to get a handle on which grinding wheel works best and which Saw blade does the best job.


Ended up cutting out the port main stringer all the way to the cabin, after closer inspection the wood near the bottom in a couple of spots was gone.


I also got my transom cardboard template cut out.
 

Mark72233

Ensign
Joined
Jul 11, 2014
Messages
926
Made another good score. Found a guy selling a 1990 Regal 190 that he started doing a restore on. The floor has been ripped out and he started removing a lot of the bolt on stuff. He tells me that when he started the project he also purchased a just rebuilt GM250 165hp engine complete with Merc stern drive. It is in Northern Alabama so I am assuming it was a fresh water boat and engine. He said he ran it just last year. I take everything he said with the appropriate amount of caution but the pics of the trailer, boat and motor look good anyway for $199 complete package I will take the chance. Will pick it up next weekend and will see for myself.:car:
Now how to tell the wife I bought another project boat.

:behindsofa:
 

Mark72233

Ensign
Joined
Jul 11, 2014
Messages
926
Wood you had asked in another post about data on fuel tanks incased in factory foam. Mine was completely encapsulated in foam, top, bottom all sides and here is how it looks. Foam was went and water was sitting on top of the tank under the foam. the entire tank has pitting especially the top.
 

Mark72233

Ensign
Joined
Jul 11, 2014
Messages
926
Took some time off of grinding to build a fiberglass cutting table, a rack to hold my supplies and roll of 1708 and CSM. I also built a 5 gallon bucket holder/pourer. All ideas I stole from iboat posts. My wife said they are a little over built. I corrected her and told her they are iboat built :tea:


GWPSR

Senior Chief Petty Officer
Joined
Jul 25, 2012
Messages
758
Took some time off of grinding to build a fiberglass cutting table, a rack to hold my supplies and roll of 1708 and CSM. I also built a 5 gallon bucket holder/pourer. All ideas I stole from iboat posts. My wife said they are a little over built. I corrected her and told her they are iboat built :tea:


The rack/organizer is top notch! I wish all my fabric was one size. Unfortunately, some is 30" and some is 50". Now that I'm nearly done glassing, I realize I could have really used something like this 2 years ago. :)

Well done!
 

nurseman

Lieutenant Junior Grade
Joined
Jun 2, 2013
Messages
1,045
You will appreciate all your organizational efforts while you are working! Taking the time up front to line your ducks up is always worth the effort!
 

boatnut74

Lieutenant Commander
Joined
Aug 29, 2010
Messages
1,835
Cool project, I will be following along for sure. The twin 165s should make reliable, efficient power.
 

Rickmerrill

Senior Chief Petty Officer
Joined
Mar 13, 2014
Messages
686
It would have been overbuilt if you put casters on the pouring device and raised it up to workbench level! Good job.
 

Mark72233

Ensign
Joined
Jul 11, 2014
Messages
926
Well so much for my rain and sun canopy. Back to the drawing board on this one. It did not like the Florida rain storm.


Top