sjohnson44
Petty Officer 2nd Class
- Joined
- Aug 30, 2011
- Messages
- 186
Re: 1996 Bayliner 2050 LS 5.7L 40th Anniversary Restore
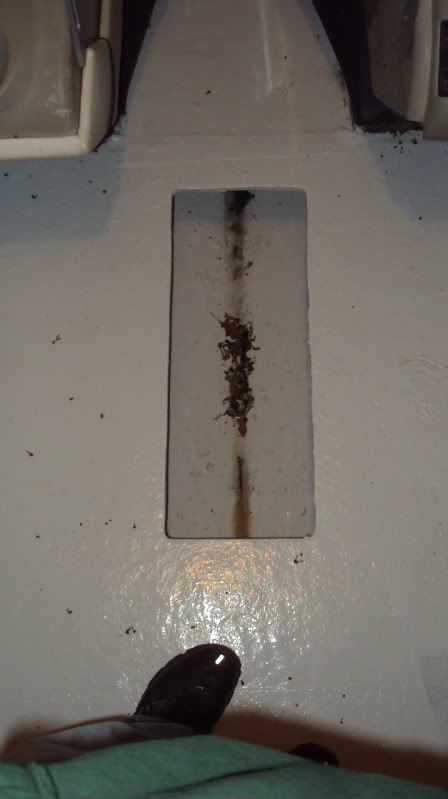
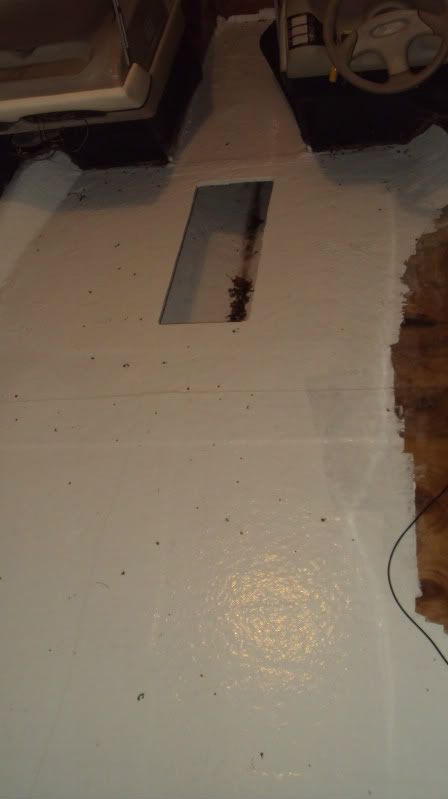
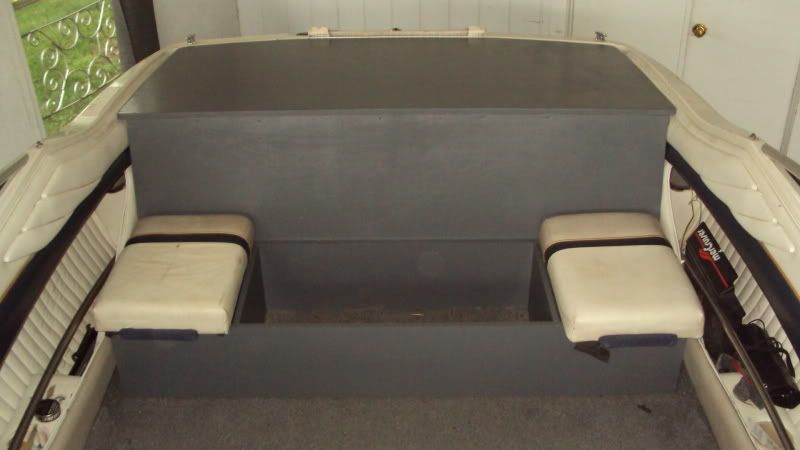
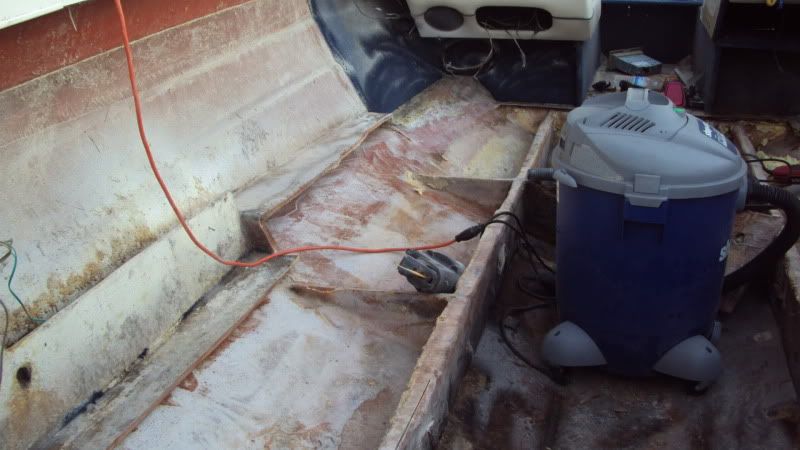
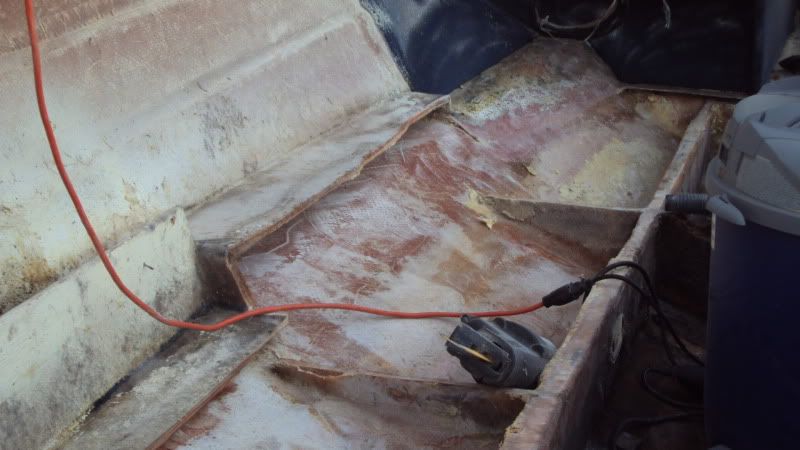
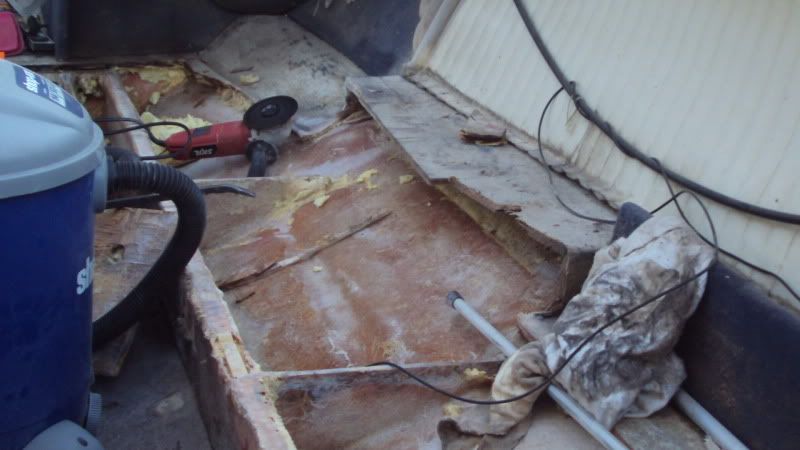
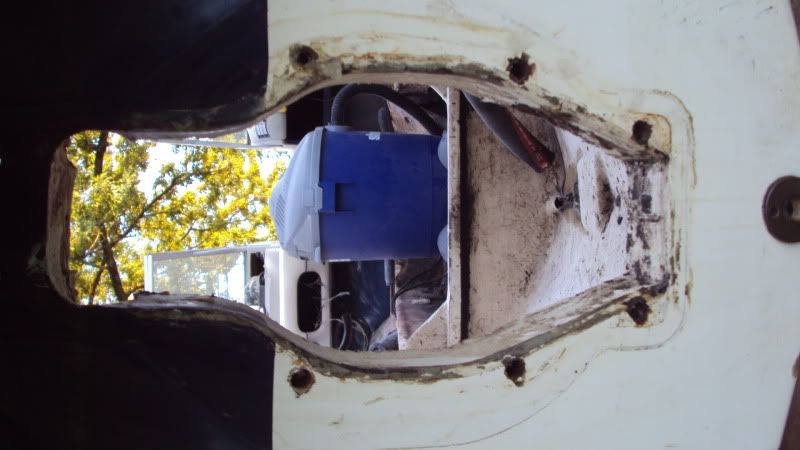
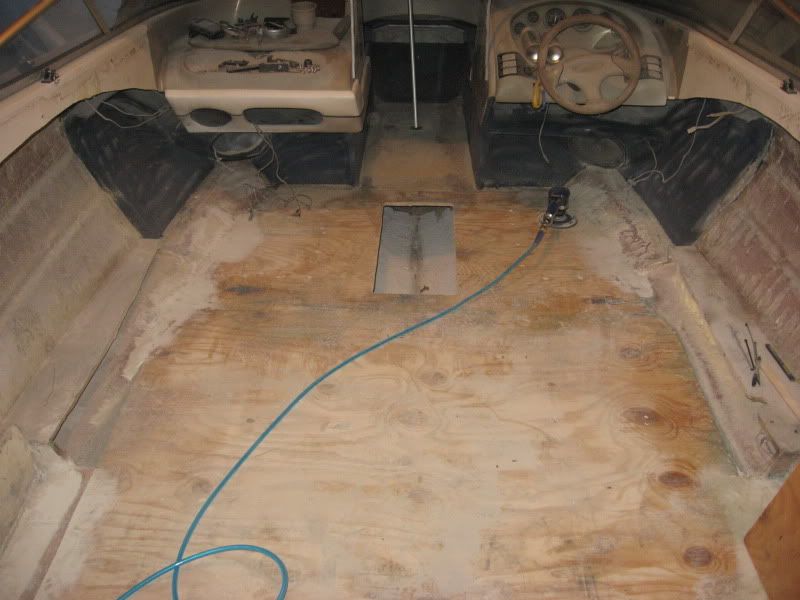
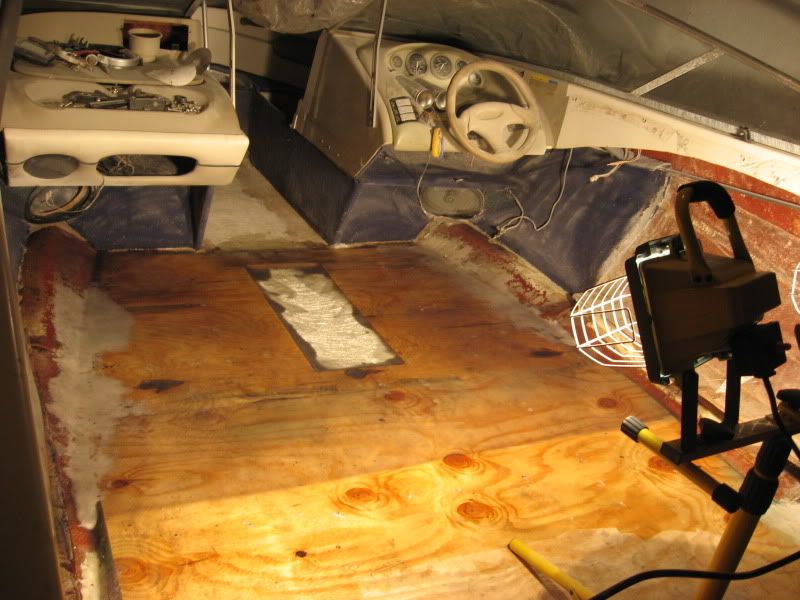
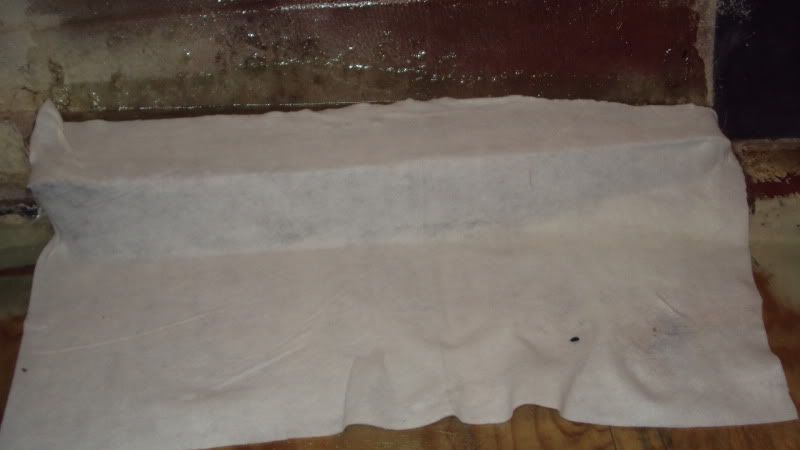
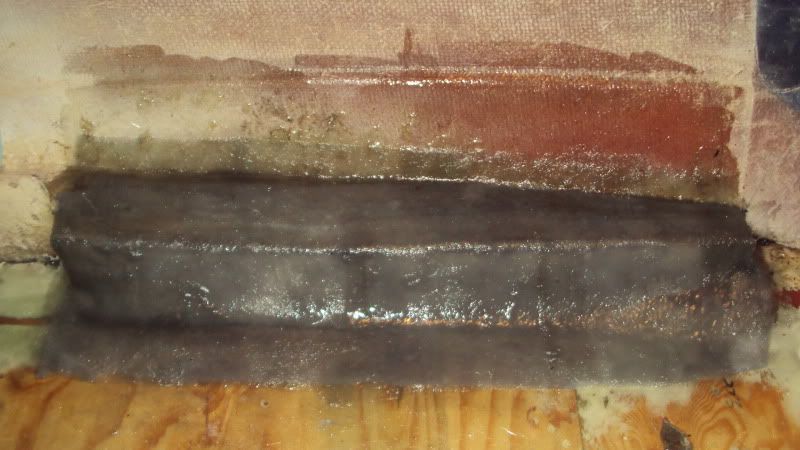
After sanding the whole floor down, I used 1708 to glass in the sides and seams and went over it with a layer of 1/4 oz CSM. I would have done another layer of CSM but I would have had to buy another 5gallons of resin and after going through the pros and cons of adding another layer of CSM, it seemed almost overkill and that would mean ordering another $300 bucket of resin and waiting on it to come in. I however opted to purchase 2 gallons of resin locally and continue the rest of the glassing, doing that saved me $240. You will see my take on deleting the old back to back seat boxes. I was going to try to use 1/4" plywood and fill it in that way but this was much easier. I bought some fleece from Wal-Mart and using 3M spray adhesive made my mold over the cut out. You must spray both the back side of the fleece and where you will attach the fleece to as well and wait for it to tack up. Once its ready start at the top and stretch the fleece down tight but do not pull the material apart. At that point you can "form" it to what you want it to look like and press out the wrinkles. Cut off the excess fleece and allow it to dry a little more. Once dry you can start spreading your resin on it and allow it to soak into the fleece. I would advise to let the resin dry before adding your glass as it is a sort of pain to getting air pockets out of the glass on the "voided" area. However you will use less resin in the end if you go ahead and glass it while wet. The fleece will be so saturated with resin you will almost not need any additional resin on it.
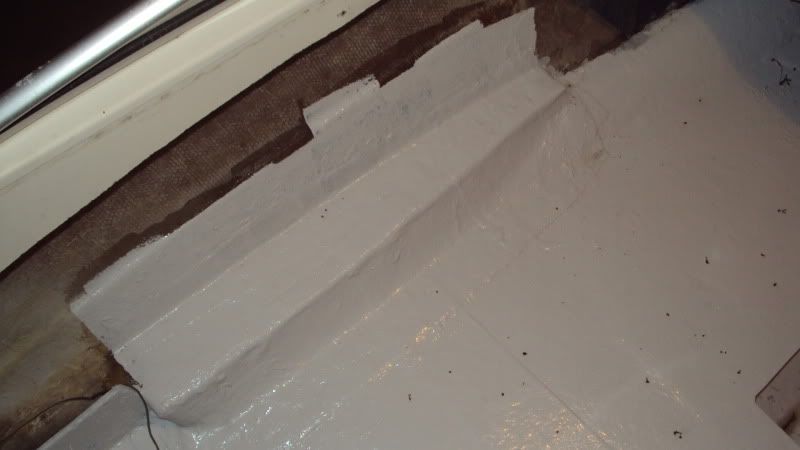
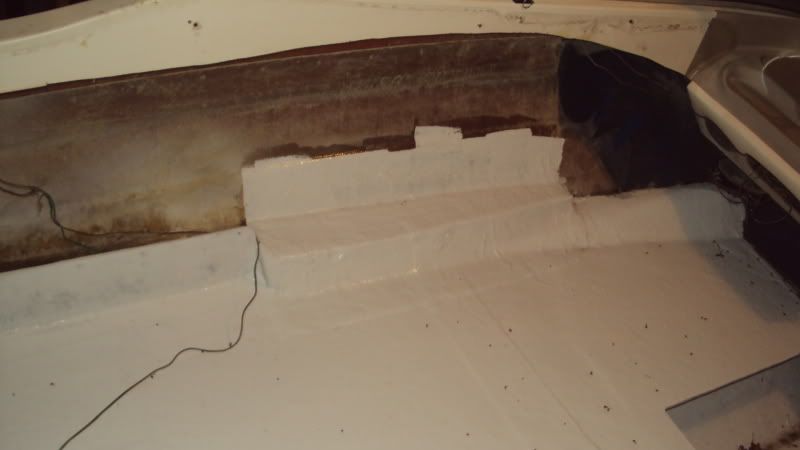
I put a layer of 1708 and 2 layers of 1/4oz CSM. Another piece of advise, try not to go out as far onto the floor as I did with the fleece. Try to stay close to the edge of the wood as it will be easier to sand and hide the seam.
After sanding the whole floor down, I used 1708 to glass in the sides and seams and went over it with a layer of 1/4 oz CSM. I would have done another layer of CSM but I would have had to buy another 5gallons of resin and after going through the pros and cons of adding another layer of CSM, it seemed almost overkill and that would mean ordering another $300 bucket of resin and waiting on it to come in. I however opted to purchase 2 gallons of resin locally and continue the rest of the glassing, doing that saved me $240. You will see my take on deleting the old back to back seat boxes. I was going to try to use 1/4" plywood and fill it in that way but this was much easier. I bought some fleece from Wal-Mart and using 3M spray adhesive made my mold over the cut out. You must spray both the back side of the fleece and where you will attach the fleece to as well and wait for it to tack up. Once its ready start at the top and stretch the fleece down tight but do not pull the material apart. At that point you can "form" it to what you want it to look like and press out the wrinkles. Cut off the excess fleece and allow it to dry a little more. Once dry you can start spreading your resin on it and allow it to soak into the fleece. I would advise to let the resin dry before adding your glass as it is a sort of pain to getting air pockets out of the glass on the "voided" area. However you will use less resin in the end if you go ahead and glass it while wet. The fleece will be so saturated with resin you will almost not need any additional resin on it.
I put a layer of 1708 and 2 layers of 1/4oz CSM. Another piece of advise, try not to go out as far onto the floor as I did with the fleece. Try to stay close to the edge of the wood as it will be easier to sand and hide the seam.