'83 Lund "Sirius" total gut and rebuild

sphelps

Supreme Mariner
Joined
Nov 16, 2011
Messages
11,435
Reprimer looks great Nm !! How many coats of primer ya putting on ?
Sorry Lisa ! I thought it was a very flattering pic ..... :nod:
 

nurseman

Lieutenant Junior Grade
Joined
Jun 2, 2013
Messages
1,045
Sam, the plan is to block it with 320, look for pinholes and fill them with un-thinned primer, then put on another coat and block her one more time just to make it smooth. Then I think it should be ready for paint, unless I "learn" something else...:rolleyes:
 

jc55

Senior Chief Petty Officer
Joined
Nov 3, 2006
Messages
665
Lookin' good! I'm glad it's all working out. Sometimes I wish the "learning" would stop...I know just how painful it can be sometimes:upset::)
 

thull

Petty Officer 2nd Class
Joined
May 26, 2012
Messages
142
Hey nurseman! I'm really enjoying following your restore and learning a ton. Two questions for ya, one, is the filler you're using all the homemade resin type or is it a brand name that some others have referenced in the thread? Two, do you think one of those HF HVLP guns rated at 6 cfm (minimum) would still function adequately with a 2hp 8 gal 5.5 cfm compressor? Thanks alot for taking the time to post all your work on the forum. It's really helped me plan my own project.
 

nurseman

Lieutenant Junior Grade
Joined
Jun 2, 2013
Messages
1,045
Hey nurseman! I'm really enjoying following your restore and learning a ton. Two questions for ya, one, is the filler you're using all the homemade resin type or is it a brand name that some others have referenced in the thread? Two, do you think one of those HF HVLP guns rated at 6 cfm (minimum) would still function adequately with a 2hp 8 gal 5.5 cfm compressor? Thanks alot for taking the time to post all your work on the forum. It's really helped me plan my own project.

Thanks thull! I'm learning a lot as well! To answer your first question, yes, the filler I have been using is the homemade resin+cabosil+glassbubbles. I looked at buying the 3M Marine filler, but because I had all of the ingredients on hand, I just decided to make my own. It works really well.

To answer your second question, that is not enough compressor to run a spray gun, especially if the pump is only giving you 5.5 cfm at 40psi, (which is what all of the 2hp 8gal compressors I found are rated). The pump just isn't going to produce enough air (6cfm required for gun, 5.5cfm produced at 40psi) and with only 8 gallons of reserve, you will be out of air before you can get anything done. I would recommend that you borrow or rent (or buy) a bigger compressor before you do any spraying.
I would consider something like this to be a bare minimum for running a sprayer decently.

http://www.northerntool.com/shop/too...9587_200589587

But if you are gonna spend that kind of money, then something like this is even better (and less expensive)!

http://www.northerntool.com/shop/tools/product_200455341_200455341

That of course is just my opinion, and might be worth what you paid for it! Hope that helps you out, and good luck on your project!!
 
Last edited:

thull

Petty Officer 2nd Class
Joined
May 26, 2012
Messages
142
Thanks NM! Since I've already got this compressor I think I'll try this 1.5cfm @ 30psi gun at HF:

Reviews aren't too terrible although one guy said it took 4.0 cfm. My compressor should handle that.
 

Woodonglass

Supreme Mariner
Joined
Dec 29, 2009
Messages
25,924
thull, not sure what you're gunna be painting but with only an 8gal tank even with that gun, you won't have enough air reserve to keep spraying paint and maintain a "Wet Edge" that's required for most paint jobs. Your paint will end up looking "Blotchy' and uneven unless it's a really small job.
 

zool

Captain
Joined
Aug 19, 2012
Messages
3,432
thull, not sure what you're gunna be painting but with only an 8gal tank even with that gun, you won't have enough air reserve to keep spraying paint and maintain a "Wet Edge" that's required for most paint jobs. Your paint will end up looking "Blotchy' and uneven unless it's a really small job.

Yep, And while you try to maintain that edge, the compressor will be running constantly, peeing moisture in your paint. You can give it a try tho, taking breaks at hard edges. If ur painting a hull bottom for instance, do the transom in one shot, then break to catch up, then from the gunnel edge to the chine, then chine to keel, breaking between. Then keel, to chine, to gunnel edge on other side. The wet edge can stop at a hard edge. Regardless of the wet edge, you need to maintain equal atomization, or get a case of the measles...

Use an inline moisture separator at the gun, and try to have a larger one at the source.

This will help a lot, and for not much coin.

http://www.harborfreight.com/industrial-air-filter-regulator-68247.html
 

jc55

Senior Chief Petty Officer
Joined
Nov 3, 2006
Messages
665

Thull, the problem with the little compressors are that the more they run, the more condensation they create. You need a small screw on filter and regulator ON the gun. The problem with the screw on filters, (which there's a pretty good chance that you will get it at the same place as the gun), is that the cheap ones have been reported to cut down on air volume significantly. Something that you may not be able to risk. You need 40-50psi to run that siphon feed gun. 8 gallons @125 psi is not going to make it with a 50' hose.

You need an HVLP, even a cheap one. You can run that between 18 and 25 psi and have more reserve. I usually run an 80 gallon compressor but this time I used a 20 gallon at 90psi max and shot my transom at 9.5 cfm, 25psi and it only kicked on once. But that's a small emergency job and not the whole boat!

Get an HVLP not a siphon feed, you won't be spraying in "the cloud" :painkiller:
 

jc55

Senior Chief Petty Officer
Joined
Nov 3, 2006
Messages
665
Yes Zool, I've owned a couple of those HF water traps. They work good with the gun filter but NEVER take them apart for any reason. They leaky leaky:thumb:

I also suggest an air hose dedicated for painting only. To avoid moisture, the air hose you use for 2 hours of sanding is not the same one you want to use to paint with no water trap on a small compressor.:laser:
 
Last edited:

nurseman

Lieutenant Junior Grade
Joined
Jun 2, 2013
Messages
1,045
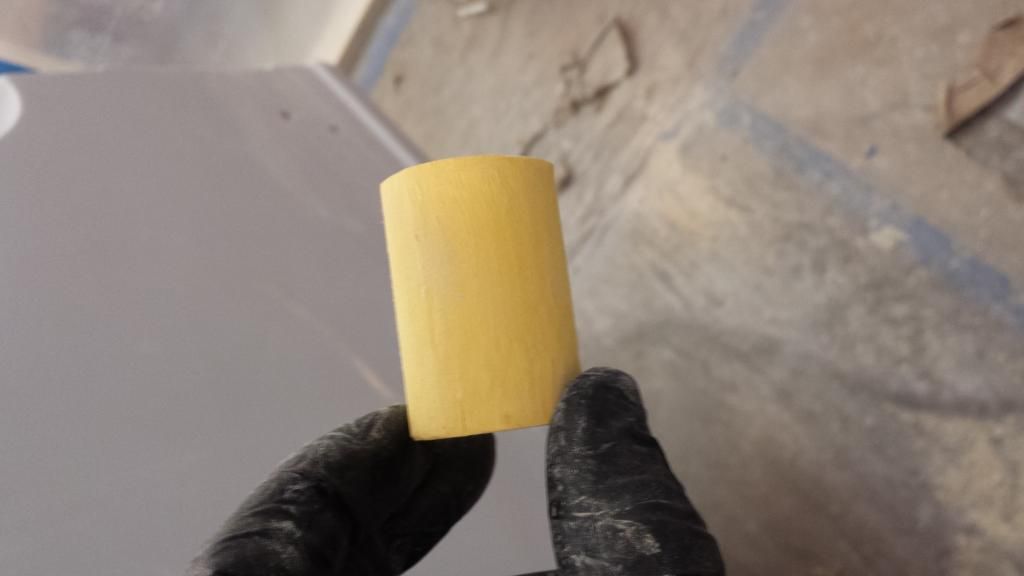
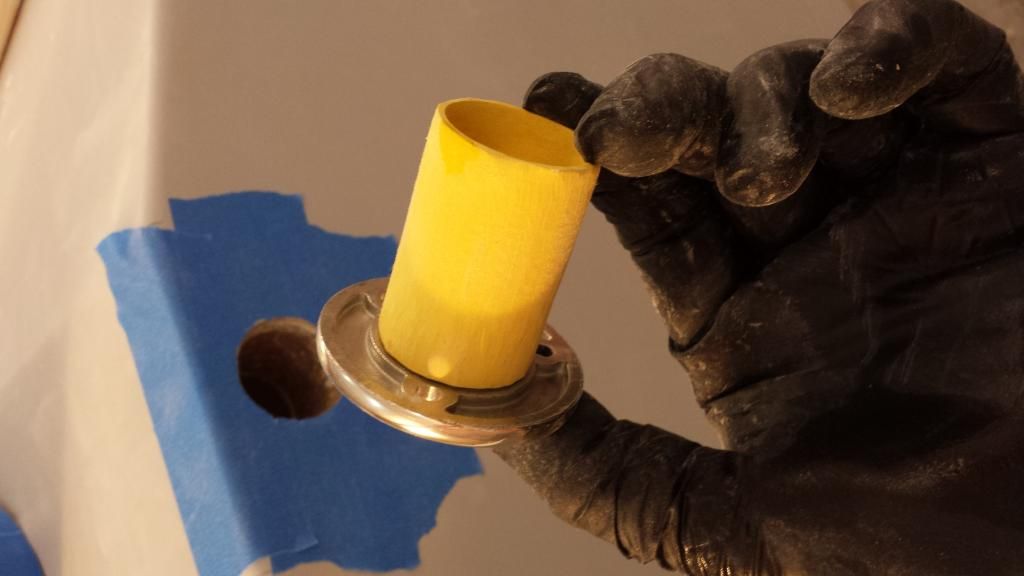
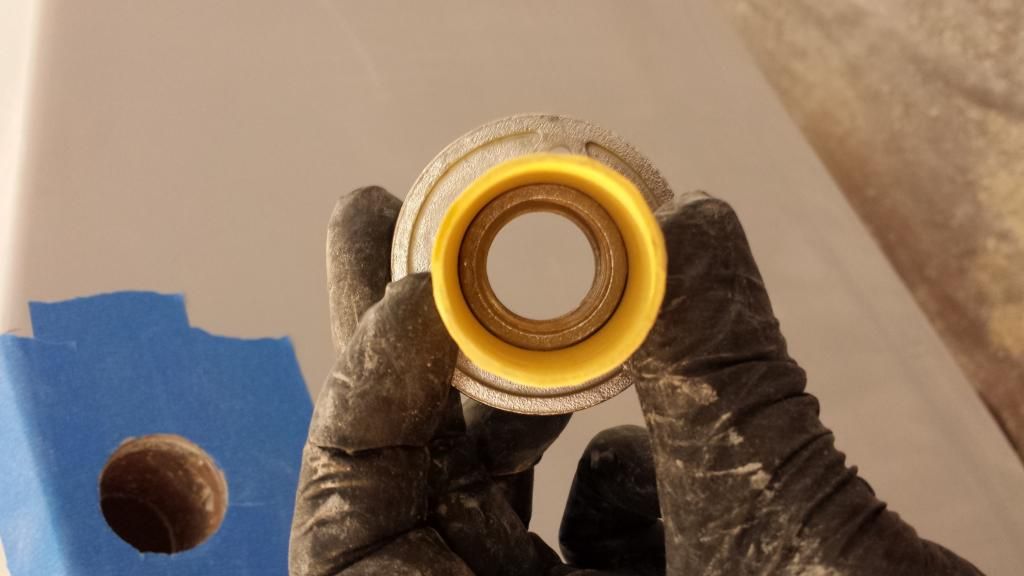
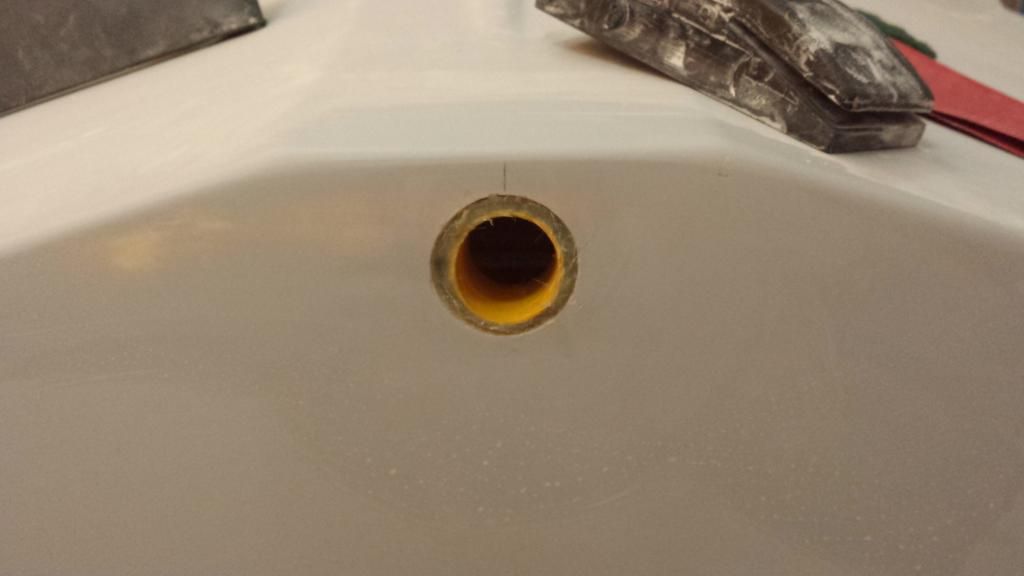
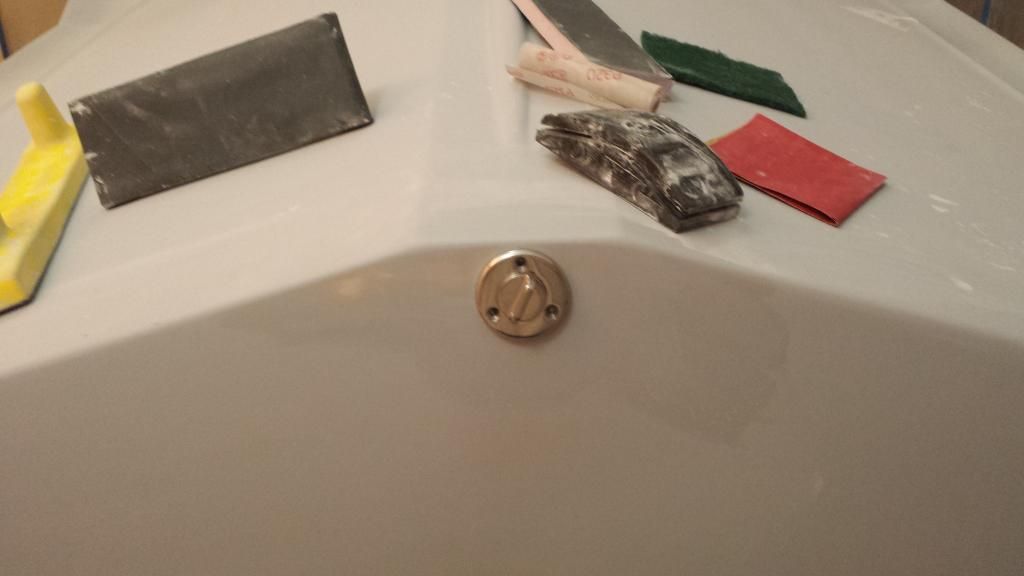
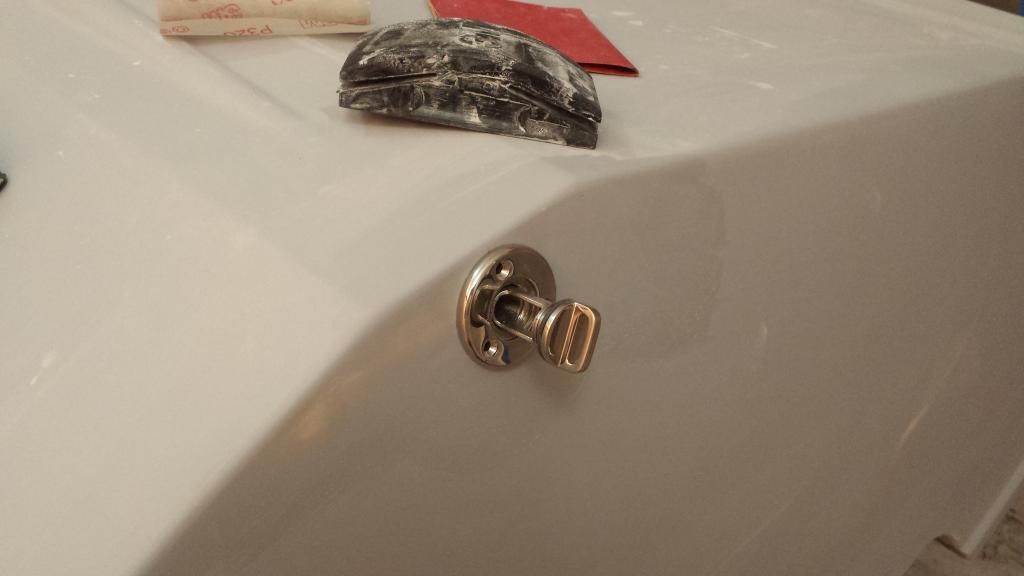
In the midst of sanding primer, I realized that I had not drilled the holes for the transom tow eyes or bilge drain. So I did that last night. I wasn't sure if I needed a tube for the drain plug (garboard style), so I went ahead and installed one. I used a section of fiberglass tubing that I had on hand from a broken shovel handle, and scuffed it up really good with the dremel. It fit perfectly around the drain.


Whipped up a little batch of PB and stuck the tube into place


and presto!


Of course when I install it permanently, I will use 5200 generously.
 

sphelps

Supreme Mariner
Joined
Nov 16, 2011
Messages
11,435
Re-purposed shovel handle ..... Al Gore would be proud !! :D
Cool that it fit the drain perfectly like that ....
 

nurseman

Lieutenant Junior Grade
Joined
Jun 2, 2013
Messages
1,045
Yea, I have a son who thought that using a sledgehammer to pound the shovel into the ground was a good idea...:facepalm:
 

GT1000000

Rear Admiral
Joined
Jul 13, 2011
Messages
4,916
Excellent re-purposing of custom made sledge hammer, shovel handle...at least no clamps were harmed in the making...:D

A tip...
Before permanent installation, pre-drill the mounting screw holes, run them in to create the threads, then remove, apply 5200 and re-install.

Another tip...well, idea, anyway...
I haven't acquired one yet, but I am going to get a section of SS chain and make a tether for my plug...not so much worried about losing it, just when I want to completely remove it to flush out the bilge drain, I can just un-screw it all the way out and let it dangle...
 

nurseman

Lieutenant Junior Grade
Joined
Jun 2, 2013
Messages
1,045
Excellent re-purposing of custom made sledge hammer, shovel handle...at least no clamps were harmed in the making...:D

A tip...
Before permanent installation, pre-drill the mounting screw holes, run them in to create the threads, then remove, apply 5200 and re-install.

Another tip...well, idea, anyway...
I haven't acquired one yet, but I am going to get a section of SS chain and make a tether for my plug...not so much worried about losing it, just when I want to completely remove it to flush out the bilge drain, I can just un-screw it all the way out and let it dangle...

Thanks GT, I am a firm believer in pre drilling screw holes. Good idea with the tether chain!
 

Mikeopsycho

Senior Chief Petty Officer
Joined
Feb 6, 2014
Messages
738
Nice job on the garboard drain shovel handle tubing liner thingy! :clap2: My wife thinks I'm a bit of a hoarder, just because she can't get the car into the garage I guess, but even I don't have a broken shovel handle kicking around. :D
 
Top