1979 26' Commander gas & H2O tank replacement & ?

Mikeopsycho

Senior Chief Petty Officer
Joined
Feb 6, 2014
Messages
738
Good suggestions guys. I think I'll do a little of both, spray with bleach and leave it for awhile and see what happens. I wonder if there's some kind of simple at home kit for testing for mold?
 

kcassells

Fleet Admiral
Joined
Oct 16, 2012
Messages
8,600
Just bleach it and see what that does when its dried up. I think the prior responses were good and probably was some old crappy adhesive as mentioned.
 

kcassells

Fleet Admiral
Joined
Oct 16, 2012
Messages
8,600
LOL back at you glad you had a chuckle...me too! The acetone promotes drying of water/bleach so the "problem" doesn't have a chance to start up again. So I would
"SMACK IT" after a dry wipe of bleach to promote drying it. lol
 

bigdirty

Senior Chief Petty Officer
Joined
Oct 4, 2013
Messages
652
There sure is a lot of smacking going on in this thread tonight... :rolleyes: :lol:
 

nurseman

Lieutenant Junior Grade
Joined
Jun 2, 2013
Messages
1,045
Good suggestions guys. I think I'll do a little of both, spray with bleach and leave it for awhile and see what happens. I wonder if there's some kind of simple at home kit for testing for mold?

Home Depot and Walmart both have DIY mold test kits. Don't know how well they work.
 

Mikeopsycho

Senior Chief Petty Officer
Joined
Feb 6, 2014
Messages
738
Home Depot and Walmart both have DIY mold test kits. Don't know how well they work.

Thanks N-man. I did some more online research and it looks like if it was mold, it was surface mold. The suggested remedy is clean it well with detergent, seal the surface with a lacquer primer-sealer paint, and make sure there are no water leaks. There was a warning about bleach possibly causing issues with adhesion with finish coatings, in my case that would be the primer-sealer and the nautolex adhesive. I don't know if 'smacking it with acetone' hehe, could cause any future adhesion issues or not, I suspect not.

So what I've decided to do is clean the surface with detergent and then go with bigdirty's advice and leave it alone for awhile. I have plenty of other things to keep me busy on the project, so I'll carry on with them and get back to this later. If it still looks OK by the time I'm ready to prime the rest of the walls I'll go ahead and fill my test holes with 5200 and prime the area.
 

Mikeopsycho

Senior Chief Petty Officer
Joined
Feb 6, 2014
Messages
738
I hear ya Kevin. Will do. I'll smack that boat silly.

I got a little bit done today. I had to figure out how to get the wires from the engine space to the sender unit inside the gas tank coffin. I drilled a hole through the deck plate and fed a piece of tubing through to carry the wires. Then I nibbled away at the edge of the deck plate opening to accommodate the wire chase. I coated the bare wood I exposed with 5 minute epoxy, and installed the deck plate in a bed of 5200, and coated the screws with 5200 before installing.


I made the wire connections,


and spun on the cap,


Then I completed my drain lines. On the left with the ball valve is the water tank drain, in the centre and higher up is the gas tank coffin drain, and on far right is the water tank coffin drain,


This area between the engines is boxed in and separate from the actual bilge, which is further aft. I'm going to install a 2nd bilge pump in this boxed in area that'll dump overboard. I'm also going to drill through to the bilge at a yet to be determined height so that if my main bilge pump fails this secondary pump can take over.
 

Mikeopsycho

Senior Chief Petty Officer
Joined
Feb 6, 2014
Messages
738
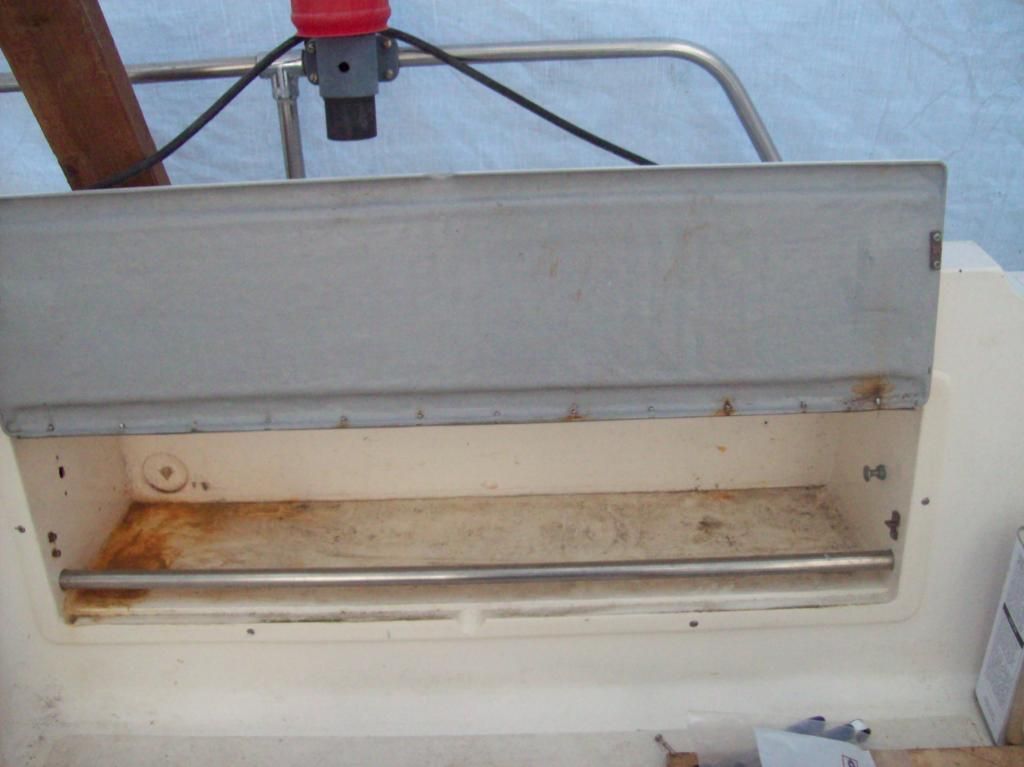
Not a heck of a lot to report. Been tinkering on the boat, getting some odds and ends done. I replaced screws in the port cockpit stowage bin piano hinge with rivets, the screws had been used years ago and caused binding at the hinge. I have no idea why I put up with this till now, but I did. Then I re-installed the compartment into the opening, ( I had removed it for access to the under side of the gas fill deck plate). Now the door closes properly,


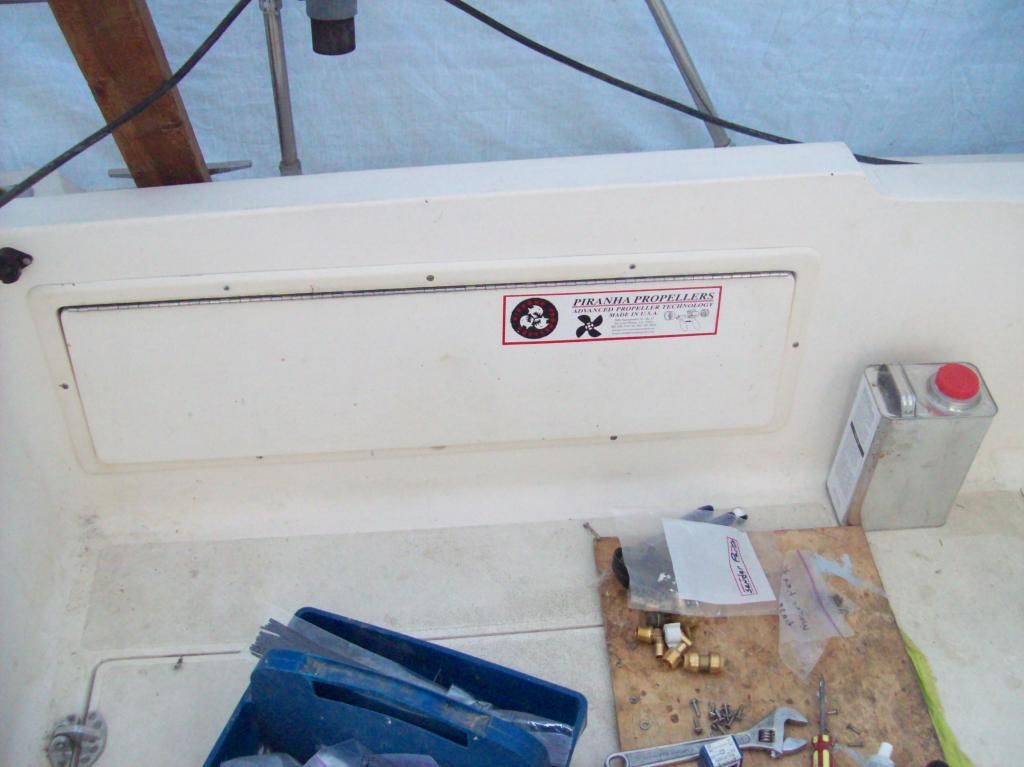
Still need some cleaning,


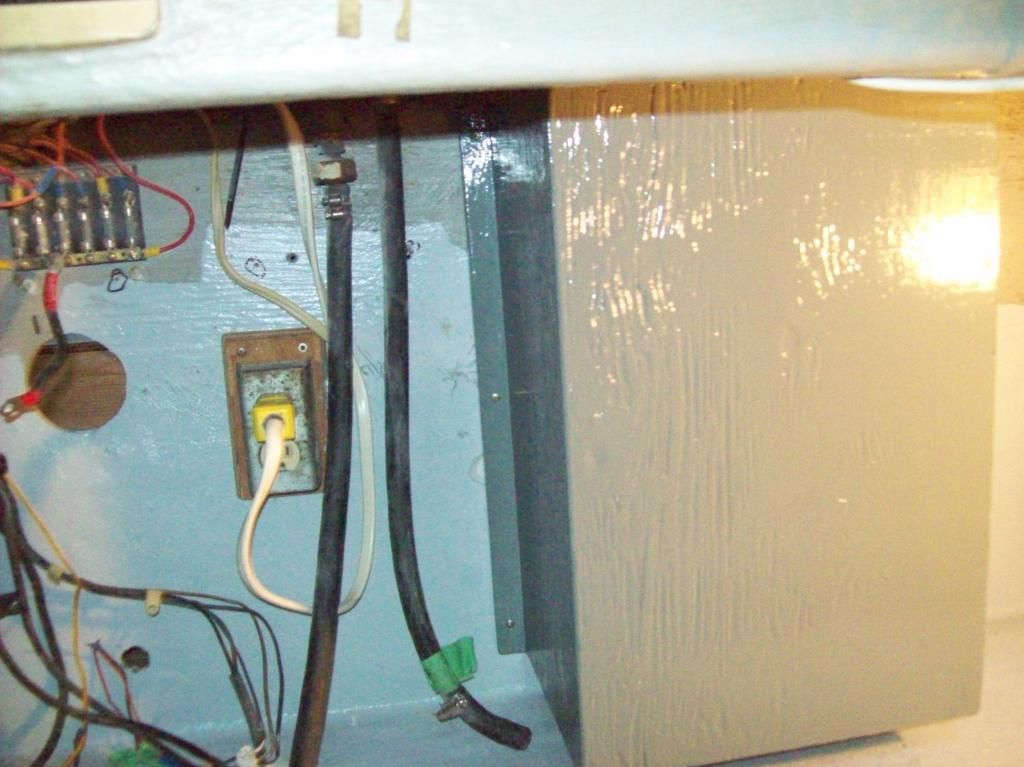
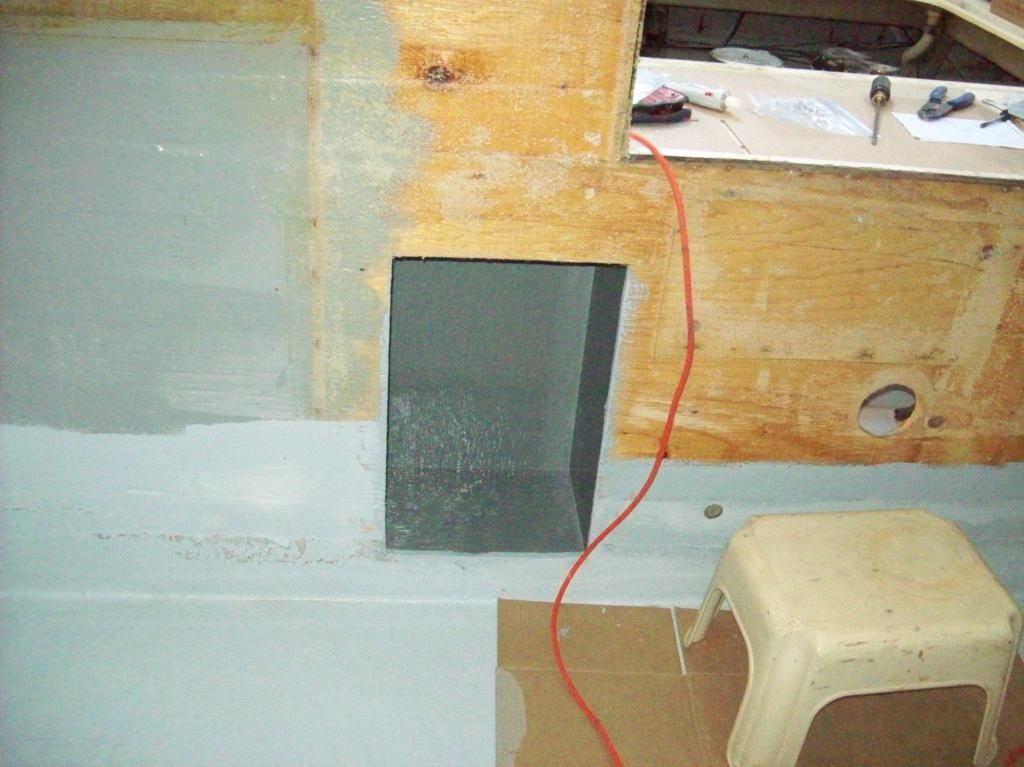
I notched the battery box lid for clearance from the rod locker so I can mount it a bit further to Port for better access to firewall mounted equipment,
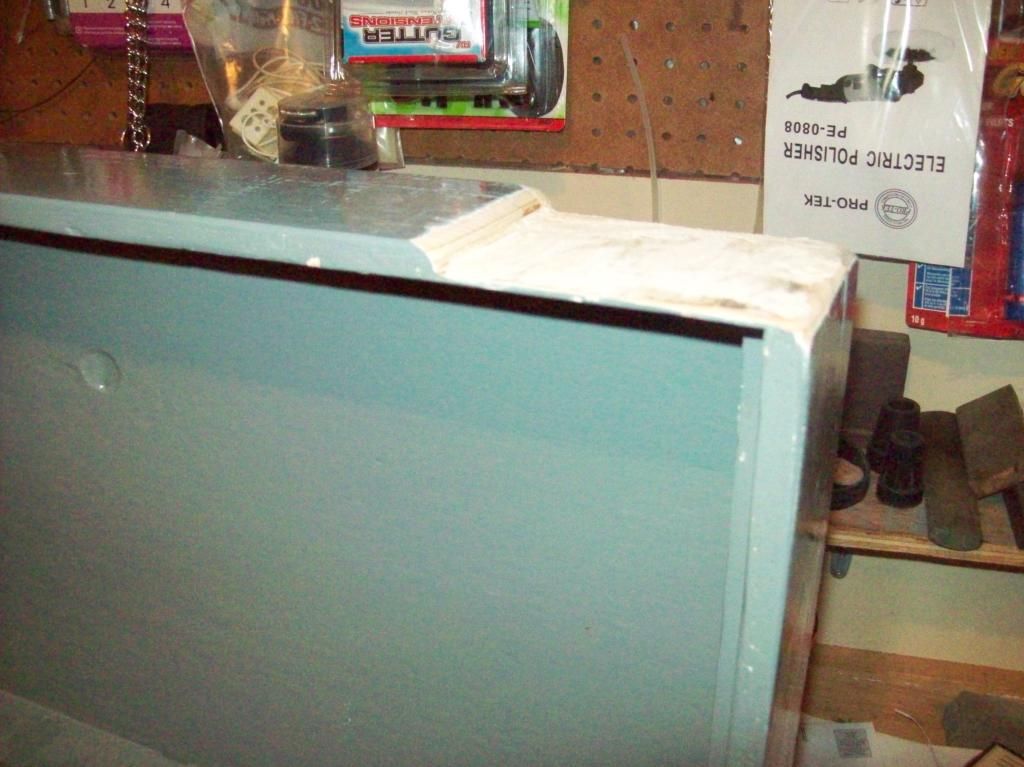


Primed and painted,


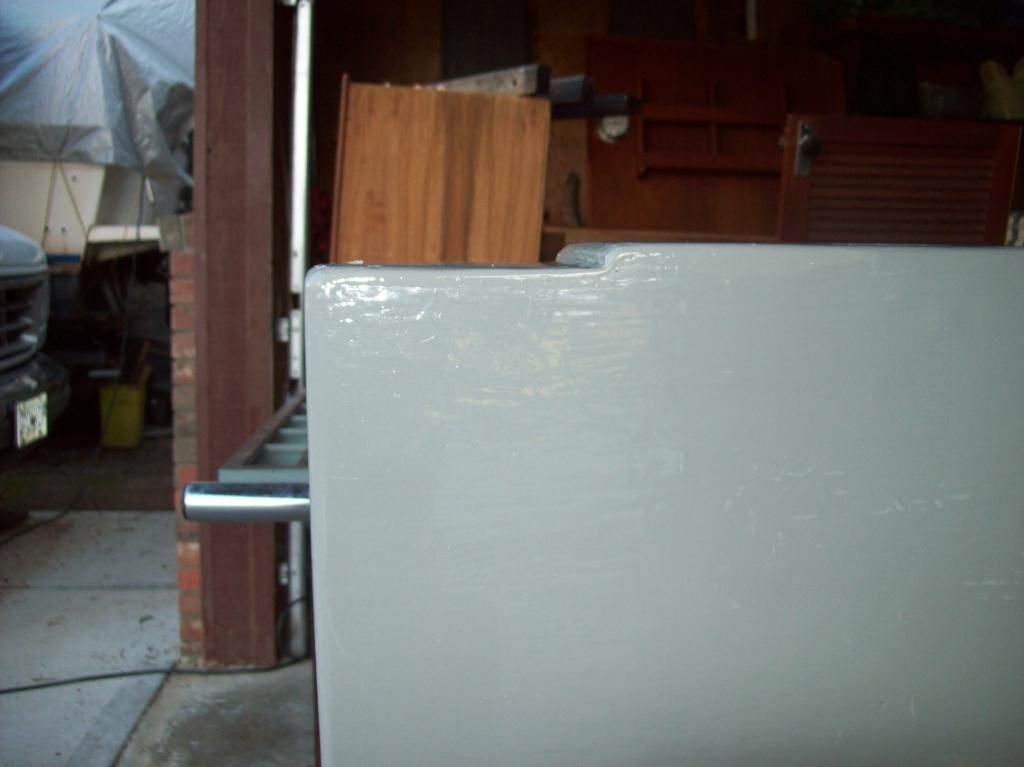
I mounted the trash can compartment,


I removed the old abandoned copper hydraulic steering lines from behind the Starboard wall cavity and the engine space and I secured the hydraulic hoses properly,


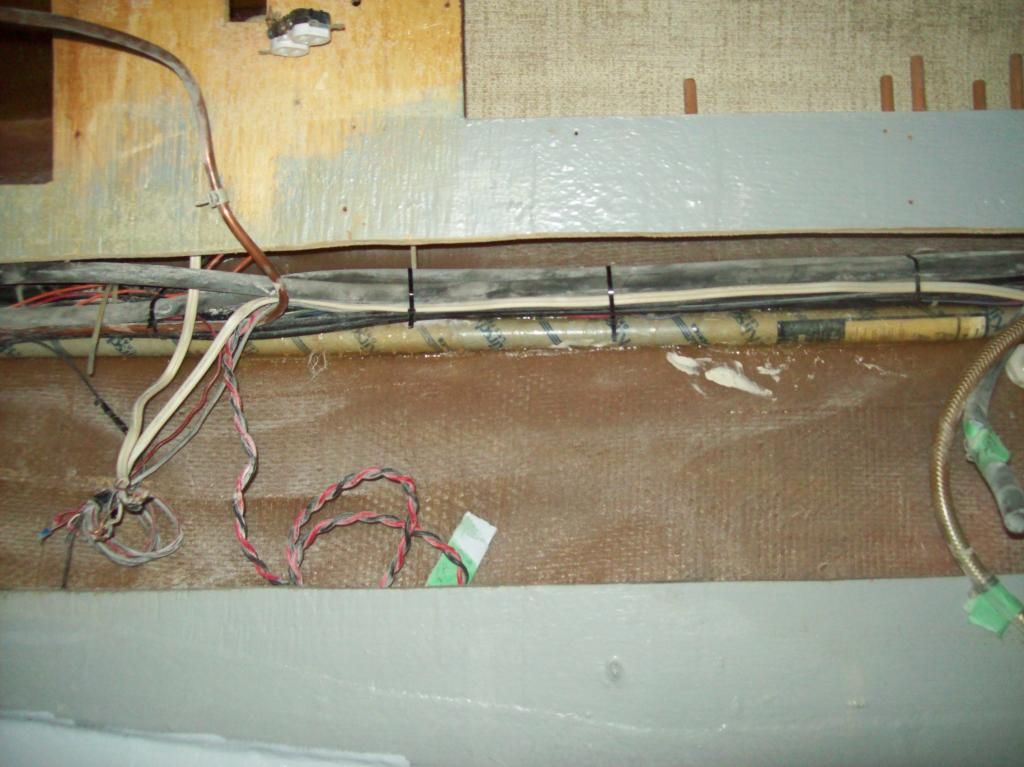
I also secured all the loose wires, etc. in the wall cavities and in the engine space, just to neaten things up a bit.

As for the wall treatments, I will be using nautolfex on the head walls, but I'm still not sure about the rest of the walls. The problem is mostly at the front, the area around the windshields. Nautolex, and other products like it need the joints and edges to be secured mechanically, and I can't see how to do that in the front of the boat. I'm actually starting to lean towards paint. The joints in the plywood are glassed together, so I'd need a primer that would stick to fiberglass and to wood. Then a couple coats of some kind of good oils based paint and voila, I'd have washable, light coloured walls.


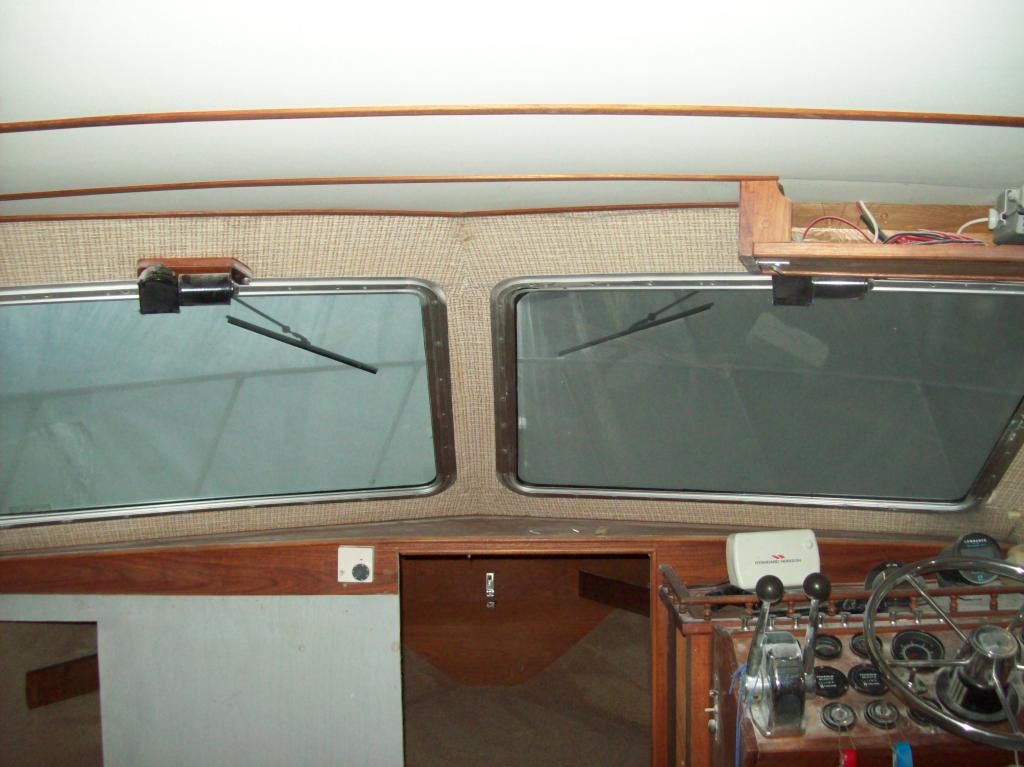
And I have decided to replace the headliner. Something I've never done, so more learning coming up.
 

Mikeopsycho

Senior Chief Petty Officer
Joined
Feb 6, 2014
Messages
738
Thanks KC. Not much happening, just chugging along.
Here's the old copper hydraulic steering lines I removed. The wet spot on the floor is old hydraulic fluid


I got the domestic water heater base mounted,


and the battery box in,


I removed the windshield moldings and wiper motors,


I removed the VHF radio and the radio box, the forward most ceiling molding slats, and started stripping the wall covering,


It's going to be a chore to get it all off! Lots of flakey dirty dusty stuff! What you see on the dash came from the little bit of material I scraped off the wall so far..

When I went out onto the bow to pull the wipers, I realised the entire bow area and windshields were covered in a thick layer of fiberglass dust from my fun grinding days. I had the bow hatch open during the grinding and glassing for ventilation, but I was surprised by how much dust settled here. :eek: I vacuumed as much as I could reach, and I can actually see out the windshield again. :pirate:
 

kcassells

Fleet Admiral
Joined
Oct 16, 2012
Messages
8,600
Mike,
I can see from your comment that not much was done.........you sure are slacking and smacking. lol
Come on your like one of my heros with your work progress. Such a jack arse! saying I only got not much done. Your kickin it! Hey does the hot water heater have a drain out/pan in case it breaks down? to let the water out etc...and not damage a compartment. It happens everyday in homes with a flood. In a boat that could spell total loss. Just askin.
On water lines did you put a fitting in to blow out the water with a compressor for the low spots in the winter season?
 

Mikeopsycho

Senior Chief Petty Officer
Joined
Feb 6, 2014
Messages
738
Hehe :laugh:. Well, I got nothin' done yesterday, a true slacker!

The water heater is in the front of the engine space, under the cockpit deck, so if anything leaks there it goes into the bilge. I'm planning to put a tee and a valve on the lowest (inlet) fitting on the water heater for seasonal draining, that'll drain the entire fresh water system downstream of the pump. I've always had to disconnect fittings and remove a check valve to drain it, so this'll be a nice improvement. I ran a drain line from the fresh water holding tank back into the bilge with a ball valve on it for draining the tank and the entire water system upstream of the pump. Good idea about using a compressor, but I think if I leave all the valves and taps open during winter lay-up after draining I'll be OK. Keep asking away, Kevin, it keeps us on our toes. :)
 
Last edited:

Mikeopsycho

Senior Chief Petty Officer
Joined
Feb 6, 2014
Messages
738
I glued in doweling with titebond 3 to plug the 3/8" test holes that I'd drilled in the wall. I also reinforced behind the wall where the dinette table bracket attaches with a piece of 3" wide 3/4" plywood glued in and temporarily held in place with screws.


Then I removed all the screws that held the helm base/starboard hanging locker in place so I could move it enough to scrape the wall covering off,


I got most of the material scraped off from the front windshield area,


And I'm back to thinking I'll cover the walls with Nautolex. The only place I can't secure a joint mechanically is at the windshield area, where I'm hoping that contact cement will permanently stick down the vinyl. I'll be making a road trip to the big city in a week or two so I'll check out the big marine stores to see if they have any nautolex in stock.

I'm trying to find a replacement pedestal for my spot light. A customer service rep from iboats suggested I ask on the forum, as they do not stock this part. You'll see in the pics how it's broken,


I can't quite make out what brand it is, here's what's left of the label,


And here's the spotlight control panel


Any ideas what make this light is and where I can locate a replacement pedestal will be appreciated :)
 
Top