1979 26' Commander gas & H2O tank replacement & ?

Mikeopsycho

Senior Chief Petty Officer
Joined
Feb 6, 2014
Messages
738
Hey WOG, thanks. Just to clarify, are you saying to put a 3" and 5" CSM layer, then the two layers that cover the hole deck?
 

kcassells

Fleet Admiral
Joined
Oct 16, 2012
Messages
8,600
Hey WOG, thanks. Just to clarify, are you saying to put a 3" and 5" CSM layer, then the two layers that cover the hole deck?

Mike, it's Kevin. I'm sending you a couple of round trip tickets to anywhere. Man you are kickin some arse and need a rest,,,How do You do it? I just don't know.
 

Woodonglass

Supreme Mariner
Joined
Dec 29, 2009
Messages
25,924
Yep, If you don't want the seam to "Bleed" thru. A little PB putty wouldn't hurt either. Just depends on how "Picky" you wanna be. Sanding and feathering the "Bump" before the final layers too doncha know!!!;)
 

Mikeopsycho

Senior Chief Petty Officer
Joined
Feb 6, 2014
Messages
738
Mike, it's Kevin. I'm sending you a couple of round trip tickets to anywhere. Man you are kickin some arse and need a rest,,,How do You do it? I just don't know.

HAHA! I just keep plugging away, I really want to get her done by mid August...ooops, missed the deadline....er..by mid September then...uh..oh-oh..by next spring, ya, that's it, next spring....LOL. I'll prolly slow down a bit once the glass is all done, but the cool weather approaching is keeping me motivated.

Thanks WOG, gotcha. I wanna do the deck tomorrow, so I'll start with the 3" and 5" CSM strips on the joint, wait till it kicks, then sand and feather a bit before I coat the deck with resin and carry on with the lay-up. Or..... I don't suppose there's any way to get a relatively smooth finish by just laying the whole thing down wet on wet? Wet out the deck, when it tacks up start with the 3 & 5" strips, then the 1708 tabbing, followed by the two layers of CSM?
 

Woodonglass

Supreme Mariner
Joined
Dec 29, 2009
Messages
25,924
Yup, If you fill the crack with a bit of Mayonaise consistency PB and then DON'T put any strips down and just put the two layers of CSM down you'll be OK You shouldn't see the crack and as long as you don't get any flex ( and with the biscuits you shouldn't) you'll be fine.
 

Mikeopsycho

Senior Chief Petty Officer
Joined
Feb 6, 2014
Messages
738
So, Saturday I decide I'm gonna finish the deck inside the boat. I'm very well prepared; Had a heater running in the boat for a couple days. All my cloth and matt is cut to fit, labeled, and stacked in the correct order. I've got brushes, rollers, acetone, bubble busters, gloves, rags, etc., moved into the boat. I have enough resin to complete the job.....I'm all set!

I wetted out the deck boards, and waited for it to tack up, then I started glassing. I put down the 1708 tabbing, then the first layer of CSM, and about 90% of the second CSM layer, wet on wet, and I RAN OUT OF MEKP!!!!!!! WHAT???!!! :rant:I couldn't believe it! How can I be soooooo prepared and not realise I was running short of catalyst? :frusty: I still needed to lay a strip along the starboard side, which will be under the galley cabinets, and a couple small pieces under the bathroom pan at the port aft, and I was stuck. I phoned the fella at the fiberglass shop in town and he brought me some MEKP on his way home from work, (luckily he was working on Sat).

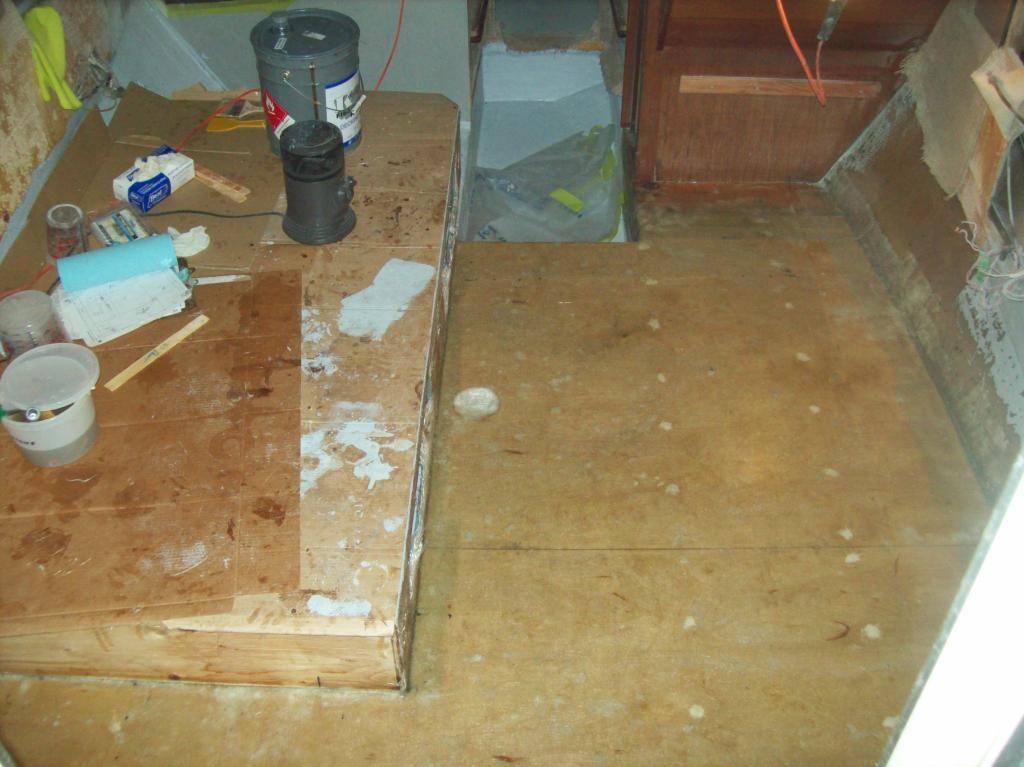
Here's how it looked Sat. You can kinda see the lighter single matt layer on the right of the pic,


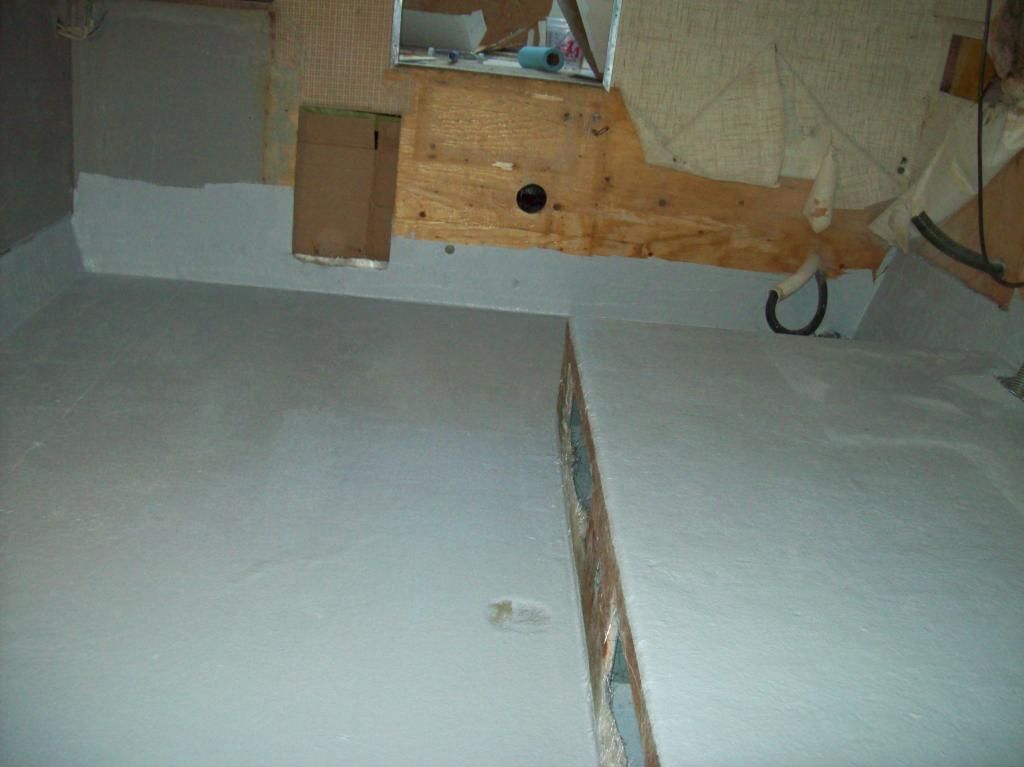
Sunday morning I got back at 'er. I wiped down with acetone and finished laying the CSM, waited for it to tack up, then rolled on the first coat of gelcoat with no wax. When it tacked up I applied the second coat with wax and crushed walnut shells.


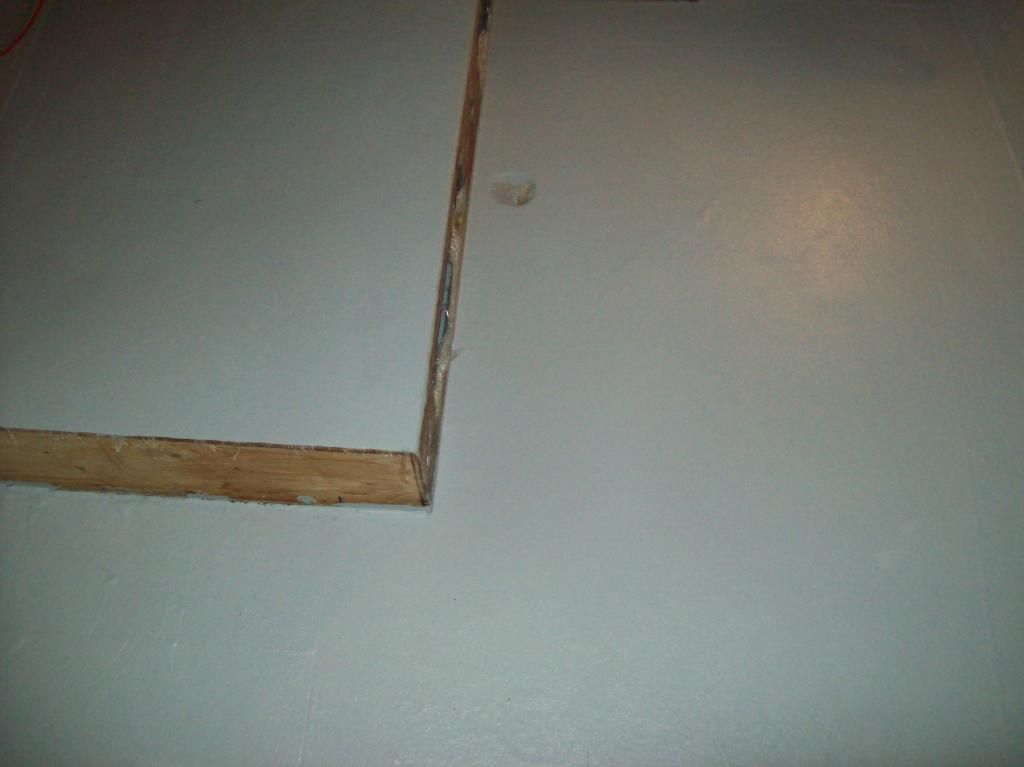
And here's looking aft from the V-berth,


This is the grit I added,


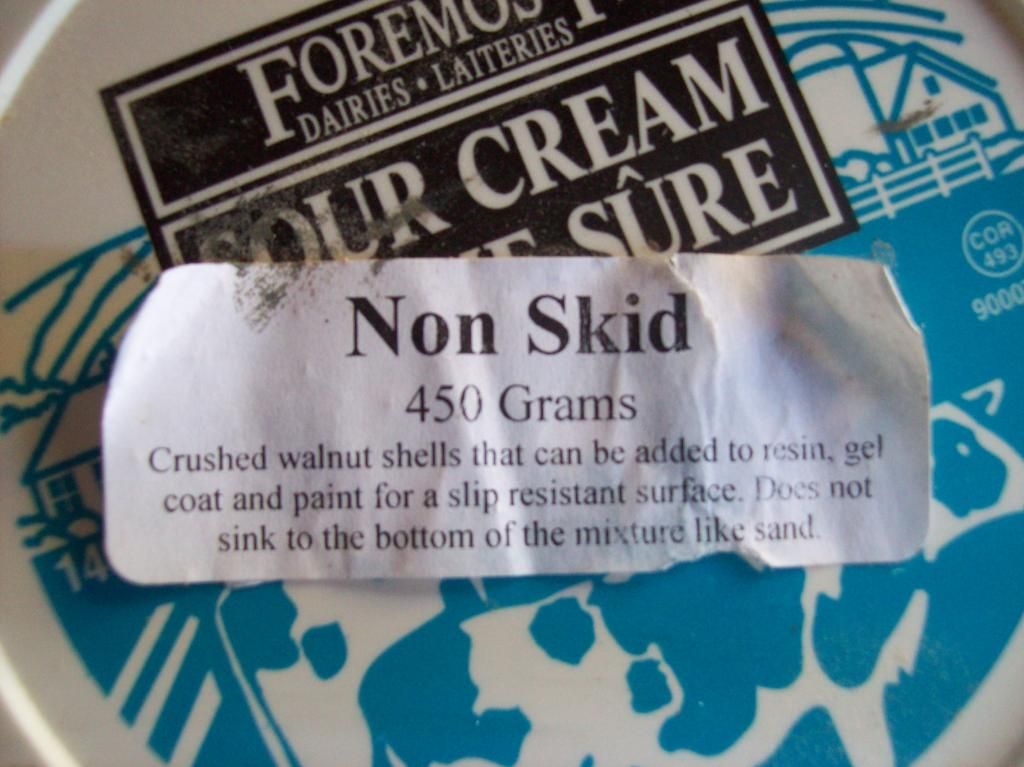
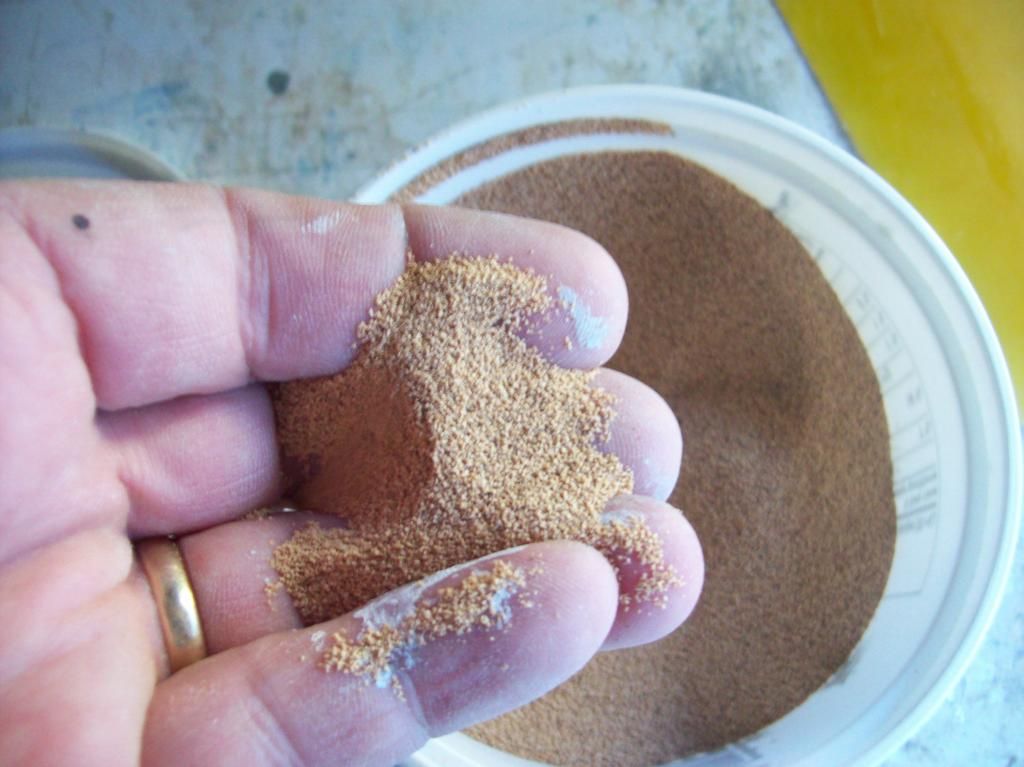
I couldn't find any info on how much to use, so I went with 10% by volume. Wax was 4% and MEKP at 2%.


Yesterday I cleared all the holes and openings, and installed the deck plate above the fresh water connections. I also replaced the gas deck fill fitting and installed the fill hose and the ground wire. Then I did a light rough and scruff on the bottom of the step down into the V-berth because on Sunday I had started rolling on some gelcoat with grit when I remembered that I hadn't ground the area after previously applying a waxed coat. I have enough gelcoat and grey dye left to redo it, this time with grit. And I have enough MEKP....now. :whistle:

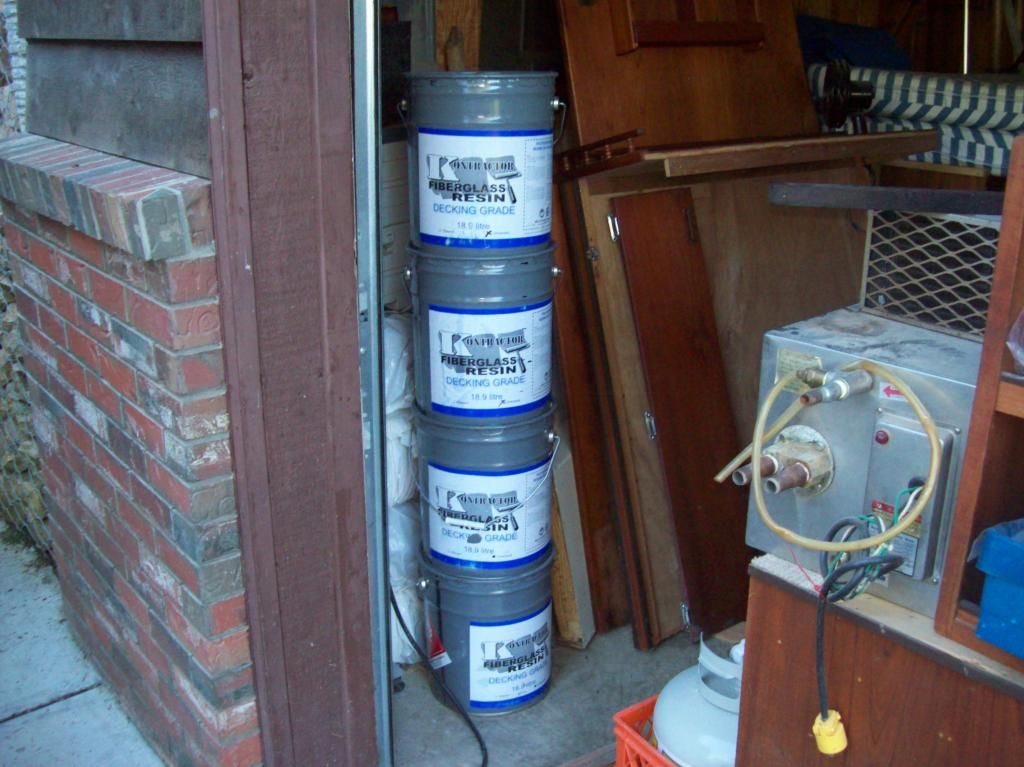
The final count of resin used.......19 US gallons, (72 liters). I got one of the cans from the fiberglass shop after he had used one gallon.


nurseman

Lieutenant Junior Grade
Joined
Jun 2, 2013
Messages
1,045
Ha! You dodged a bullet for sure!:eek: That is a major benefit to buying stuff locally, you would have been up s##t creek with no paddle if you had to order online:miserable:. But it looks good from here, so that is what matters, right?
 

Mikeopsycho

Senior Chief Petty Officer
Joined
Feb 6, 2014
Messages
738
Quote "That is a major benefit to buying stuff locally"

You said it nurseman! It's worked out great a couple times having a fiberglass shop guy who lives in the area, and who's nice enough to deliver to my doorstep! He told me he doesn't apply gelcoat till the next day after glassing, allowing a full cure first, which is exactly what I had to do, so all is well. :)

I got the V-berth step gelcoated yesterday, this time with grit.
 

Mikeopsycho

Senior Chief Petty Officer
Joined
Feb 6, 2014
Messages
738
Yesterday's photo of the deck plate and the V-berth step redone. As you can see, I got the gelcoat dyed darker than the rest....oh well,


Today I started removing window frames, moldings, fixtures and fittings, and began to strip off the old wall coverings,


This was on the back of the vinyl stuff from the head area,


So I think I'm gonna go with nautolex all around, rather than using the cloth stuff that was on the rest of the walls, which looks like this,


After stripping wall covering, starboard forward,


Starboard facing aft,


And port facing aft,


Note the dark wood at the back of the window. This is in the head area, and was under the vinyl wall covering. Obviously the window has been leaking. I had pulled the starboard window a few years and reseated it to repair a leak in a similar location. I guess I couldn't see the leak on this side because it was hidden by the vinyl. I'm not too sure what I should do here, maybe drill test holes and test for moisture/rot? Here're a couple of close-ups,


As you can see I still have to pull the wiper motors and the windshield moldings, then scrape off the wall covering from around the windshields....a PITA to get at, that's why I quit where I did today......


Mikeopsycho

Senior Chief Petty Officer
Joined
Feb 6, 2014
Messages
738
Looks like it might be mold. I wonder if I can neutralise it with bleach or something? Then maybe I should drill some exploratory holes to determine the soundness of the plywood. Just thinking out loud here...er, uh, typing out loud........
 

kcassells

Fleet Admiral
Joined
Oct 16, 2012
Messages
8,600
I've used bleach to remove molds in /on glass with good results. Wash with soapy water first, wipe clean, then wipe with bleach, wipe clean then wipe with acetone
that will promote drying that area out very fast. Acetone a few times until dried out. Don't leave it wet obviously and it all should be done as 1 step till finished. If it pulls out the mold brush/roll some resin over it to seal it.
I haven't used vinegar so I can't respond. Hopefully the mold is on the surface and did not permeate from the backside. Well at least finding this now will let you breath easier later!!
 

bigdirty

Senior Chief Petty Officer
Joined
Oct 4, 2013
Messages
652
hey man, just catching up on your thread here... Lookin good man! ya, that looks like mold to me, and as you are already this far into it I would lean towards cutting and scrapping it out to the glass (I assume that would be the outer superstructure/wall), and replace with a cut to fit piece of ply glued in.. you could easily smooth it out after, and re cover with the vinyl..
 

kcassells

Fleet Admiral
Joined
Oct 16, 2012
Messages
8,600
Biggy is probably right. That leaves no question as to where the mold originated, front or back. Or Just cut out a small pc. End of the day...the Hero that you are will just make it right!
 

Mikeopsycho

Senior Chief Petty Officer
Joined
Feb 6, 2014
Messages
738
Thanks guys, I don't know if it was mold or not. I poked around at it a bit today and everything seems ok except for the black discolouration. I stabbed at the wood with an awl and it felt solid. Then I drilled a bunch of test holes with a 3/8" bit, and I got nice light coloured dry wood everywhere.


Then I used a wood scraper and sanded a bit to see how it looks,


Hmmmm, looks pretty good to me. There was no mold nor black discolouration on the back of the vinyl when I removed it, only on the wood. I really don't know what it is/was, but I guess I'll just fill the test holes with 5200, sand and primer seal the area to prep for new vinyl. I'll remove the window frame, clean it up, and re-bed in 5200 in case it had been leaking.

I also test fit the steps to see if I needed to make any changes to the mounting hardware. The sole is about 1/4' or so higher than it was, so the lag bolts through from the engine space don't quite line up. I marked where they need to be on the salon side. I'll fill the old holes with some kind of wood filler and drill new ones.


I vacuumed the engines and equipment space about as much as I can to try to get rid of the fiberglass dust, but there's a lot I can't get. Maybe once I get all the lines and hoses hooked up I'll bag the flame arresters and pressure everything with the garboard plug out.
 

Mikeopsycho

Senior Chief Petty Officer
Joined
Feb 6, 2014
Messages
738
Hey BD and Kevin. I guess I was typing at the same time as you guys. You think it's mold? I really don't wanna leave that wood if it should be replaced, but it looks so good under the black stuff. If I do replace it could I just use adhesive to attach it to the fiberglass behind, and wood glue at the edges?
 

nurseman

Lieutenant Junior Grade
Joined
Jun 2, 2013
Messages
1,045
Looks good. If it was my boat (which it isn't) I would still spray some bleach on there and let it dry for my own peace of mind before I sealed it with resin, but that is just me.
 

bigdirty

Senior Chief Petty Officer
Joined
Oct 4, 2013
Messages
652
Hmmm... well, if it came off with sanding, ad the test holes look good my guess is it may have been left over adhesive from the original wall covering.. Maybe some sort of reaction over the years, combined with moisture in the enclosed space.. I'd leave it alone for a bit, and see if the 'dark spot' comes back, bleeding through where you have sanded.
 
Top