79_banshee
Petty Officer 2nd Class
- Joined
- Sep 2, 2016
- Messages
- 176
Looking good


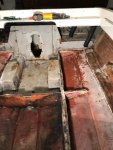
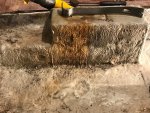
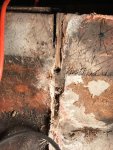
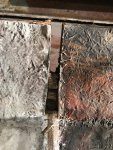
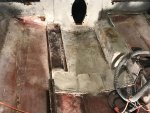
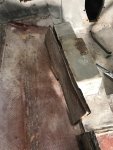
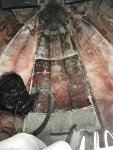
Btw i lengthened my stringers with a simple 'sandwiched' butt joint.
man you rolling along I'm on board
hows the itch?")
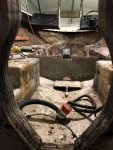
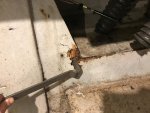
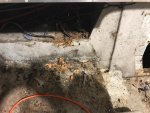
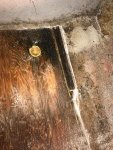
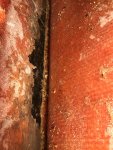
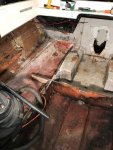
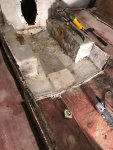
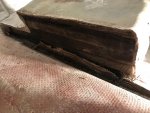
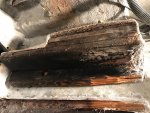
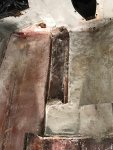
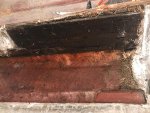
Good call. I did not think you would be able to save the motor mounts, unless they were fully isolated (by fiberglass) from the stringers, etc.
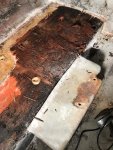
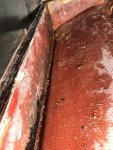
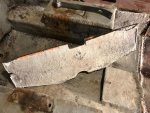
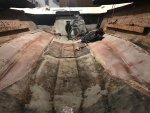
It was a nice thought, but in hind sight, unrealistic. I can tell you it was pretty scary removing that first mount. It is nice however that I'll be able to use them as patterns since they came out as an assembly. Still pretty amazed at how much all this water logged crap weighs.