DeepBlue2010
Lieutenant
- Joined
- Aug 19, 2010
- Messages
- 1,304
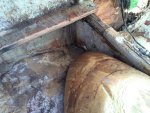
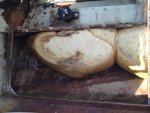
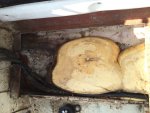
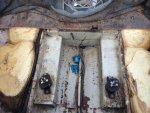
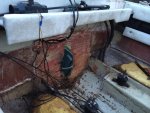
For the stringers, yes. As close to the transom as you can get and moving forward every 12 inch until the first bulkhead. Stringers - usually - rot from the transom to the bow. If you pass this area and you are still good, the rest of the stringers - most likely - is OK but you can take couple of samples from the middle and the front of the stringers for good measures.
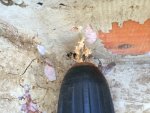
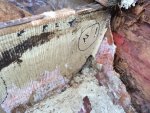
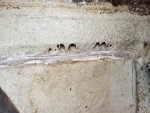
For the deck, start by tapping every square inch of it. listen carefully to the sound of the hammer. You are looking for a good crisp sharp sound. Any muffled sound needs further inspection to determine the reason. Document all your findings with pictures or videos if possible
For the deck, start by tapping every square inch of it. listen carefully to the sound of the hammer. You are looking for a good crisp sharp sound. Any muffled sound needs further inspection to determine the reason. Document all your findings with pictures or videos if possible