SS4x4, A themed build.

Prepmech

Seaman
Joined
Oct 22, 2015
Messages
66
Thanks! You guys are awesome!


The port side turned out pretty good:


Still struggling with the starboard side:


If I reinforce it, it doesn't have to be perfect, can use filler to make it look good.
 

g0nef1sshn

Lieutenant
Joined
Feb 24, 2015
Messages
1,291
Not to jack the topic and your build, but you just jelp me find a solution to my wind problem by seeing those mesh walls! Thanks and good to see ya back at it!
 

Prepmech

Seaman
Joined
Oct 22, 2015
Messages
66
That's an old ironing board I use as a work bench.

Old ironing boards and bed frames should never be thrown away.
 

Prepmech

Seaman
Joined
Oct 22, 2015
Messages
66
No more cracks or holes!


Excited because the splashwell is almost done, and it was the worst part of the boat.

Still need to reinforce it, but that will be easy enough.
 

Prepmech

Seaman
Joined
Oct 22, 2015
Messages
66
Cleaning up controls a bit.


The lever is chrome, but showing some wear. Will be easy enough to rechrome or paint later, so I am going to leave it for now.

The cable swivels were wore, so got some new ones.
 

Watermann

Starmada Splash of the Year 2014
Joined
Jan 12, 2013
Messages
13,753
Steady progress on the SS4x4, your repairs are coming right along. That's the most time consuming if done right. :encouragement:
 

Prepmech

Seaman
Joined
Oct 22, 2015
Messages
66
Starting on transom attempt #2.

Using 3/4" marine plywood, titebond 3 this time.
 

Prepmech

Seaman
Joined
Oct 22, 2015
Messages
66
2nd attempt at transom went much better. Used the TB3, applied a thin layer and then smoothed it out with a paint brush. Was much easier to work with than the Loctite power grab stuff.

Using the old timer's wood sealer recipe to seal it up now.
 

classiccat

"Captain" + Starmada Splash Of The Year 2020
Joined
Dec 20, 2010
Messages
3,405
Nice! Your Minions had the magic touch! :D
 

Watermann

Starmada Splash of the Year 2014
Joined
Jan 12, 2013
Messages
13,753
It sure does pay to go with the tried and true when it comes to such an important part of the boat. You can't go wrong with TB3. :thumb:
 

Prepmech

Seaman
Joined
Oct 22, 2015
Messages
66
IMG_20160215_214501200.jpg


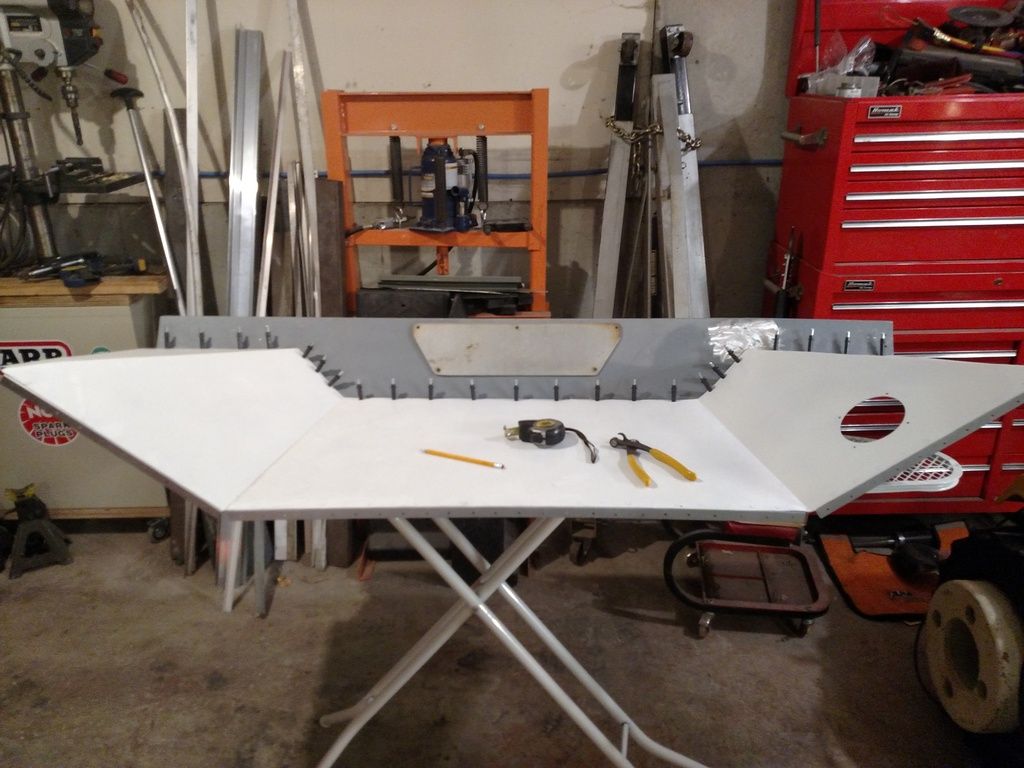
So, this is the current condition of my splashwell. See the area that has been sanded to bare aluminum on the grey primered bulkhead, it keeps warping and cracking.

I fixed all of the cracks, then noticed it had begun to warp. I braced it with some angle iron to get it back into shape, then warmed it with a torch to relieve the stress. A few minuted later, two cracks were back.

I have spent a lot of time on this splashwell, but I think I am giving up on it. It takes up a lot of valuable space, and without some major work will never support the weight of my kids monkeying on it.

Going to replace it with a smaller splashwell and a more usable platform.
 

Prepmech

Seaman
Joined
Oct 22, 2015
Messages
66
Have coated the transom wood with the varnish/linseed oil/mineral spirits a few times. Seems to soak up a little more each time.


Prepmech

Seaman
Joined
Oct 22, 2015
Messages
66
Haven't completely given up on splashwell. Cut a piece of scrap 3/4" ply to try to reinforce it. Way too heavy, but if I use 3/8" or 1/2" with some creative trimming (speed holes), I think I can get the weight down and get the structure I need.


Going to weld the crack one last time, and try to reinforce it with plywood.

What would work best to glue aluminum to wood?
 

Prepmech

Seaman
Joined
Oct 22, 2015
Messages
66
The aluminum kept getting worse the more I worked it. Ended up getting it structurally sound, then used some JB weld to make it look better.

Been working on the plywood reinforcement. I think it will work out well.


The 1/2" ply will give me the strength I need without adding too much weight.

The auroco plywood is nice, I would say even better than the Marine plywood I used for my transom.
 

Watermann

Starmada Splash of the Year 2014
Joined
Jan 12, 2013
Messages
13,753
Looking good so far. A word of advice on the transom, it's best to drill all the holes through and then seal it so the sealer gets in the holes too.
 

Prepmech

Seaman
Joined
Oct 22, 2015
Messages
66
I swear I have a work bench, saw horses, etc... But it is just really handy to work on my old ironing board.
 

Prepmech

Seaman
Joined
Oct 22, 2015
Messages
66
Trying to decide what to attach the plywood to the aluminum with. Right now contact cement is the top contender, as I could seperate them later if ever needed.
 
Top