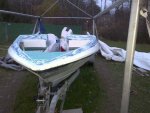
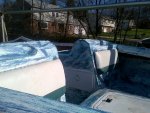
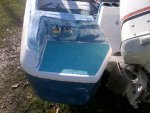
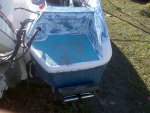
my 1991 capri rebuild

bleedblue94

Petty Officer 1st Class
Joined
Oct 11, 2010
Messages
272
Re: my 1991 capri rebuild

Rolled the texture roller w this teal on the swim pads
40.jpg

41.jpg

Did the same texture rolling on the top of the helm to add a little grip. Ill sand some of this down later so its not so sharp
42.jpg

And here is the front where I rolled texture as well
43.jpg
 

bleedblue94

Petty Officer 1st Class
Joined
Oct 11, 2010
Messages
272
Re: my 1991 capri rebuild

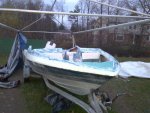
Here is a quick picture of the boat cap done. Blended the splatter into the old painting and then stopped it right at the contour on the cap where the pin striping was. It was the best place to end the splatter and still have some solid white as well
44.jpg

45.jpg


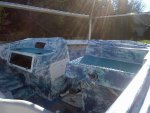
So here is the new helm filled in and painted. I did this w the texture roller to make things stay put better on the water. I will have to sand some of the textured surface down still
46.jpg

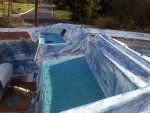
Just a different angle of the helm. You can see the green tint from the pva film. This will go away w time
47.jpg
 

bleedblue94

Petty Officer 1st Class
Joined
Oct 11, 2010
Messages
272
Re: my 1991 capri rebuild

I had to blend the new painting I did w the old painting that I finished in july. It worked out pretty well
48.jpg

This platform came out good. Did this a different color and w the texture roller to help prevent swimmers from slipping
49.jpg

And here is the other side w the ladder. As you can see from the mud I've already been walking on it. Turned out pretty good
50.jpg
 

bleedblue94

Petty Officer 1st Class
Joined
Oct 11, 2010
Messages
272
Re: my 1991 capri rebuild

Windshield put back on. Still need to put all the rails and trims back on
51.jpg

Bowrail next to go back on
52.jpg

53.jpg

I'm happy w the transition. I followed the curvature of the cap and kept the one section plain white. Just need to add the rub rail to cover the hull/cap seam and rivets
54.jpg
 

bleedblue94

Petty Officer 1st Class
Joined
Oct 11, 2010
Messages
272
Re: my 1991 capri rebuild

next was this
56.jpg

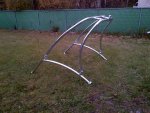
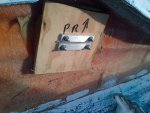
In order to mount the tower I needed to add back plates to spread the load the tower will put on the cap. I just took some 3/4" marine ply and covered one side w PL adhesive. Then mounted the tower based and tightened the bases just so the PL would start to squeeze out. Then I let it sit overnight to harden and finally went back to tighten them down fully
57.jpg

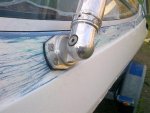
Here is one of the tower bases mounted to the cap
58.jpg

First parts mounted
59.jpg
 

bleedblue94

Petty Officer 1st Class
Joined
Oct 11, 2010
Messages
272
Re: my 1991 capri rebuild

Putting all hardware back on, you can also see the new rub rail installed
63.jpg

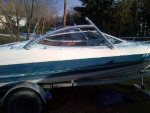
Just a random shot on the water with the tower and what not installed. my pup is just relaxing...
64.jpg
 

bleedblue94

Petty Officer 1st Class
Joined
Oct 11, 2010
Messages
272
Re: my 1991 capri rebuild

Layout of how I planned to do the helm area
65.jpg

Mostly installed
66.jpg

And the wheel in place. i also ended up adding two cup holders on the right side and cleaned up the black marker
67.jpg
 

bleedblue94

Petty Officer 1st Class
Joined
Oct 11, 2010
Messages
272
Re: my 1991 capri rebuild

Then I realized how much I missed having a bimini. Ugh...
68.jpg

My toaster doing work...
69.jpg

beer me
70.jpg

more to come...
 
Top