86 18' Starcraft SFM

Status
Not open for further replies.

MD28

Petty Officer 1st Class
Joined
Sep 1, 2016
Messages
222
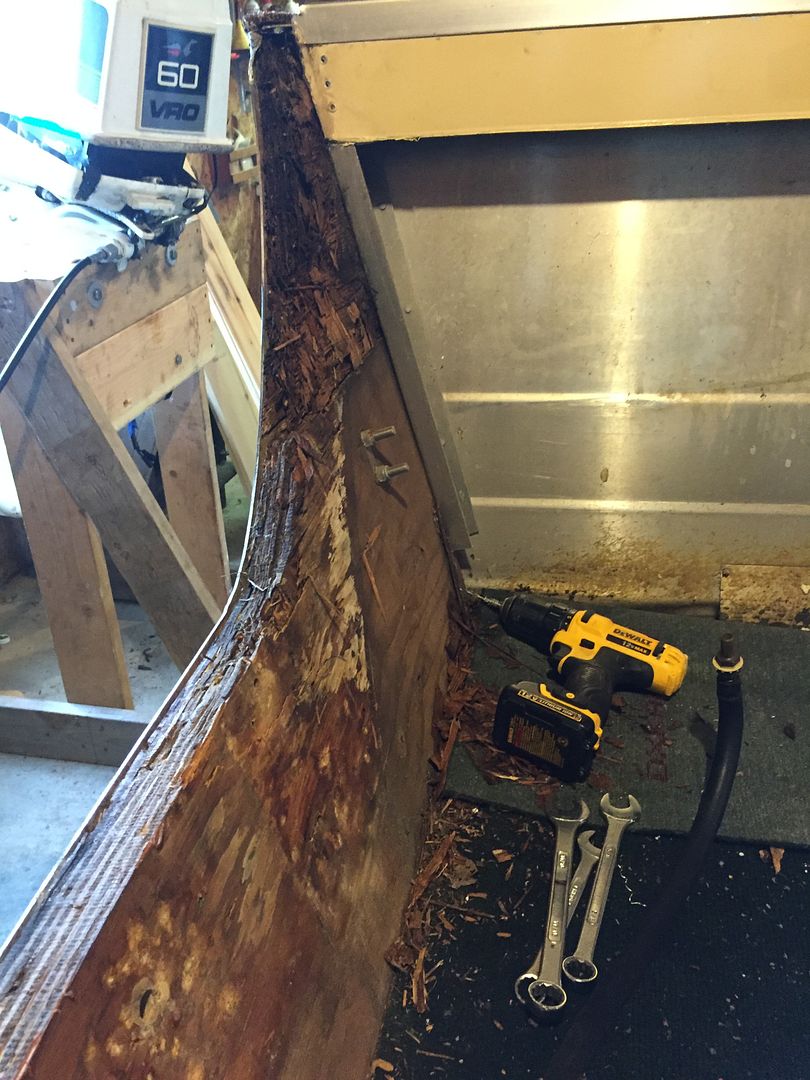
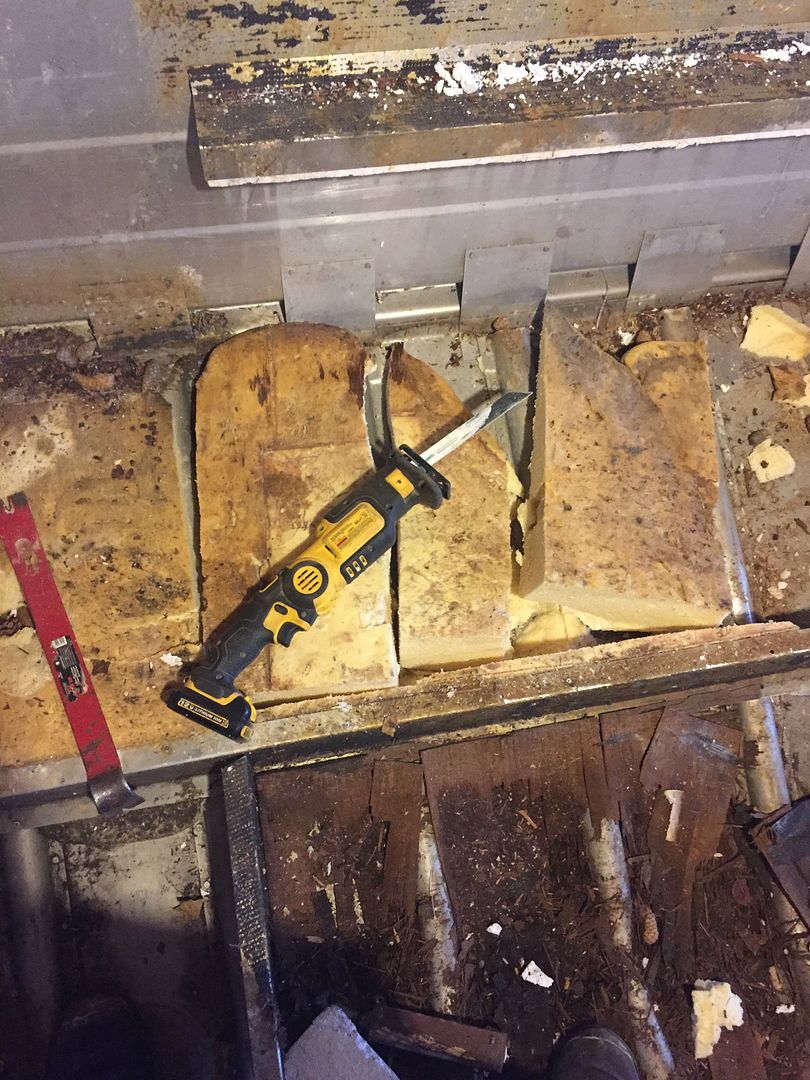
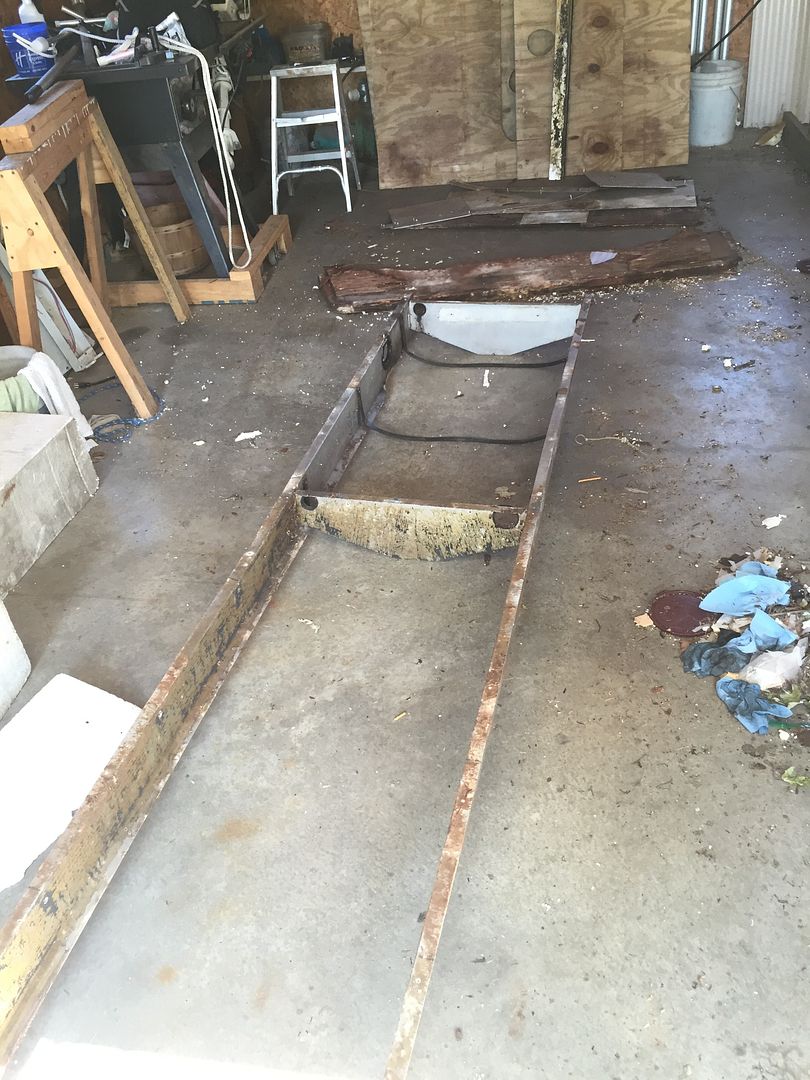
For holes I've become very fond of JB water weld in the stick, make a wad of it, press into the hole and create a mushroom on the inside. I suggest you clean the area well and then wipe down with a solvent before filling the holes. Once cured the JB ww sands super nice.

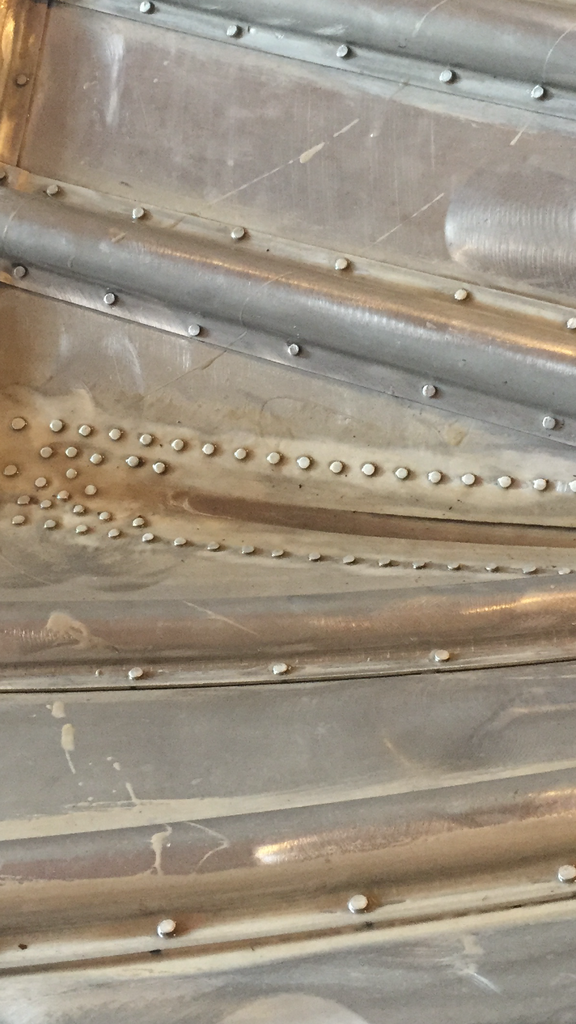
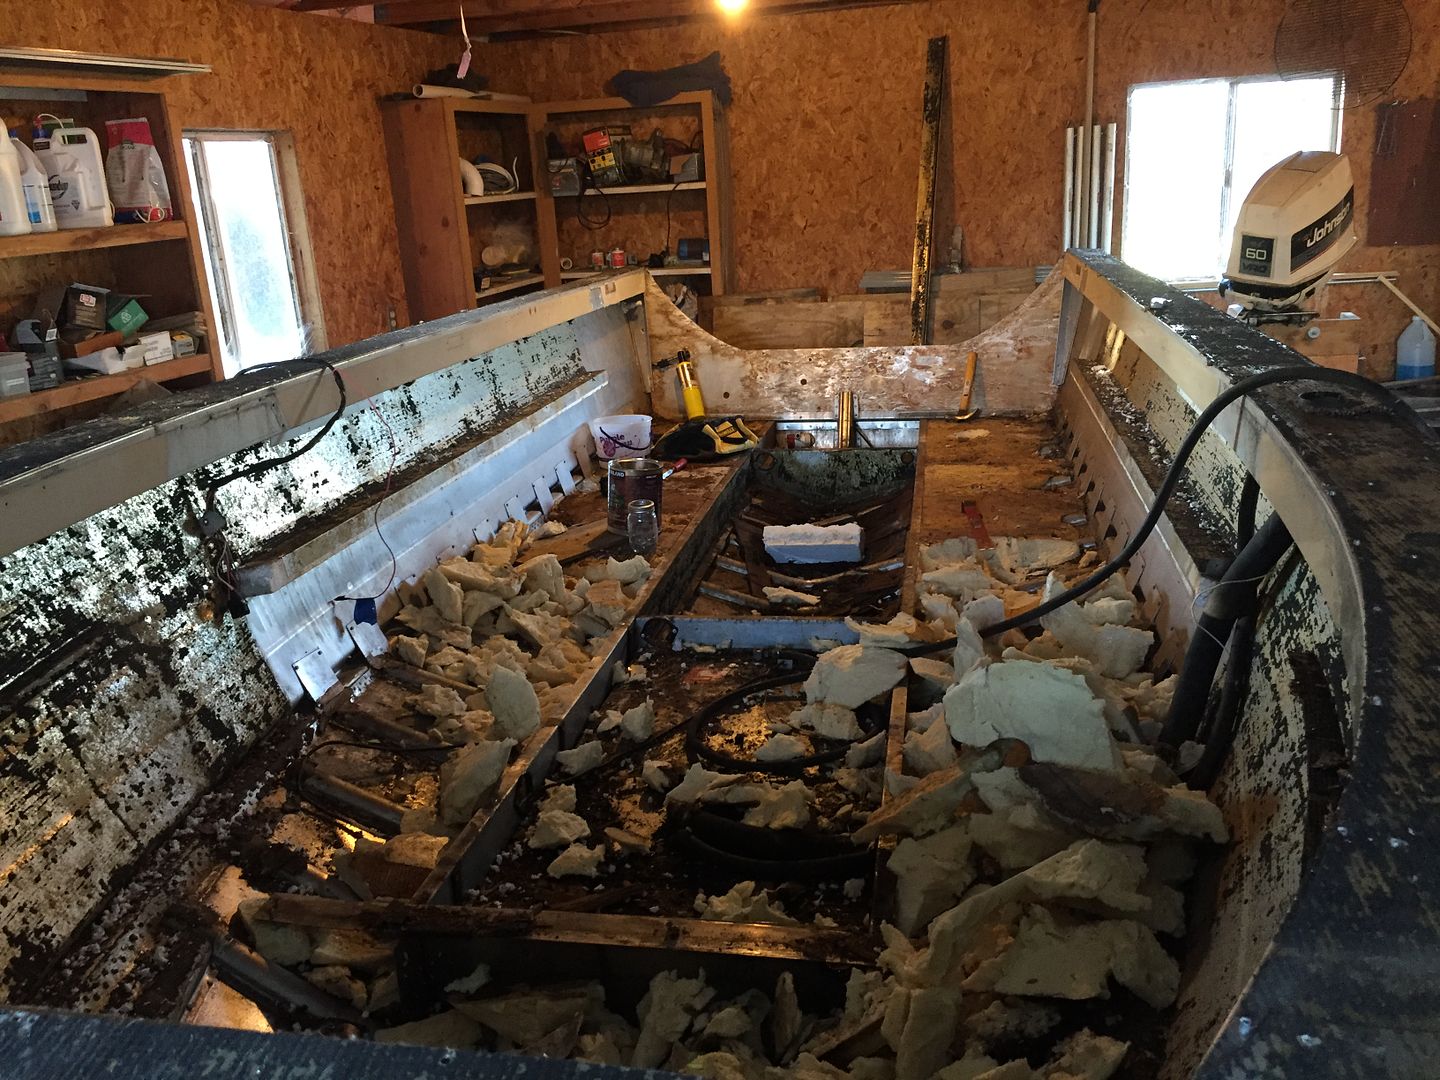
Uh no hammering on that seam dent, unfortunately it is what it is at this point, pounding will only make it worse in that location causing a leak potential to repair. After my third boat I've come to the conclusion that old tin will never be perfect once it's been dented, bashed or mauled. In that location it will be hardly noticeable once painted and everything else is going on back there on the transom. If someone besides you even notices it I would be surprised and there will be so many nice things to draw the eye too.

Thanks again Agua and Classic. Id be hammering away if it werent for your advice.:facepalm:
 

BMerr509

Petty Officer 2nd Class
Joined
Jun 28, 2016
Messages
167
Mine had the same silicone (maybe 5200) on the splashwell. i took a sharp knife and screwdriver/hammer combo to gently cut a slit and pry then cut all the way around. Don't forget the two posts that hold the splashwell to the gunwhales, those were my biggest pain! btw, how big is that yamaha on your dad's boat?
 
Last edited:

MD28

Petty Officer 1st Class
Joined
Sep 1, 2016
Messages
222
Mine had the same silicone (maybe 5200) on the splashwell. i took a sharp knife and screwdriver/hammer combo to gently cut a slit and pry then cut all the way around. Don't forget the two posts that hold the splashwell to the gunwhales, those were my biggest pain! btw, how big is that yamaha on your dad's boat?

It's a 250. I can't wait to see how it flys!
 

Watermann

Starmada Splash of the Year 2014
Joined
Jan 12, 2013
Messages
13,753
Don't forget to pound out the splashwell drain tubes, many guys forget about them holding the SW to the transom.
 

MD28

Petty Officer 1st Class
Joined
Sep 1, 2016
Messages
222
Ha! I did forget! I got her off ok though. No harm no foul. The whole time I'm just thinking, "man this side is stubborn!" Used a hammer and a beater board to pop the back off. Worked really well considering the drain tube was still in.
 

Watermann

Starmada Splash of the Year 2014
Joined
Jan 12, 2013
Messages
13,753
Hah! You're like me, gentle persuasion is a relative term that depends on the size of hammer needed to get the job done. :lol:
 

MD28

Petty Officer 1st Class
Joined
Sep 1, 2016
Messages
222
As you can see the transom was shot. That top section was really bad.
image_zpsoercwdv1.jpeg

Where the motor sat is about the only dry spot and the botom 1/3 was still solid.
image_zpspwzk98sl.jpeg
 

MD28

Petty Officer 1st Class
Joined
Sep 1, 2016
Messages
222
The carpet and decking was next. The back two sections where fine, but just warped a little only being 1/2 or 5/8. The front was not so good, came out by finger power. I think the PO redid the back because it was screwed down. The front had rivets. I also started to take out the foam, which is mostly dry. There is a wet spot by the fuel fill line, so I will need to replace that. Carpet came off the gunnel and the rub rails and the inside trim for the gunnel. Still need to dumb some stuff but Im out of room in the trash bin.
image_zpsdp6wuxdc.jpeg
 

BWR1953

Vice Admiral
Joined
Jan 23, 2009
Messages
5,862
Man, that looks familiar. Good job on making progress! :thumb:
 

Watermann

Starmada Splash of the Year 2014
Joined
Jan 12, 2013
Messages
13,753
Oh boy the fun part! Ripping out and tearing down is a critical time when you must bond with the boat either falling in love or selling the empty hull off to someone on CL. :lol:
 

MD28

Petty Officer 1st Class
Joined
Sep 1, 2016
Messages
222
This weeks progress. I took out the foam with a sawzall and pry bar, which was fairly effective. Took it out in large chunks.
image_zpsjeck4rb2.jpeg

Today I took out the gas tank and cleaned her up a bit. Id like to get it tested before I put it back in. Does anyone have any recommendations for that? I was thinking I could either pay someone to do it, or try and lightly pressurize it myself and spray with soapy water like it is a tire.
image_zpsixv4pauw.jpeg

I took the stringers out that where hanging on with one lonely rivet. As you can see I could lift them right up!
image_zpsioqmosvh.jpeg
image_zpscu2xiwfm.jpeg
 

MD28

Petty Officer 1st Class
Joined
Sep 1, 2016
Messages
222
I used the shop vac to clean out the mulch in the bottom of the boat. Filled it up twice! I then cleaned out the interior with a hose because the powerwasher i borrowed from my Dad didnt work. I used some jasco paint stripper, a scraping putty knife, and a wire brush wheel for the angle grinder and drill to take off some glue. How important is it to get all that glue off? Will the vinyl I plan to use cover it well enough and adhere if there is some left over? That stuff is nasty!
image_zps96yelvrj.jpeg
 

Watermann

Starmada Splash of the Year 2014
Joined
Jan 12, 2013
Messages
13,753
Look the bottom of the tank over really well, if there's any issues with pinholes that's where they show up first. You can pressure test your tank just be careful and follow the psi listed on the label, it should be pretty low.

Looked like in the pics that the foam was pretty dry, normally the pour in foam is a wet soggy mess from what I've seen. Nice progress on the tear down and clean up, don't forget to leak test and mark any leaks.
 

MD28

Petty Officer 1st Class
Joined
Sep 1, 2016
Messages
222
I need advice on my next moves. I think I need to do the following:
1. flip it strip it sand it.
2. Paint. Which I have little experience in. Mainly Ive only painted walls in the house. Nearly zero experience with sprayers and thinning paint and stuff. I have a wagner electric project sprayer, would that suffice?
3. Trailer cleanup.
4. Put the boat back on and gluvit
5. leak test
6. reassemble interior.
 

Decker83

Commander
Joined
Apr 5, 2011
Messages
2,592
I would check with the instruction manual on the wagner spray gun and make sure you can shoot the paint and thinners required and not damage the seals.

You need to do a leak test first and find and repair all the leaking rivets first and then do the gluvit and leak test again. Just my 2 cents worth.

Doing a great job and asking the right questions.. Keep up the good work..
 

MD28

Petty Officer 1st Class
Joined
Sep 1, 2016
Messages
222
I did a leak test and found one loose rivet and a leaky seam up by the bow. After draining it and another vacuum session, I dryed it down with a towel and wiped it clean with acetone. Then I went to West Marine and bought a quart of Gluvit. Man is that stuff expensive!:eek: 
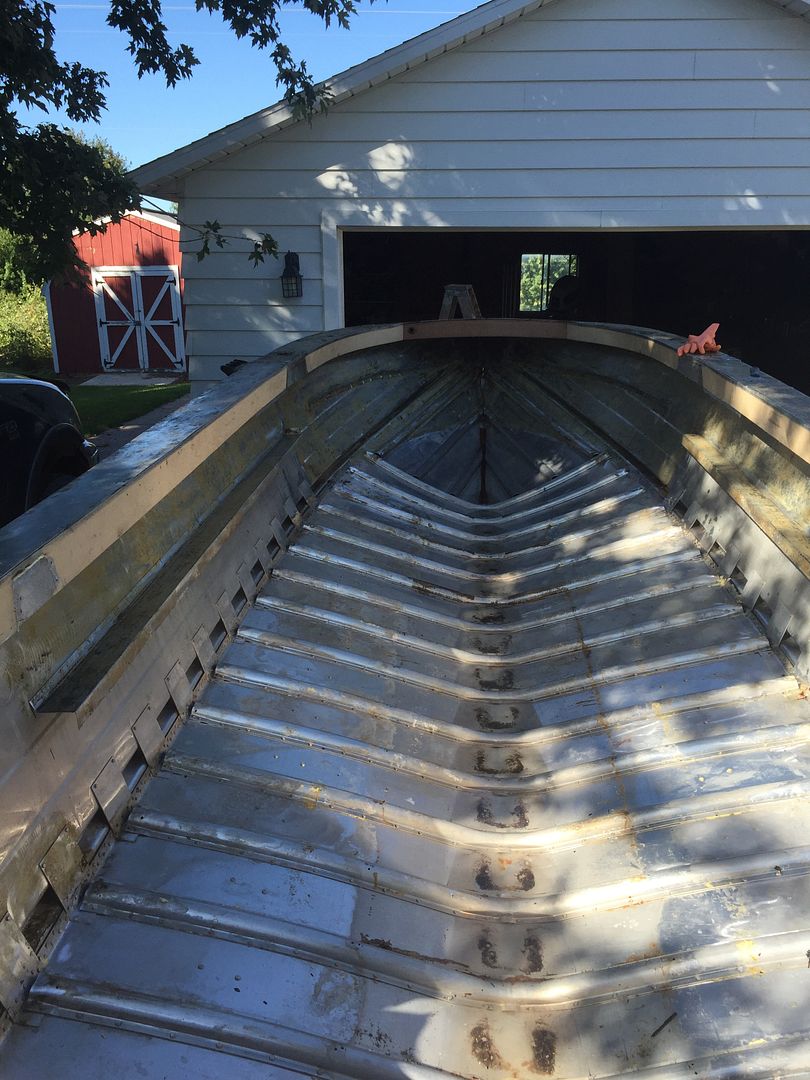
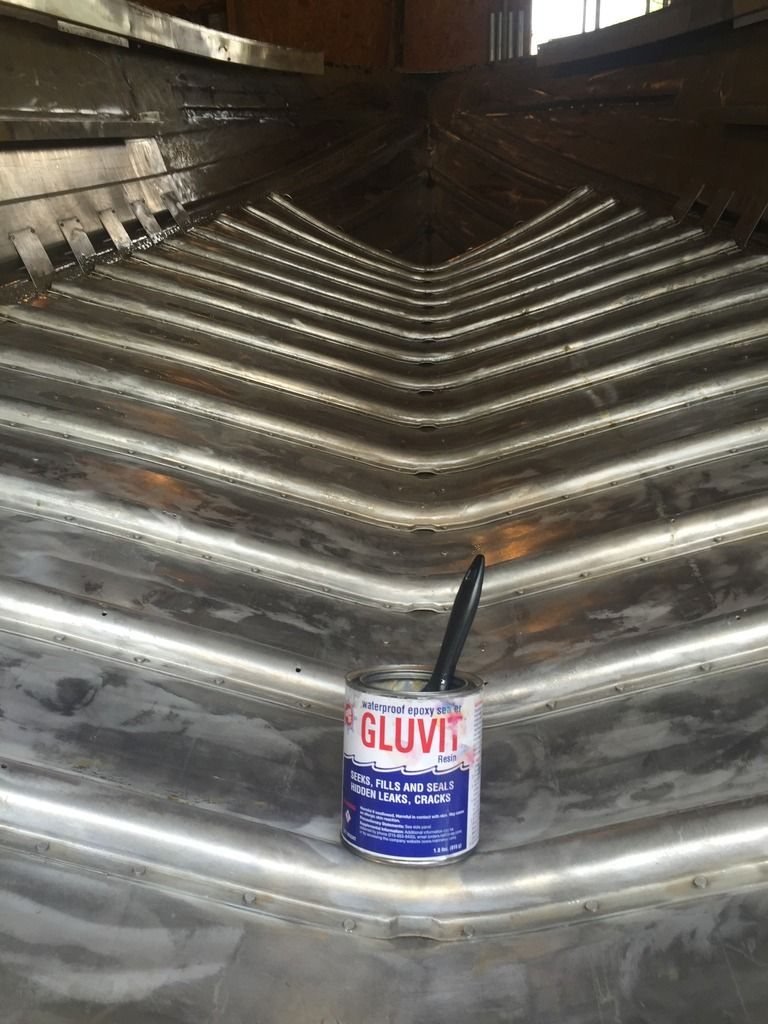
Here is the required photo of drying gluvit!
image_zpsq0djybta.jpeg


I took the leftover and poured it down the bow keel seam. That should take care of it.

image_zpscla7malg.png
 

BWR1953

Vice Admiral
Joined
Jan 23, 2009
Messages
5,862
Lookin' good! Nothing better than drying Gluvit! You're much neater with it than I was. :) :thumb:
 

MD28

Petty Officer 1st Class
Joined
Sep 1, 2016
Messages
222
So I see most of the guys here strip the paint right down to bare metal before they paint. Is there a reason for that? Does priming over the old paint not adhere?
 

ezmobee

Supreme Mariner
Joined
Mar 26, 2007
Messages
23,767
If you're existing paint is in good physical condition, you can scuff it up thoroughly and then prime and paint over it. That's what I did. Now my paint job failed in a bunch of spots but I attribute that to not priming and also Petit Easypoxy being apparently junk paint. I'd recommend either using Rustoleum or stepping up to a true two-part marine paint. Don't mess with any of the single-part paints in the mid-range.
 
Status
Not open for further replies.
Top