72 Thunderbird Formula w/twin 165hp Mercs

nurseman

Lieutenant Junior Grade
Joined
Jun 2, 2013
Messages
1,045
Nice progress. Layout can be a pita sometimes, but totally worth it in the end.
 

Mark72233

Ensign
Joined
Jul 11, 2014
Messages
926
After I painted the white part of the transom the Admiral came out and told me how nice the paint job looks and how crappie the old metal rub rail looks. I finally had to admit that the rail needs to come off so I started trying to remove the approximately 200 bolts holding it on. Some of the bolts would just snap because they have been on this boat for 43 years, others the nuts were so corroded I couldn't hold them and after a while I just decided to cut them loose by using my oscillating saw and cut the bolt just inside of the nut. Some of them are hard to find because they are under fiberglass. Here is a picture of my first attempts using Vise grips inside while trying to unscrew them from the outside.
The rub rail is very heavy aluminum in 4 pieces. One big piece across the transom and wrapping forward about 6 feet, one big piece wrapping the bow coming aft about 8 feet or so and then two smaller straight pieces on either side about 6 feet long. Once I removed the rails I was glad I did. The seal between the cap and hull is dried out or non existent towards the back plus it was nasty under it and it will be much easier to tape this area off and paint between the Gloss white cap and the dark blue sides. My first plan was to replace the rub rail with a newer version that is black rubber with the white rope insert but after looking at this rail and how heavy duty it is and how it has survived 43 years I decided to restore the old railing. I haven't messed with restoring old aluminum so I didn't know what results I could end up with. I took one of the small pieces last night and started experimenting with it. I started with the sander and 60 grit to smooth out the deep scratches and gouges. Then 220 on the sander. Then wet sanding with 320, 600, 1000, 1500 grit. I then switched to the polisher using compound polish then polisher. Wow did it come out looking awesome. This will take me about a 1/2 hour per foot and I have about 60 feet but it will be worth saving the original rub rail and not having to spend $500 plus for a new one that wont last.
 

Mark72233

Ensign
Joined
Jul 11, 2014
Messages
926
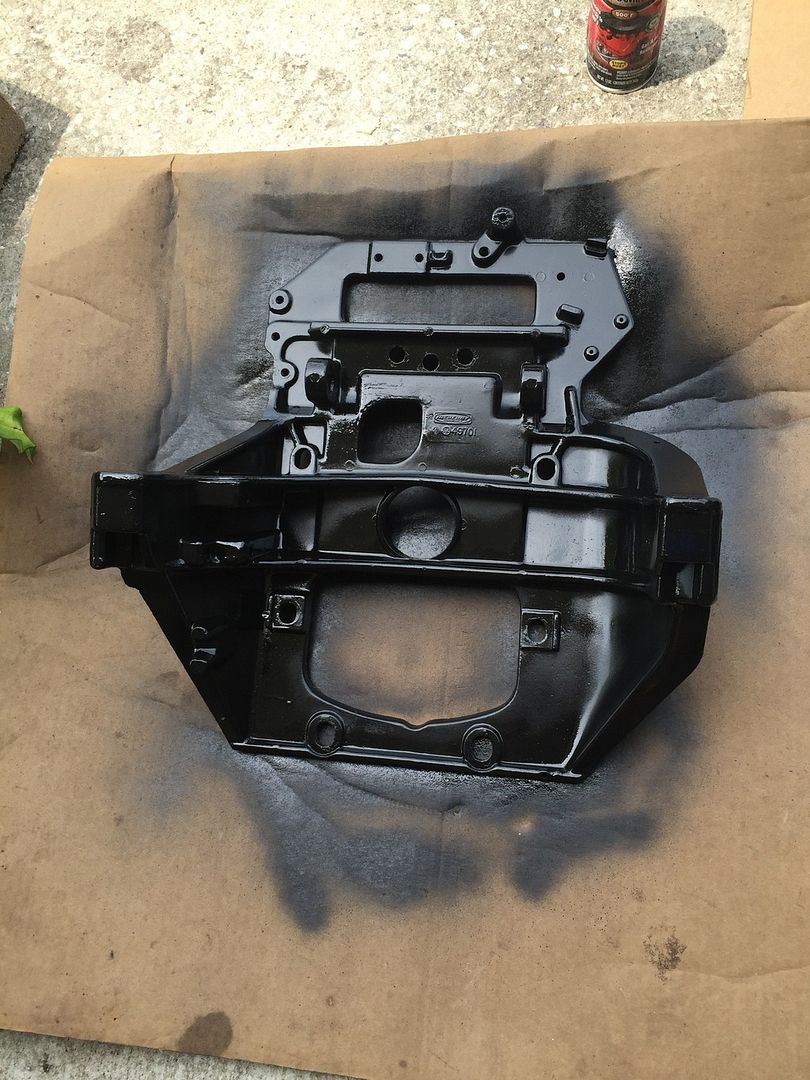
I have also painted the inside transom plate and the outside Gimbal housing. I striped everything off of them, sanded them down, put several coats of primer and then wet sanded smooth before putting several coats of black paint on them. I don't have any pics of the Gimbal housing but both are done and ready to put back on.
 

archbuilder

Vice Admiral
Joined
Sep 12, 2009
Messages
5,697
Excellent work! That is a lot of boat.....and gauges.....and vice grips by the way!
 

Mark72233

Ensign
Joined
Jul 11, 2014
Messages
926
Truth be told that was only half of my vise grips, I didn't want to show off like that clamp guy does šŸ˜³.
 

Mark72233

Ensign
Joined
Jul 11, 2014
Messages
926
Nurse, Corjen, Arch, Wood, Sphelps, Ahmincha and everyone else, thanks for hanging in there and continuing to follow along it means a lot and you guys have given me good advise and directions over the past year that have made my project a positive and fun experience. Thanks again. :D

Amatuer Hour, Welcome aboard and thanks for the kind words. I am just trying to keep up with the other restorations on here that keep setting the bar pretty high
 

Mark72233

Ensign
Joined
Jul 11, 2014
Messages
926
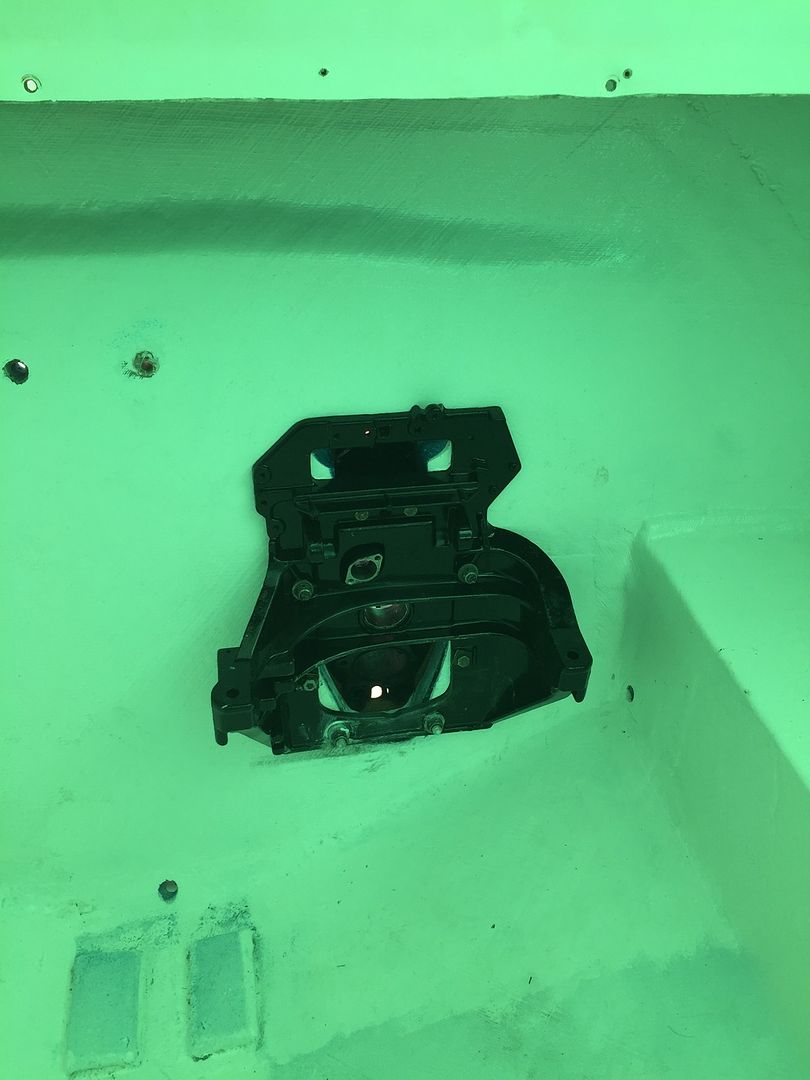
I finally got the port side transom plate and gimbal housing attached. Waiting on parts so I can finish installing the gimbal ring and other parts.

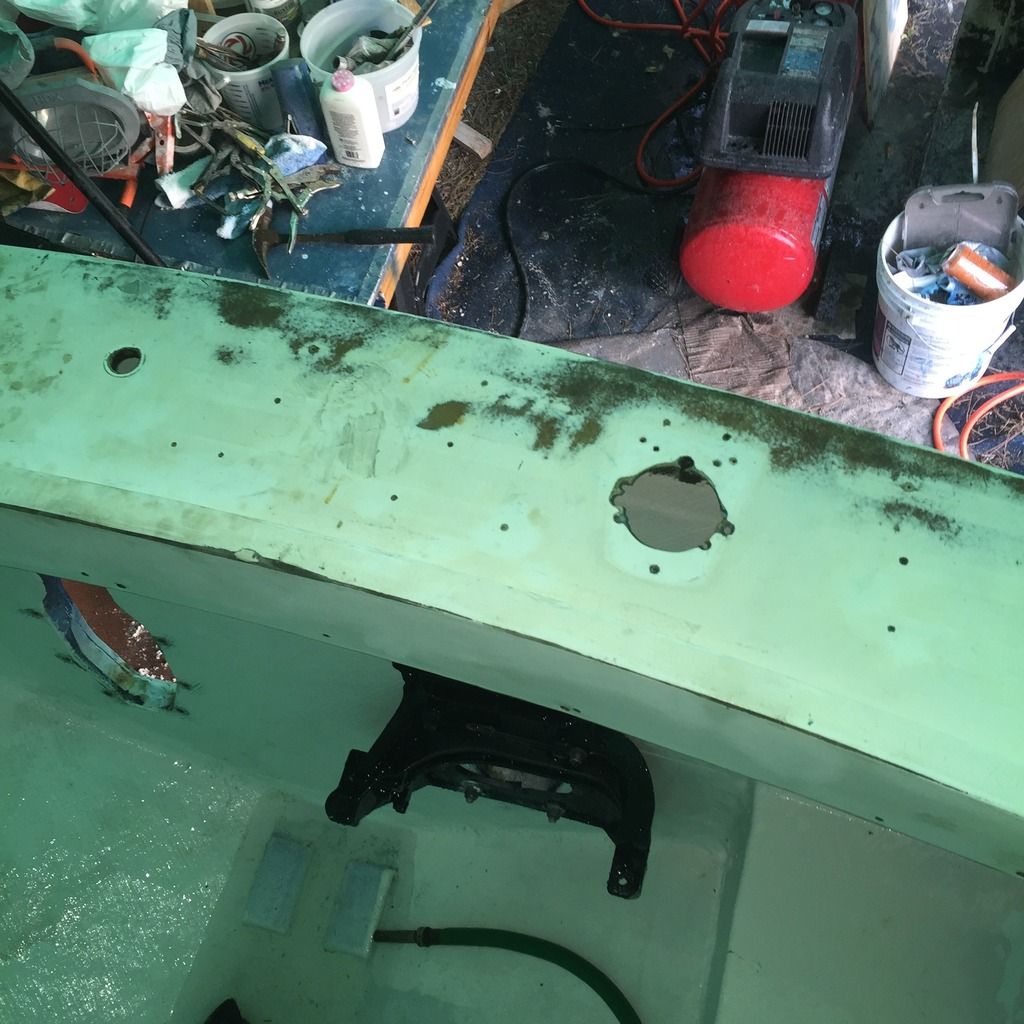
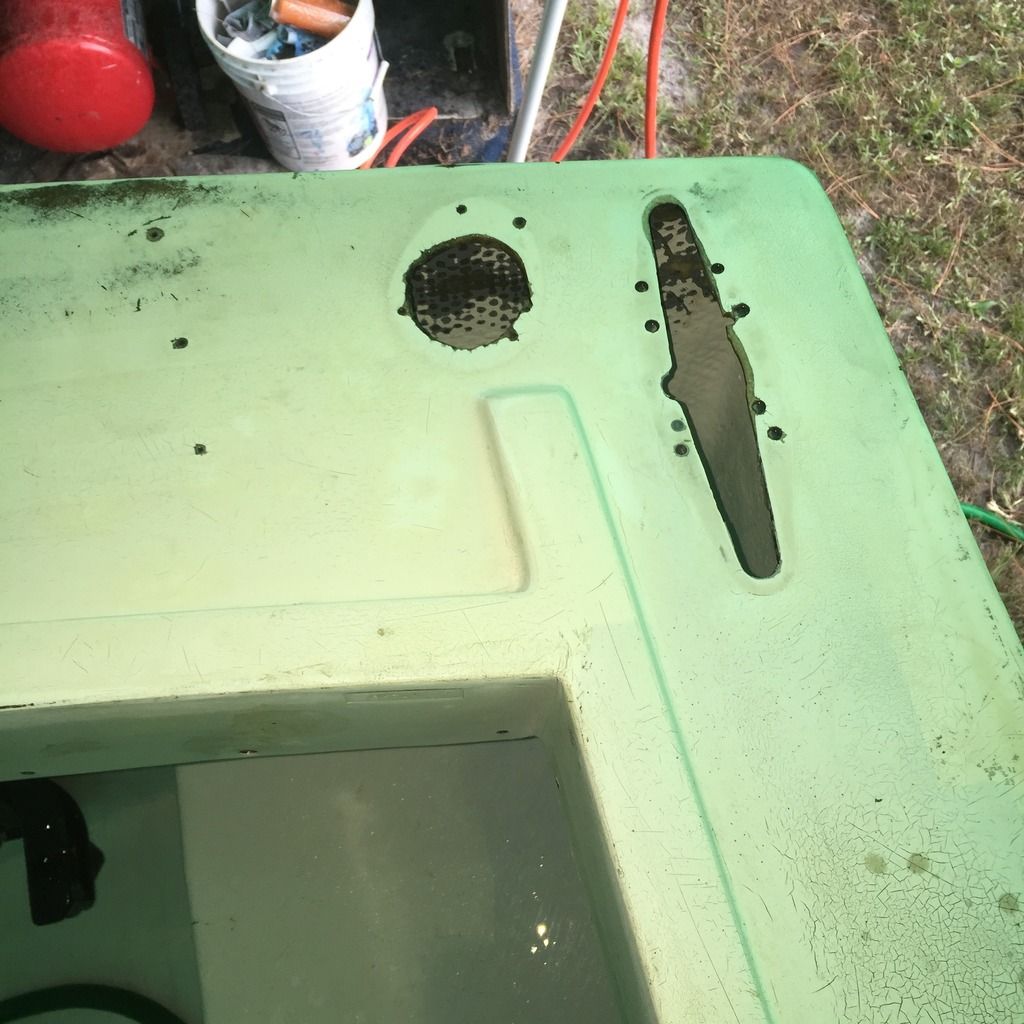
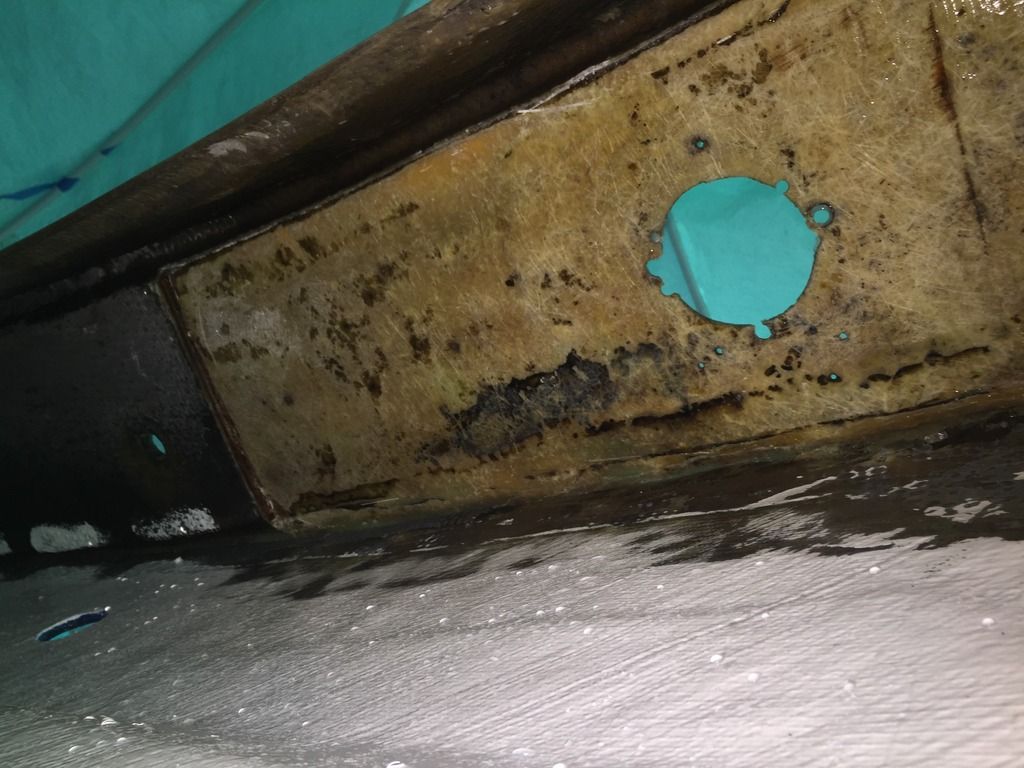
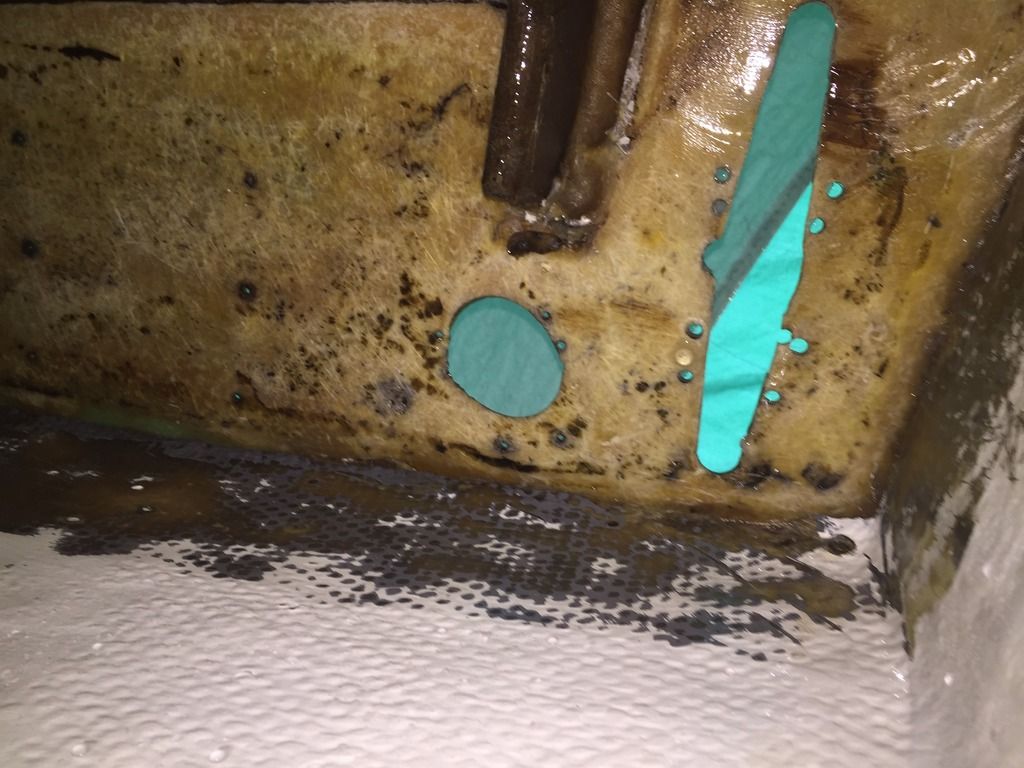
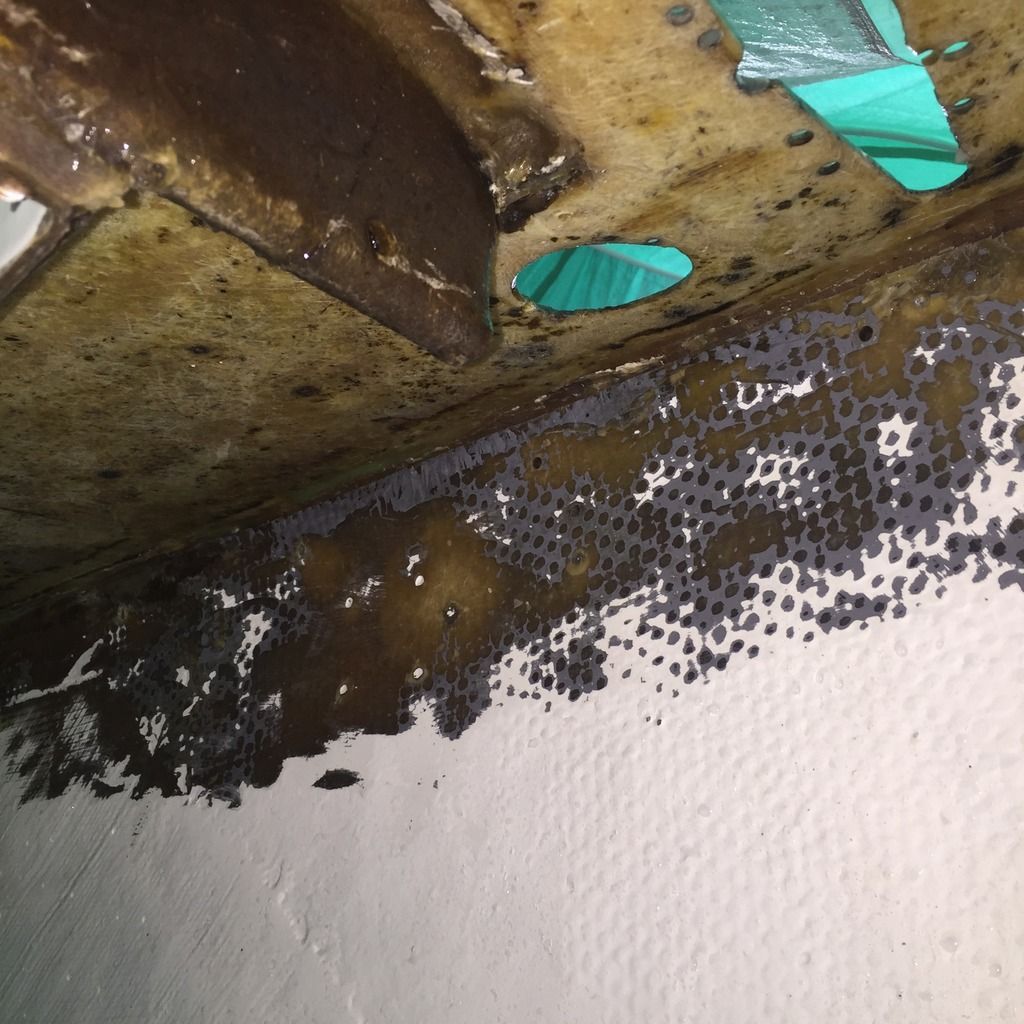
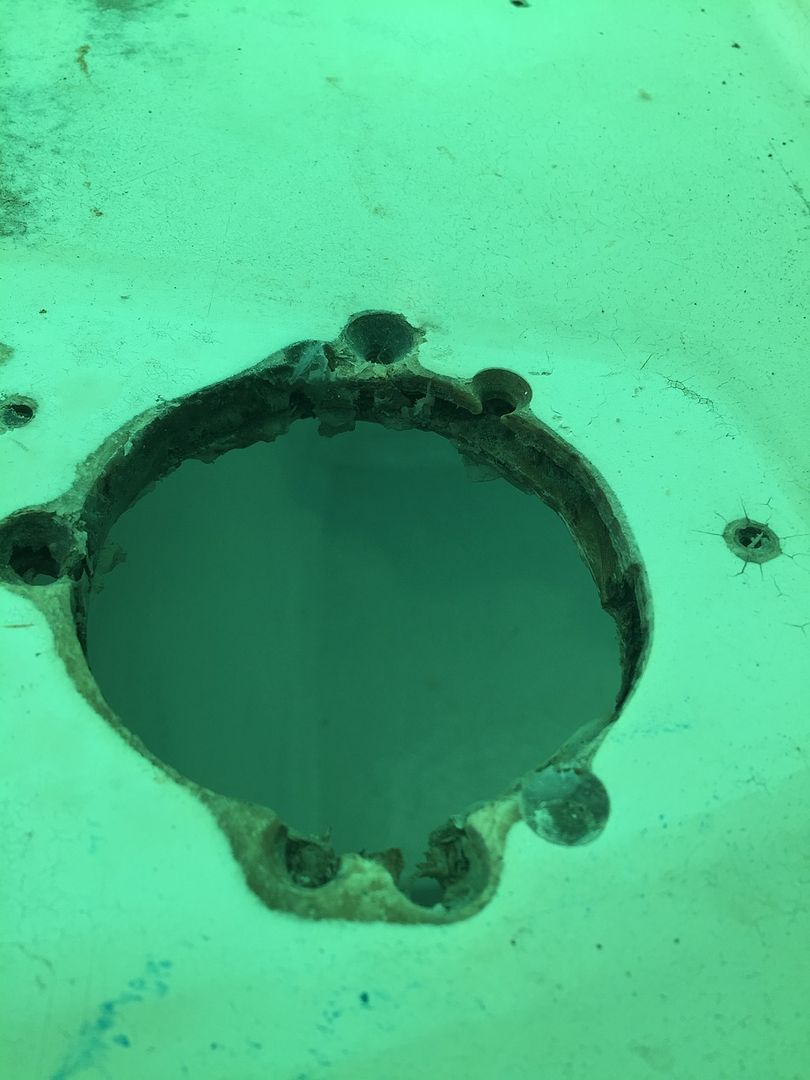
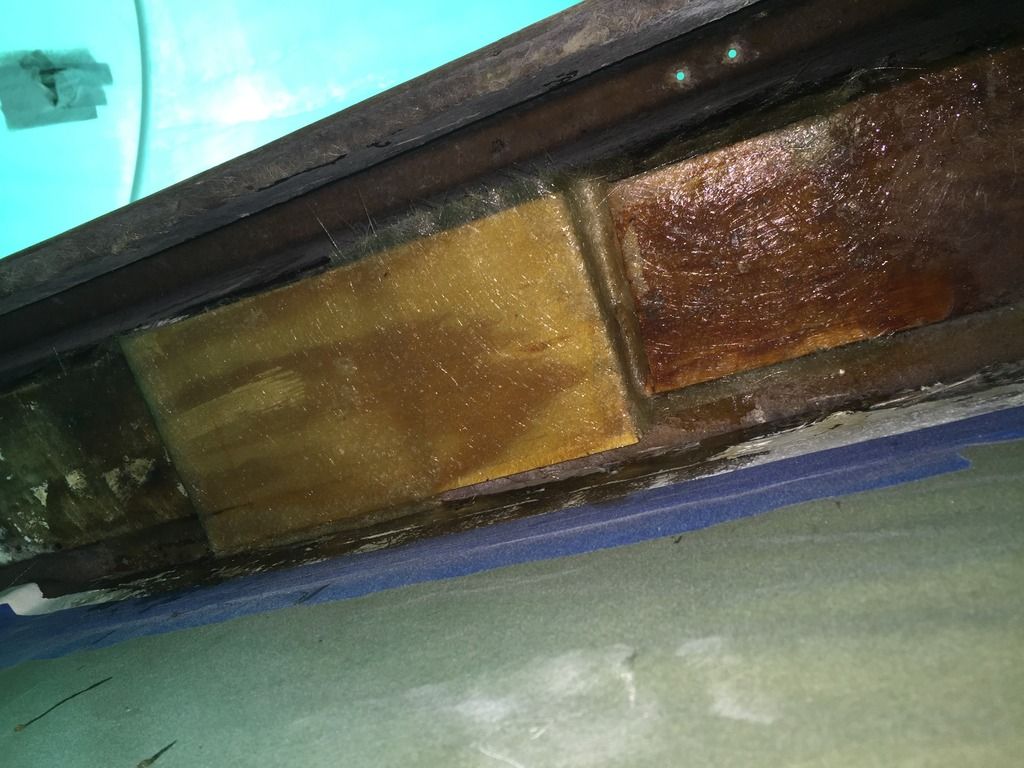
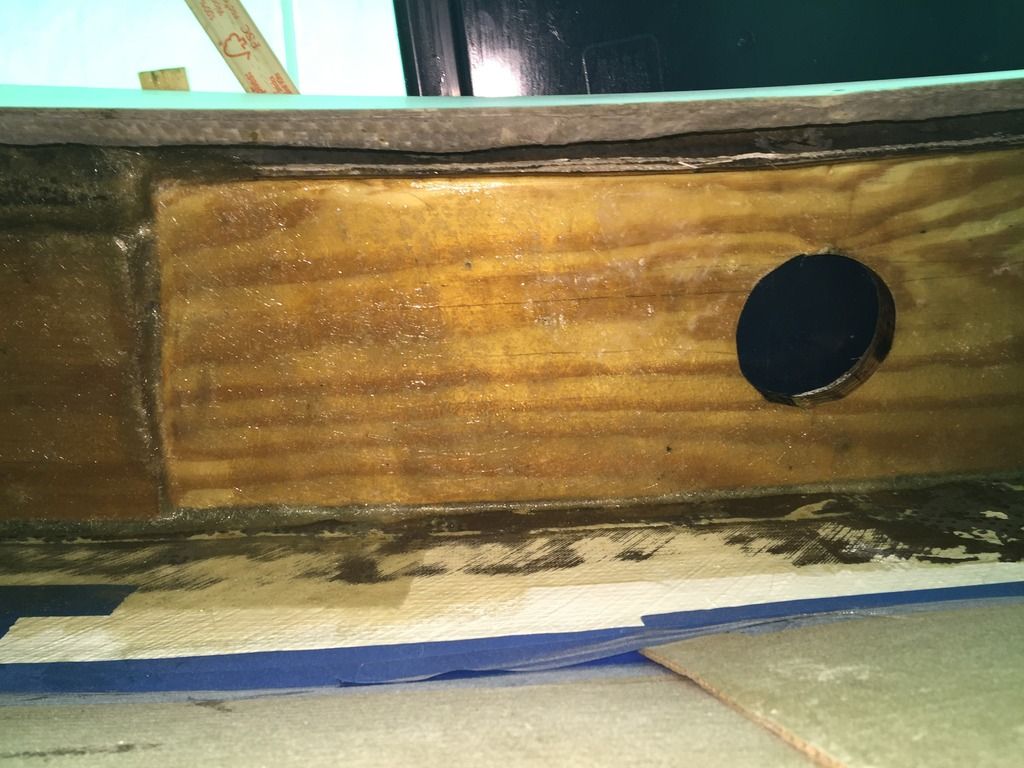
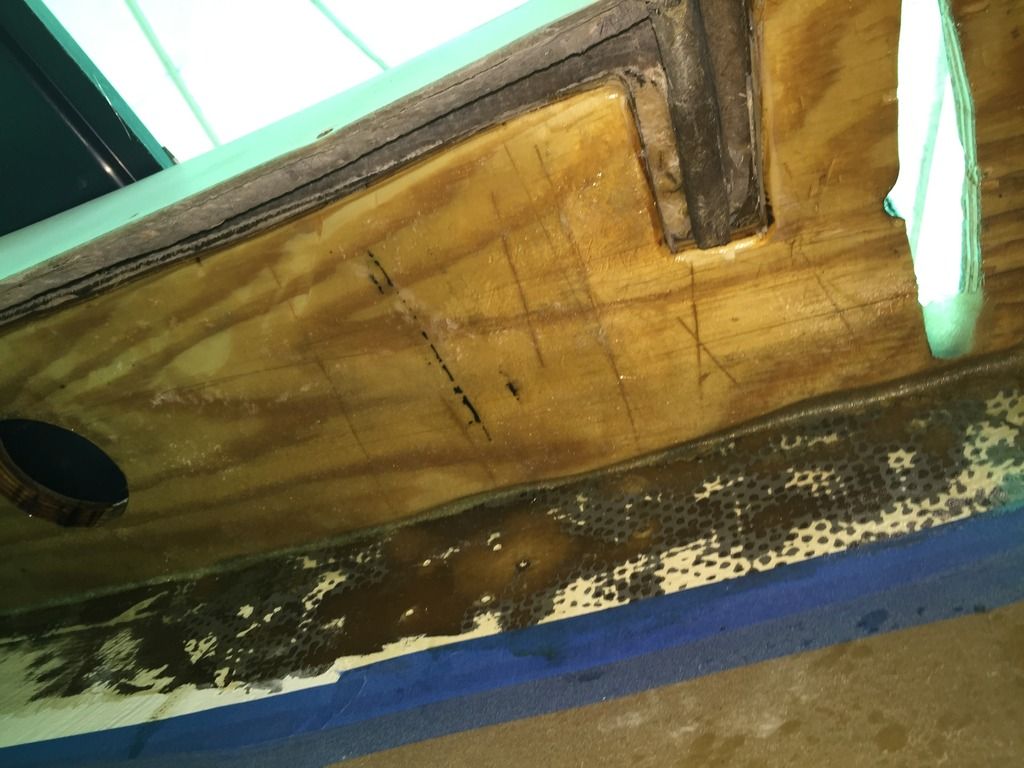
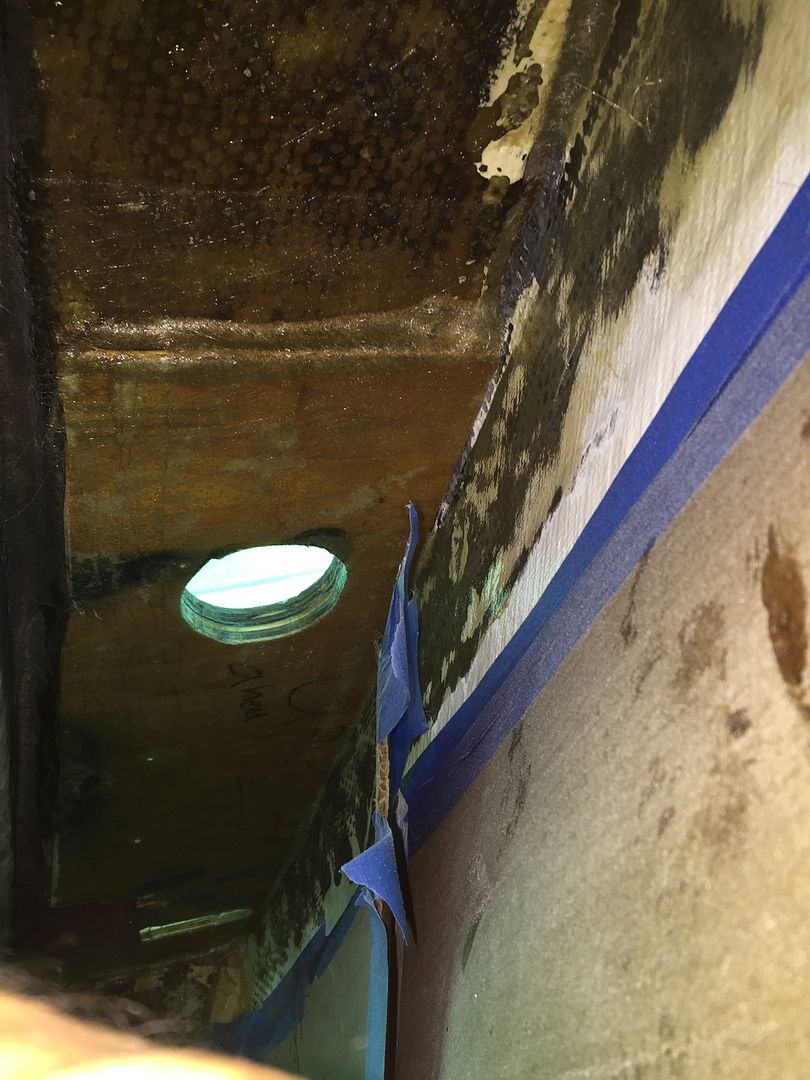
While doing the transom plate I remembered the wood under the gunnels and the back of the boat where the clam shell vents and rod holders go is rotted and still needs to be replaced so took out the vibrating saw and cut out the fiberglass and removed the mulch. So far I have done the port side and about 1 foot on the port gunnel. Then took the grinder to get rid of the old wood still attached and clean off a thin layer of the fiberglass.

Next step is cut some 1/2 plywood, coat it in resin and wrap it in CSM before I attach it with a thin layer of PB and some 1708 or CSM to hold it in place. Then fill in all those old holes and scars and start making that section pretty again.
 

archbuilder

Vice Admiral
Joined
Sep 12, 2009
Messages
5,697
Nice work as usual Mark, you just keep moving along! I really enjoy seeing your progress!
 

Mark72233

Ensign
Joined
Jul 11, 2014
Messages
926
Update. Still working on this beast. My hobby is now an obsession and a curse. I have been working all over this thing and never seem to get anything done. In no certain order with pictures to follow.

I worked on the fish ice box. Patching some rough areas and prepping it for the last coat of paint. I wanted the inside top to bottom very smooth so I could take a rag and wipe down and clean the inside without snagging on fiberglass hairs or rough spots where fish guts and blood would collect and stink up the boat.

Worked under the gunnels cutting out rotted wood and replacing with either 3/4" or 1/2" resin coated ply PB'd in place and covered in CSM.

Cleaned and painted the second transom plate and gimbal plate. Of course had issues with the gimbal plate where an old roller bearing fell apart so ordered new bearing and seals which should be here today. Once they are installed I am going to attach the gimbal ring before I attach it to the transom.

On the other gimbal plate for the port side that I had already attached to the transom I tried installing the gimbal ring :facepalm: sometimes I wonder about what was I thinking or not thinking. I placed the ring on the gimbal plate, put the bottom shim in and knocked the pin in place with no issues. With my confidence level raised beyond my capabilities I proceeded to install the upper pin. Centered everything and knocked the pin into place, screwed in the 2 1/2" set screw and the bottom allen head plug. Wow that was easy. Did I miss any steps here? Jumped up into the boat to inspect my handiwork from that side, darn forgot to put the top shim and steering arm on, is that really needed? :mad-new: Take it all apart and figured out a way to hold the steering arm in place and knock the pin into place. OK perfect now tighten down that 2 1/2" set screw and what's this? Its stripped out, awesome. And look here when I check the clearance with the shims in place the movement up and down exceeds specs by quit a bit so now I have ordered a .06 and .03 shim and new bolt. So I remove the steering arm bolt, allen head plug, 2 1/2" stripped set screw and drop the pin again (and I do mean drop into the dirt with it covered in grease) and now the top oil seal falls out, turns out it got pinched and smashed during the second installation of the pin so lets go order more stuff. When I started working on this boat a year ago I didn't even like beer that much and if I drank one a month that was a rarity. By the time I am done with this boat I will be an alcoholic.

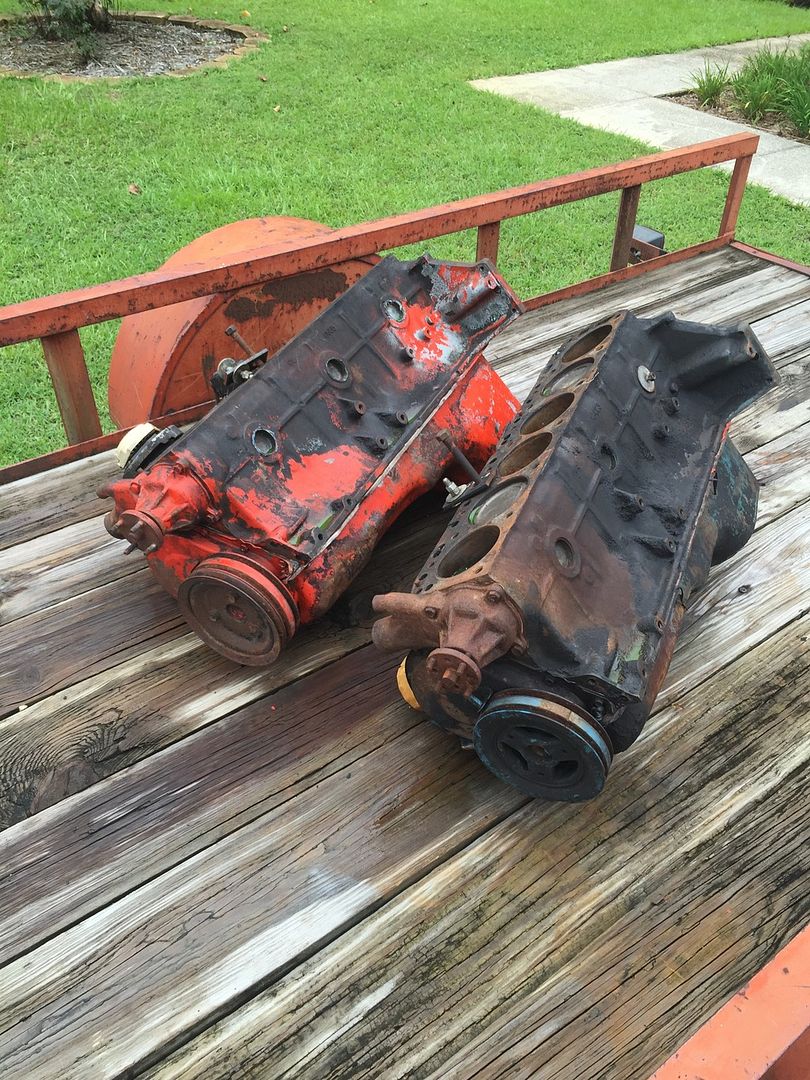
Lets turn our attention to the second engine which I haven't even touched yet. The block minus the head and oil pan is leaned up over in the corner of the garage . I started looking very close at it and realized it has a lot of rust where the water pump mounts in the water jackets. I popped the freeze plugs and don't like what I am seeing. So I strip everything off the block leaving just the block and pressure wash inside all the openings to the water jackets, wow that's a lot of rusted metal flakes coming out of this thing. I decided that too much of the cylinder walls and block have turned to rust and the landing is pitted everywhere. Lets move to plan "B". About 25 years ago I drove down to south Florida with a small trailer in tow to visit my brother who was working for this company that made kit cars. Somewhere they collected 2 Chevy truck engines that happened to be Chevy 250's, 4.1L inline 6 engines which they wanted to give away as in free. Since they have never been used as boat engines they have no real rust issues. I brought them back for spare engines for the boat and put them in the shed behind my dads house. 25 years later I am loading them on a trailer again and moving them to my house. Turns out both engines look great. I removed all the parts I couldn't use and cleaned off a 100,000 miles of grease and dirt which took a pressure washer and 4 hours. The cylinder walls have the expected wear and tear but they are standard bore so I will be able to have them bored out .030 over and buy a .030 over rebuild kit :D. Back in business. I have done a ton of other little things but not worth reporting on.
 

Corjen1

Lieutenant Junior Grade
Joined
Aug 24, 2013
Messages
1,237
Mark, dont let the troubles get your down!!! Every little thing leads to the splash. You are doing fantastic work and learning a bunch I would bet!!
 

Woodonglass

Supreme Mariner
Joined
Dec 29, 2009
Messages
25,924
Hey who's that Good Lookin' Smiley Guy??? Looks like a COP to me!!!! All in all I'd say you're movin in the right Di-Rek-Shun!!!!! Keep ona Muvun!!!!:joyous:
 
Top