Nice to see things coming along since I last checked in.
As zool mentioned, epoxy mix ratio is important. I've done it lots of different ways, but these days I prefer to mix epoxy by weight, especially for small batches.
Using a food scale dedicated to the purpose, I set the cup on the scale and zero it, then I fill it to 5/6ths the desired quantity with part A. Calculator gives me the amount (18% in my case) of part B needed to add, and then I slowly add it in until I get to the right amount. Once or twice I have gone over, but it's easy to calculate how much part A needs adding to get it right.
NOTE: mix ratios by weight are slightly different than by volume. Should say on your can, or worst case call the distributor.


")


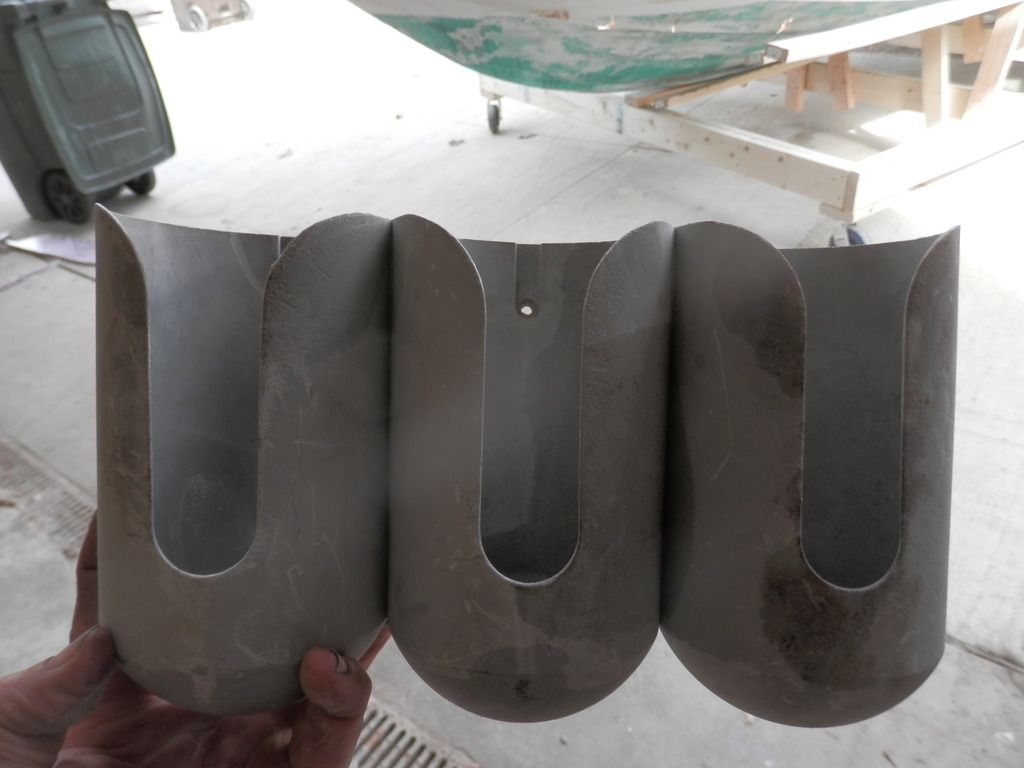
Couple questions what would the max gap be between hull and stringer? And can someone tell me what this is