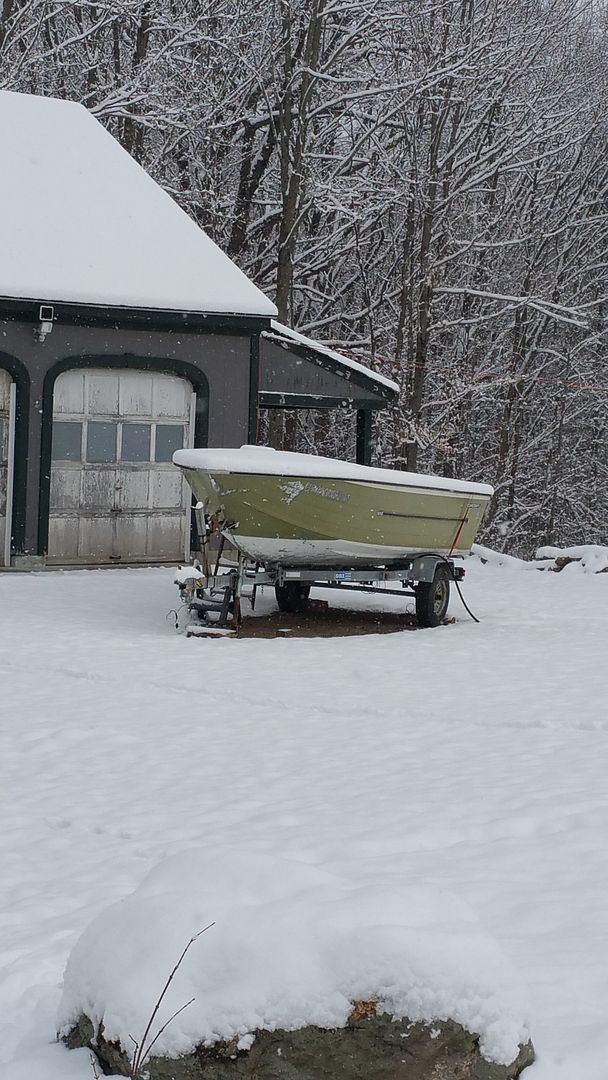
1970 Holiday 18ft Beginning rehab for fishing boat

Watermann

Starmada Splash of the Year 2014
Joined
Jan 12, 2013
Messages
13,753
Yeah those should be correct and remember you have to flange the end too. I made up one of these...


FlaringTool.jpg
 

MyOutdoors

Seaman Apprentice
Joined
Mar 14, 2016
Messages
47
I found that diy flange tool earlier while I was searching thru the gazillion posts...awesome idea! My fianc? just gives me the "look" around 1am while I'm reading rehab stories on the starcraft.

Only 32* today but I think I can get some sanding done.
 

MyOutdoors

Seaman Apprentice
Joined
Mar 14, 2016
Messages
47


1st Day of spring...go figure! Once the snow is gone, Im going to repair the pitting on the inside of the hull by the bilge area. I have a couple of deep pits and one is a pin hole all the way thru. Should I use PC-11 or JB Weld then apply coat it on top?
 

classiccat

"Captain" + Starmada Splash Of The Year 2020
Joined
Dec 20, 2010
Messages
3,405


1st Day of spring...go figure! Once the snow is gone, Im going to repair the pitting on the inside of the hull by the bilge area. I have a couple of deep pits and one is a pin hole all the way thru. Should I use PC-11 or JB Weld then apply coat it on top?

Is the hole below the waterline? I'm a fan of external patches below the waterline.
 

MyOutdoors

Seaman Apprentice
Joined
Mar 14, 2016
Messages
47
Knee brace, rivets, ribs, all are in good shape. It looks like the PO left water in the hull and it caused some oxidation and pitted the interior hull
 

Watermann

Starmada Splash of the Year 2014
Joined
Jan 12, 2013
Messages
13,753
I'm with CC on this issue. I would repair with a riveted on an external patch back buttered with 5200 covering all the damaged area into good AL. If you repair it just with some epoxy filler what happens when that filled area gets impacted by an underwater object? Since it's on the bottom it could create a a tear where as with the patch it's got some armor.
 

MyOutdoors

Seaman Apprentice
Joined
Mar 14, 2016
Messages
47
I'm trying to picture this fix...would I rivet a 4x4" piece of aluminum buttered up with 5200 from the outside, then do the epoxy and coat-it on the inside? What thickness do I use for the aluminum patch and where do I get it. Also can I use regular sealed 3/16th rivets.
 

Watermann

Starmada Splash of the Year 2014
Joined
Jan 12, 2013
Messages
13,753
You can do the epoxy repair first although it's not necessary and you could also forego it with the 5200 and patch in place. If the epoxy repair and coat it isn't 100% then it could trap water underneath it and create more corrosion issues.

I would use .080 ga AL for the patch and I'm not a fan of using blind rivets on the bottom of the hull since they're not very rugged. If you don't have solid rivets and a way to set them then you could use stainless machine screws and nylocs inside which would give you the ability to cinch down the plate. Where to find the patch material is dependent on where you live. Lots of us use old road signs which are .080 5052 AL, perfect for these old boats.
 
Last edited:

MyOutdoors

Seaman Apprentice
Joined
Mar 14, 2016
Messages
47
I actually have a good supply of road signs. I don't have any solid rivets but could use the ss pan heads with nylocks. I have random pitting but this is the only one with an actual pin hole. That's why I was hoping to just fill them on the inside. I'll post some pics tomorrow of the pitting.
 

Watermann

Starmada Splash of the Year 2014
Joined
Jan 12, 2013
Messages
13,753
Yeah we're just giving you some options on what can be done, it's not right in front of us to see for ourselves so erring on the side of caution is always best when it comes to these types of repairs. Please check out Classiccats thread, you'll see he's the master of patching pitting holes and AL patch working.
 

MyOutdoors

Seaman Apprentice
Joined
Mar 14, 2016
Messages
47
Here's a few pics of the pitting in the rear hull by the knee brace. I'm assuming the PO left some water in it for a while. The pitting tapers from the knee brace section up 4 ribs towards the bow.

I circled the deepest one that actually has a pin hole.


Watermann

Starmada Splash of the Year 2014
Joined
Jan 12, 2013
Messages
13,753
Yeah there was more than water to cause that corrosion. You should clean out those pits better to remove what remains inside all the deeper pitting. Pat close attention to the ones that are large and are dark down inside. You may find more pits that are or close to being clear through.

I would remove that knee brace too, it's going to be ugly under there.
 

wheeldriver

Seaman
Joined
May 29, 2012
Messages
50
Hello MyOutDoors

Looks like you are having tons of fun there.

I can offer my experience in the pitting of your bilge area. My SS had the same pitting as yours. Being the floor was removed prior to you getting the boat I can guarantee the previous owner removed about 1/2? to 1 inch of sand/mud built up from nearly 40yrs of boating. Thats what I found in mine that resulted in pits from yrs of not being cleaned. When doing a leak test I found one very small pit had a very slow leak.

I was on a very tight budget and after doing some research I went with a product called Gluvit. Its a water proof 2 part resin epoxy used in the marine industry to fill minor cracks and pinholes. It flows like water and will flow into every microscopic poor it finds and grabs hold.

I cleaned out the best I could my bilge area using a SS wire wheel brush on a dremel tool. Avoid using a carbon wire brush its said it will leave carbon deposits in the aluminium causing more corrosion down the road. Cleaned the area with alcohol and let it dry till I was 100% sure no water or alcohol was down in the pits. Brushed on a thin layer of Gluvit and let dry for 24hrs, then came back with a second coat. I don't know what they put in that stuff, but it will take a chisel and hammer to chip it off. No leaks in 3 yrs now of heavy use. I also clean out that area with a wet/dry vac and a hose after each season.

The pitting on many of these old boats can be so bad the aluminium is weakened and a patch is a must for safety, as you've seen by classiccat.

Stay motivated. These are great boats!
 

MyOutdoors

Seaman Apprentice
Joined
Mar 14, 2016
Messages
47
We're at advice guys, thank you. I ordered coat-it which is equivalent to gluvit so I could fill in the pitting. I'm probably going to remove the knee brace so I can verify what's hiding underneath. Im going to give it a good scrub with TSP solution and then power wash it.
 

Watermann

Starmada Splash of the Year 2014
Joined
Jan 12, 2013
Messages
13,753
Yeah she can be easily repaired, just have to keep moving forward and never get discouraged by "pitfalls" just become motivated to get her safley back on the water.
 

MyOutdoors

Seaman Apprentice
Joined
Mar 14, 2016
Messages
47
Classiccat, I'm on page 60 of your rehab...it's quite the project! I'm in the process of ordering some 3/16" rivets and the correct rivet set. What length rivets did you use to replace the standard hull rivets without any patches and what was the length on the rivets you used for adding .080 patches to the hull. I have a feeling I'm going to be adding quite a few.
 
Top