I got a (new)question for you Starcraft guys, Officially a Project

GA_Boater

Honorary Moderator Emeritus
Joined
May 24, 2011
Messages
49,038
I think inactive is the right status. What's left is sitting under banana peels and coffee grounds - Can't get more inactive than that. The class action suit will filed be itchy earthworms!

Hope ya get more time to work on the Keeper. :D
 

TruckDrivingFool

Lieutenant Commander
Joined
Jul 30, 2007
Messages
1,818
Bit the bullet, followed the crowd, spent the money, Gluvit ordered.

Other random questions,

1. Fuel lines -
Is there special high dollar fuel line for the supply line or is that just the fill and vent hoses?
Thoughts on a running a steel fuel line for the supply?
Vent the tank through the side of the bow? through the topside bow deck?

2. Solid rivets - I found a place to get clecos and other riveting tools fairly cheap but I'm hung up on rivet sets - all that I looked at said for AN470 will that work or do I need to look for sets specifically for brazier head rivets?
 

TruckDrivingFool

Lieutenant Commander
Joined
Jul 30, 2007
Messages
1,818
Fresh water environment (I know only slightly better), tucked up under the gunwhale, secured with rubber insulated clips, was my thought. Painting it wouldn't be out of the question though.

Thanks for the link to the set, have you found a use for other size rivets requiring other sizes of sets?
 

Watermann

Starmada Splash of the Year 2014
Joined
Jan 12, 2013
Messages
13,753
If possible I would keep the fuel lines down lower, under the decking along the deck supports to limit the distance and plumb it into a water separator/filter and then your soft line with the primer bulb from the filter to the motor.
 

TruckDrivingFool

Lieutenant Commander
Joined
Jul 30, 2007
Messages
1,818
Food for thought thanks WM,

There's still much to do before fitting the tank obviously (it's ordered with the Gluvit) but I should be able to get some measurements as I think my plan would be roughly the same distance if not a bit shorter of a run.
 

TruckDrivingFool

Lieutenant Commander
Joined
Jul 30, 2007
Messages
1,818
My order from here arrived today and among the many things was a rivet removal tool. It's basically a depth stop with interchangeable tips and bits depending on the size of rivet you're working with. So of course I had to go try it out, :)

I decided to try it out by removing the side rails, The first side took about 1/2hr as I proceeded cautiously not knowing how deep I wanted it to be set. The second side I drilled a couple out then decided to try out my Activeon camera (like a Gopro) I got for Xmas to share with you guys.


The one jam was the only one I had between doing both sides and the last rivet that gave me a fight (also the only hole I goobered) was because I was in a hurry and should of rolled the boat out a bit to get a better working stance. All in all for the first time using it I think it's well worth the $40 and I'm sure will get some use. I also spent some time setting up my cheap air hammer/chisel with a swivel regulator that hopefully will aid in the adjustability and make it a dream to rivet with but I won't know about that until my rivet set and rivets get here. :rolleyes:
 

TruckDrivingFool

Lieutenant Commander
Joined
Jul 30, 2007
Messages
1,818
On another point I was surprised that there was no paint under the rail meaning that the factory took the time mask each one off in the paint process. :eek:
 

TruckDrivingFool

Lieutenant Commander
Joined
Jul 30, 2007
Messages
1,818
The important questions - Gluvit prep questions,

Do I need to be down to bare metal?
If so how far back from the seam would you go?


Is there any real benefit to doing the rivets along the ribs? Seems to me your not going to get it clean between the rib and the hull and going to end up with at best a shower cap on top of the rib with questionable sealing around the rivet.

The rest is just pondering on the fuel tank still

Set the old bow floor in with the tank definitely a shorter run to come up, go across the back of the dash board, and down the port gunwhale. Hang a water separator under the SW at the gunwhale and go to a bulkhead fitting or quick release to get to the rubber hose to the motor. Thoughts?


Watermann

Starmada Splash of the Year 2014
Joined
Jan 12, 2013
Messages
13,753
Yeah it's a waste of time to use gluvit on the rib rivets. Seams, keel and you can do the rivets between the ribs holding on the chines.
 

TruckDrivingFool

Lieutenant Commander
Joined
Jul 30, 2007
Messages
1,818
Am I good to go over paint with the Gluvit after wire(nylon) wheeling the loose junk out of the seams and cleaning and drying?
 

TruckDrivingFool

Lieutenant Commander
Joined
Jul 30, 2007
Messages
1,818
Seams and keel rivets all brushed/scuffed, so long as I don't need to be at bare metal I'm ready to wash (with vinegar right?) and put Gluvit on this weekend.
 

Watermann

Starmada Splash of the Year 2014
Joined
Jan 12, 2013
Messages
13,753
Yeah gluvit will stick to paint fine if it's good and not loose of course.

I used the Heinz cleaning vinegar straight in a spray bottle and a scrub brush then rinsed. I sponged out what won't drain bow up and put a fan in the boat to help dry it out.

k2-_85e9b3ef-8211-4c18-ac8f-8e901294f49f.v1.jpg
 
Last edited:

TruckDrivingFool

Lieutenant Commander
Joined
Jul 30, 2007
Messages
1,818
Thanks WM, hopefully by the end of the weekend I'll be past the Gluvit stage and ready to move on.
 

TruckDrivingFool

Lieutenant Commander
Joined
Jul 30, 2007
Messages
1,818
Last weekend and this have been colder than I want it for applying Gluvit so no boat progress. I did get some 3/8, 5/8, and 7/16 inch long (sizes culled from threads and guessing) solid rivets so some learning progress happened.

I took some scraps I had laying around, some of the 3/8" rivets, and started to rivet

Thick to not so thick (the angle is roughly the same thickness as the hull)


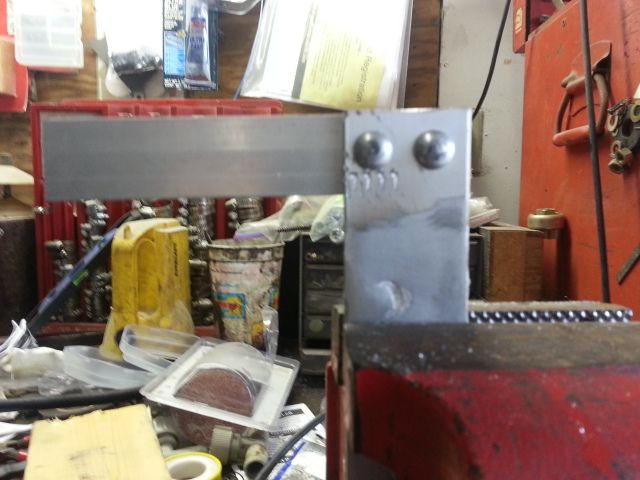
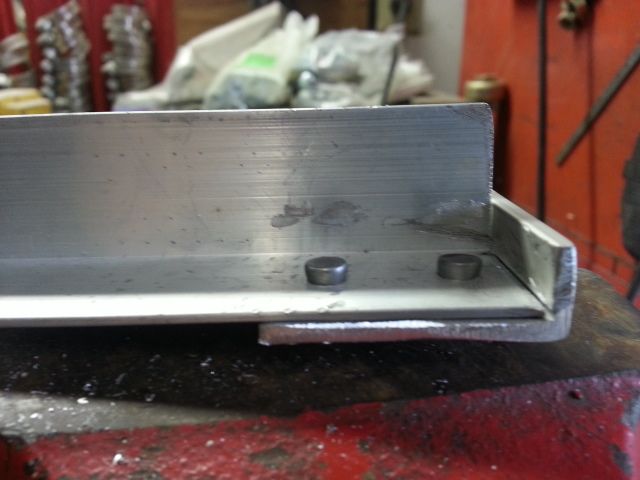
No problem I got this, next not so thick to thin,


Starting understand the need for the correct size rivets but still going good. Then I got cocky and decided thin to thin with rivets that are too long.

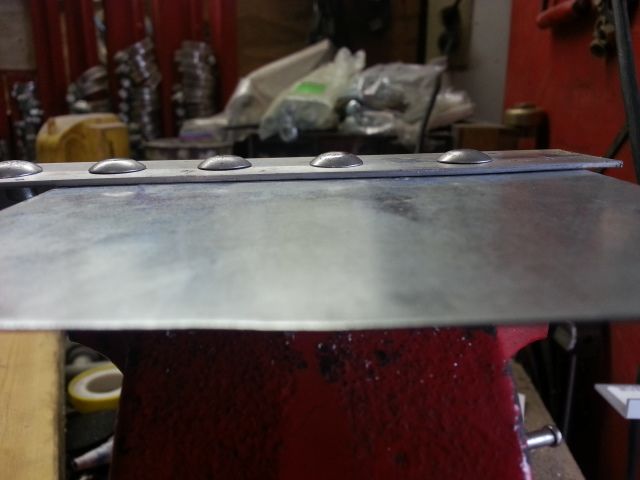
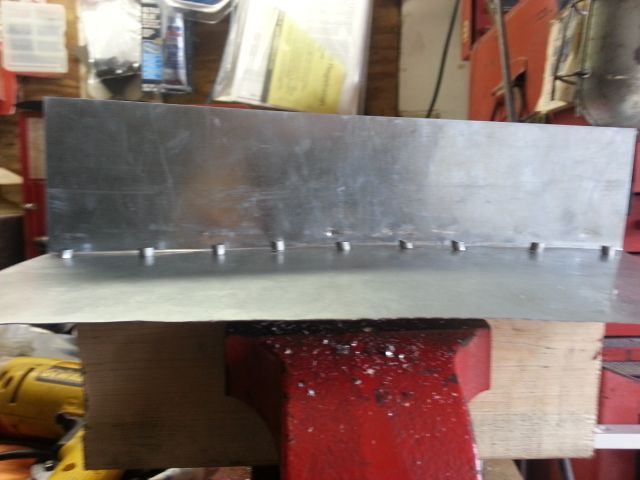
Crappy rushed flange bent into some 26ga sheet with the holes drilled


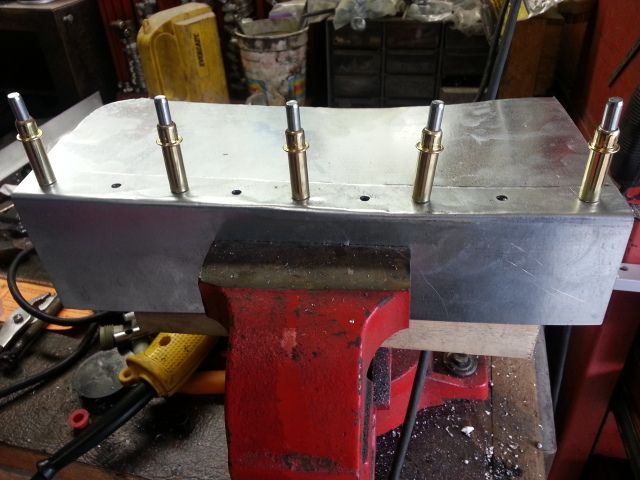
Start riveting and see I'm beat the shape out of my flange not to mention I tipped one but pressing on


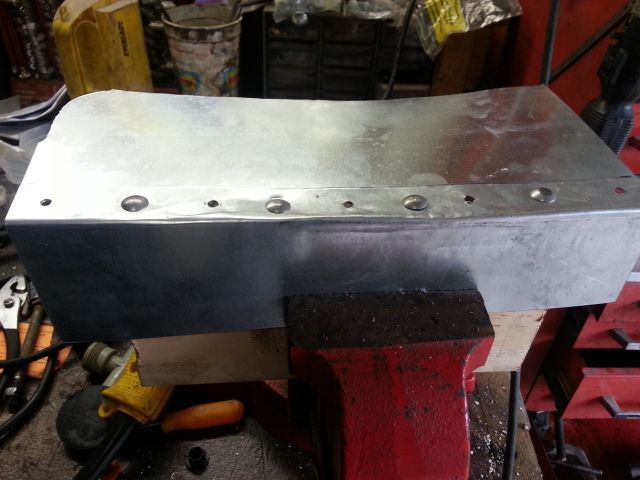
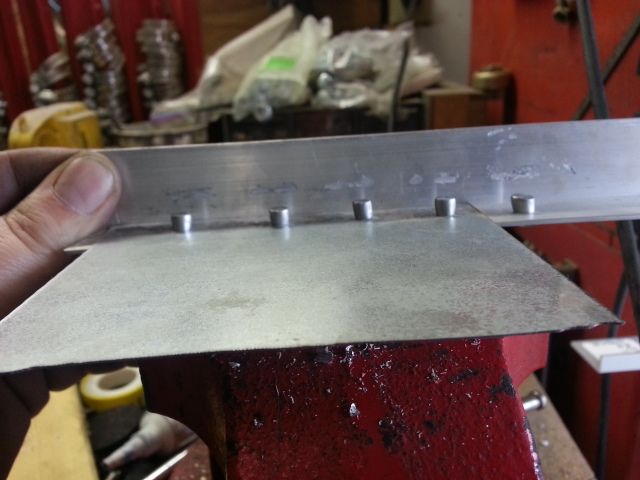
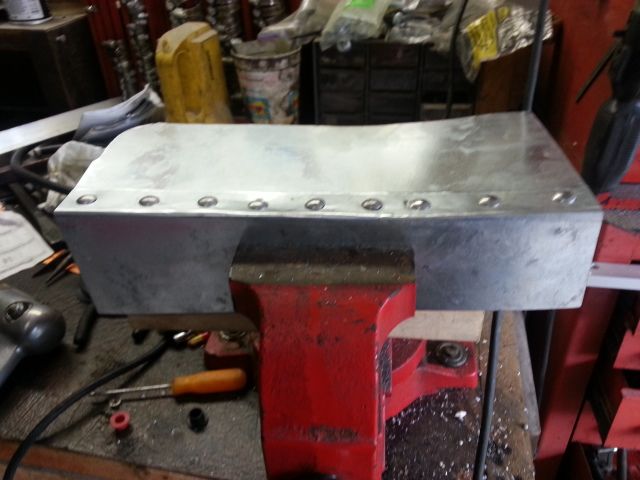
Finished the riveting without totally destroying the shape but had two tipped and some bent tails (really understanding rivet length selection now)


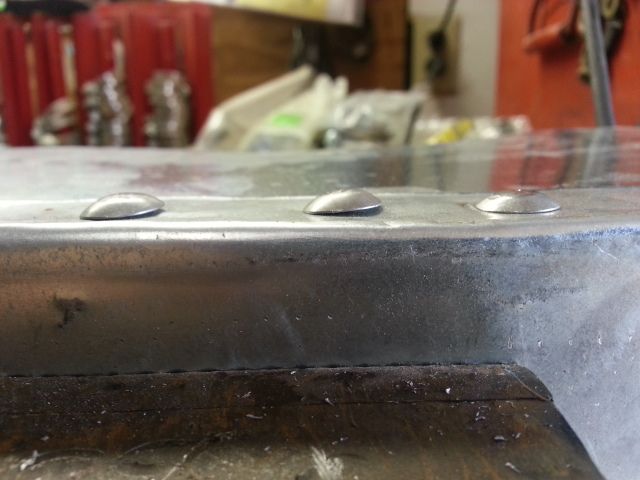
Not ready to build airplanes but I now have the confidence that I can get the side rub rails solid riveted back on when the time comes and think perhaps I need to order some shorter rivets.
 

classiccat

"Captain" + Starmada Splash Of The Year 2020
Joined
Dec 20, 2010
Messages
3,405
Practice makes perfect TDF...and there's no shortage of practice on a StarCraft tinnie! :thumb:

Another challenge to solids...it takes two to tango! Do you have a bucking partner in your sites?
 

Watermann

Starmada Splash of the Year 2014
Joined
Jan 12, 2013
Messages
13,753
It's easy to tip the rivet if you don't have a bucking buddy, especially one that understands the rivet gun is what does the work and he doesn't have to lean all his weight into the bar. Glen passed on a secret to keeping the rivet set from jumping enough to crescent the rivet head. Put a small piece of duct tape in the rivet set's indention.
 

TruckDrivingFool

Lieutenant Commander
Joined
Jul 30, 2007
Messages
1,818
I worked the rest of the weekend but managed to sneak in bunny duties and Easter lunch @ Mom's with the whole family, so here's hoping everyone had a fantastic Easter weekend!


CC said:
Do you have a bucking partner in your sites?

Same bucking partner I've had for the last 22yrs. :) Seriously though I figured I oughta figure it out before I try n teach her.

WM said:
Put a small piece of duct tape in the rivet set's indention

Thanks that's simple enough.
 
Top