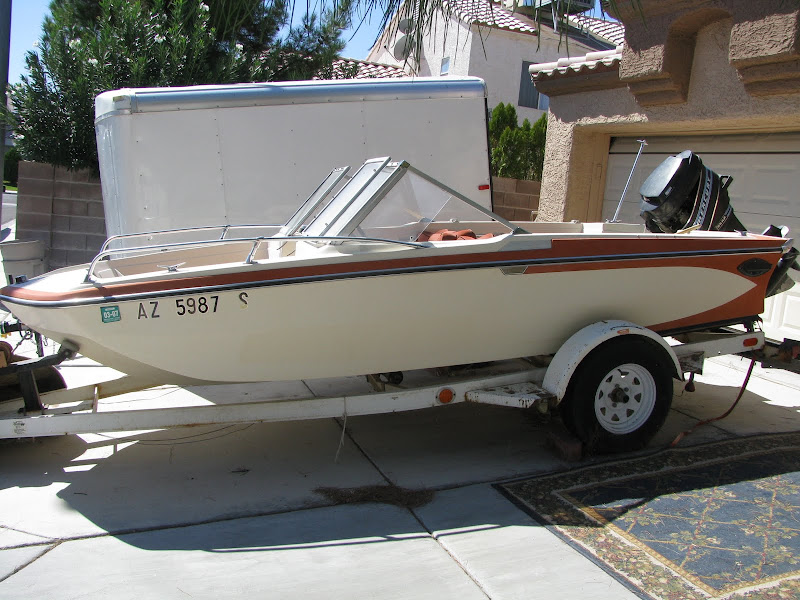
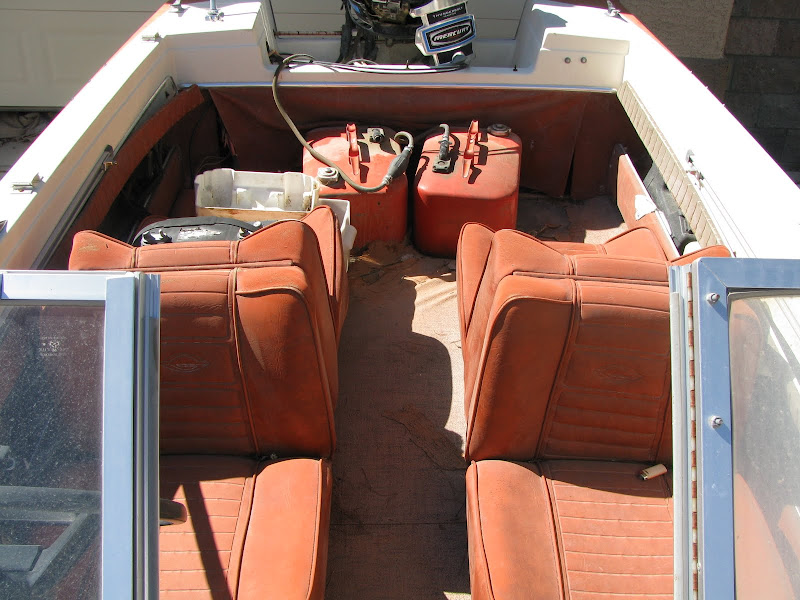
Re: 76 Glasstron Tri Hull Resto Project
Doing more research on if it is possible to paint over the gel coat or do you have to knock it all down to fiberglass or what can you can?t you do and I found this. This may be helpful to guys like me.
Credit where credit is due. This was written by Bob A. Todd
http://www.cncphotoalbum.com/doityourself/paintboat/paint.htm
One thing to keep in mind during this process is that the finished project will only look as good as the prep work that went into it.
1. Wipe the surface to be painted with acetone. This will dissolve any oils, grease, wax, and surface debris. If you skip this step and just begin sanding you will create scratches in which these contaminants will be forced into making them more difficult to remove later.
2. Wash the boat thoroughly with a mild detergent and rinse completely with clear water.
3. It is very important to cover ALL gel coat areas that you don't want painted. If you don't do this, the paint dust generated by sanding will be absorbed into the gel coat and cannot be removed.
4. Using a 5" or 6" DA (dual-action) sander (dual action means it vibrates AND rotates at the same time) begin at either end with 220 grit paper. I know this sounds pretty coarse, but with a DA it actually comes out extremely fine.
5. Take your time! This is not a job to rush and there are no shortcuts. Make certain that you feather out any scratches even if you have to go down to the original gel coat. If you are not sanding through a layer of paint and are painting over gel coat do not go deeper into the gel coat than necessary. If you find that you sanded down into the matting apply gel coat to the area after you have finished sanding with the 220 and redo the area.
6. When you are finished sanding with the 220, go over the boat with a fine toothed comb and a piece of chalk circling areas where there are still scratches and chips.
7. Fill the scratches and chips with crack filler, aka body putty, aka glazing compound, (available at all auto body and automotive parts stores) and, using a plastic bodywork spatula, lay the filler in the scratch, chip, or depression and allow to set for 3 hours.
NOTE: Wipe the scratch, crack, etc... with acetone before you apply the crack filler. Crack filler works wonders on stress cracks as well.
8. Return to these areas and DA them with the 220 grit until the surface is even and the edges are feathered.
9. Wash the boat the same way you did in step #2.
10. Begin hand sanding the hull with 320 grit. This will diminish the swirl or "jitterbug" marks left behind by the DA and give you your final surface.
11. When completed, wash again as before.
The hull is now ready for a coat of paint. Simply wash the hull down with acetone on a lint-free rag, wipe it down with a tack rag, and mask the areas you do not want painted.
Pick a nice warm (above 65F) calm day, mix your paint per mfg.?s instruction, load your gun and shoot. I recommend DuPont Imron. It is a good, durable paint that will last about 12 years or more with proper care. For a gun, I prefer a good grade HVLP (High Volume Low Pressure) type. With a regular gun you lose approximately 65 ? 70% of the paint in overspray. With an HVLP gun you only lose about 25 ? 30% depending upon the weather conditions and the cleanliness of the gun. I send mine out to be optimized prior to shooting. It?s well worth the $50.00 when you see your finished project.
If you have runs or dull sections on you hull after you spray, you can polish these out by using 2,000 grit wet sandpaper. Sand while running a garden hose over the area. Buff afterwards with MeGuier's #20.
A word about personal protective equipment: I personally know of one individual that felt he didn?t need a cartridge respirator because he was shooting outdoors. He shot his boat with Imron and died that night of respiratory failure. The vapors from these materials are extremely toxic at almost all levels. Also, don?t be penny wise and pound foolish? don?t trust your priceless life with a $20.00 respirator. (CAUTION: Most isocyanurate based paints (urethanes) contain TDI iso that cannot be filtered with cartridge type respirators. A breathing air supply system or free air pump is the only safe way of working with many of these paints.)