RESCUE

jrttoday

Lieutenant Junior Grade
Joined
Feb 8, 2010
Messages
1,081
GAS GAS GAS!!!
did you know that the most likely reason for the back glass being blown out in vehicles is the Bean Burrito from Taco Bell? :hungry::hungry::llama::lol:
Am a couple days/weeks lol from beginning to work on this old motor and the question of octane/compression ratio came up.

This is what I found online "18. I have an older outboard with higher compression. Should I burn PREMIUM gas?
NO! Here's why. The octane ratings are composed of 2 components, research octane and motor octane (RXM/2) divided by 2. The RESEARCH octane is the quality of the base stock, the MOTOR octane is derived from additives. The oil company will never tell you the ratios. Problem is the highest octanes are achieved by MOTOR octane additives, which will just gum up the pistons in a 2 cycle engine. Base stock is generally the same. The MID-GRADE gas has the detergent additives needed to clean your motor and sufficient octane for MOST motors. If you have a MERCURY, FORCE or OMC motor from the early 70's thru mid-80's refer to technical bulletins from the manufacturers for timing changes and replacement head gaskets to lower compression to use today's gasoline's."

Am considering head gasket replacement, but also where would I find these technical bulletins?
and any experience with octane boosters and corn free gas or otherwise?
 

jrttoday

Lieutenant Junior Grade
Joined
Feb 8, 2010
Messages
1,081
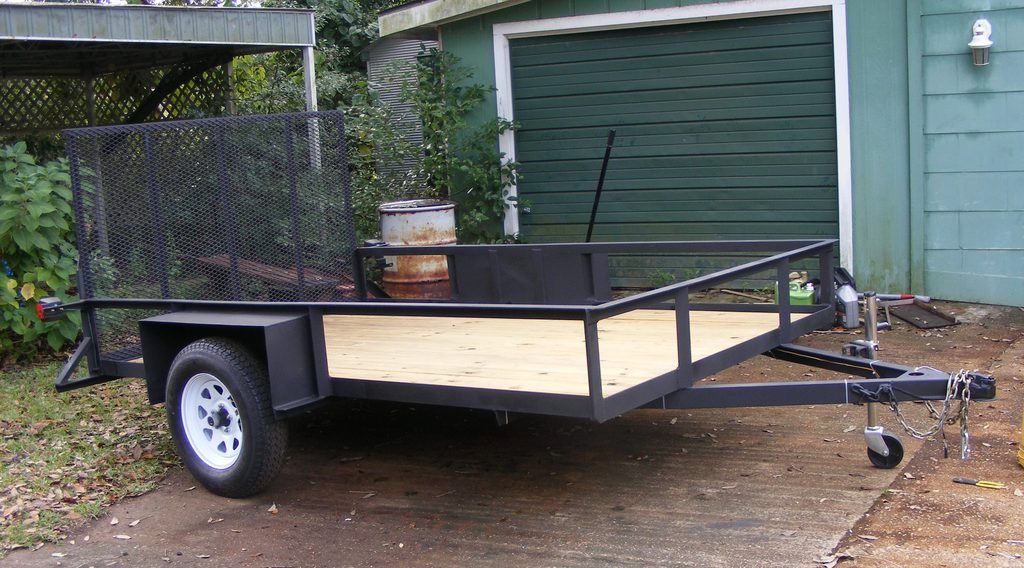
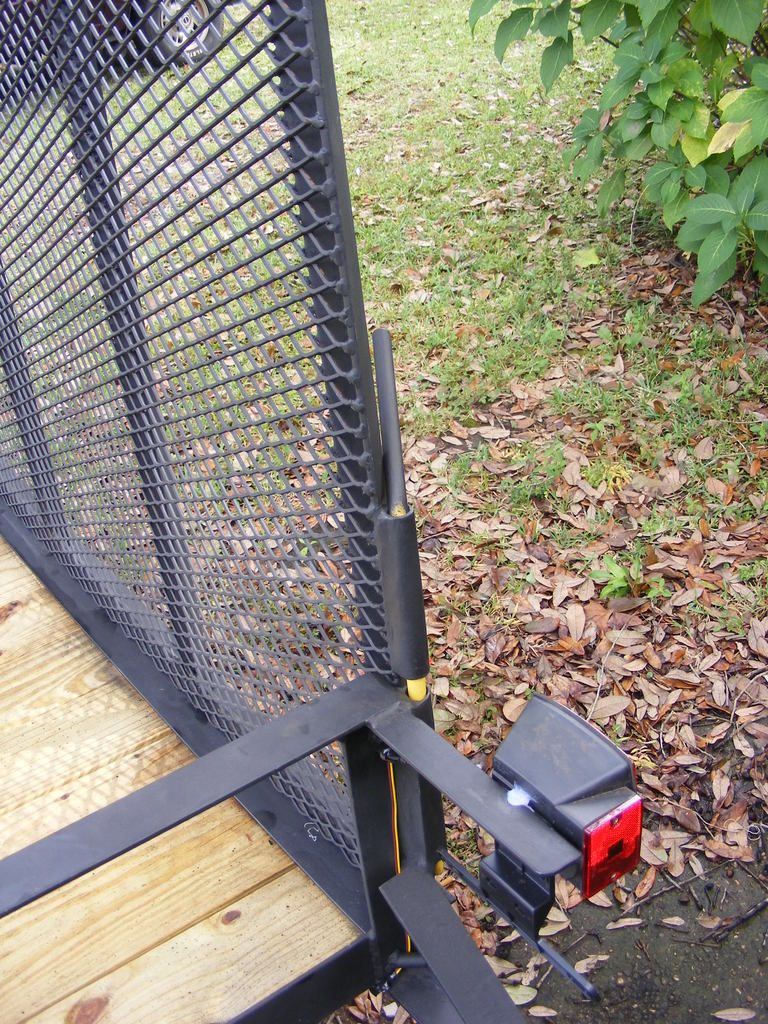
delivery tomorrow after the Thompson's dries good. A few places need touch up paint, but am through nitpickn!! lol sharp edges knocked down, expanded metal welded everywhere that could be, wires wrapped several times everywhere contact was made to steel. And the trailer is %100 welded (all 1/4" new steel except for the fenders - made from 1/8th" scrap) ​safety chains welded and bolted. Hinges and ramp pins were made from 5/8" cold rolled
http://


this took way too long, just don't have the shop space or the tools for it.
For example, don't have a torch or chop saw. The motor stand was built from the leftover materials of this trailer. The 1/4"x1.5"x1.5" angle used for stand were welded to the base at 22" wide and needed to be 17" wide at the top for the only piece of angle left. Took some rope, pulled as tight as possible, laid it under boat trailer and set trailer down to compress it. Several times tightening the rope each time. Either I'm a redneck or I've had to make do... overcoming obstacles. lol I really have done so much with so little for so long......
 

jrttoday

Lieutenant Junior Grade
Joined
Feb 8, 2010
Messages
1,081
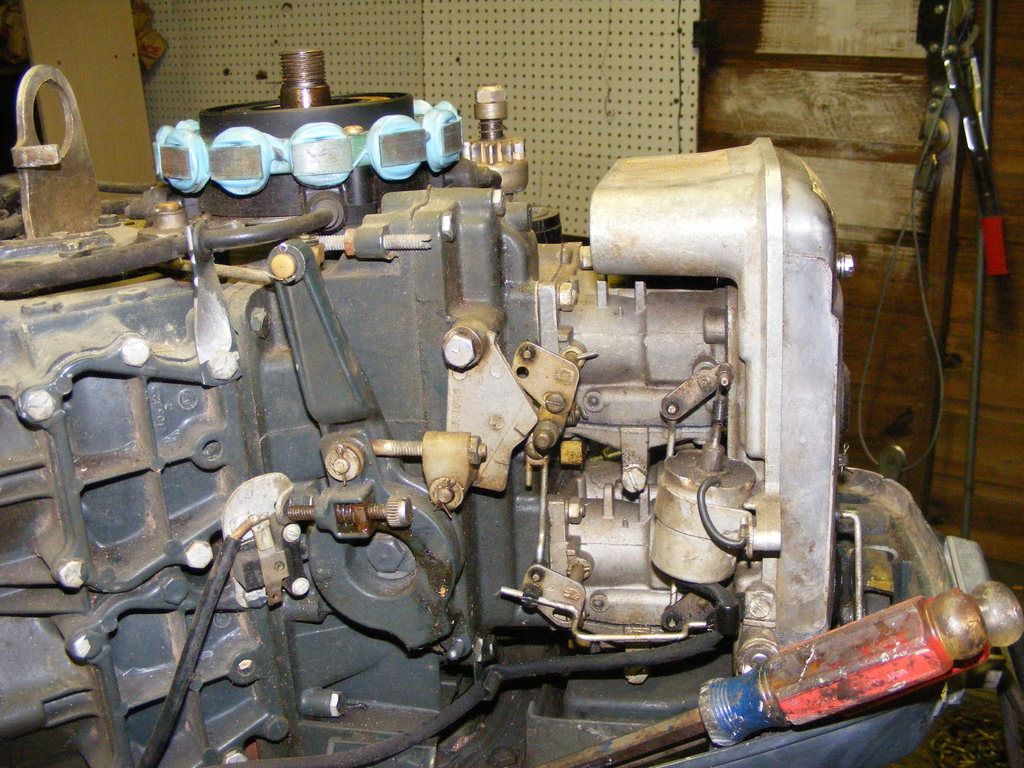
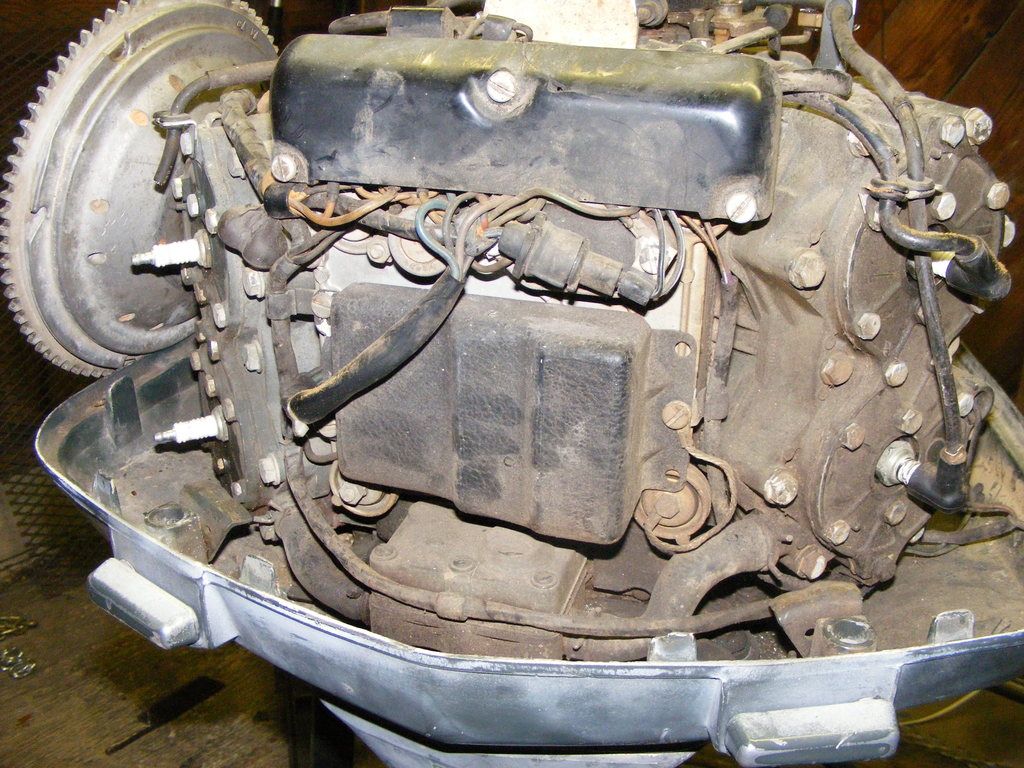
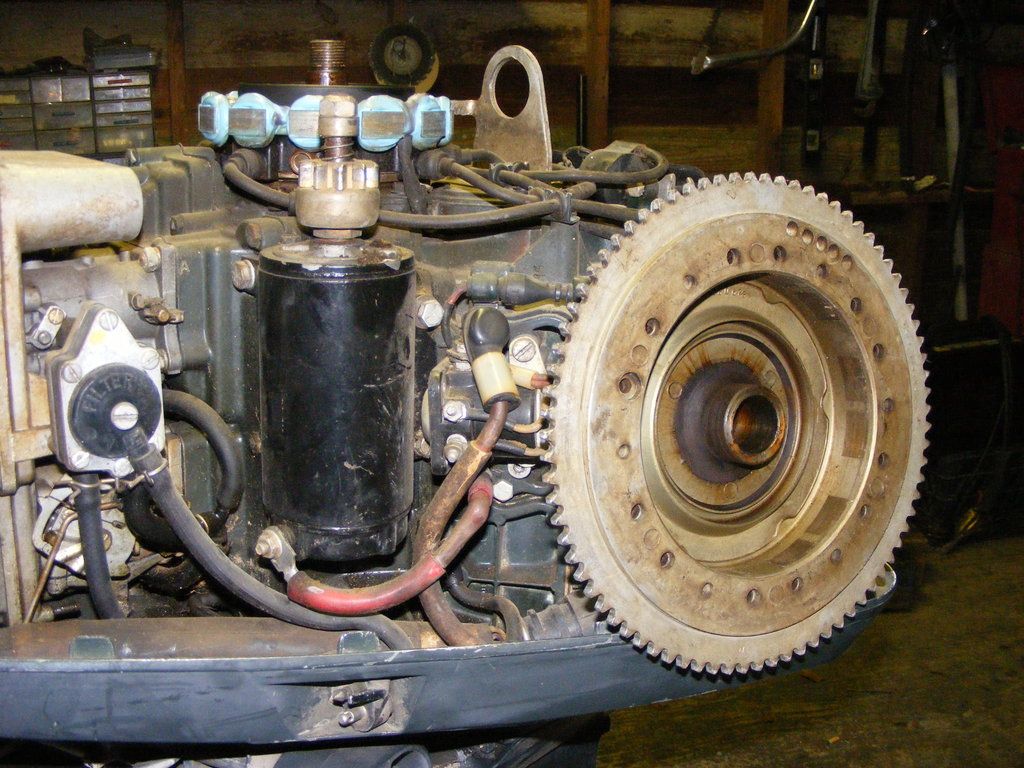
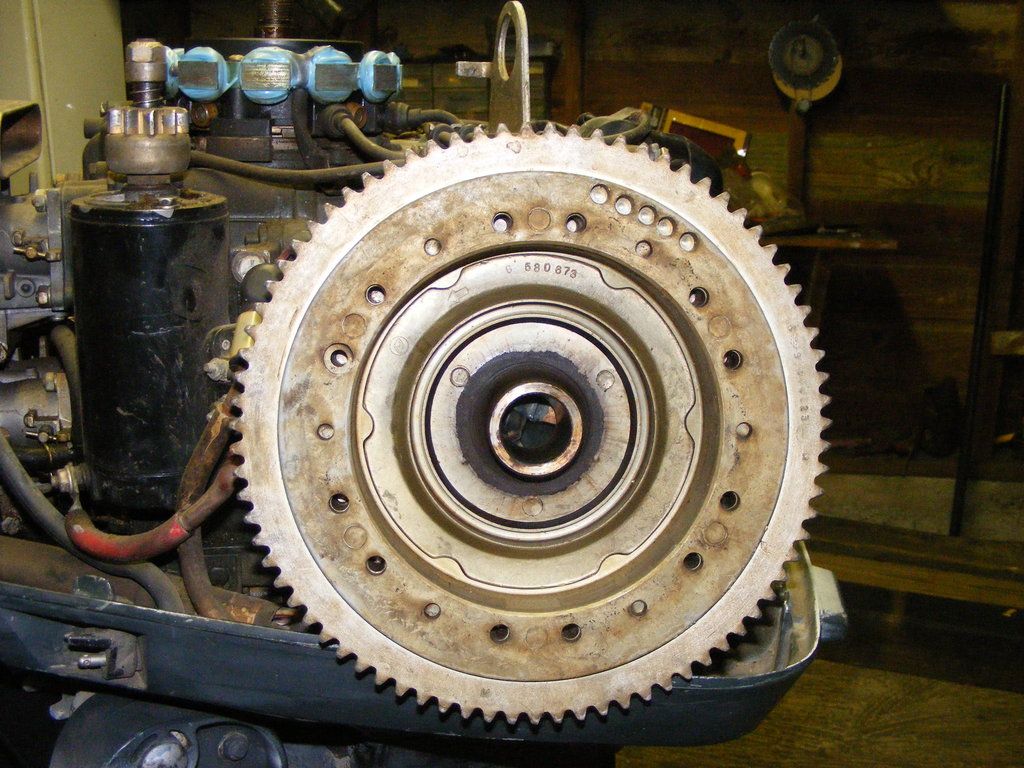
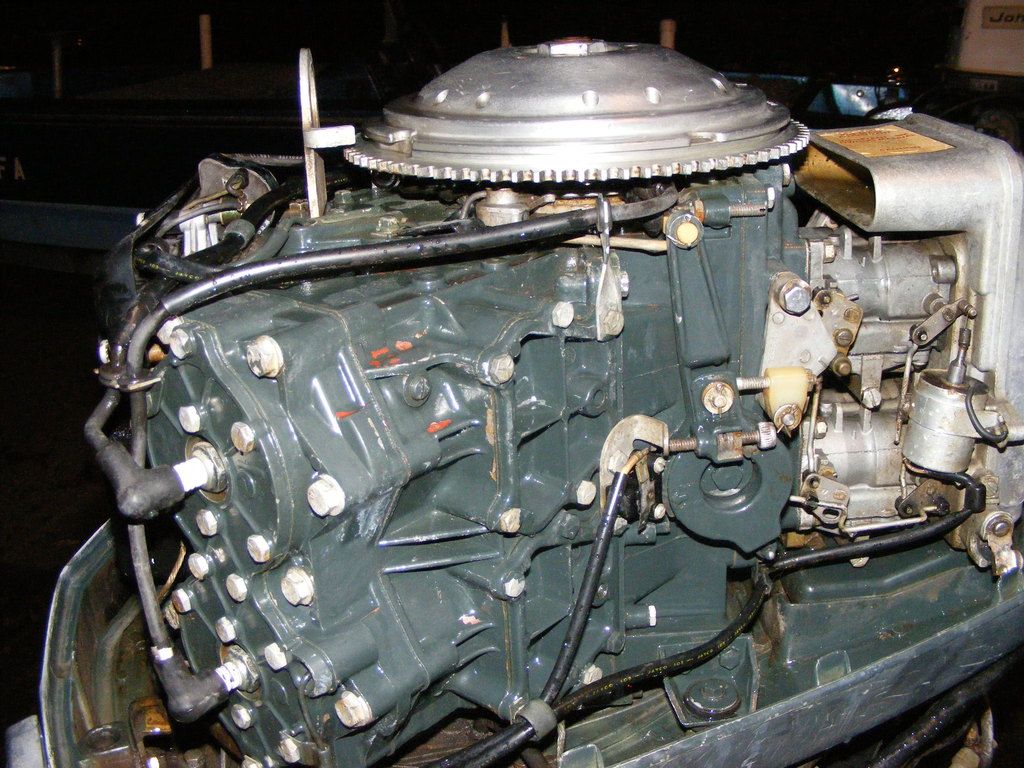
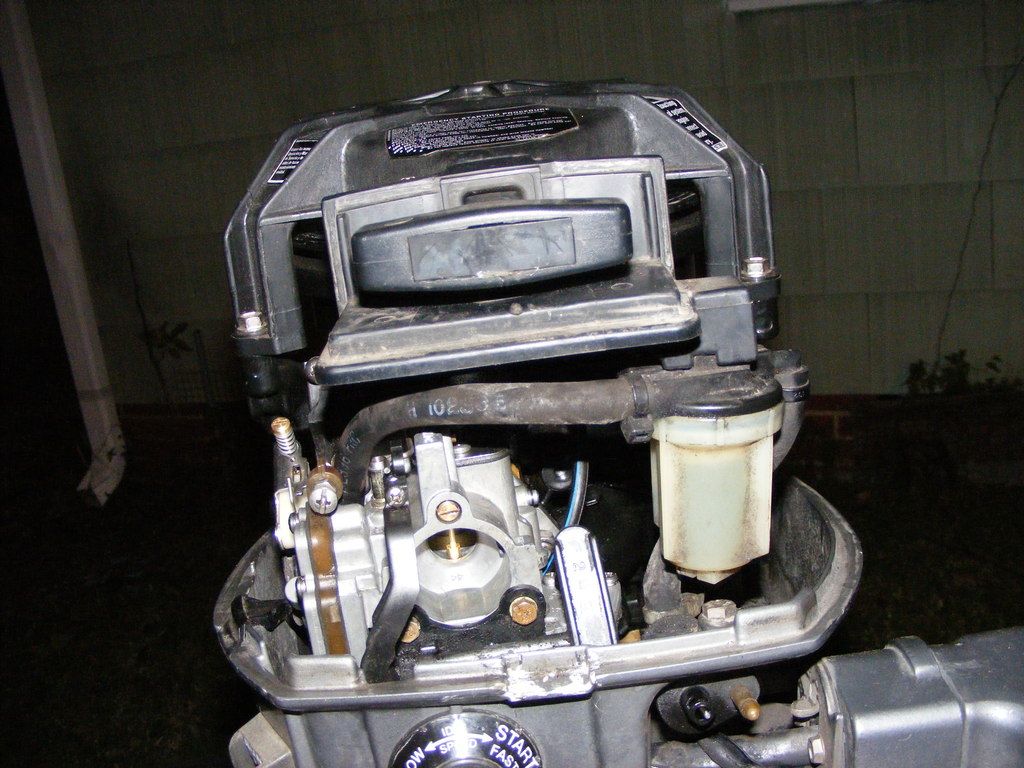
OK, what do you think from these pics?http://


These are not trick shots or photoshopped, edited, cropped, etc. And I have not cleaned anything, obviously!! Really need to clean the garage before doing anything/more. but had to look again... Drained lu oil, clean and smells new???? how do ya tell? well, it isn't burnt or anything. Anyway, two of the plug wires have been cut and no remote; will plug mine in when I get there - it should be the same.
 

jrttoday

Lieutenant Junior Grade
Joined
Feb 8, 2010
Messages
1,081
Without me posting a video, you won't see how freely the steering pivot bracket and transom swivel brackets flip flopped while in the back of my truck. Hope they don't give me a problem!!!:first:
 

jrttoday

Lieutenant Junior Grade
Joined
Feb 8, 2010
Messages
1,081
it's only been 18hrs and already got feedback on that trailer. I know this thread isn't in the towing/trailer forum, and I don't facespace or give a tweet about other social media. I just don't do online venues very well.

The project (trailer) was bartered against a $1,600 value and I ended up with just over $2,000 in it - wasn't and isn't about the money. Was built like "I" was going to use it. When I was working (employed), I always built things to spec and as if "I" were going to be using it or if it were mine.

Typically hauling a four wheeler and camping gear for a weekend of fun, the requirement was a trailer that stays put/tracks well at ridiculous speeds.Most of the trailers out there today don't, they are too light and cheaply made.

This morning he said he tested it last night at 90mph with nothing in it and it stayed with the truck like it was part of. It's none of my business how he drives, his only complaint - the ramp pins were too tight for his tastes. Easy fix with a grinder; having some knowledge of how he drives, I wanted them tight.

My payment is in knowing that I did a good job for someone else, and they really appreciate it.
 

jrttoday

Lieutenant Junior Grade
Joined
Feb 8, 2010
Messages
1,081
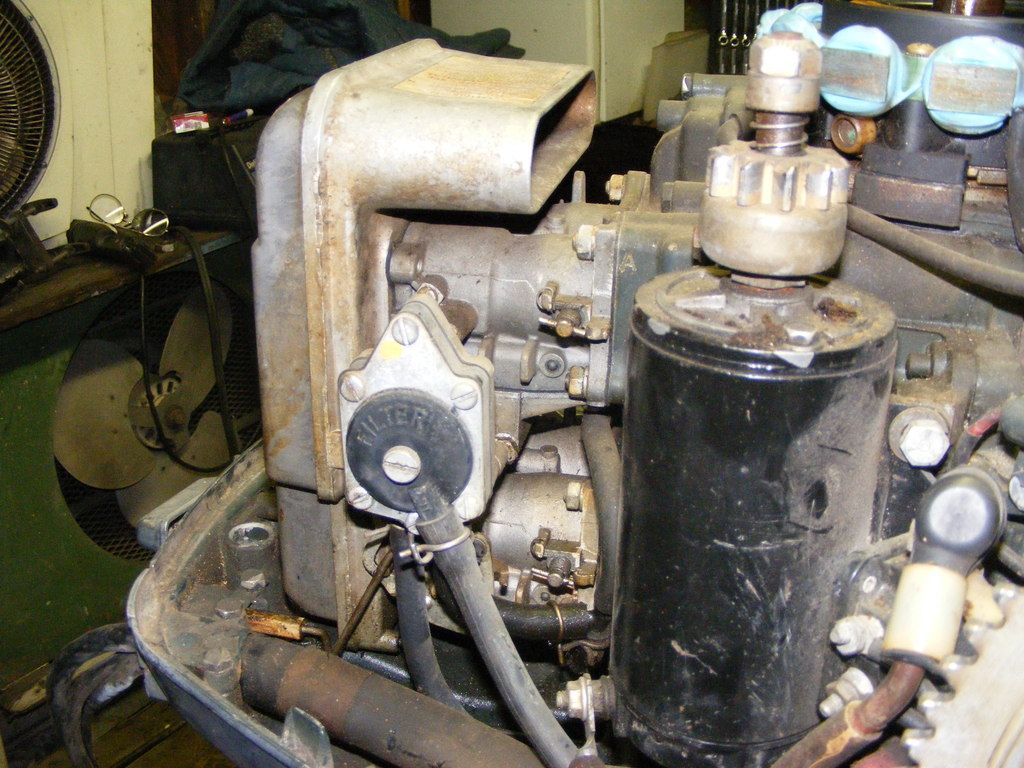
spent the last three "full" days cleaning out the garage, now that the trailer is gone!! yip yip yippie!! was a disaster uhhhh! It was like a vacation spending an hour cleaning this motor up.
http://[URL=http://s173.photobucket.com/user/jrttoday/media/002_zpsvy4nke3o.jpg.html]

will clean it again before working on it and prolly get some 4 or 6ml to make a hooch/clean room
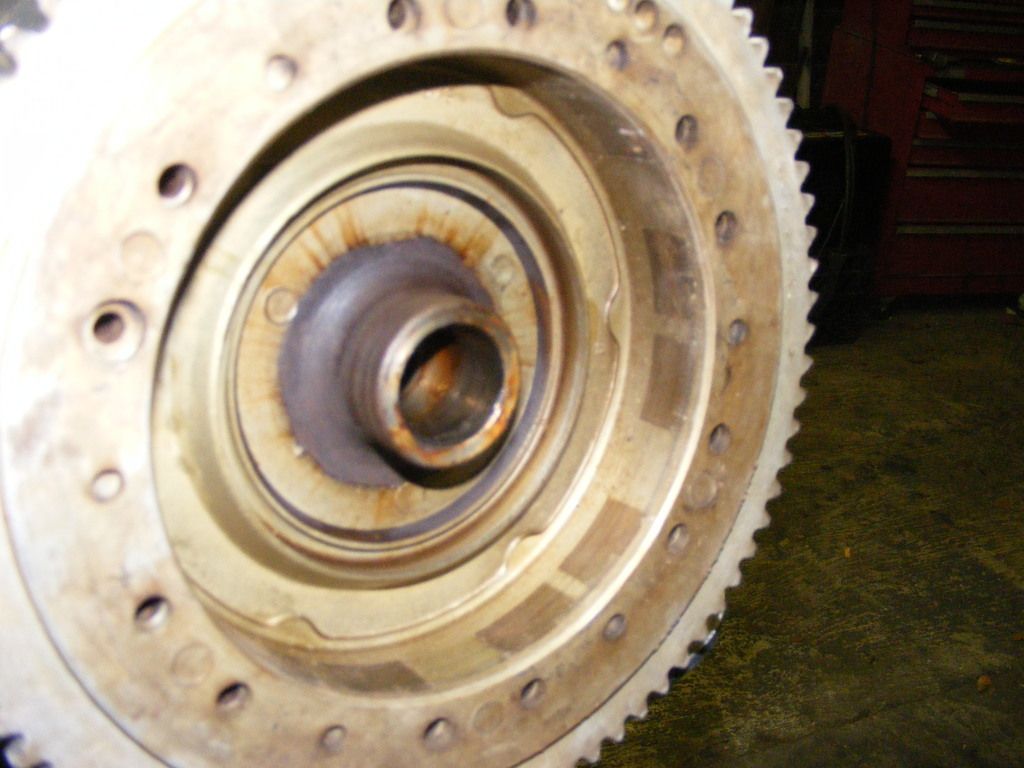
And I figured out some of what's wrong with it; flywheel is no good, no pull rope[/URL]
 

jrttoday

Lieutenant Junior Grade
Joined
Feb 8, 2010
Messages
1,081
does anyone have any recommendations for cleaning tarnish etc from inside the flywheel? and isn't there something I can coat the stator with to prevent oxidation in a salty environment?

Plan on pulling carbs for inspection/rebuild, and lubrication inside motor before turning it. Have only moved flywheel about an inch in either direction thus far - it isn't locked up. Just being cautious. thanks in advance
 

jrttoday

Lieutenant Junior Grade
Joined
Feb 8, 2010
Messages
1,081
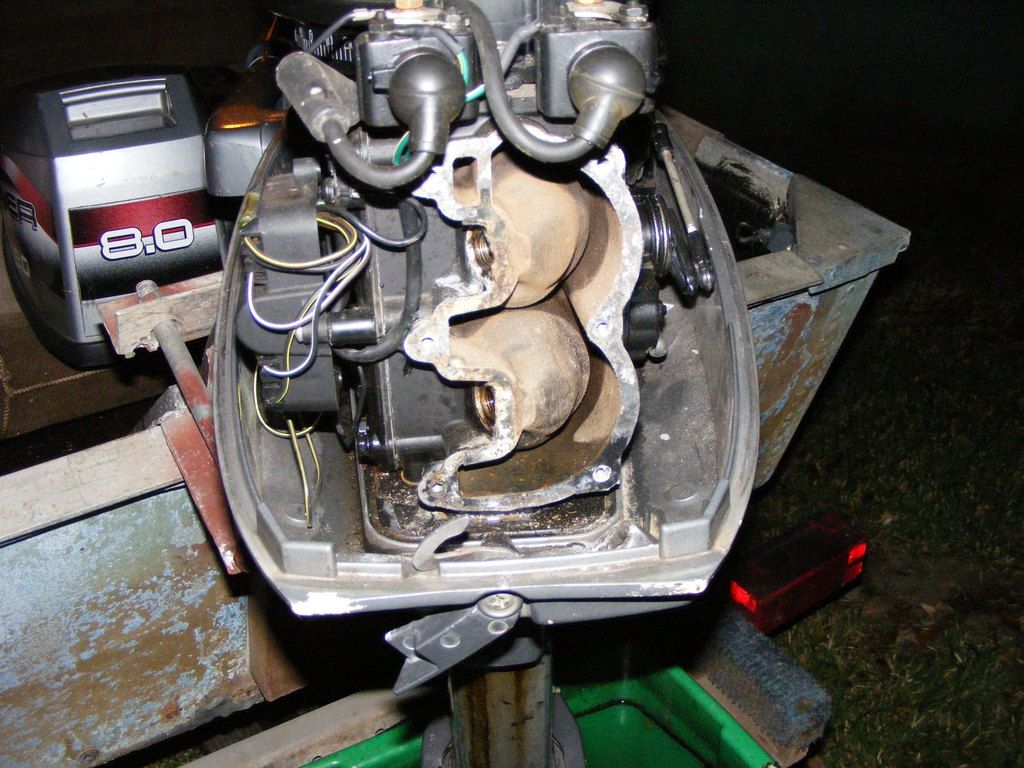
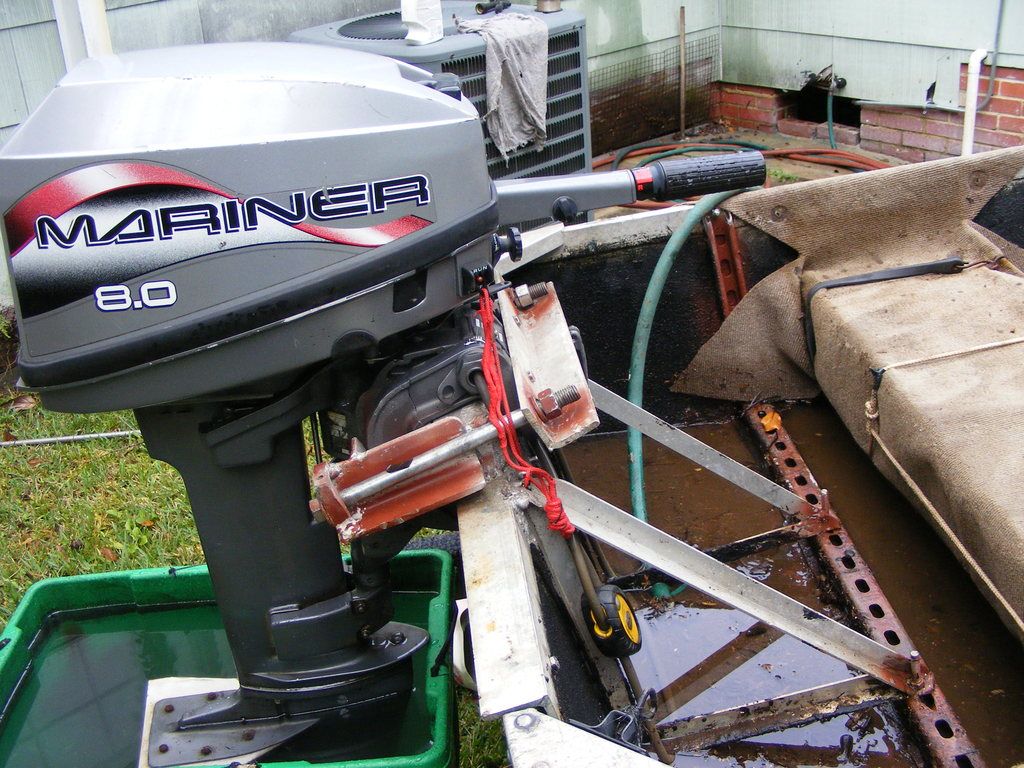
I need rescue lol, everything around here is in breakdown!! including me... '97 Mariner 8hp and first time the carb was rebuilt - finished it yesterday and rewound the rope.. again!! that had been awhile though
http://


water jacket gasket needs replacing, might just eliminate the gasket? or wait on one

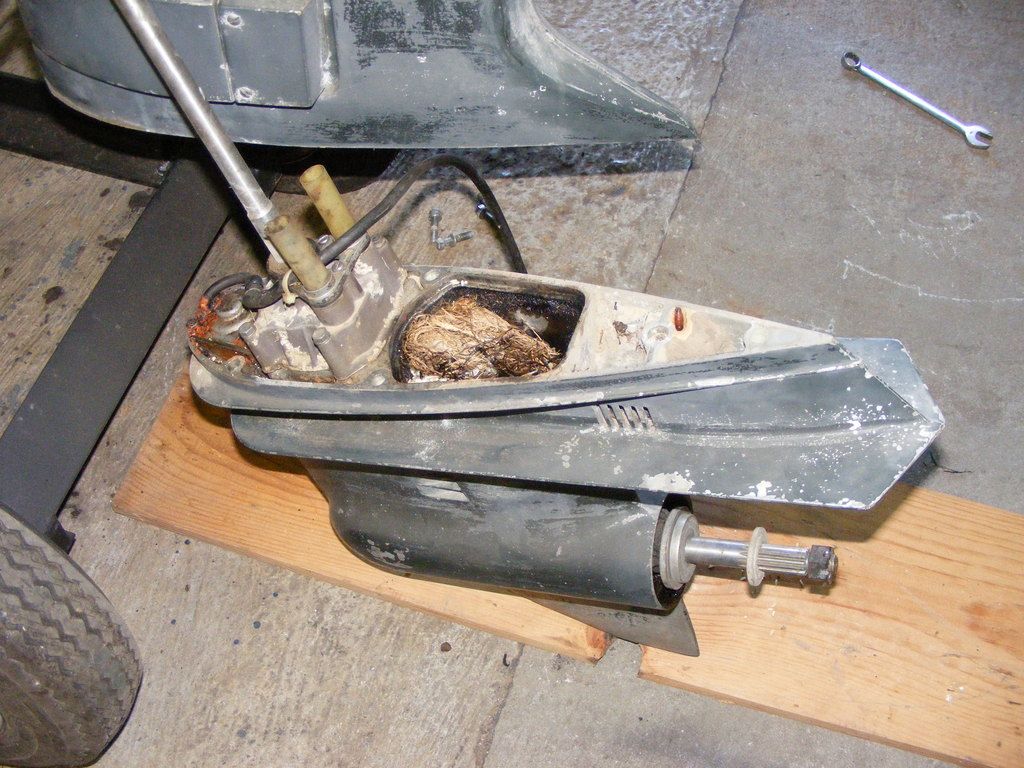
It's been a great little motor!! Has a 12p prop with vent holes and really moves this little boat (20+ mph). Have to get something going, have not been in 2.5 years.... ouch! But I finally made the decision and am sticking to it; my 100 will be the parts motor for the 115. Pulled the lu off today, make a stand for lu tomorrow. Take the brand new impeller out and put it in the 115.

Then pull 115 carbs for rebuild and go from there...... lol
 
Last edited:

jrttoday

Lieutenant Junior Grade
Joined
Feb 8, 2010
Messages
1,081
also saw on Iboats a gizmo for variable speed on my 40lb MK that stopped working; probably get around to that soon? lmbo
 

jrttoday

Lieutenant Junior Grade
Joined
Feb 8, 2010
Messages
1,081
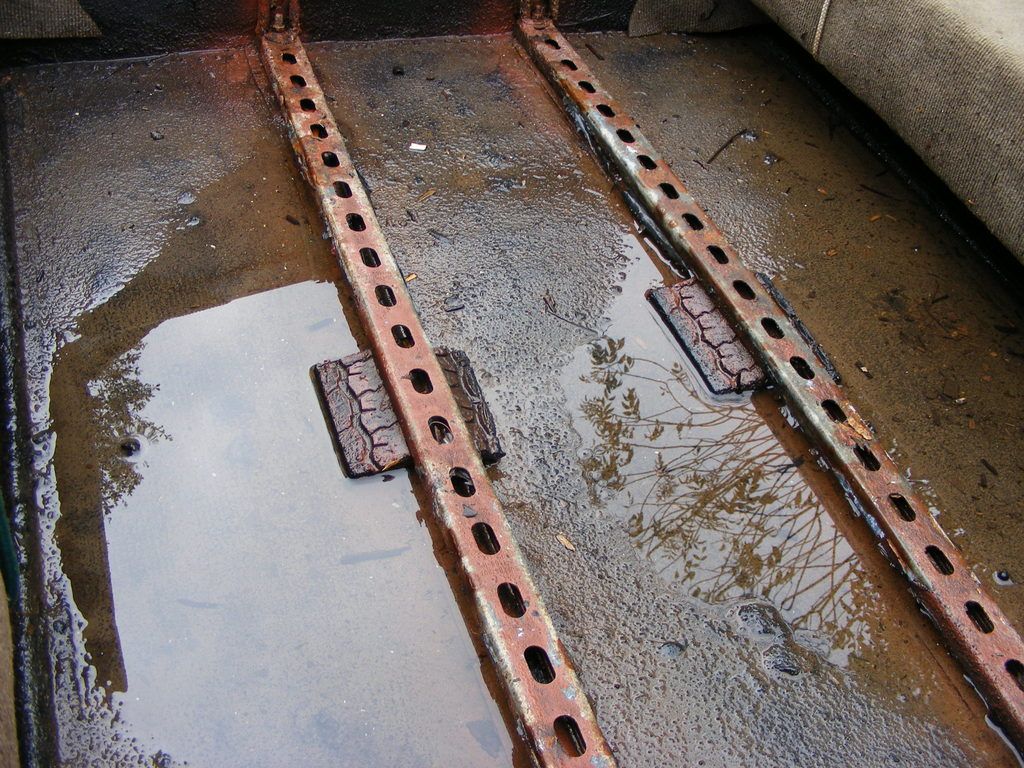
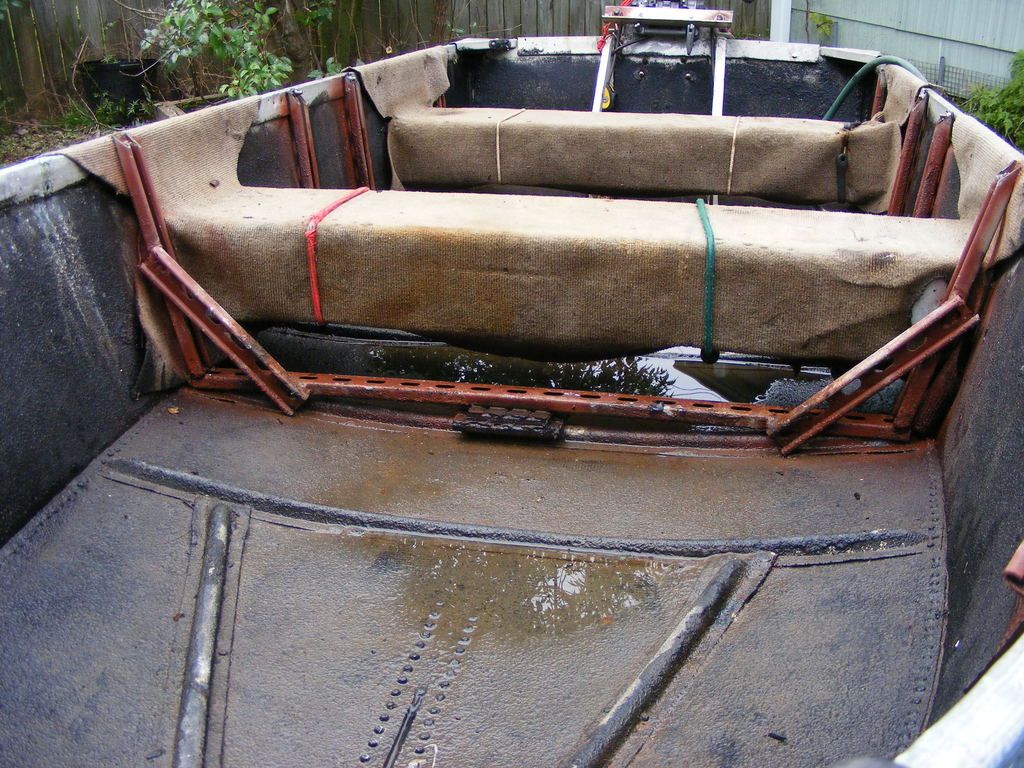
these are posted in another thread but.... lol. You can barely see motor is raised another 2" off of angle/transom and the clamp is broken. That's why the ridiculous looking bolts etc to hold it together. Hey, it's been holding for years!! Never met a fish that cares what it looks like, either!!
http://[URL=http://s173.photobucket.com/user/jrttoday/media/007_zpseyraqtyz.jpg.html]

Rest of pics showing how the hull has been reinforced and stainless carriage bolts through hull siliconed; no leaks in 15 years. [/URL]


not shown, outdoor carpet lays in bow to stern under seats, draped and bolted to gunwales. Carpet hadn't been out in years, was extra filthy! Herculiner rolled/brushed in for sound deadening and waterproofing (carpet's only purpose is sound deadening). Takes me 30 or so minutes to unbolt that motor and I'm familiar with it. That Python is for extra security in the event I hit something and break the the other clamp

tiny hydrofoil does help some... lol
 

jrttoday

Lieutenant Junior Grade
Joined
Feb 8, 2010
Messages
1,081
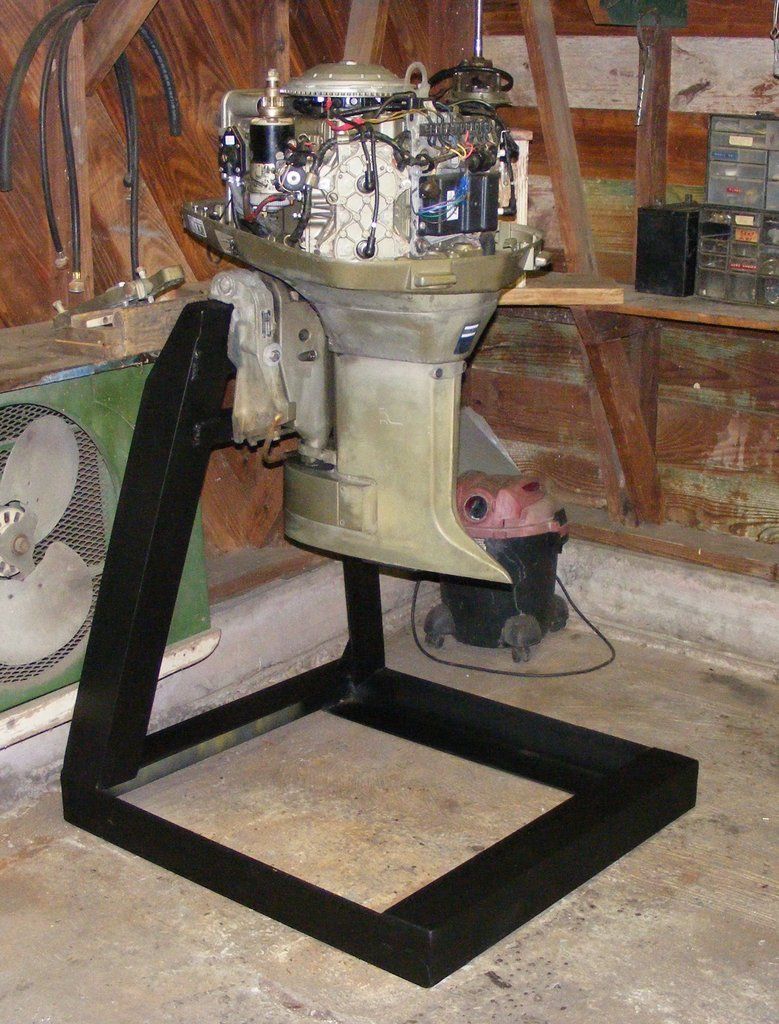
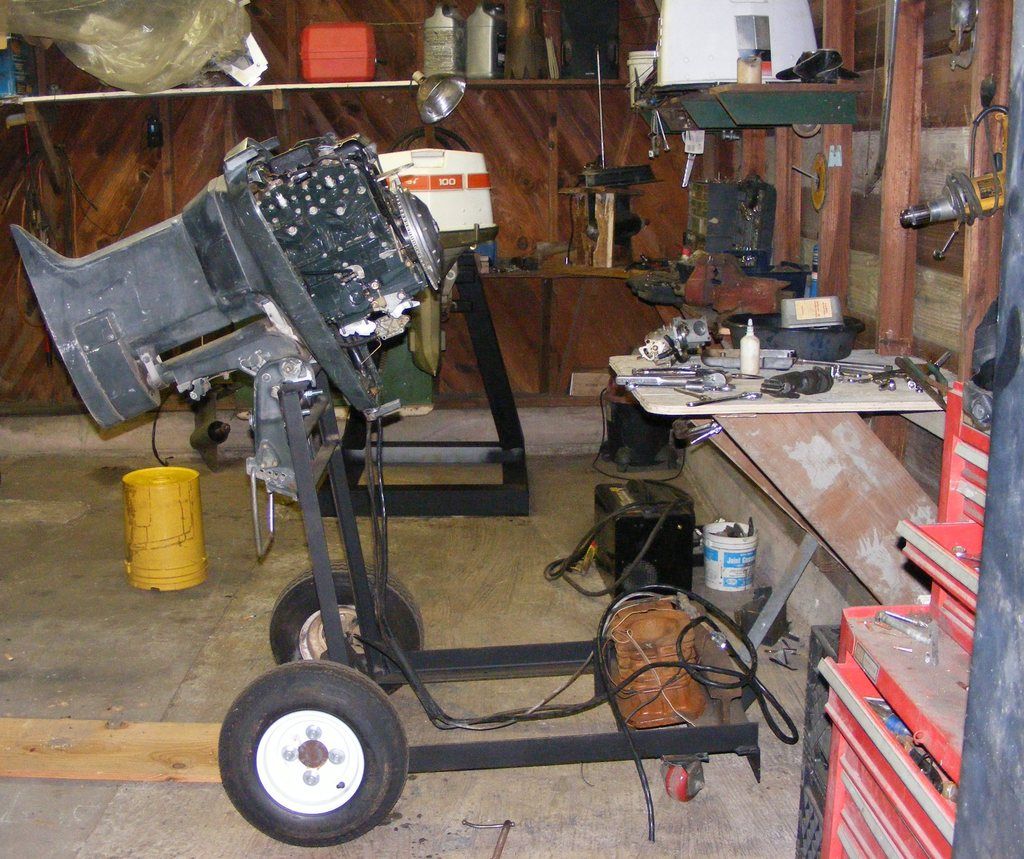
back on topic, finally!! lol just finished this stand for my parts motor - had to get it off my boat and out of the way.
That anyone's interested?..... scrap angle 1/4" x 4x4 and 1/4" 2x2 for $24, three old partial cans of paint and one new, a 5" cutting wheel, and some welding wire already had. Even with electricity... less than $50 for the whole thing.

Because the angle looked like they used a hatchet to cut it, these are the dimensions I ended up with.
33" front to back, 36.5" side to side, 39" tall with 10" in from back edge. With lu on, it can still be trimmed. If I need to move it, my hand truck easily fits under front or back.

​I doubt it would knock it over if I backed into it from any direction with my truck!
http://
 
Last edited:

jrttoday

Lieutenant Junior Grade
Joined
Feb 8, 2010
Messages
1,081
parts motor has "new" Dcap, fuel pump and gas lines, power pack, impeller. Everything else seems to be in good shape and working correctly; however..... it might not be saying much to say "I couldn't figure out what's wrong". But have PAID others that supposedly knew outboards... Forget it, just gonna go with the 115. Put the cowling back on and it will hold my coffee :lol:
 

jrttoday

Lieutenant Junior Grade
Joined
Feb 8, 2010
Messages
1,081
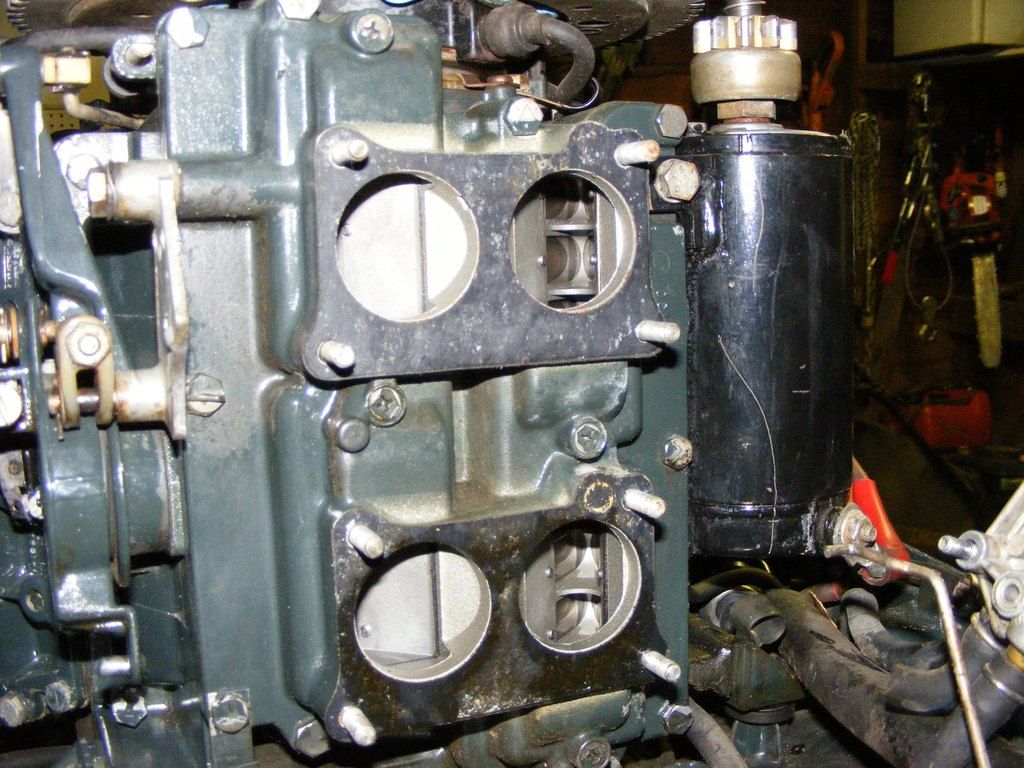
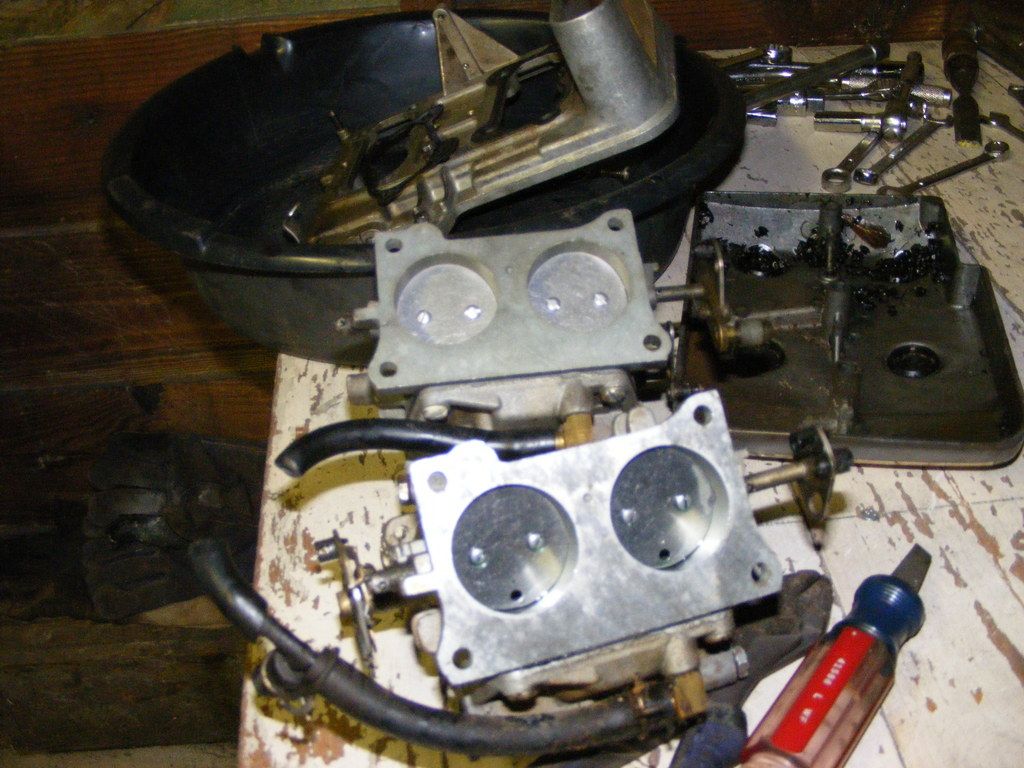
In case you forgot, I did... almost! lol this is a 1970 outboard and these pictures were taken tonight.http://[URL=http://s173.photobucket.com/user/jrttoday/media/003_zpsqofgmynt.jpg.html]

I first thought those little black things in the silencer cover were bug eggs, but up close they look to be seeds off of a small branch - as the tiny leaf is there too. I put a fair amount of TCW3 in the cylinders and rolled the motor around after I bought it a few ago. Apparently, some has worked its way through all the way to the silencer. Cut the hoses, they would turn on the nipples but stiff and wouldn't pull off. New hoses on the '72 to swap.[/URL]


Of course oil in cylinders has a lot to do with high compression, spins easily with pugs out, but can hardly move the flywheel with 'em in.
Any thoughts on what you've seen thus far?
 

jrttoday

Lieutenant Junior Grade
Joined
Feb 8, 2010
Messages
1,081
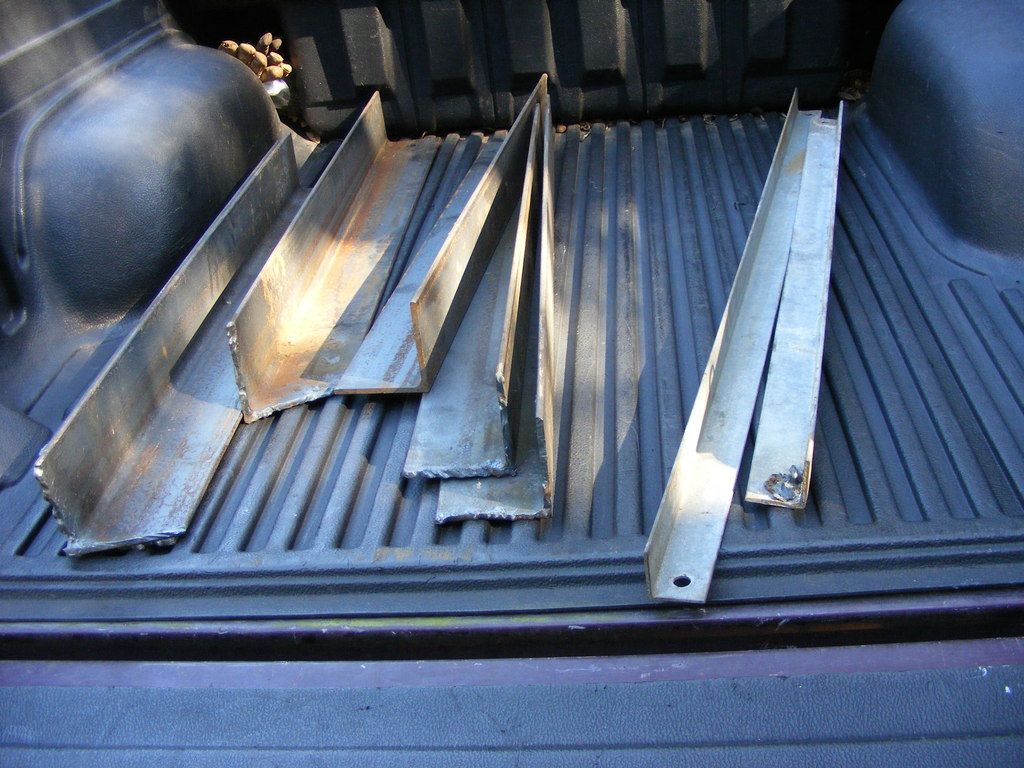
this is the steel I started with. Pickens are slim because prices are down and people are holding on to their scrap - so am I. Never let go of stuff until it's unusable. That's 138 pounds for $24, guess I did pay a bit more that what the 115 would bring as scrap.
http://
 

jrttoday

Lieutenant Junior Grade
Joined
Feb 8, 2010
Messages
1,081
sorta glad something got some use out of it these past 45yrs, not really, but am happy they vacated the premise without damaging anything!!
http://[URL=http://s173.photobucket.com/user/jrttoday/media/002_zpsezodned2.jpg.html]

Impeller flexed back straight immediately by itself, but has some tears in the rubber. Probably?/Maybe? from the few times it has been turned by hand. Still no indication she'sever been run, except for fogging.[/URL]
Being able to put two nearly identical motors in close proximity turns out to be a good thing - in case I forget where the spark plugs go :lol:
 

jrttoday

Lieutenant Junior Grade
Joined
Feb 8, 2010
Messages
1,081
^^^^ If you're ever in doubt of a Pipe Welder's age, just count the bucket rings in his butt! :lol:
 

jrttoday

Lieutenant Junior Grade
Joined
Feb 8, 2010
Messages
1,081
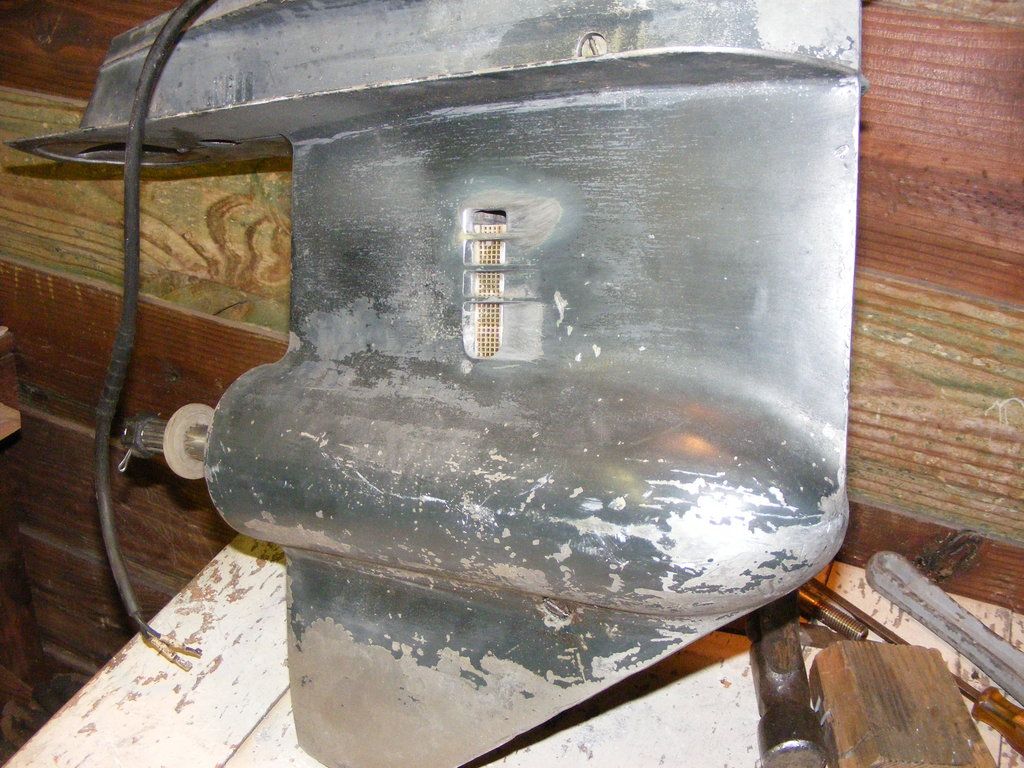
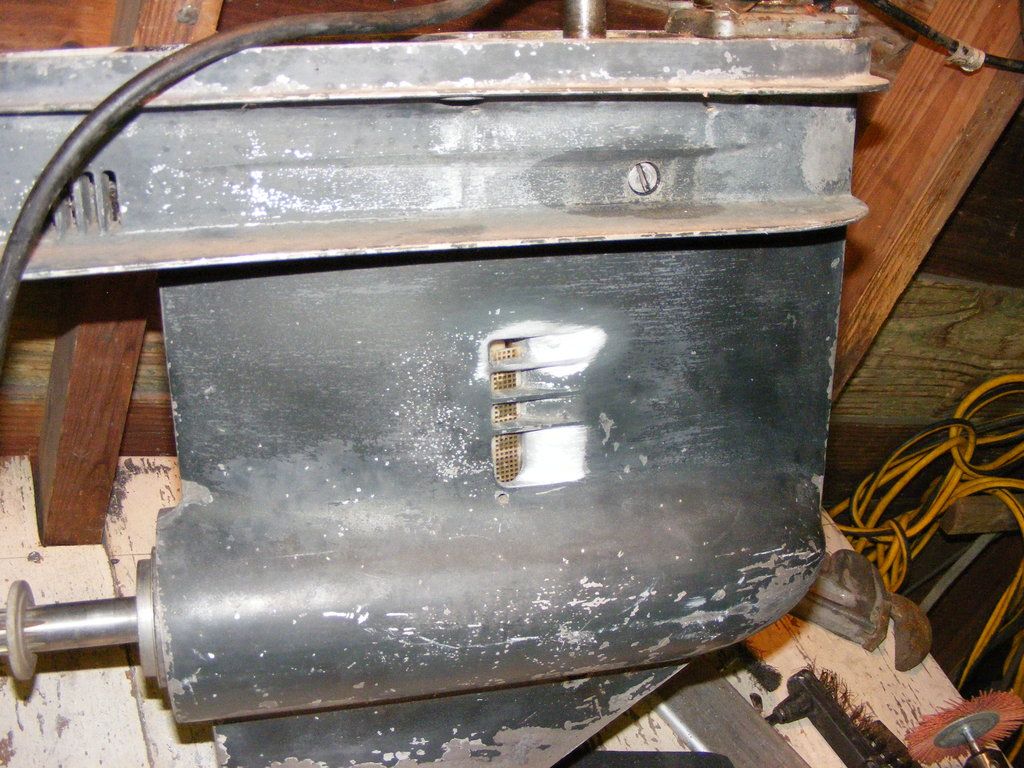
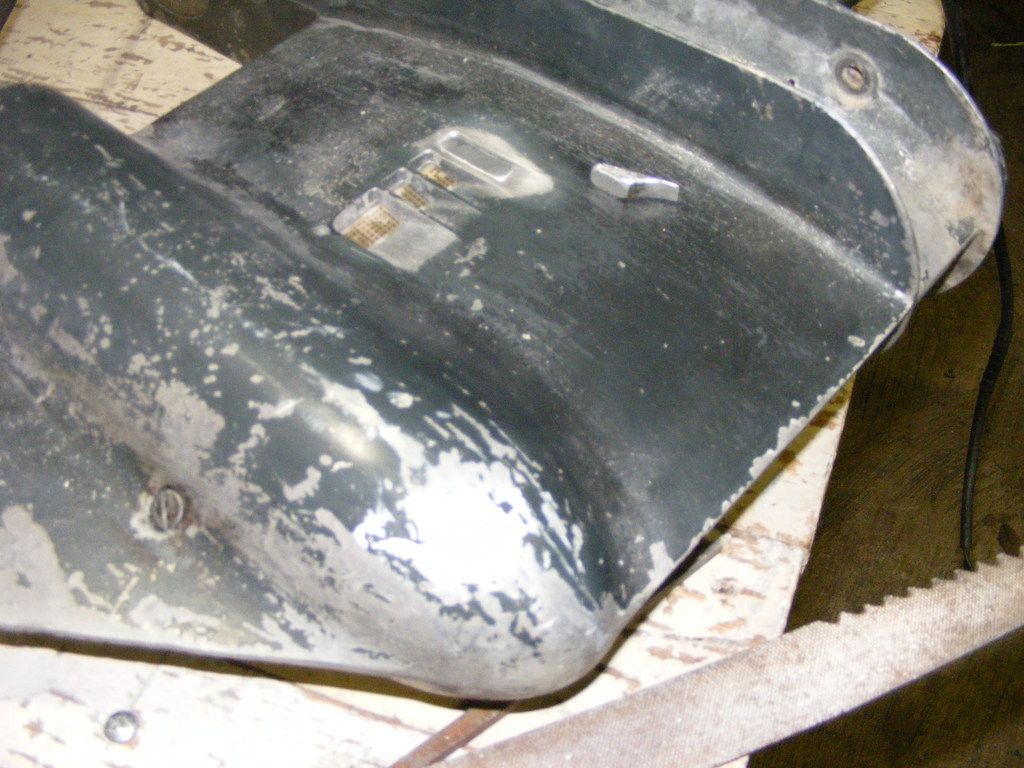
young children, don't try this at home! And if you do, remember that you might not be able to put back what you take out!! I can't because no TIG at home.
Used a drill, burr bit,and different files. Will plug the top hole (both sides) with some kind of epoxy? on a warmer day - or put a heat lamp on it.http://

shaved a little off front and back of the screen box and it slid on down, almost bottomed out. Am not a machinist, but my micrometer sure came in handy...
"footnote" lol ---- I always hear people say to just plug the top hole. Problem with that is in doing so, volume is lost.
 
Last edited:

jrttoday

Lieutenant Junior Grade
Joined
Feb 8, 2010
Messages
1,081
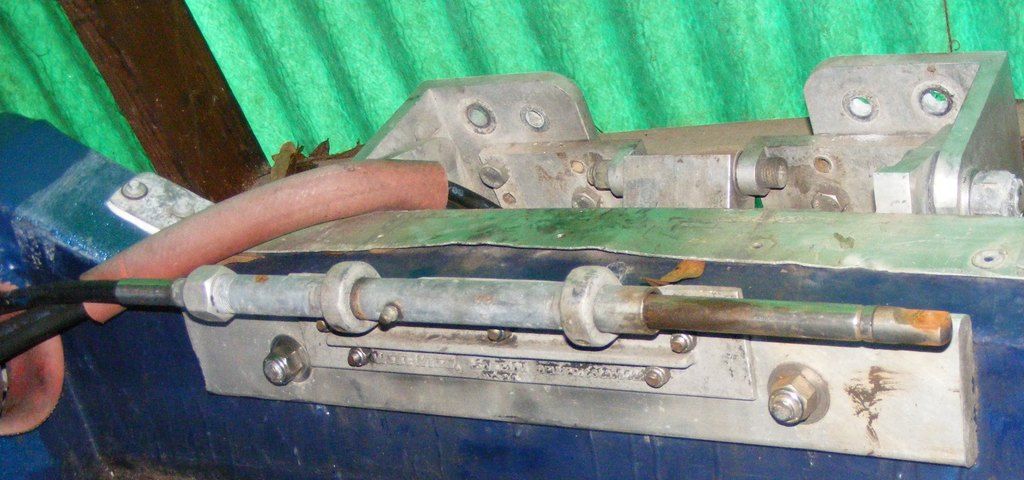
first up, Six years ago when I mounted the '72 100hp I found the steering bracket had issues. Went to see a guy I sorta kinda know at his shop. Said he wouldn't guarantee the work, but asked me to hand him a piece of flat bar beside me. He looks at it, hands it back to me and says "take it, I can't use it". THANK YOU!!!!!
A 40" piece of 1/2" x 3" 40 inches long of 7075 Aluminum flat bar - hard as steel

only used 19" of it, cut the ears of the bracket, drilled and used stainless pan head w/locknutshttp://[URL=http://s173.photobucket.com/user/jrttoday/media/002_zpsmybsk59h.jpg.html]

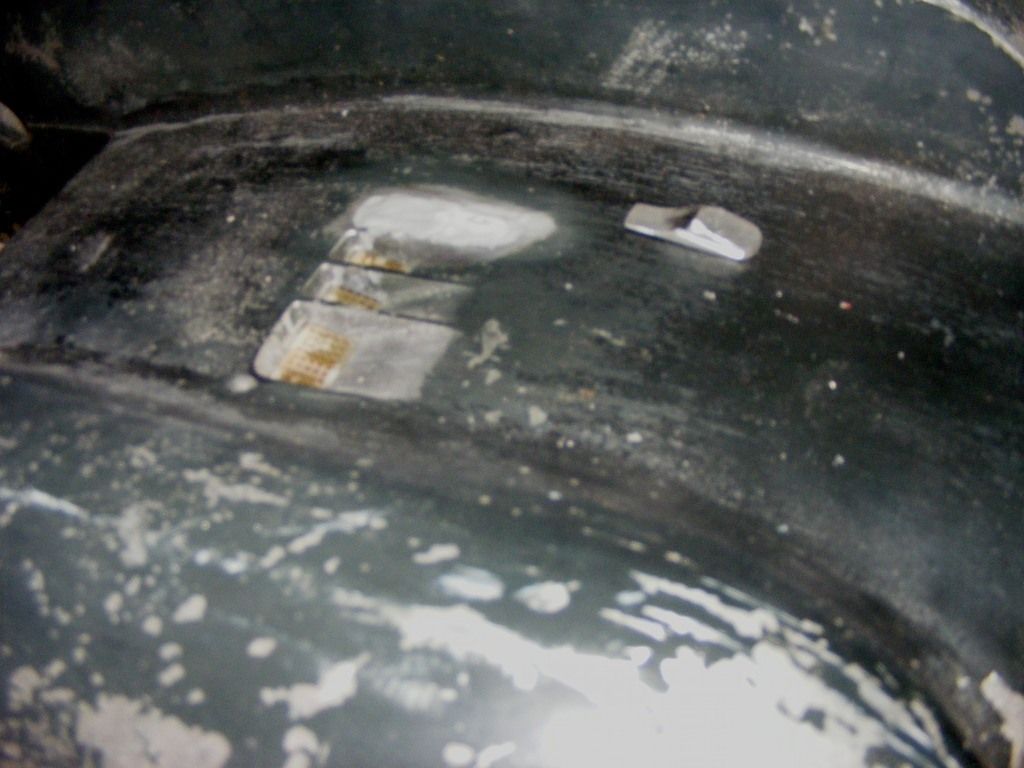
Decided I didn't want to just epoxy over the holes; made plugs and laid a small piece of newspaper underneath to prevent epoxy from dripping through. Paper may or may not dissolve? and wash through - should be able to scuff it off anyway.[/URL]


Plugs were a pain in the watussy to make!! Not kidding, and I see one of my favorite tools snuck in - Slag Saw, in case you were wondering? Rounded the edges just because, and cut a small slot in the sides for epoxy to hold better.
Sometime before Christmas, I'll sand it and paint. Next pic I adjusted brightness and contrast, for better view? lol
 

jrttoday

Lieutenant Junior Grade
Joined
Feb 8, 2010
Messages
1,081
Bottom hole looks and is more than double, but the radiuses at the very bottom make it minimally larger
 
Top