- Joined
- Jul 23, 2011
- Messages
- 47,552
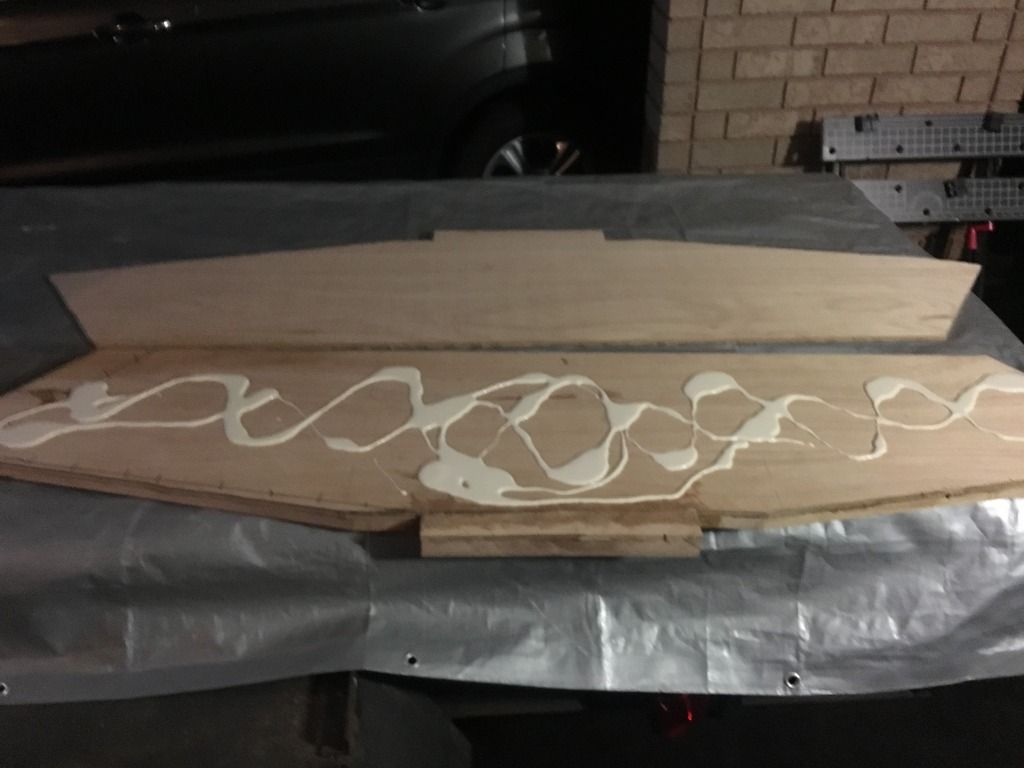
Who knew a little sawdust n glue could bond more than wood!
'nuff said


Who knew a little sawdust n glue could bond more than wood!
 :facepalm:
Last thing on this subject. My daughter is 13 also and a friend of mine who has a son the same age and I were having a similarIsh discussion the other day. He came up with something I hadn't heard in awhile that really hit home. He said, " I have a boy and all i have to do is worry about him, you have to worry about every boy. "

 :facepalm::mad-new:...Goof up Alert!)
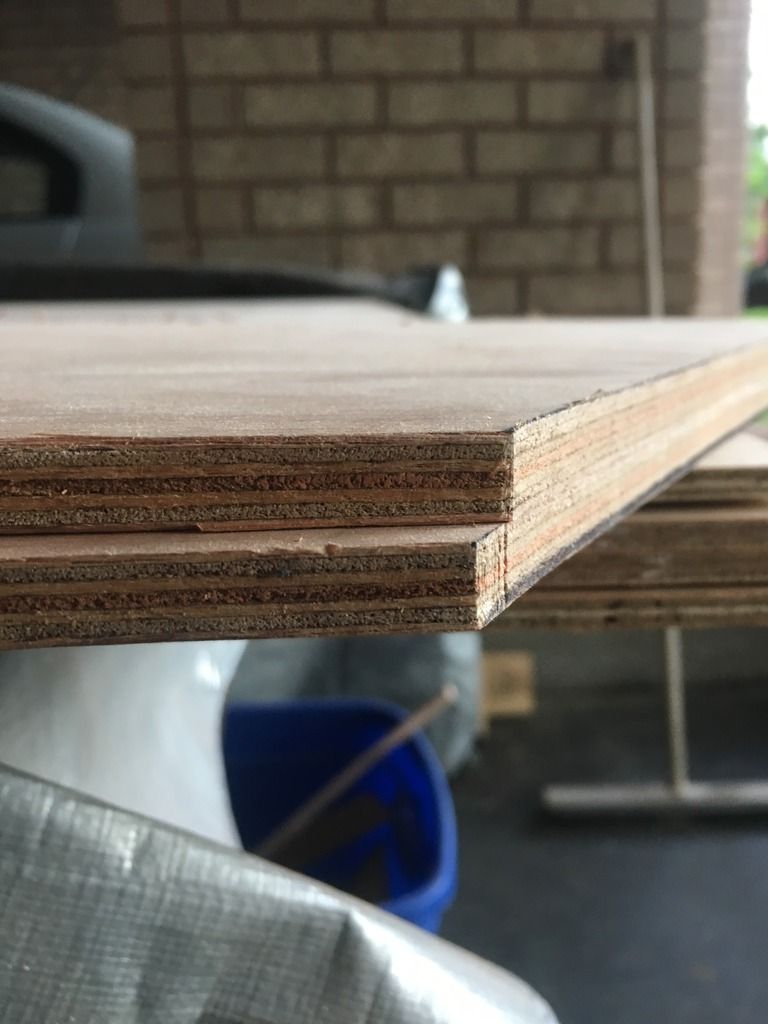
LOL - I've heard that one before...
A colleague of mine in the same boat as you says he's just going to make sure he's in the living room cleaning his hunting rifle in a pizza-stained undershirt when her first boyfriend comes home to meet the family for the first time...:laugh:
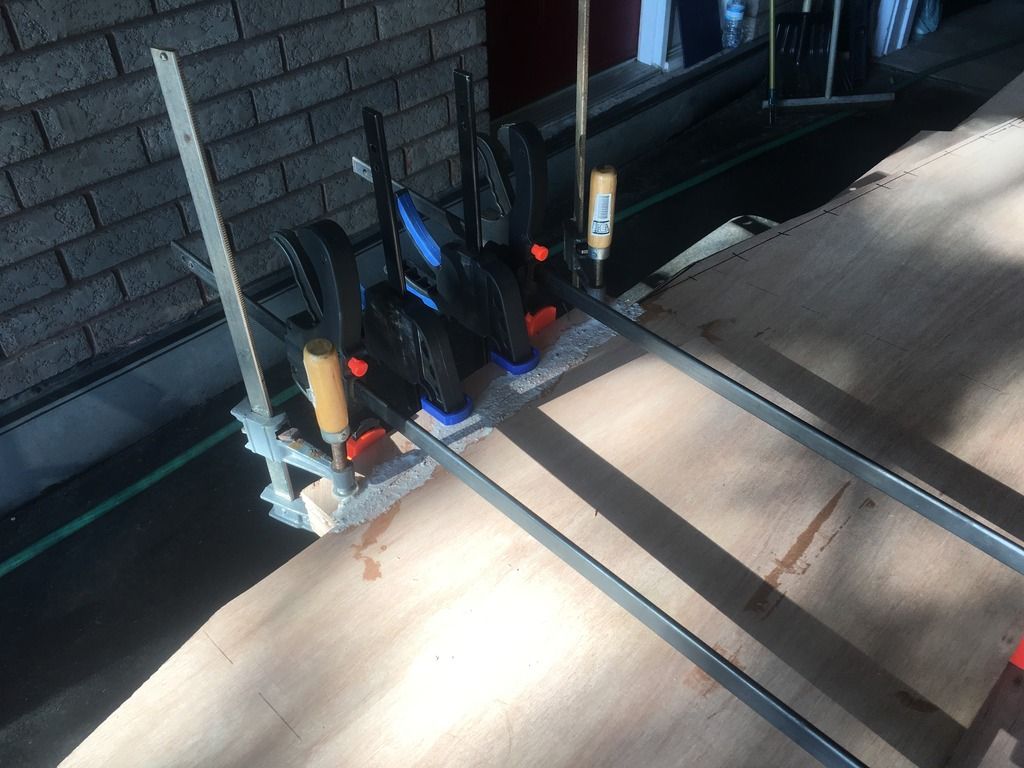
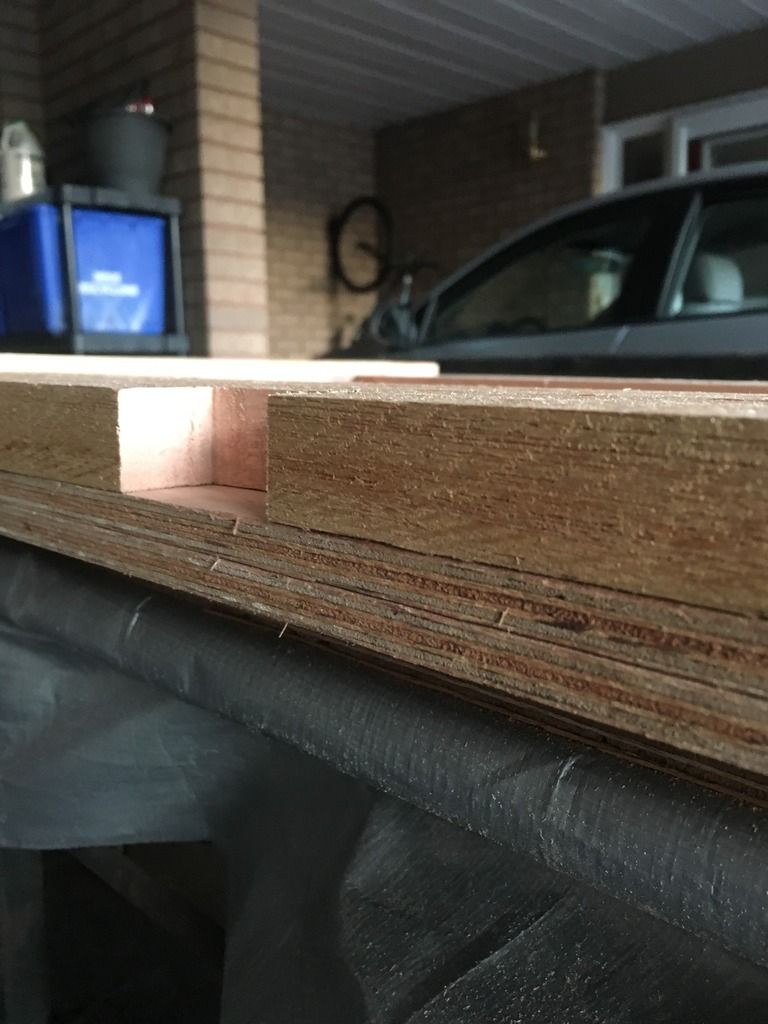
As I recall, in my MiniMost build, the bottom ply extended several inches beyond the transom as sort of a fixed trim tab, so I ran the chines through the transom skin to stiffen the tab. - Grandad


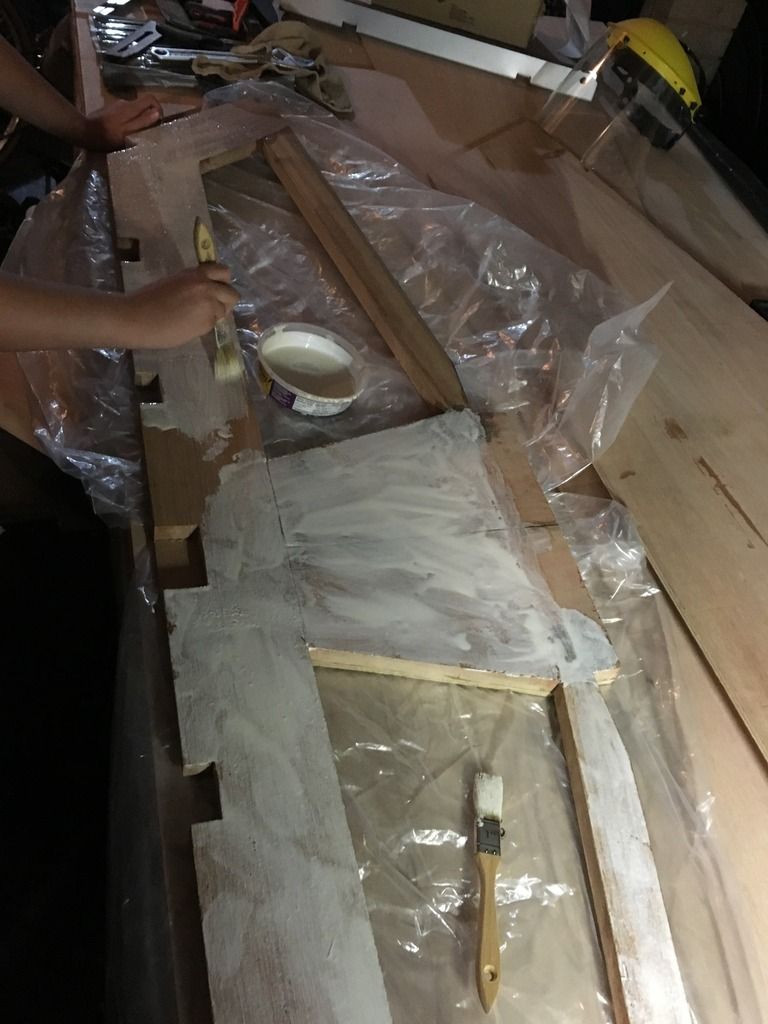

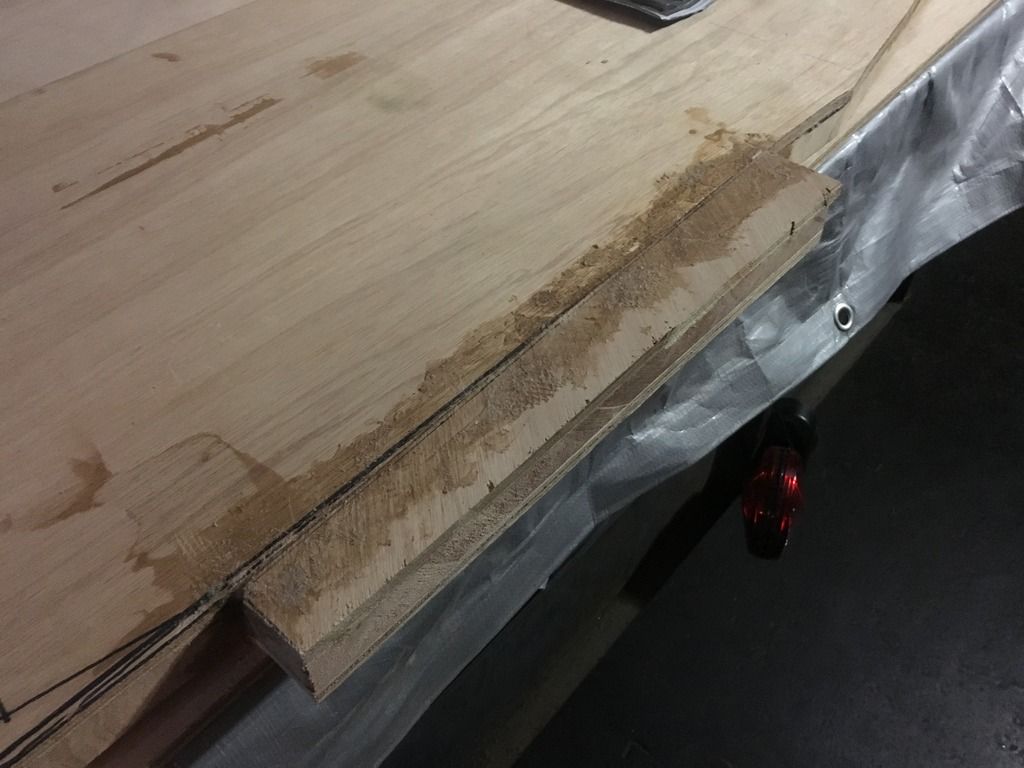
You can use epoxy thickened with Fine Wood powder to use as a filler. Get the Saw dust powder from your R/O sander collection bag and mix enuf to make it like Mayonaise. Sand the area to be filled and wash down with Acetone prior to filling.