88 Capri (2022 SOTY)
Master Chief Petty Officer
- Joined
- Aug 25, 2019
- Messages
- 801
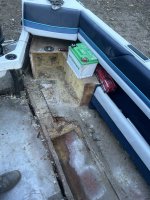
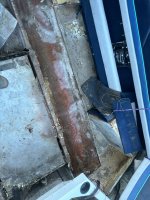
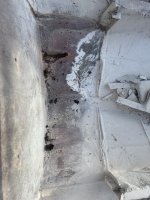
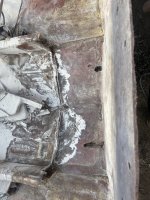
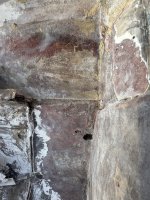
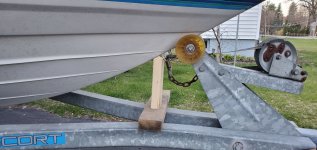
I have an I/O in my 1750 so the procedure for the transom may be different, I didn't need to remove the cap but did leave a very small ridge of glass from the old one for a guide to install the new one. (No more than 1/4") I still had alot more grinding to do after this picture was taken to get all mating surfaces clean.
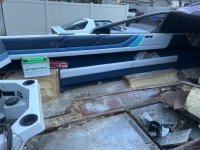
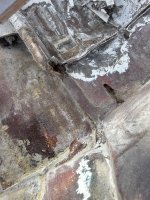
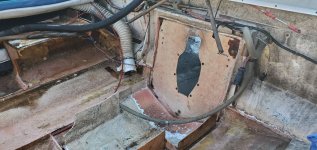
I attached a picture of how I removed my seat boxes to replace the floor/stringers, I was able to remove them in one piece and reuse them due to no rot. Using a multi-tool was priceless.
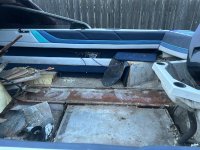
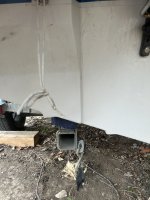
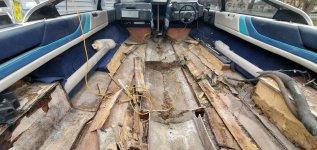
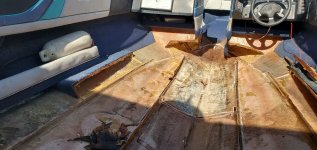
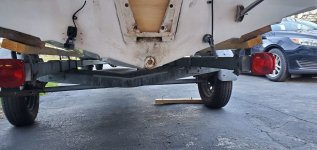
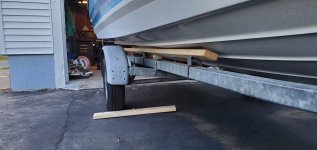
I left my boat on the trailer but added a couple of blocks so it wasn't resting on the bunks, the last picture is showing how much room I had above the bunks with the blocks.
I attached a picture of how I removed my seat boxes to replace the floor/stringers, I was able to remove them in one piece and reuse them due to no rot. Using a multi-tool was priceless.
I left my boat on the trailer but added a couple of blocks so it wasn't resting on the bunks, the last picture is showing how much room I had above the bunks with the blocks.
Attachments
Last edited: