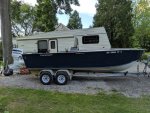
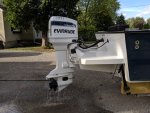
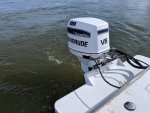
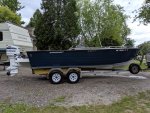
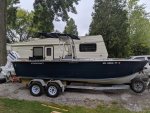
1976 22' Starcraft Islander Rebuild - Chapter 2

alipinski397

Seaman
Joined
Sep 3, 2013
Messages
63
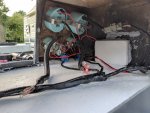
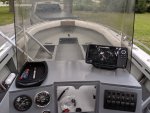
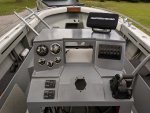
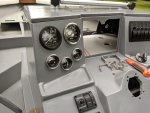
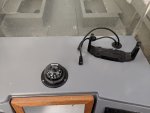
Gauges and finding a spot for the Helix 7 was next.

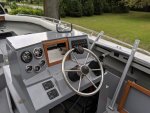
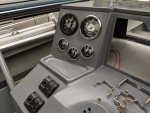
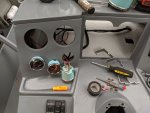
Jason threw in those awesome Starcraft gauges with the deal so I definitely had to try and use what I could. I didn't want to lose the alarms built into the RPM gauge for the Ocean Pro going on it so I settled for using that stock RPM gauge and the other gauges i used those the black sterling series gauges. I still have a volt meter and a temp gauge to match and may think about installing those under the main switch panel in the future.

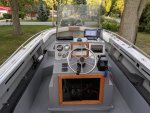
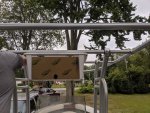
I set the old window up on the console so i could figure out where best to mount the Helix 7. I plan on replacing the Plexiglas window as the original is in pretty rough shape.

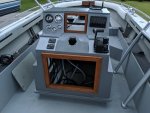
I had also refinished the teak trim pieces and had to throw set those in place just to see how it looked.
IMG_20190828_155453.jpgIMG_20190828_155459.jpgIMG_20190828_181313.jpgIMG_20190828_184221.jpgIMG_20190828_190159.jpgIMG_20190828_191612.jpgIMG_20190828_201234.jpg
 

Willyclay

Captain
Joined
Sep 8, 2006
Messages
3,240
A simple "attaboy" is woefully insufficient. My only thoughts are that the fish don't stand a chance. Well done!
 

alipinski397

Seaman
Joined
Sep 3, 2013
Messages
63
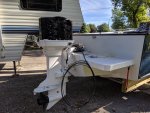
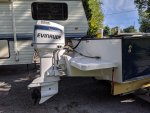
Had to wait an extra day before my buddy could bring the tractor back over to get the motor bolted up.

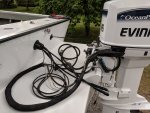
But we made quick work of that and then I drilled holes to run the rigging through the transom and started fished the control cables and steering hoses to the console.

Almost ready to fire this thing up!


MVIMG_20190829_092959.jpgIMG_20190829_101420.jpgIMG_20190829_161709.jpgIMG_20190829_163644.jpgIMG_20190829_180303.jpgIMG_20190829_180312.jpgMVIMG_20190829_173540.jpg
 

alipinski397

Seaman
Joined
Sep 3, 2013
Messages
63
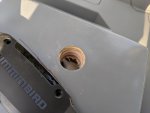
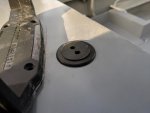
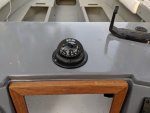
I drilled the hols in the console top for the graph wiring and a new flush mount compass.

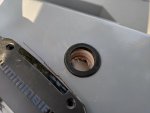
I used a grommet and a rubber plug to seal up where the power and transducer cable come up through the console. That should keep any water out and give it a nice clean look. I drilled the proper size hole for the cable in the rubber plug and slit the edge with a knife to get the cables in.

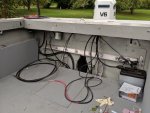
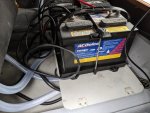
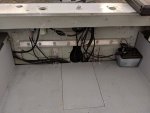
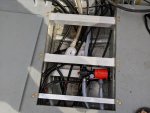
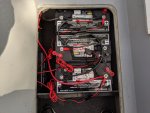
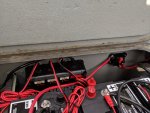
I got the batteries installed under the console and everything connected. Ill do some tidying up on the wiring and rigging later once i know all the bugs are worked out.
I was able to use the old seat box lid as a battery mounting location. It fit just right across the floor opening under the console and made a nice place to attach the battery trays.

IMG_20190830_184448.jpgIMG_20190830_184455.jpgIMG_20190830_184508.jpgIMG_20190830_185643.jpgIMG_20190830_193830.jpgIMG_20190830_193423.jpg
 

Attachments

  • IMG_20190903_095655.jpg
    IMG_20190903_095655.jpg
    923.1 KB · Views: 4
  • IMG_20190830_193415.jpg
    IMG_20190830_193415.jpg
    834.7 KB · Views: 4

alipinski397

Seaman
Joined
Sep 3, 2013
Messages
63
Still quite a bit to do but...time to fire this thing up!


IMG_20190830_195329.jpgMVIMG_20190830_180151.jpg


All my photos and videos are hosted in Google photos so not sure if this video will play? Let me know if you have trouble with it.


[video]https://photos.google.com/share/AF1QipMW3aa3DXDhGM-tXbyL0vUqYoe_-g0FQVWSjQ1G6TABf884nkjbYL_EfqD47H6xkg/photo/AF1QipMAwI9jClwBK2ySIiJNmwgiw5LGx5_sOoVMOXCQ?key=T EhfRHJOLWN2WkVtRUNtYk1wNFZvNWJNNWpvOEFn[/video]
 

alipinski397

Seaman
Joined
Sep 3, 2013
Messages
63
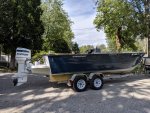
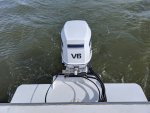
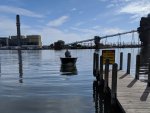
A quick run down to the launch was now in order. Just a short sea trial to make sure everything was working as it should.
Sorry I din't get any better photos, guess I was a little excited to take it out for its first spin!

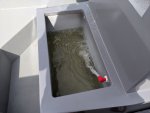
Motor is running great, swim platform and motor height seem to be good. Tested out the livewell and that seems all OK.
One of the bilge pumps wasn't working so I have 2 new ones ordered just to be safe. So just one is temporarily hooked up at the moment.

MVIMG_20190831_095215.jpgMVIMG_20190831_102658.jpgMVIMG_20190831_102648.jpgIMG_20190831_103144.jpgIMG_20190831_103124.jpg
 

Attachments

  • MVIMG_20190831_095215.jpg
    MVIMG_20190831_095215.jpg
    808.3 KB · Views: 5
  • MVIMG_20190831_102658.jpg
    MVIMG_20190831_102658.jpg
    1 MB · Views: 6

alipinski397

Seaman
Joined
Sep 3, 2013
Messages
63
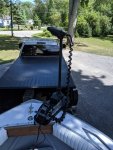
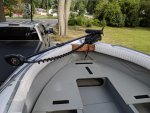
OK, getting you guys pretty close to real time updates here! The previous post was the Sat morning Aug 31st. Sunday we had plans to go north and visit my wife's parents who were up camping for the holiday weekend. Its on a larger inland lake so naturally I wanted to drag the boat along and give it a good days sea trial.

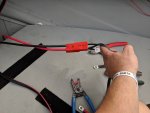
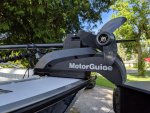
So i spent the afternoon getting the trolling motor mounted and batteries installed. The batteries fit perfect in the bow area previously designated as a rod locker. I ran the wire through one of the tubes and added quick connect ends.

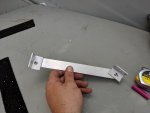
I mounted the trolling motor on a quick connect bracket as well.

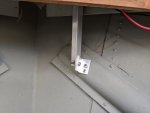
I added one vertical support under it and riveted it to the rib underneath, that added a huge amount of strength and should be way more sufficient now for that big motor.

image_320108.jpgimage_320109.jpgimage_320110.jpgimage_320111.jpgimage_320112.jpgimage_320113.jpgimage_320114.jpgimage_320115.jpgimage_320116.jpg
 

alipinski397

Seaman
Joined
Sep 3, 2013
Messages
63
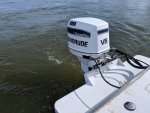
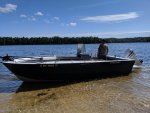
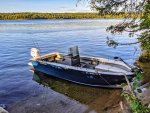
Sunday morning i gave it a quick scrub and hose down, threw the bow cushions back in and we headed north and gave it a full day work out, couldn't be happier with the performance!

2 people and some gear - WOT 41mph at 5100 RPM so I suppose there's some room to play with prop pitch for more rpms and top end speed.

Turns on a dime. I have hydraulic steering setup on this motor which is super nice for a motor that big. Even with 4 adults, 2 kids, and 2 dogs, no problem getting on plane and cruising at 30 mph.

I still have a long list of things to get done yet but you guys are officially caught up on the progress!

My not so short list lol
  • Front nav light wiring
  • Compass back-light wiring
  • Tidy up all wiring
  • Install T-top
  • Remount fuel water separator
  • Replace bilge pumps
  • Livewell lid
  • Center console backrest
  • Console side access cover
  • Rear gunnel topside
  • Interior lights
  • Trim around interior gunnels
  • Boat Cover
MVIMG_20190901_143524.jpgIMG_20190901_143724.jpgIMG_20190901_184848-01.jpgIMG_20190901_200942-01.jpg
 

Attachments

  • IMG_20190901_085631.jpg
    IMG_20190901_085631.jpg
    1.3 MB · Views: 8

Pcolafisher

Petty Officer 2nd Class
Joined
Jun 26, 2013
Messages
188
Wow! I take a short vacation with my admiral and you’re almost complete and splashed. Impressive!!!
Cheers
 

steve_h7

Chief Petty Officer
Joined
Sep 16, 2018
Messages
401
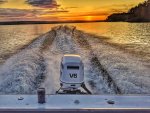
Congratulations! Beautiful stern sunset shot. I suspect you'll have your "to do" list done before your next post. :thumb:
 

alipinski397

Seaman
Joined
Sep 3, 2013
Messages
63
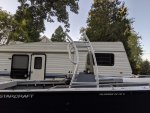
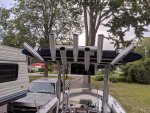
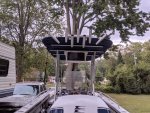
OK, got a little work done tonight. T-Top, electronics box and rod holders installed. I still need to finish up the support braces tomorrow.

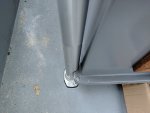
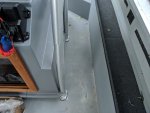
With the console as wide as it is I decided to notch out the flange on the base of the console to squeak out an extra inch of room on each side. Between that and the toe kick getting around the console is no problem.

I coated the bare wood with epoxy and and some sealant. 3" #12 stainless screws into the floor, which go through both floors and the sandwich block i put in between. Should be pretty solid.


IMG_20190906_162936.jpgIMG_20190904_193957.jpgIMG_20190906_194708.jpgIMG_20190906_194717.jpgMVIMG_20190906_170102.jpgIMG_20190906_170827.jpgIMG_20190906_192711.jpgIMG_20190906_195047.jpg
 

StarTed

Senior Chief Petty Officer
Joined
Jul 14, 2015
Messages
694
Nice work.

I like the looks of your center console.

If you don't catch any fish at least you should scare them to death. ;)
 
Top