D
DJ
Guest
This is going to take three threads to cover. Here goes installment 1.
There have been quite a few threads on restoring aluminum boats. I thought I'd dig up my old project and share.
Special thanks to member i386 for helping me get the pictures out of various mediums.

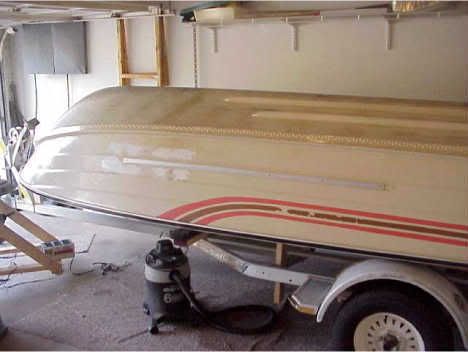
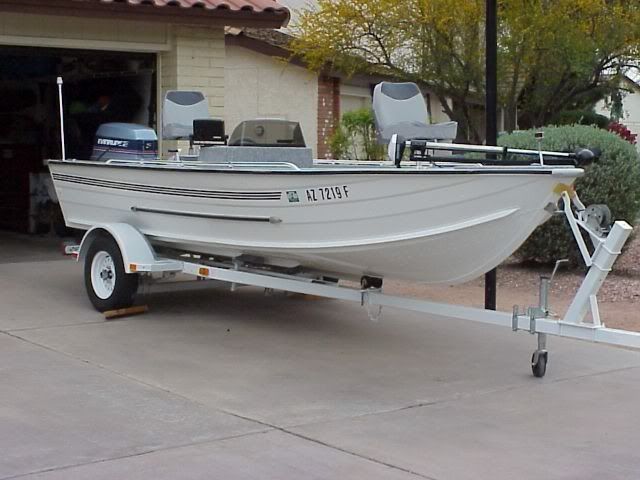
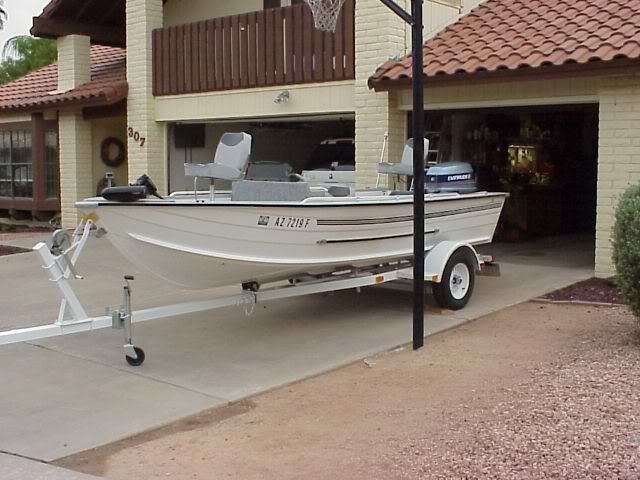
Here she is, after I dragged it home. It's a 1983 Sea Nymph 16' with a 1983 90 Evinrude sitting on a Shorelander trailer. It's ROUGH but not beat up, just completely neglected for 16 years!!!
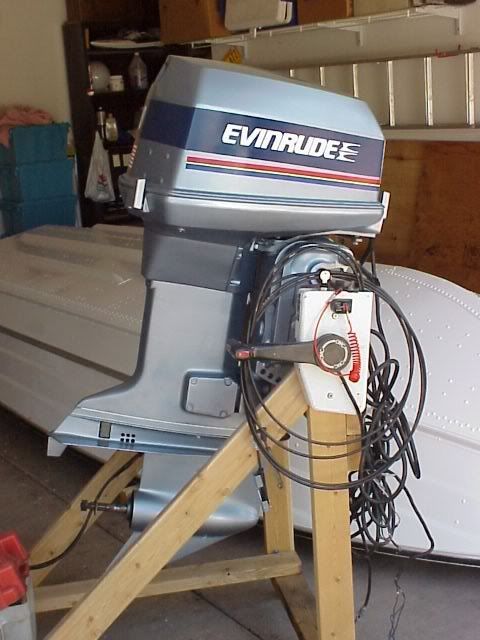
I had to take the engine off to transport it because the transom was shot.
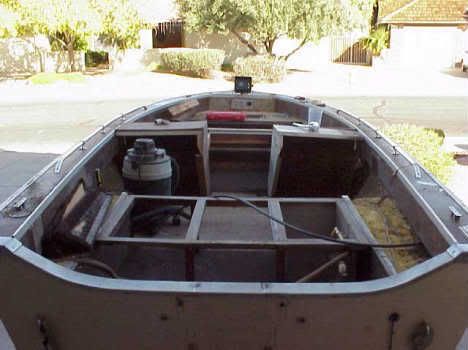
We begin gutting it.
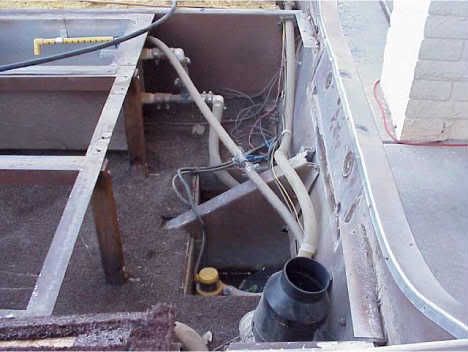
Here's a shot of the transom area. It's full of junk and dust. It sat 16 years in the desert.
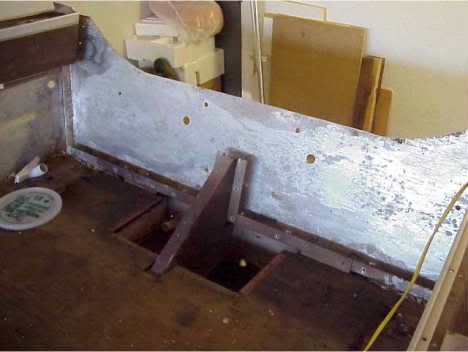
Here's a shot of the transom after I took it apart and dug out the rotted wood. I used the old piece as a template. The tray/seat in the bottom was a source of some of the rot. I drilled holes in it to allow drainage.
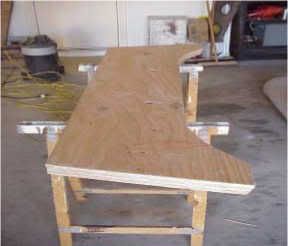
Here's a shot of the new piece. It is 3 pieces of 3/4# ply glued together with waterproof glue and screwed together with stainless screws. It was then covered with epoxy on both sides.
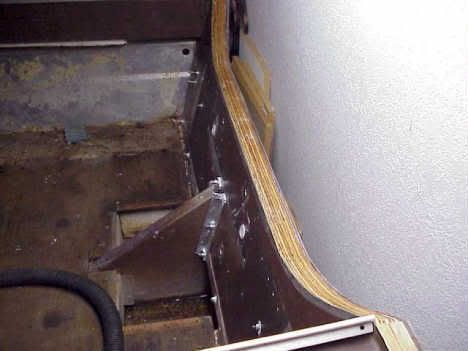
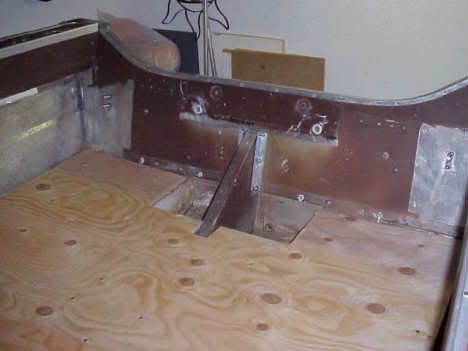
The wood is in! The inner sheet old aluminum was put back in place. There are four stainless bolts (carriage heads facing out) that hold it to gether. The engine provides the rest of the clamp force. Time for the top cap.
There have been quite a few threads on restoring aluminum boats. I thought I'd dig up my old project and share.
Special thanks to member i386 for helping me get the pictures out of various mediums.

Here she is, after I dragged it home. It's a 1983 Sea Nymph 16' with a 1983 90 Evinrude sitting on a Shorelander trailer. It's ROUGH but not beat up, just completely neglected for 16 years!!!
I had to take the engine off to transport it because the transom was shot.

We begin gutting it.

Here's a shot of the transom area. It's full of junk and dust. It sat 16 years in the desert.

Here's a shot of the transom after I took it apart and dug out the rotted wood. I used the old piece as a template. The tray/seat in the bottom was a source of some of the rot. I drilled holes in it to allow drainage.

Here's a shot of the new piece. It is 3 pieces of 3/4# ply glued together with waterproof glue and screwed together with stainless screws. It was then covered with epoxy on both sides.

The wood is in! The inner sheet old aluminum was put back in place. There are four stainless bolts (carriage heads facing out) that hold it to gether. The engine provides the rest of the clamp force. Time for the top cap.


