Watermann
Starmada Splash of the Year 2014
- Joined
- Jan 12, 2013
- Messages
- 13,753
Thanks for the update, some nice looking work you got done. :thumb:
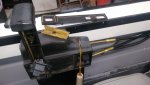
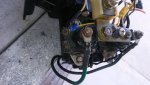
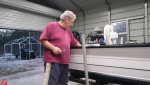
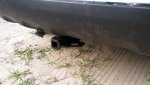
The motor bolting on the transom, I don't know exactly why but 2 on top and 2 on bottom are reversed ie: top bolts have nuts on inside and bottom has nuts on outside on all my boats. Maybe it doesn't even matter but thought I'd mention it.
The motor bolting on the transom, I don't know exactly why but 2 on top and 2 on bottom are reversed ie: top bolts have nuts on inside and bottom has nuts on outside on all my boats. Maybe it doesn't even matter but thought I'd mention it.