ctswf
Chief Petty Officer
- Joined
- Aug 7, 2012
- Messages
- 424
Re: 18' 1969 Offshore V restoration
:grumpy:
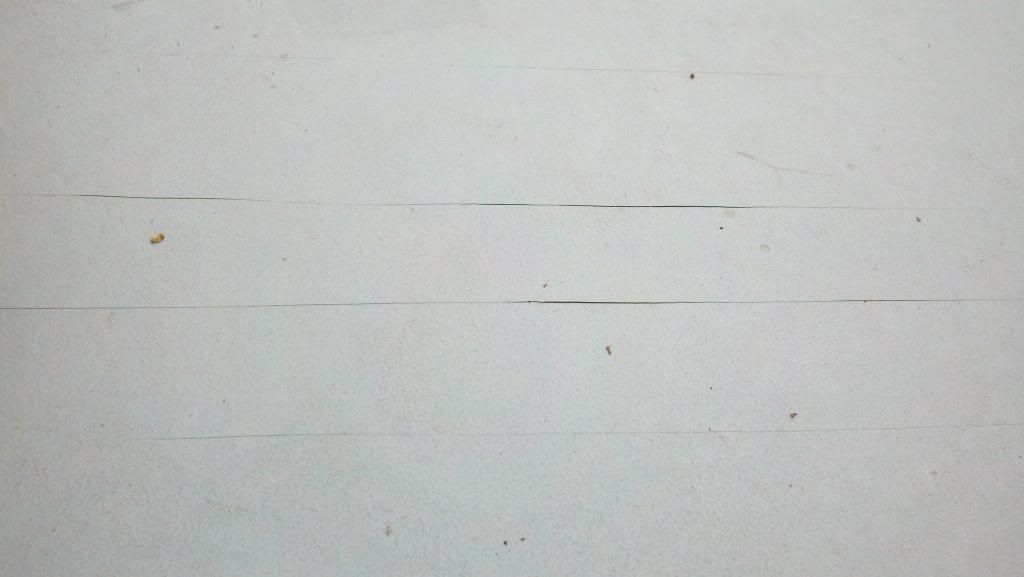
the boat was out in the direct sun all day monday, and in the rain since then.
Today as it dried out I noticed the deck now has a lot of cracks in it, like splintering wood.
Deck had one layer of epoxy on the bottom and sides, dried, riveted in place then two layers of epoxy on top going over all rivets. Then 2 coats of deck paint.
I did not epoxy or caulk the rivets holes when installed.
Anyone see this happen before on your epoxied deck? The deck is made of 4 pieces of 3/4 tongue and grove.
At this point I guess I have to wait it out, see how bad it gets then maybe hit it with a coat of deck paint again
:grumpy:
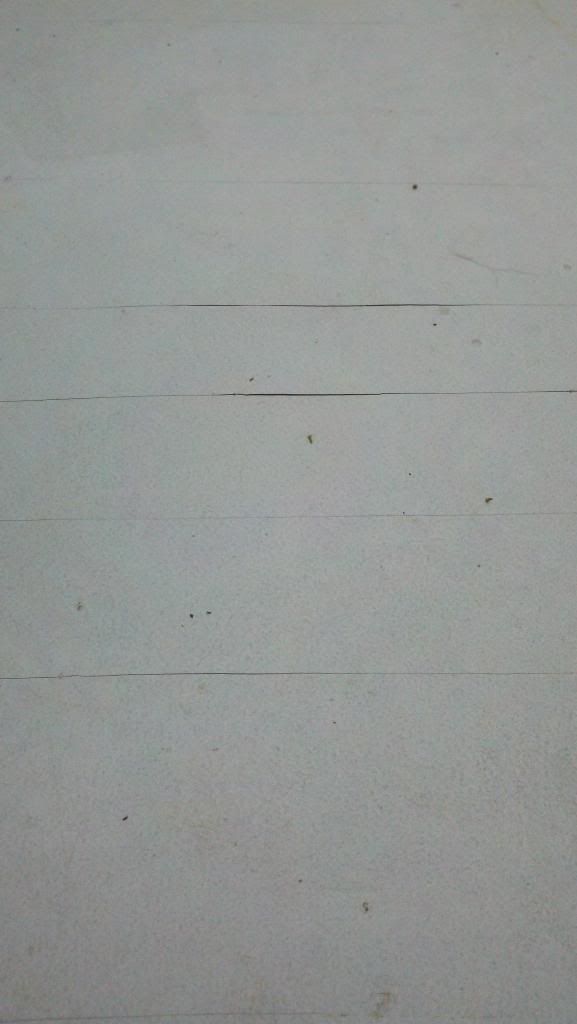
the boat was out in the direct sun all day monday, and in the rain since then.
Today as it dried out I noticed the deck now has a lot of cracks in it, like splintering wood.
Deck had one layer of epoxy on the bottom and sides, dried, riveted in place then two layers of epoxy on top going over all rivets. Then 2 coats of deck paint.
I did not epoxy or caulk the rivets holes when installed.
Anyone see this happen before on your epoxied deck? The deck is made of 4 pieces of 3/4 tongue and grove.
At this point I guess I have to wait it out, see how bad it gets then maybe hit it with a coat of deck paint again