Water Wasp Mini Boat

Status
Not open for further replies.

Old Scout

Seaman
Joined
Dec 1, 2010
Messages
68
Re: Water Wasp Mini Boat

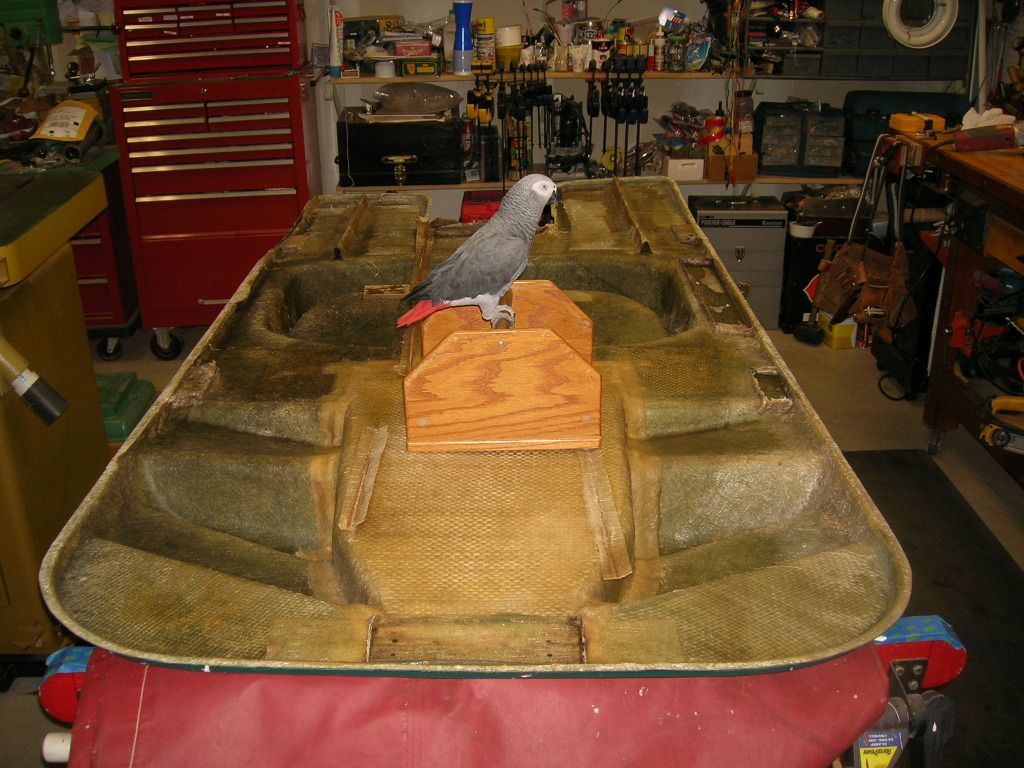
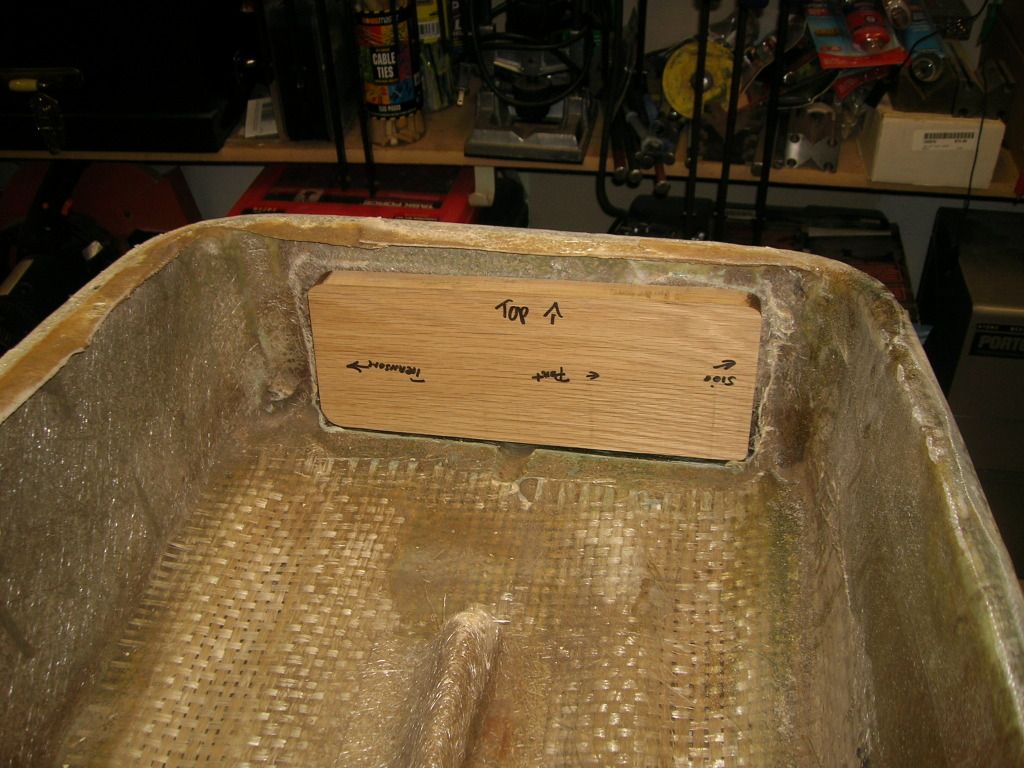
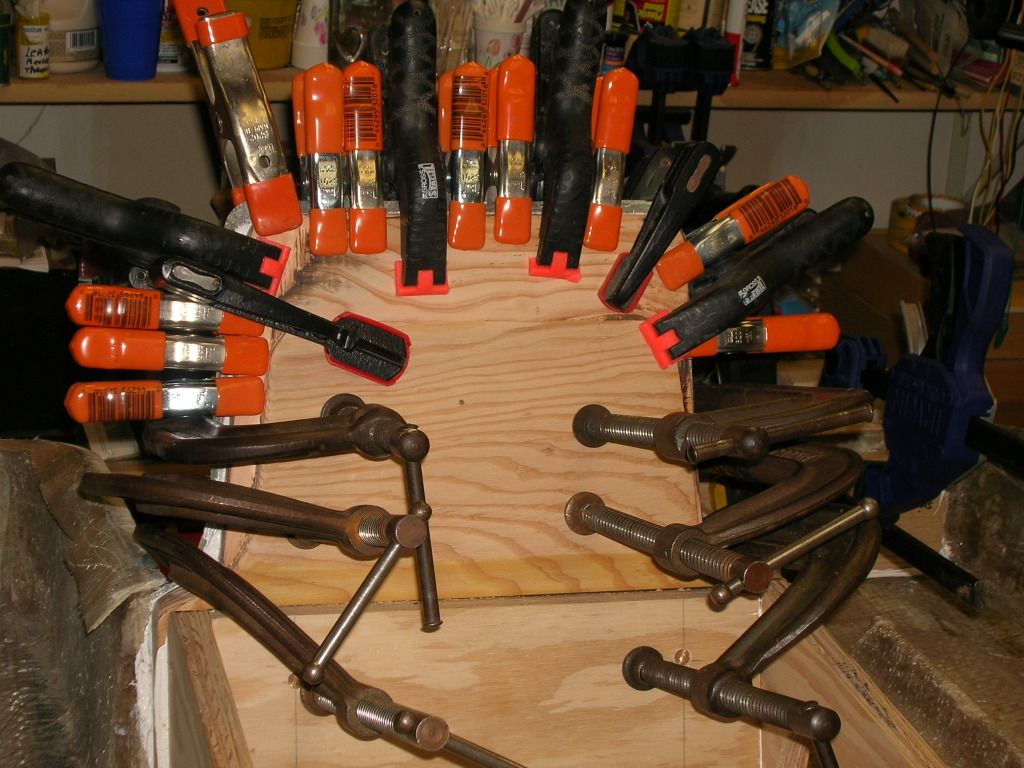
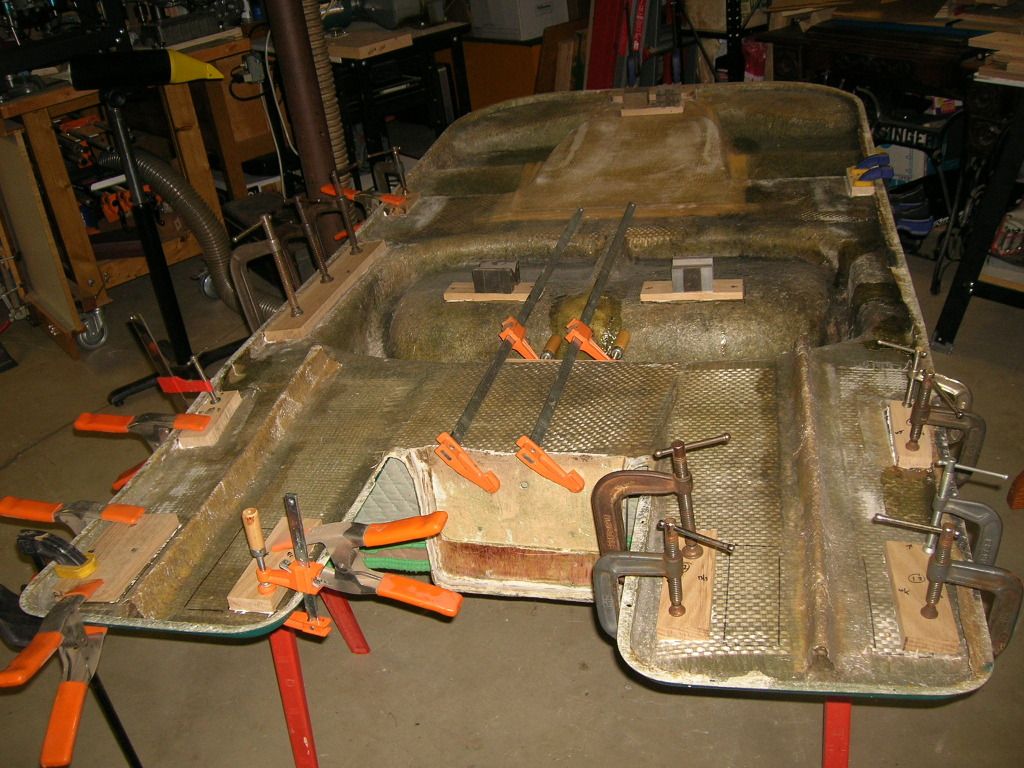
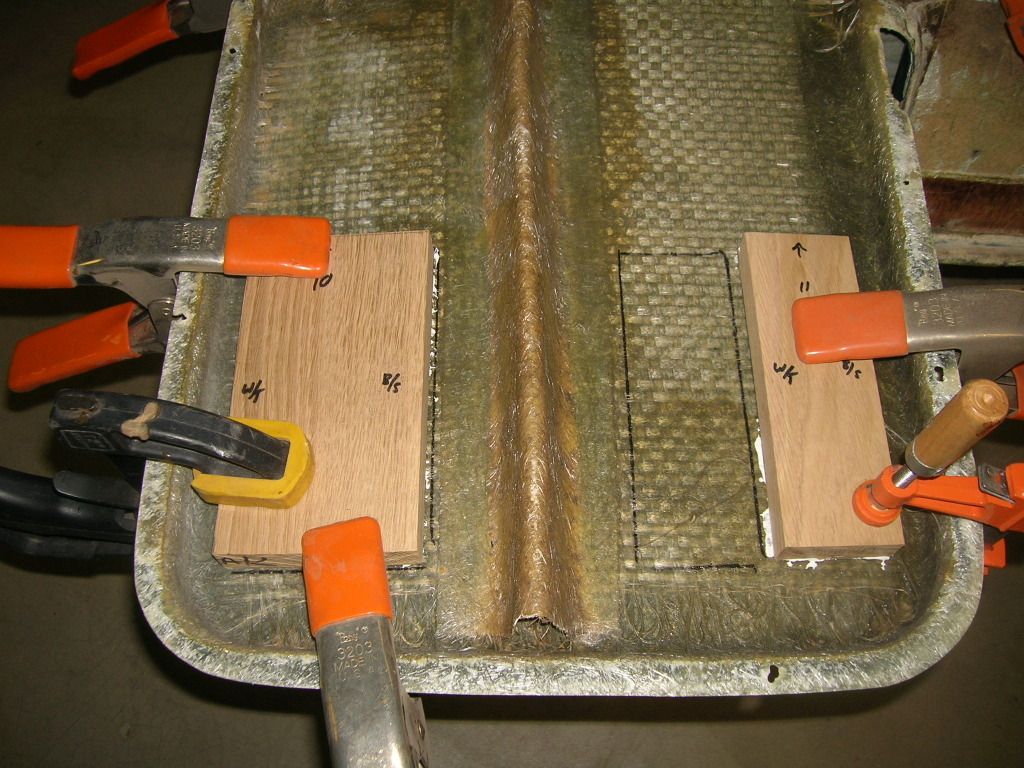
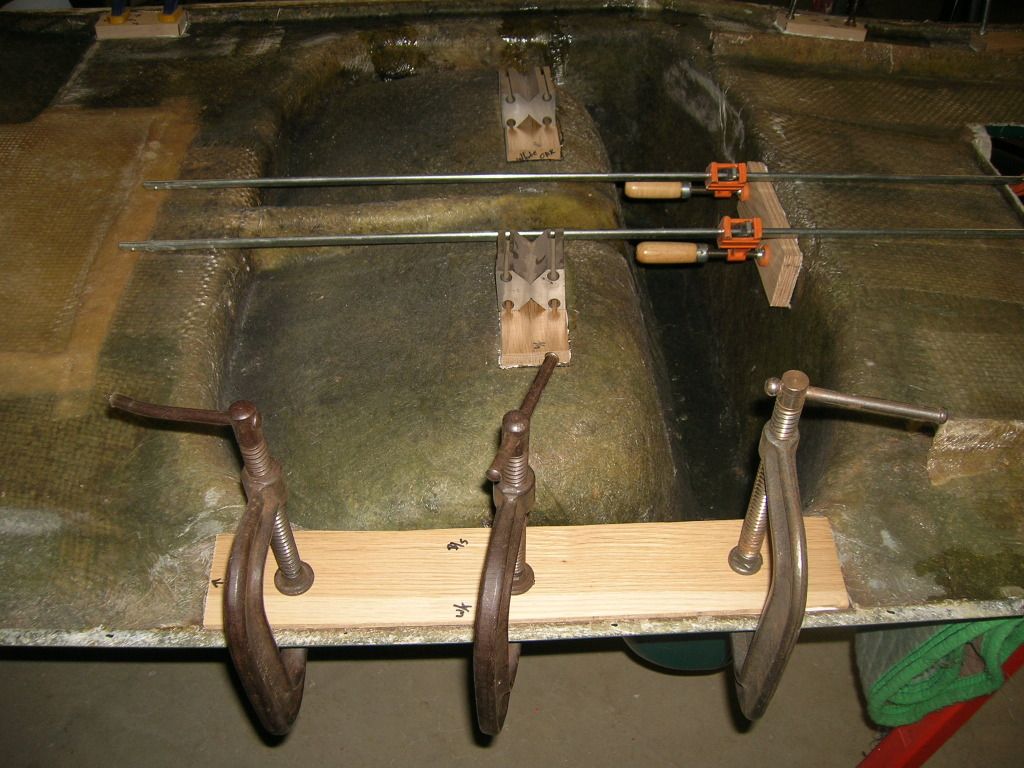
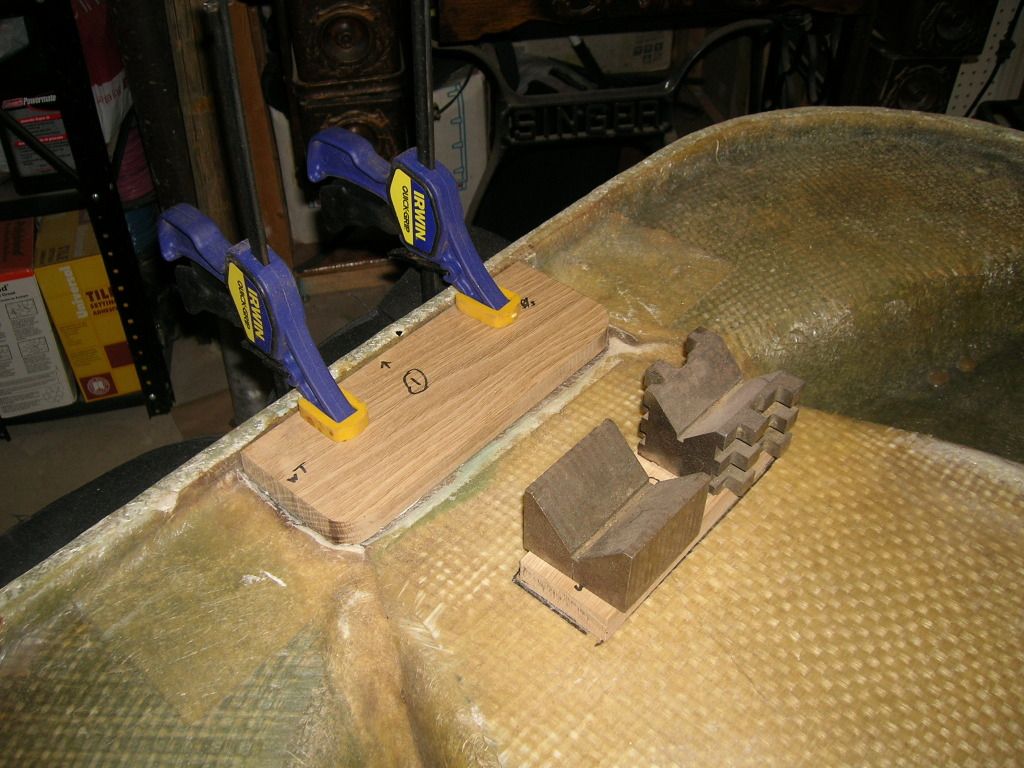
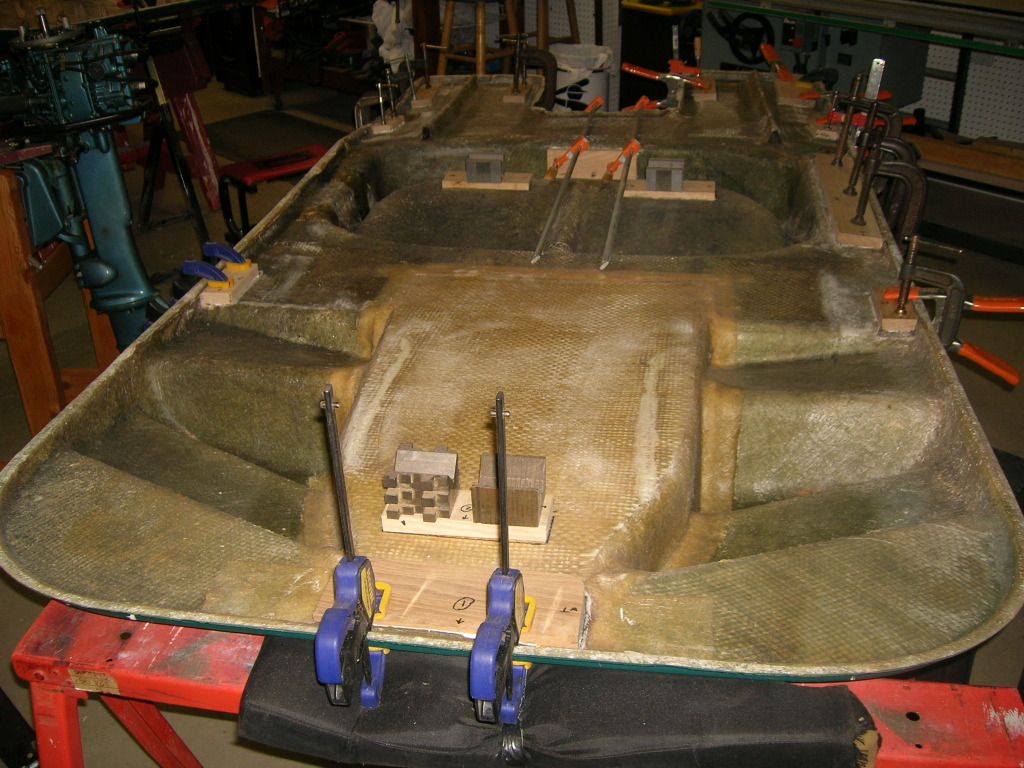
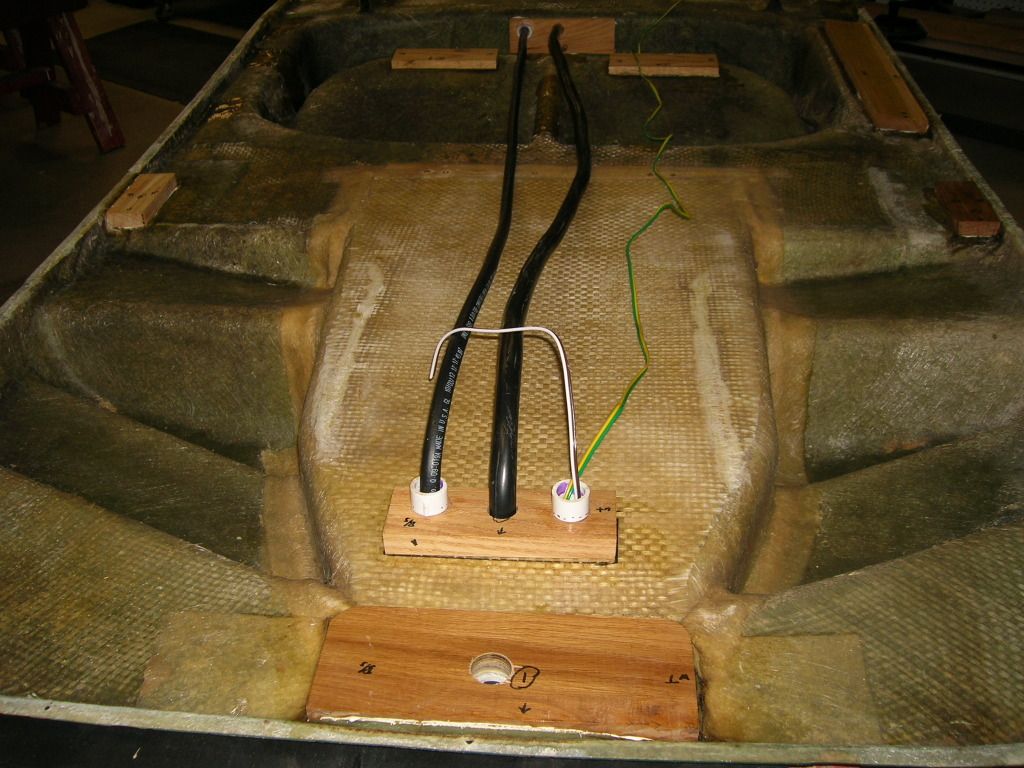
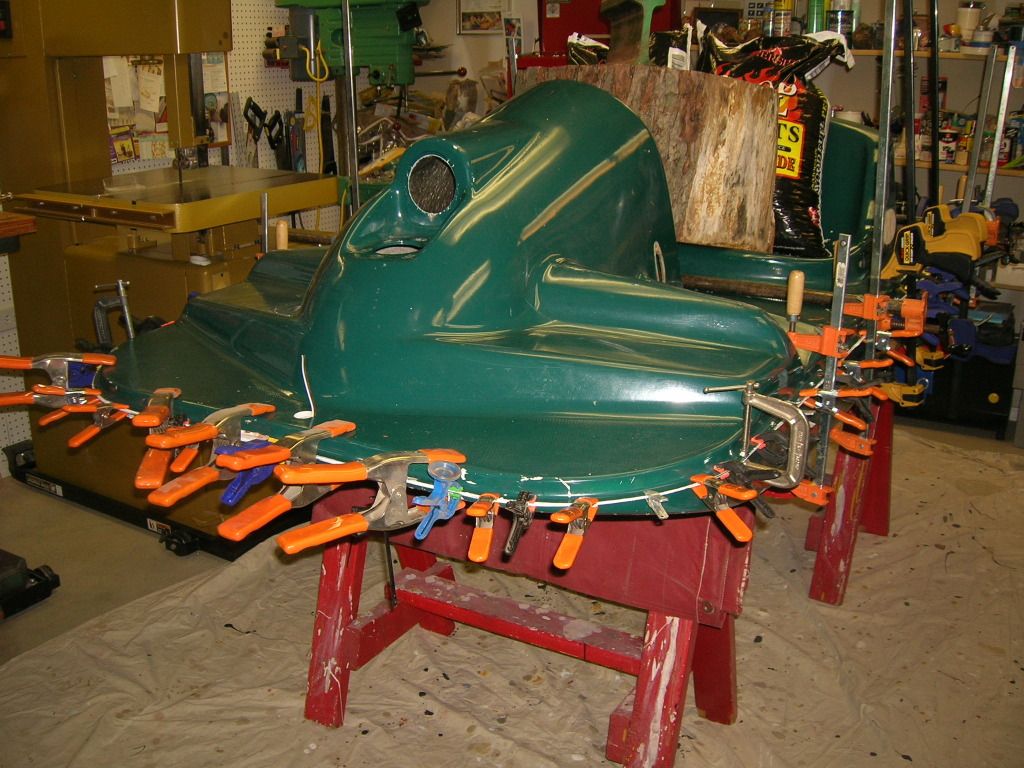
I'd also like to extend a welcome to you Outlaw Billy. Its interesting to note that you enjoyed your first Water Wasp enough that you want to do it again, its encouraging as there are a few of us who have as yet to operate ours since taking ownership this past season. I have mine seperated in two pieces, i.e., deck and hull, and have set it up on saw horses to begin the restoration. To date I have removed the old transom and wood supports, stringers, steering blocks etc. Will post pics soon. P.S. I would not recommend splitting the boat unless really needed,such as a rotted transom and supports as this boat boat had. It is really a brutal process on the boat, especially around the transom area. Will post pics soon on the interior of a Water Wasp, oldscout.
 

Old Scout

Seaman
Joined
Dec 1, 2010
Messages
68
Re: Water Wasp Mini Boat

Here are some pics of the restoration in progress. Some woodworkers have a benchdog, I have a benchbird, his name is Sammy.
DSCN5742.jpg

DSCN5749.jpg

DSCN5750.jpg

DSCN5759.jpg

DSCN5761.jpg

DSCN5765.jpg
 

Old Scout

Seaman
Joined
Dec 1, 2010
Messages
68
Re: Water Wasp Mini Boat

Here are some more pics, these are of the deck, (upside down), I used white oak for these supports, bow handle, cable steering, also note the two in the middle were the seat is, I replicated the originals, which I believe were also white oak. I added the ones in the very back, 4 total as I plan on adding a stern light and will install bungie hooks on either side. I also added a few blocks toward the front, these will support the electric wiring for running lights and electric starting for the outboard and gas line housing using pvc tubing that will run inside the hull, it will give the boat a much cleaner look.
DSCN5766.jpg

DSCN5767.jpg

DSCN5768.jpg

DSCN5769.jpg

DSCN5770.jpg
 

Old Scout

Seaman
Joined
Dec 1, 2010
Messages
68
Re: Water Wasp Mini Boat

I forgot to mention, all the clamps are for applying pressure to the wood pieces, i.e. transom, stringers, support blocks etc., as everything was bedded down with 3M 5200 adhesive/sealer. If you're not familiar with this product it is unreal strong once it is cured, (takes all of 7 days to cure). The boat and all these wood pieces will be one once this stuff sets up. Then I will apply several coats of sealer to the wood to help it withstand moisture. When they built these boats they used fiberglass to support the original pieces in place, but it doesn't appear they treated the wood in any way to protect it from moisture.
 

Bakeys

Seaman
Joined
Jun 14, 2012
Messages
63
Re: Water Wasp Mini Boat

Old Scout,
This is tremendous! Thank you for going to such great lengths and for using your WW as a test bed. Please let me know when completed so I can ship mine over for a similar treatment!:D

My best to Sammy!
 

Old Scout

Seaman
Joined
Dec 1, 2010
Messages
68
Re: Water Wasp Mini Boat

Trust me Bakeys I'm only going to do this once, not much of a fiberglass guy, far more comfortable working wood. What makes this easier is having products today like the before mentioned 3M 5200 caulk adhesive. I plan on removing all the clamps on both open halves, (deck and hull) this coming weekend and then moving on to the next step which will be the interior pvc piping to house the wiring. Here's a pic of a wood boat project I completed last Summer, she is a 1954 Thompson cedar-strip with a 1958 Johnson 18hp electric start, just a joy to operate.
DSCN5547.jpg
 

Bakeys

Seaman
Joined
Jun 14, 2012
Messages
63
Re: Water Wasp Mini Boat

P.S. I would not recommend splitting the boat unless really needed,such as a rotted transom and supports as this boat boat had. It is really a brutal process on the boat, especially around the transom area.

This scares me. I can only guess at the srtructural integrity of my wasp. And my guess is that it's pretty good for it's age. Being stored outdoors in NY is brutal to anything and I suspect this old girl was tucked away in a garage loft somewhere. At this point, I'm thinking of an exterior refinish with some snazzy colors and graphics followed by a search for a suitable short shaft. I've got an 18hp Evinrude FastTwin but I think that's asking for a deathwish. Although to die with a huge grin on my face wouldn't be so bad, I suppose. :eek: I'm thinking I'll have to keep my eyes peeled for a nice classic small boat trailer as well to complete the package. After that, to avoid divorce court, :laugh: I'm leaning towards finding a buyer that'll appreciate it more than I would.
 

Old Scout

Seaman
Joined
Dec 1, 2010
Messages
68
Re: Water Wasp Mini Boat

Splitting the hull from the deck involved drilling out a number of rivets, then using a couple of wood wedgies the two halves were slowly seperated, a few cracks were incurred, these happened in the deck area behind the seat were the structure is weakest. The transom area proved to be very difficult to seperate the two sections. This Water Wasp appeared to spend a great majority of its life outside, probably uncovered. Worse yet a previous owner drilled two 1 inch holes in the seat at the base, one in the front and one in the back, my guess is to run a gas line through. This allowed alot of rain water to enter the hull, resulting in every piece of wood inside the hull rotting, some to the point of being nothing but dust. The transom was only rotted on the top, it is a very thick piece of marine plywood, 1 and an 1/8 inches thick, and was well sealed in fiberglass.
 

Old Scout

Seaman
Joined
Dec 1, 2010
Messages
68
Re: Water Wasp Mini Boat

Thanks Willyclay. I'm open to any ideas of what others would do with this WW hull being opened up, i.e., adding floatation, running steering cable, etc.
 

Bakeys

Seaman
Joined
Jun 14, 2012
Messages
63
Re: Water Wasp Mini Boat

I'm open to any ideas of what others would do with this WW hull being opened up, i.e., adding floatation, running steering cable, etc.

That's an intersting question / comment, Old Scout. One of my initial reactions after gazing upon these nautical creatures of loveliness :facepalm: was "why in the world are all the mechanicals laying on the hull?" it just didn't make sense. That being said, if'n Sammy and I were tearing into my Wasp, my plans would definitely incorporate not only having the mechanicals tucked neatly inside the hull, but make the inside of the hull accessible. I haven't given that a tremendous amount of thought but what I've seen in my deranged melon so far, incorporates a piano long hinge (s) along the inside of the hull, and a fairly thick soft rubber gasket for sealing out water as the hull was compressed and then locked down. A fairly snug, friction fit rub rail would further reduce the flow of water. This idea is loosely based on some of the watercraft I've had / used / demo'd. Hull openings typically use thick rubber and a locking / closing mechanism that compresses the rubber enough for a water tight seal. Not sure this would work on the WW.
 

Waterwasp

Cadet
Joined
Sep 26, 2012
Messages
12
Re: Water Wasp Mini Boat

Thanks Willyclay. I'm open to any ideas of what others would do with this WW hull being opened up, i.e., adding floatation, running steering cable, etc.

I would add a support from side to side across the under side of the seat. My seat cracked because the center is a weak spot when bouncing over waves.

Rich
 

Scorpion210

Seaman
Joined
Jun 14, 2010
Messages
54
Re: Water Wasp Mini Boat

.... Some woodworkers have a benchdog, I have a benchbird, his name is Sammy.
DSCN5742.jpg

That's dangerous work with an African Grey around. They are excellent a picking up swear words. If I was doing that job, the bird would have a completely new vocabulary
 

Old Scout

Seaman
Joined
Dec 1, 2010
Messages
68
Re: Water Wasp Mini Boat

You are correct, Sammy is a rescue pet, (as is our dog Stormy) he had a rough past, when we first brought him home he cussed like a sailor, real loud too, took a long time but he finally quit cussing. We learned another lesson with him, turn off the phone answering machine you have a message tone when going on vacation. He punished us with that sound for months.
Good tip Waterwasp on the seat, I'll do that. If you look at the pics, the ones of the deck upside down, I placed two wood blocks exactly where the originals use to be and about the same size, approx. 3 inches by 5 inches by 1/2 inch thick, (currently pictured with the machinest metal blocks on them)not much support for the seats. Where did yours crack, in the middle?
 

Old Scout

Seaman
Joined
Dec 1, 2010
Messages
68
Re: Water Wasp Mini Boat

Bakeys, you'll enjoy that Evinrude 18hp, great motor. As pictured on the Thompson boat I run a Johnson 18hp, same motor. If it doesn't have electric start its not that hard to convert it to electric. I'm going to start out getting famaliar with the WW by using a 1957 Gale Buccaneer 12hp, also electric start, thats just 2 horsepower over its rating. If all goes well I will definately strap on the Johnson 18hp.
 

Bakeys

Seaman
Joined
Jun 14, 2012
Messages
63
Re: Water Wasp Mini Boat

you'll enjoy that Evinrude 18hp, great motor.

One of the best two hundred dollar bills I ever spent! It's presently strapped to a fourteen foot aluminum boat. Holy geepers, that boat goes like a cat with terpentine splashed on it's arse! A very squirrely ride. I'm not sure I have the testicular fortitude to put it on the WW. From what I've read so far, the Wasps are good going straight on calm water. Not sure I want to anger the water god Poseidon by doubling the recommended horsepower. Last thing one might hear on a voyage like that is "Hold my beer and watch this!"

Time will tell, Sir.
 

Old Scout

Seaman
Joined
Dec 1, 2010
Messages
68

Bakeys

Seaman
Joined
Jun 14, 2012
Messages
63
Re: Water Wasp Mini Boat

Watching!
I keep searching for that chrome Nautalloy steering cover that I lost while trailering the WW. That's proving to be a rather difficult challenge.
 

Old Scout

Seaman
Joined
Dec 1, 2010
Messages
68
Re: Water Wasp Mini Boat

Update on Water Wasp restoration. As the saying goes, "whatever floats your boat". Using noodles for floatation,note that these do not have the hole in them, extremely light and tough, rated at holding 300 lbs apiece, there are 20 of them so 300 x 20 = 6000 lbs. That ought to keep the ole girl above water. Second pic shows the underside of the deck with fuel line and electric cable coming out from the front of the cowling exiting out the back of the seat, also added 16 guage wire for nav lighting. Third pic is the ole girl back together, using 3M 5200 adhesive once again to hold her fast, there are 89 clamps total being used in this effort. If you look closely at the hole where the bowlight goes, it has been drilled out to 3 and a half inches. I'm going to take a little liberty here and change things up a bit. Installing a visored chromed 25 watt spotlight where the bowlight normally goes and putting a small bowlight on the very front of the boat. Looking at perhaps a two tone paint job, bright red on the top half and black on the bottom. I had the steering wheel bead blasted and powdercoated a gloss black, turned out real nice.
DSCN5771_zps5df989ca.jpg

DSCN5772_zps6dc2a61d.jpg

DSCN5775_zps9ffa7386.jpg
 
Status
Not open for further replies.
Top