'85 50hp kingpin seized

Nordin

Commander
Joined
Jun 12, 2010
Messages
2,436
That is a part of the casting. It gives room for the swivelbearing/bushing. The rust, if there is is between the casting/kingpin.
The bushing/bearings can be swollen because they are made of plastic.
 
Last edited:

jerryjerry05

Supreme Mariner
Joined
May 7, 2008
Messages
17,926
Nordin, how could the plastic bushing be swollen?
Maybe the rust and corrosion is binding the bushing?
 

Nordin

Commander
Joined
Jun 12, 2010
Messages
2,436
From my experience plasticparts do not manage grease/fuel and other oilproducts forever and they will swell.
I maybe wrong in this case, but just a thought.
That crusty stuff at top is a part of the casting. I have it on my 1974 45Hp Chrysler Sport.
 
Last edited:

Jiggz

Captain
Joined
Oct 23, 2009
Messages
3,817
The bushing may look and feel like plastic, but in reality it is most likely made of teflon material which is resistant to petroleum products.
 

CreekCruiser

Seaman Apprentice
Joined
Jul 13, 2014
Messages
42
That is a part of the casting. It gives room for the swivelbearing/bushing. The rust, if there is is between the casting/kingpin. The bushing/bearings can be swollen because they are made of plastic.
That seems to be the best place to put the new zerk, correct? That way I can push out the old crusty stuff and make sure that area gets nice new grease. If that doesn't work I am going to have to disassemble and go through that whole process of fixing it long term. I was hoping to make it through the season and fix it correctly over the winter.
 

foodfisher

Captain
Joined
Feb 18, 2009
Messages
3,756
Good luck. New grease and heat won't remove rust and aluminum corrosion. Could have been done correctly in this amount of time. You could leave it frozen and McGiver a rudder to get you through the season.:facepalm:
 

CreekCruiser

Seaman Apprentice
Joined
Jul 13, 2014
Messages
42
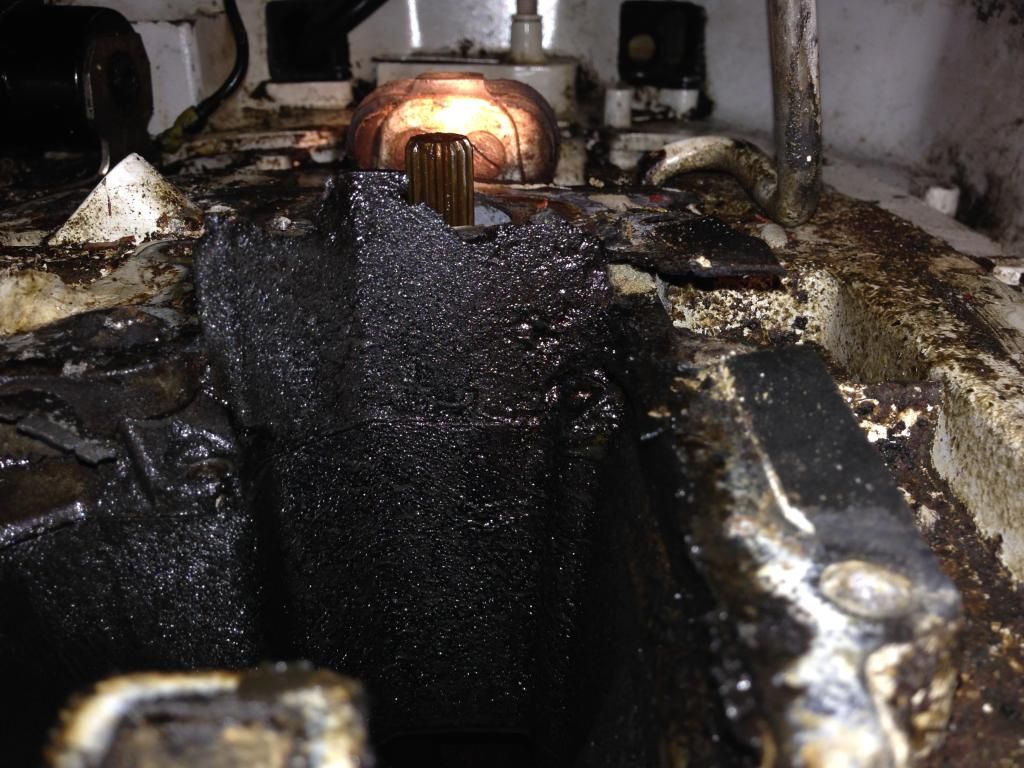
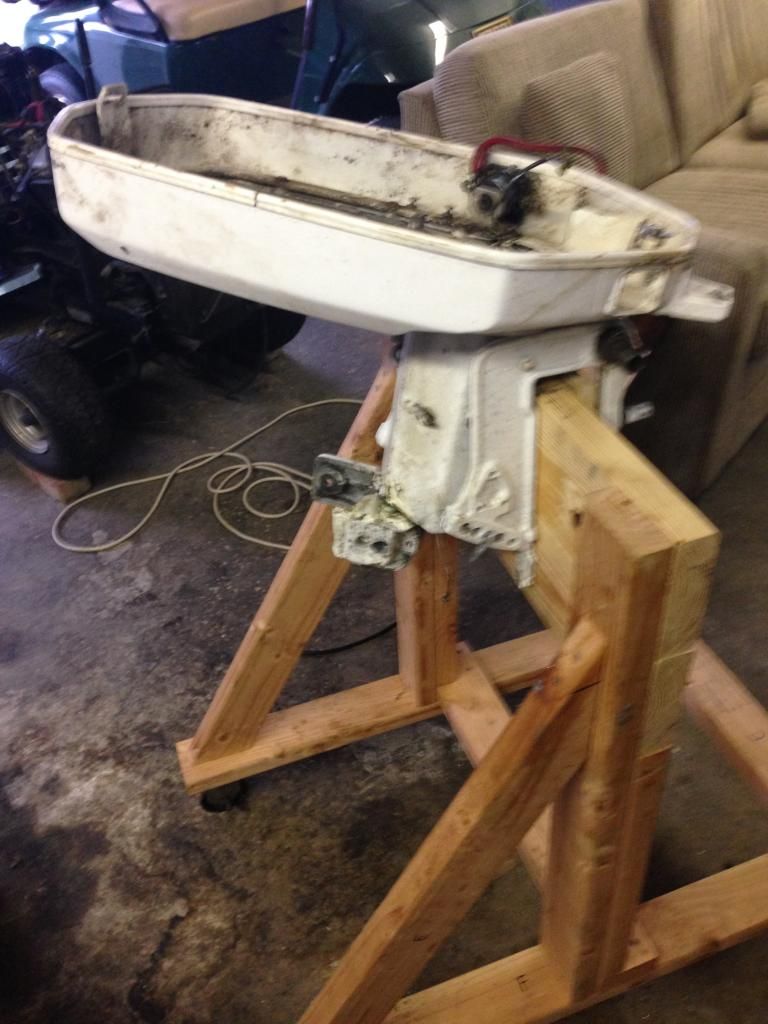
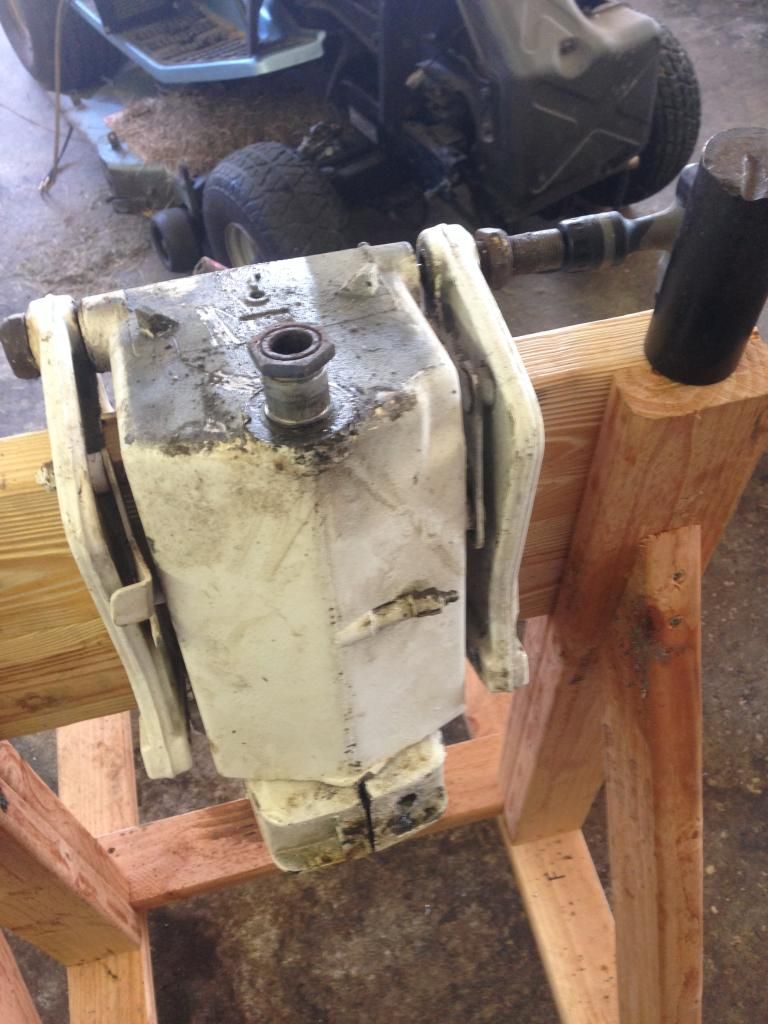
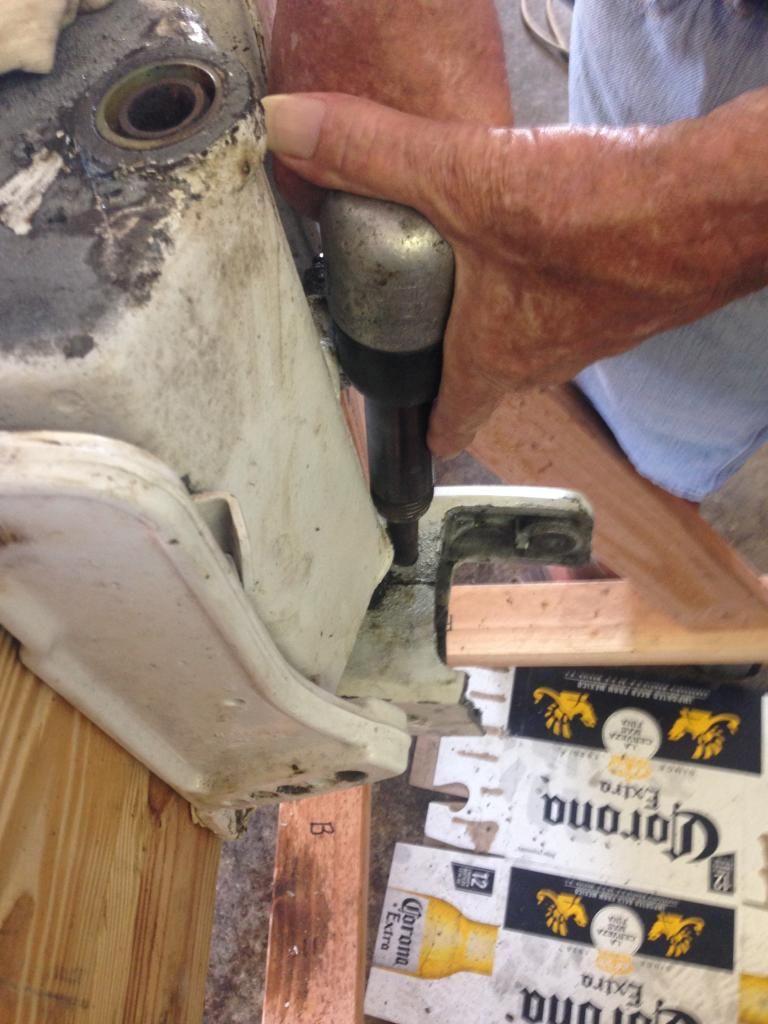
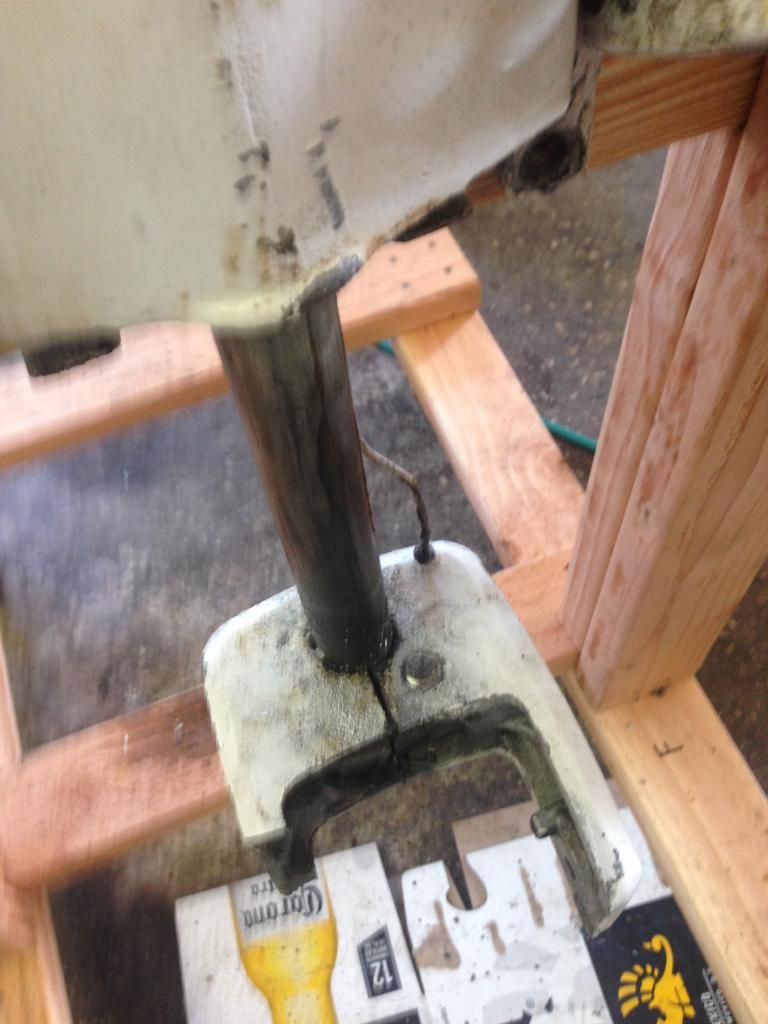
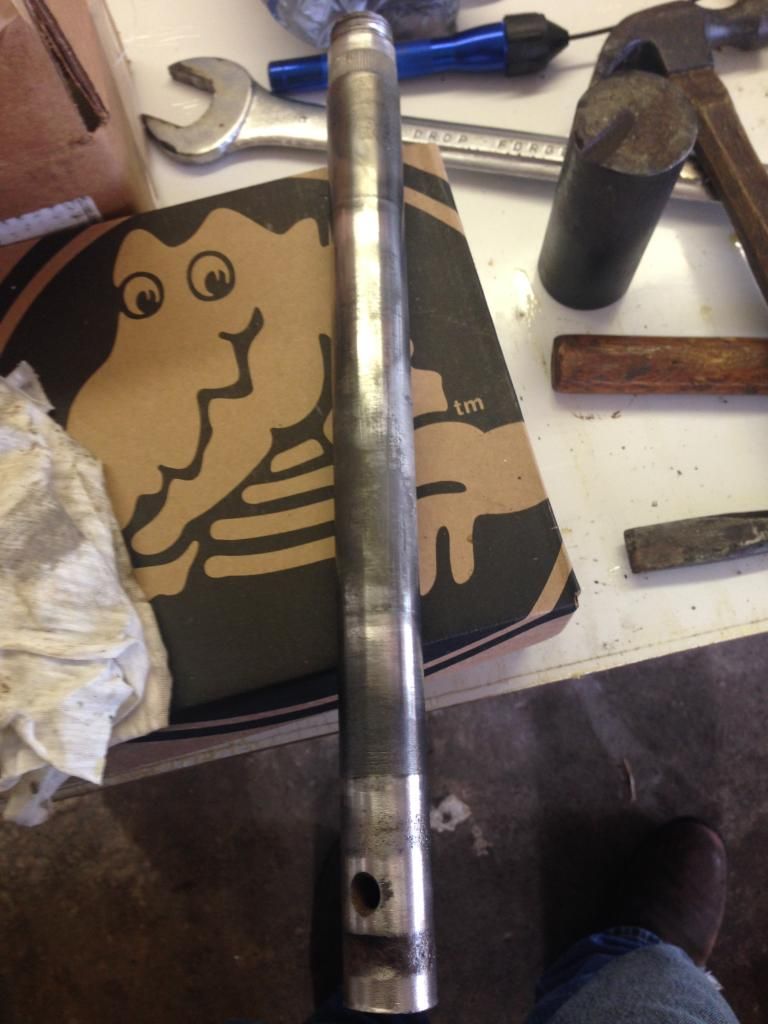
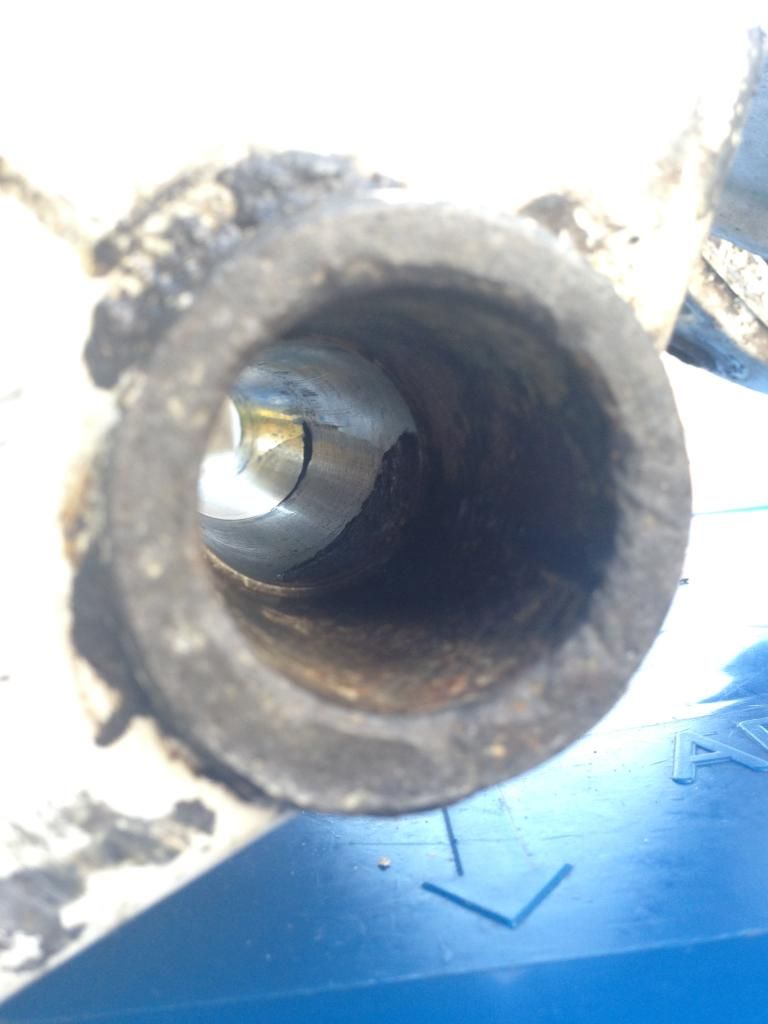
Made a little progress over the past week or so. Got the power head off, got the top shock mount apart, working on the lower shock mount clamps. Got 5 of the 6 nuts/bolts off easily, off course 1 had to be hard. I have tried everything on this bolt, heat pb blaster cheater bar, impact, no movement. Eventually the head was stripped (of course!) so now I have resorted to drilling it out. Wasn't able to get it loose tonight because I ran out of time but I will get back to it tomorrow. Dime holding up a dollar. Here's some pics of my progress.
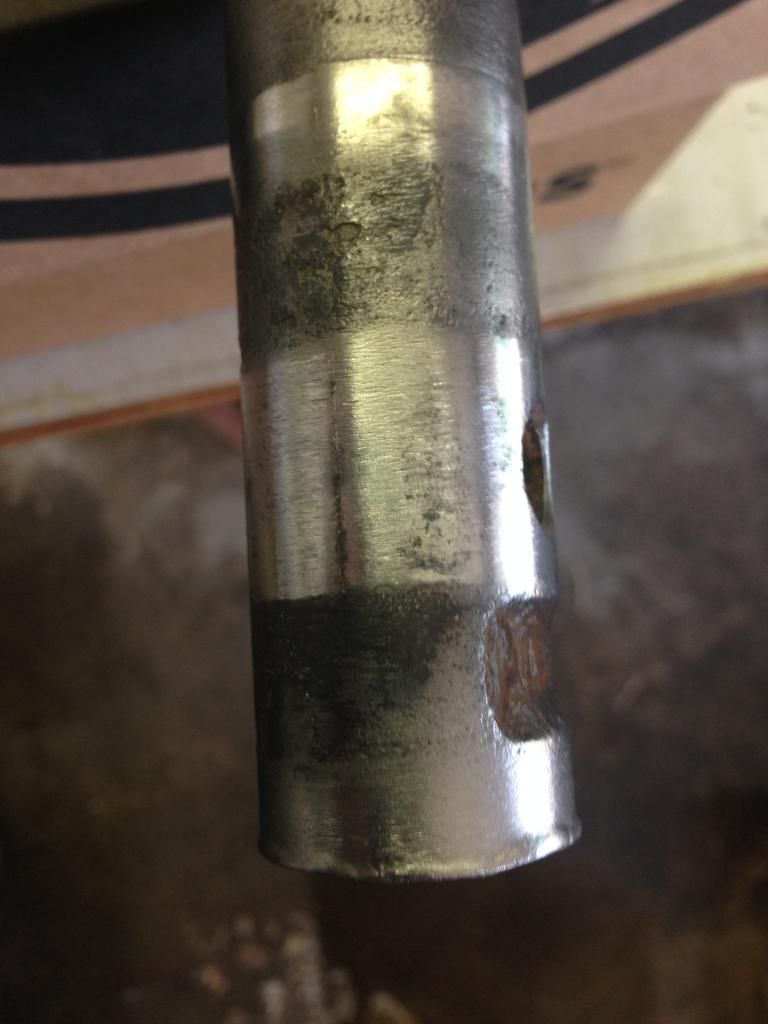
5F9E9749-2BA2-4F0F-A2FF-1359B2FF49AA_zpsvkrnv0by.jpg
Here's the culprit
C8C3BA58-A747-4E02-979E-E1EFE71AA104_zpsvsq8rhfc.jpg
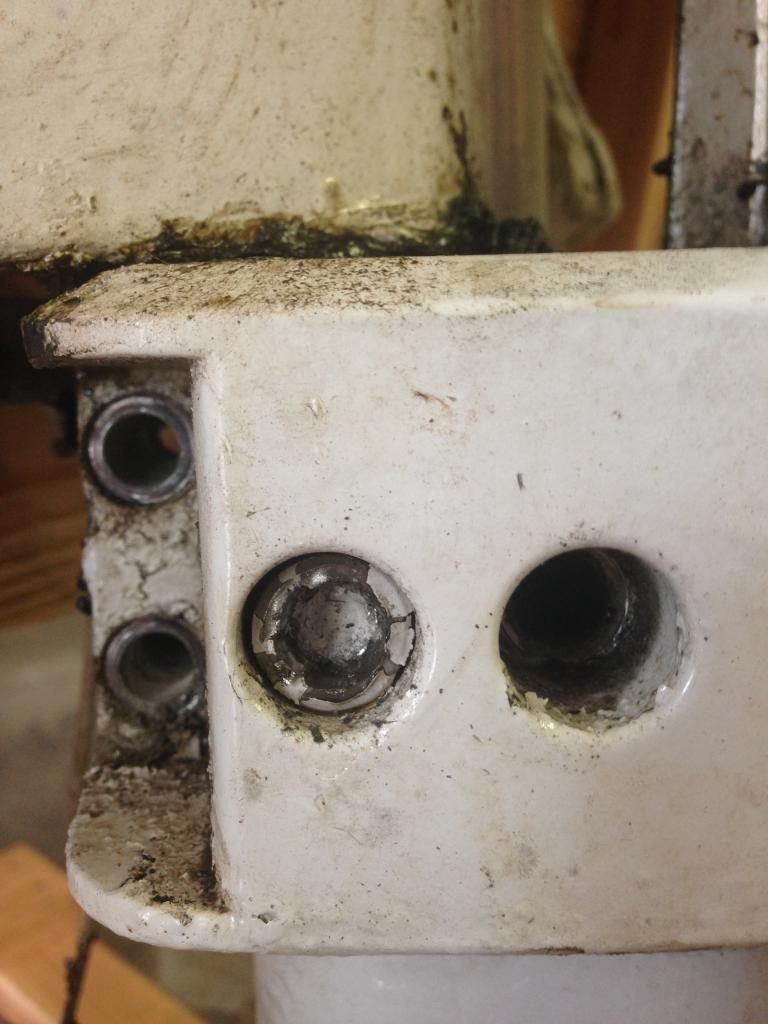
The top is good to go
7230BE1F-0989-483A-AEBE-9209AAABF744_zps8uvuw64y.jpg
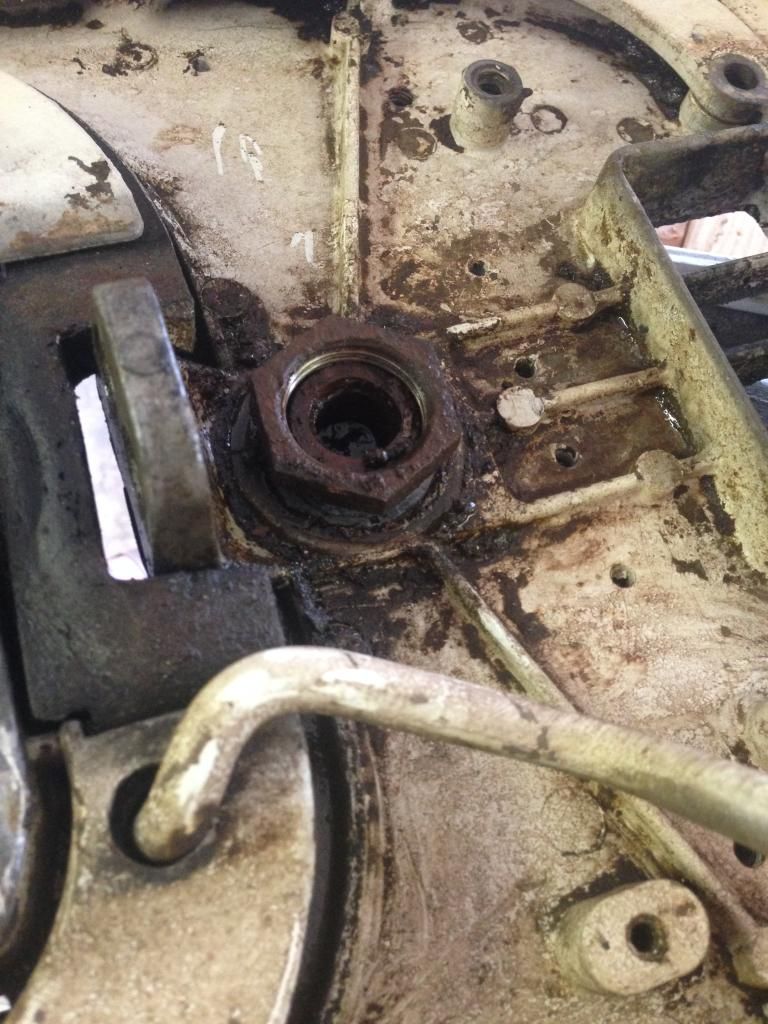
Did notice one thing, if you look directly behind the driveshaft, in between the exhaust and water inlet chambers (I think) there is a plate that extends up that is corroded pretty bad and missing a lot of material. Is this a big deal?
9F096B48-7D7A-48CA-8B3A-5ED384CF3843_zpsywpyrchb.jpg
Close up of the damage. This is before I cleaned this area up so it is kinda hard to see but it looks pretty bad to me. Not sure what this plate does. Thanks for looking, CC
 

CreekCruiser

Seaman Apprentice
Joined
Jul 13, 2014
Messages
42
Made some more progress today, got the motor leg removed, that was a chore. The bolt that I mentioned yesterday was stuck something serious, tried drilling it out from both sides and still couldn't drive it out. Got the Allen head drilled completely off and drilled into the threads from the other side and tried to drive it out with a hammer and punch. Nothing doing. Finally took and air chisel and got it out but I destroyed the lower shock mounts in the process. Honestly by that point I was fine with that. Got some on the way via ebay. Once they were removed I saw what the problem was. When I was drilling I got off square to a funny angle and there were some threads still holding on for dear life. No biggie. Here is where I am now:
9BFA9747-907D-4594-B36F-D5901DEA4822_zpsbyebd6zr.jpg
You can see where I put the lower shock mounts back on to try to pry the kingpin plate/lower cowling mount off. Can't get it to budge. Pretty much stuck here. Kinda at a loss as to how to proceed. If any
 

foodfisher

Captain
Joined
Feb 18, 2009
Messages
3,756
Cheese n rice!! Let me eat some words here. No-one could have fixed this correctly by now. From what I see, you're down to an impact socket the same diameter as the kingpin and a three pound hammer with a lot of penetrating fluid beforehand. Whack it hard to harder and hope it frees before the aluminum breaks. Personally, I'd be ready to scrap the aluminum. Should it break free and repairs are made, there's no sane amount of money that would buy it from me.
 

CreekCruiser

Seaman Apprentice
Joined
Jul 13, 2014
Messages
42
Should it break free and repairs are made, there's no sane amount of money that would buy it from me.
Haha. I know exactly what you mean. This motor has been a chore to work on ever since I tried to pull the flywheel for the first time. I eventually got that though. Luckily I have pretty much given up on using this thing anytime in the near future so I just try to enjoy the project as much as possible. Of course I say that now, by tomorrow evening I may be ready to toss it depending on how the actual kingpin removal goes. Just kidding. Ahh, maybe not.
 

CreekCruiser

Seaman Apprentice
Joined
Jul 13, 2014
Messages
42
I finally got my kingpin out. I never want to have to do that again. It was actually harder tearing the motor down to it's major components than it was actually driving the kingpin out. I used a combination of heat, pb blaster and an air chisel with a broad tip to finally get it free. Here you can see where I put the lower shock mounts back on to use as a base to drive the pin down with my air chisel:
70BEB391-A2E6-4230-A2FF-CCF5F6467DF2_zpsnmrpa4sj.jpg
Pops with the air chisel in action. It just walked right out:
8210908D-9E9D-4788-9190-EDE7C0D2B015_zpsom5j4lf7.jpg
Nothing to it:
A156E020-0E4B-416D-99D0-79485C0C04C8_zpscydgrddz.jpg
The kingpin:
9A9AEF3F-915A-48F6-886E-6F60995BD51B_zps09g486uo.jpg
Some damage on the lower portion of the pin where the lower shock mount clamps. Don't think this is a big deal but if I am wrong someone please let me know!
8FF86531-0373-4212-AE5F-533418CBE381_zpsfmqla8z3.jpg
Here is the major culprit the best I can tell. You can see the recessed area where the upper bushing rests. Just behind that there is a raised area of corrosion that was binding on the pin. Notice the backside of the grease zerk in the middle of the shinier part of the cylinder.
9995FC9B-FEB1-4FD8-AEB8-4D965A867FF6_zpszjqnkhhf.jpg
What do people use to clean the inside of the swivel bracket? I was thinking about using a brake hone after I get it close with some sandpaper on a properly sized broom handle or something like it.
 

pnwboat

Rear Admiral
Joined
Oct 8, 2007
Messages
4,251
Depending on how much the raised portion of the corrosion is, you may consider something like a die grinder or a dremel with a fine grit grinding stone to carefully touch up just the corroded part. Just a thought. The rest of the bore looks like it's in OK shape. Your idea with the sandpaper and hone will also probably work fine too.
 
Top