1995 Sea Ray 220 Signature Deck and Stringer Restoration

Status
Not open for further replies.

Friscoboater

Captain
Joined
Jul 3, 2009
Messages
3,095
Re: Here I go again!! 1995 Sea Ray 220 Signature Deck and Stringer Restoration

Re: Here I go again!! 1995 Sea Ray 220 Signature Deck and Stringer Restoration

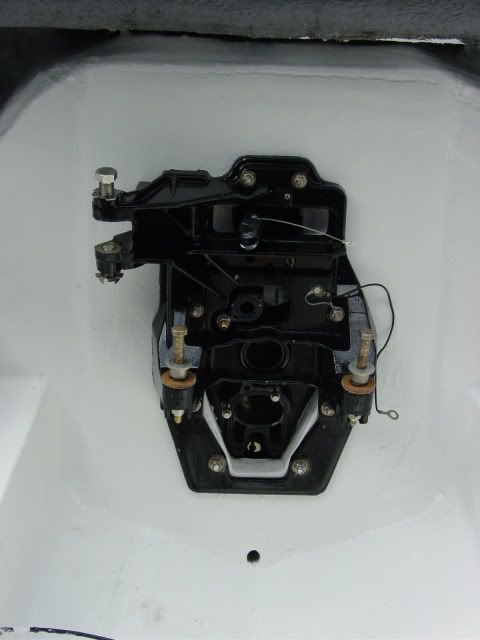
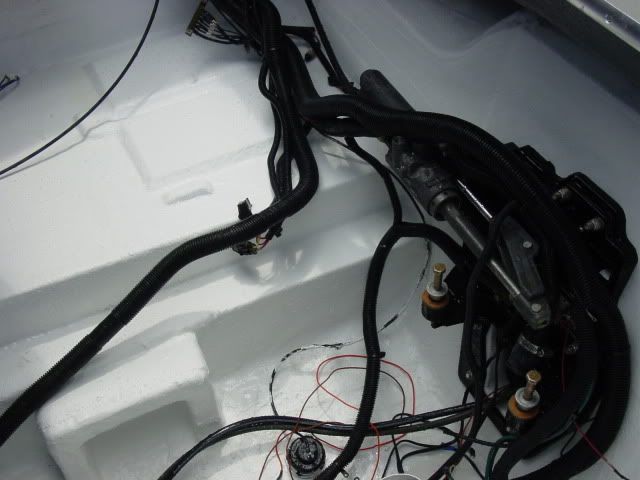
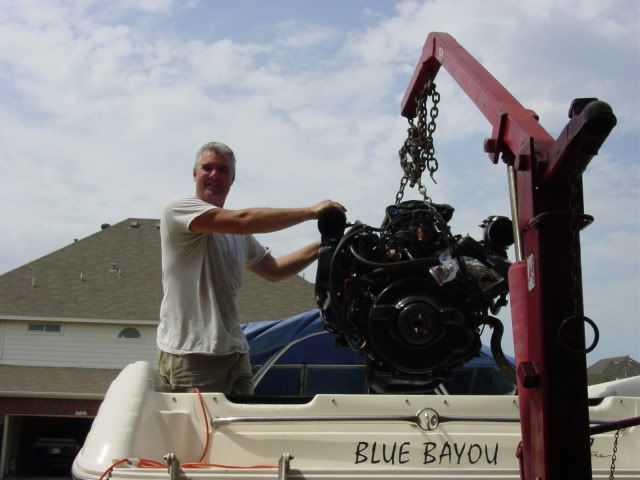
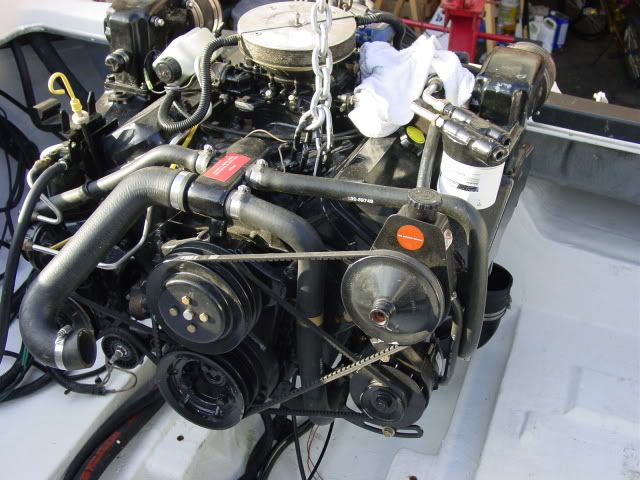
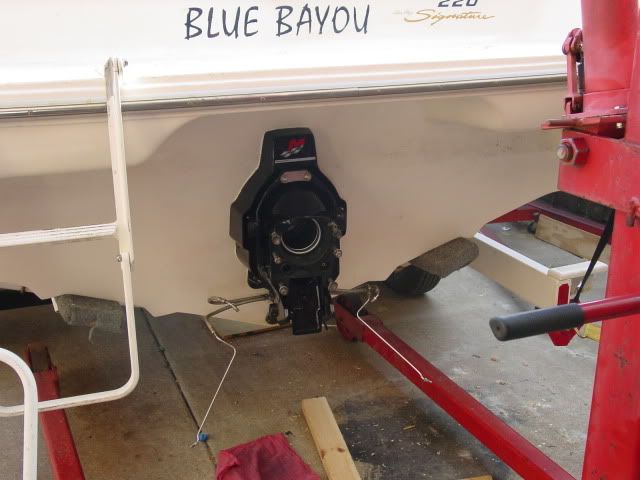
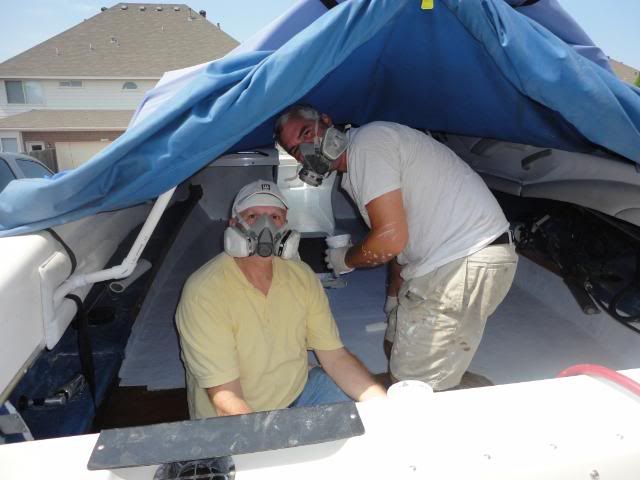
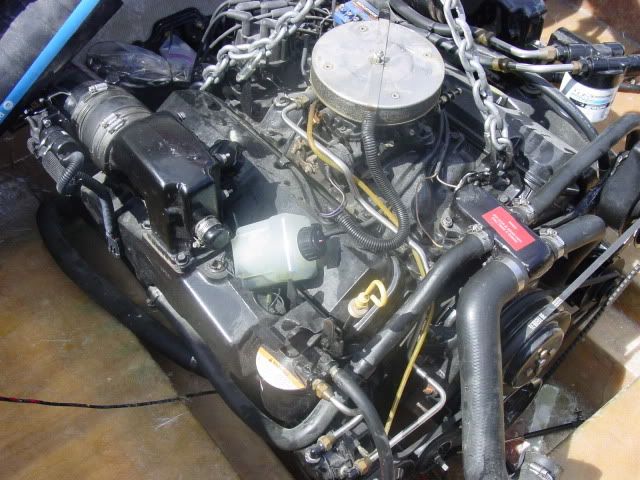
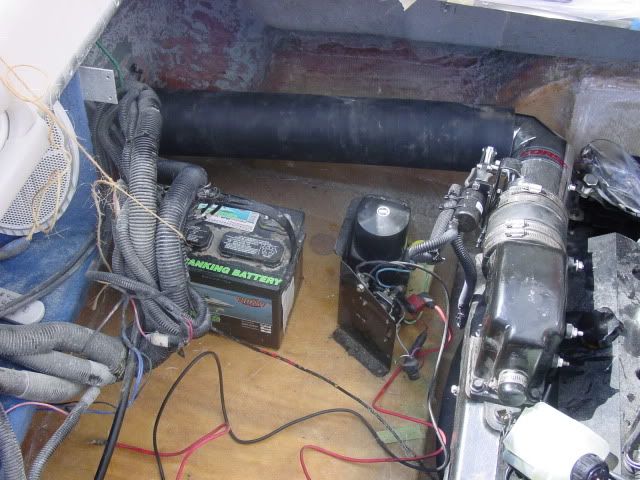
I got some work done this last weekend, but I still have alot to do. I rented a engine hoist and test fit the engine so that I could make the engine mounts. I just wanted to make sure that they were perfect. I also test fit the new exhaust and made a plan on how I am going to route it.

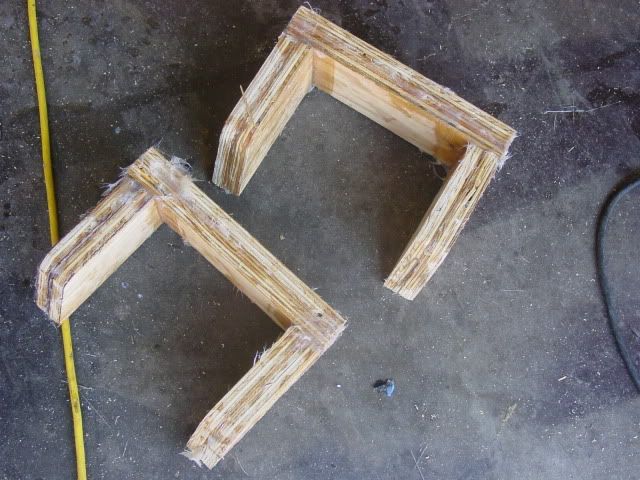
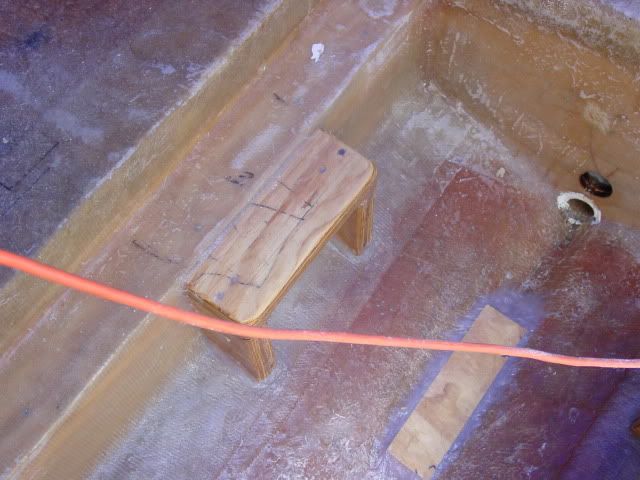
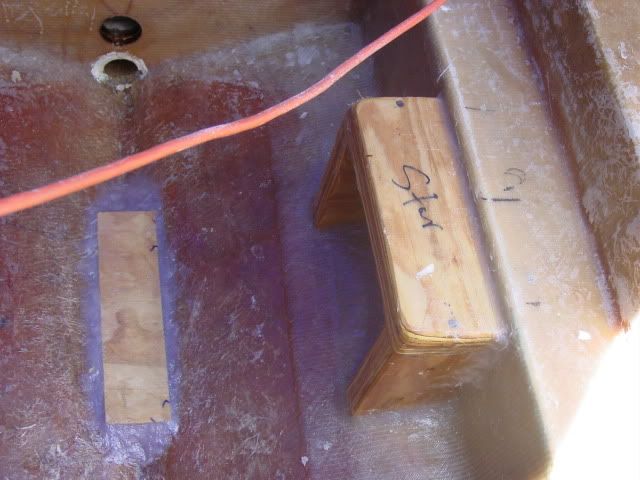
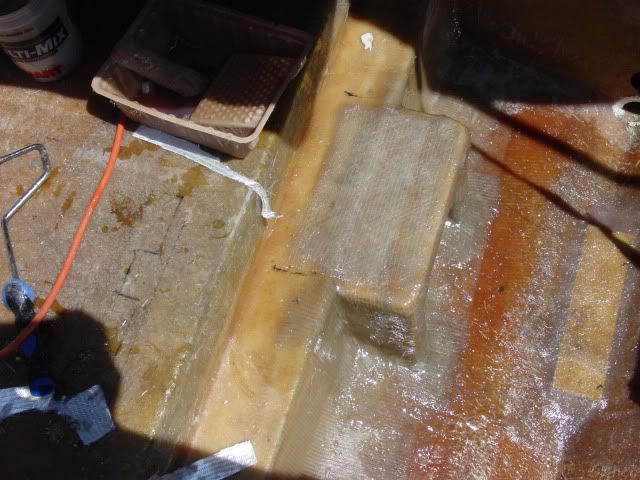
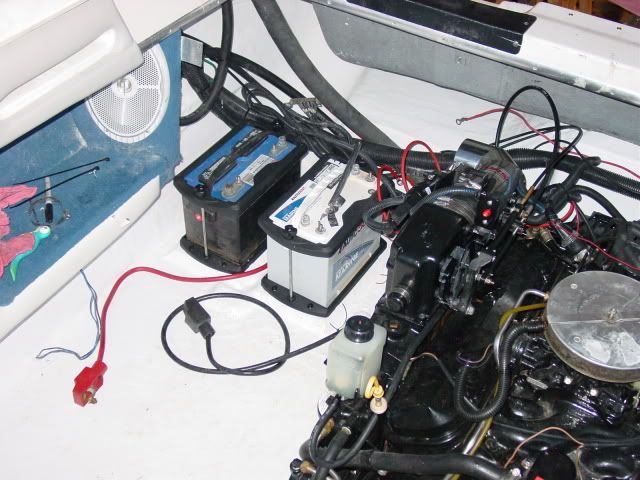
Once I did all that, I made the engine mounts, and got the glassed in. That was the hardest glass work I have ever done. I actually had to go all paper mache and dip strips of glass in resin and then apply them by hand. I have tow layers of 1708 on it, but I was thinking of tabbing it some more with another layer or two. I would not round over the edges any more, but just tab the the stringer and hull. What do you guys think?

Pictures

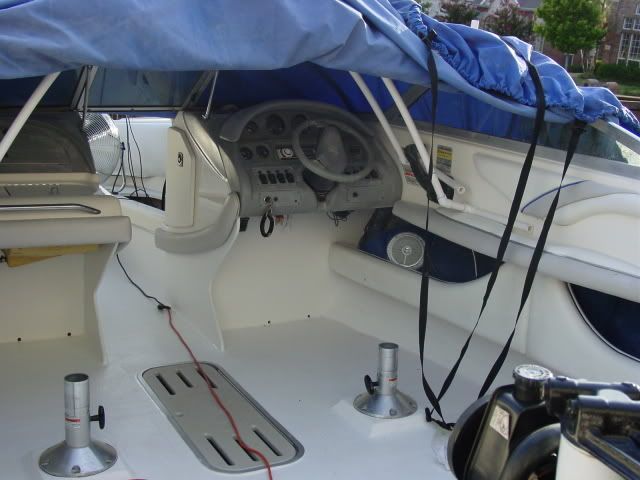
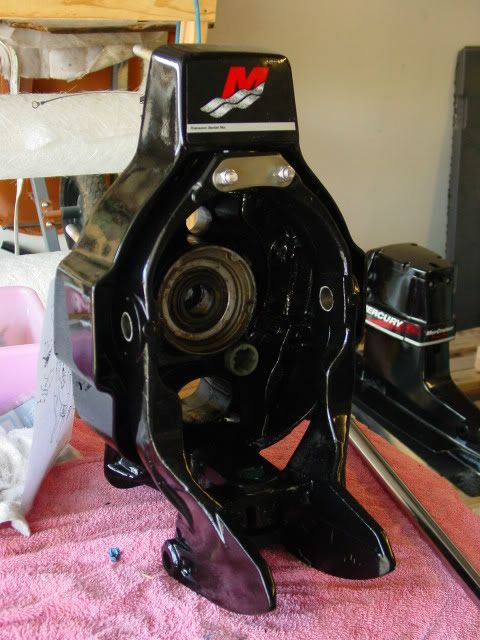
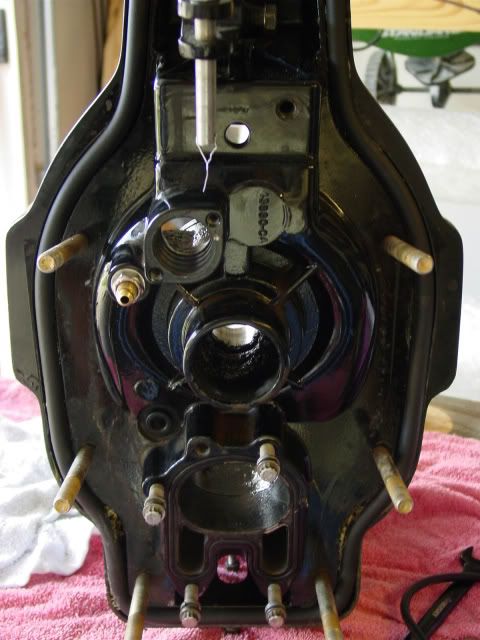
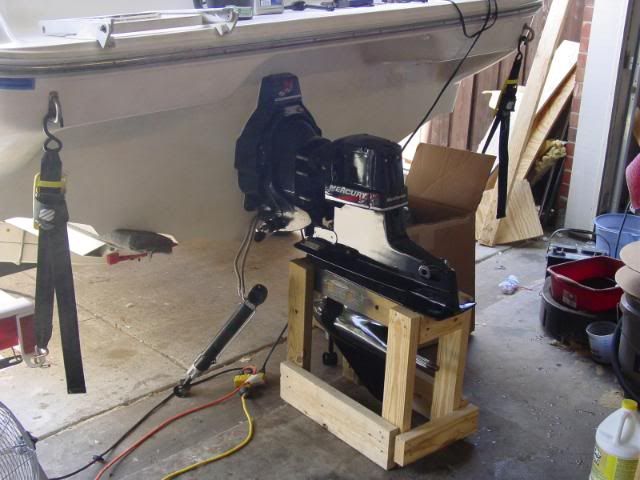
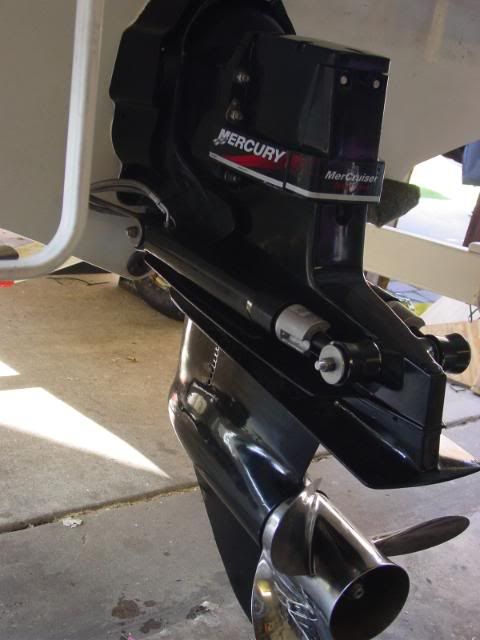
Test fitting the engine.

DSC00917.jpg


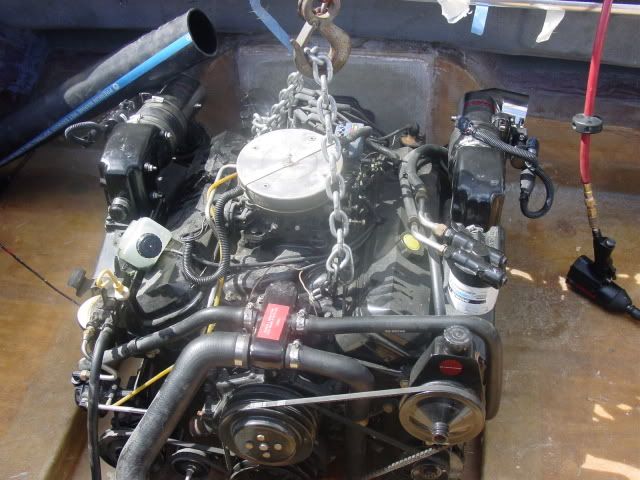
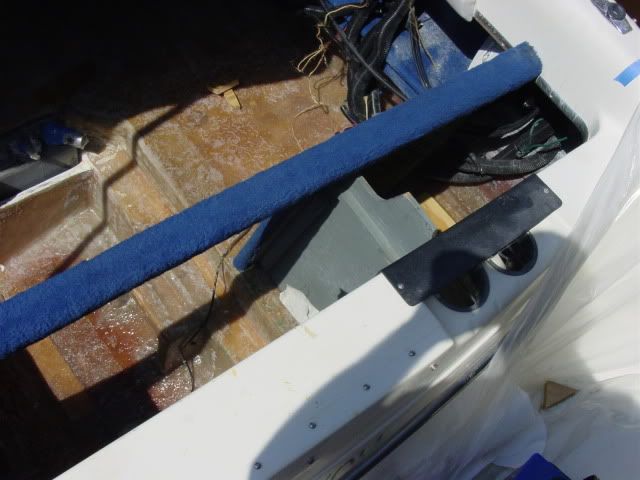
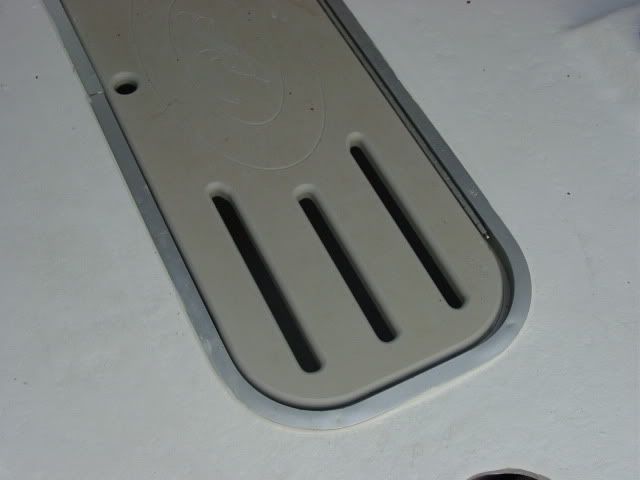
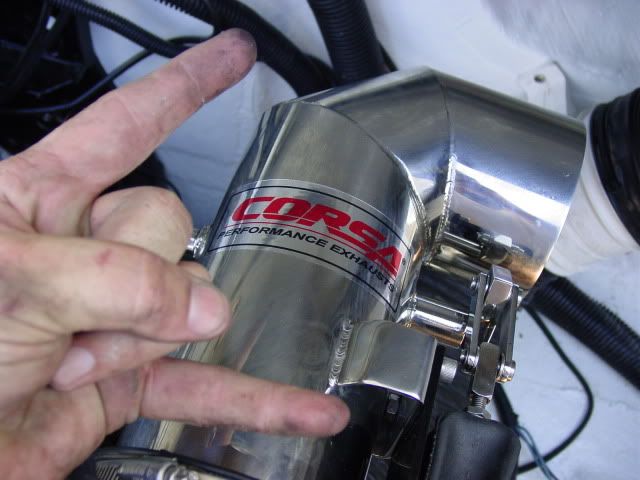
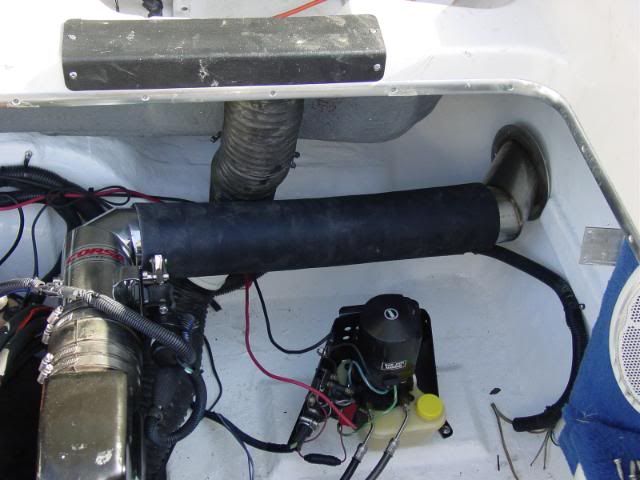
Test fitting the Corsa exhaust.

DSC00918.jpg


DSC00920.jpg


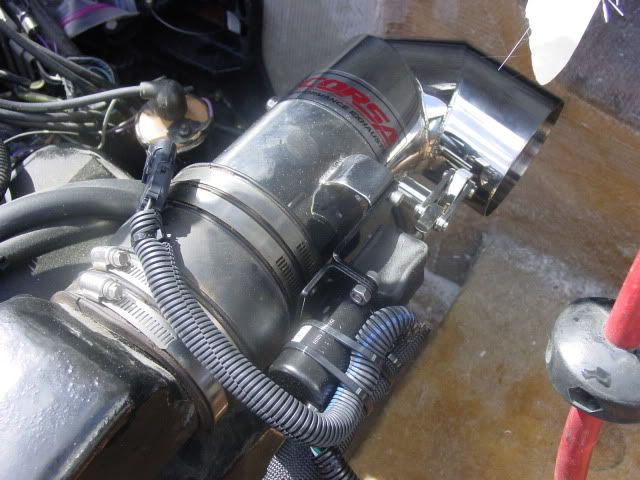
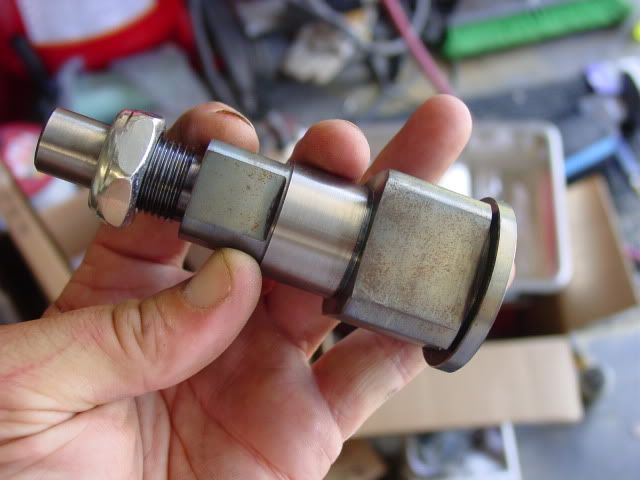
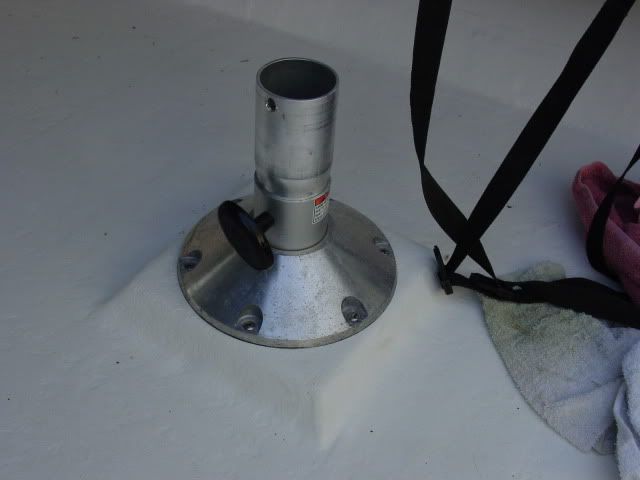
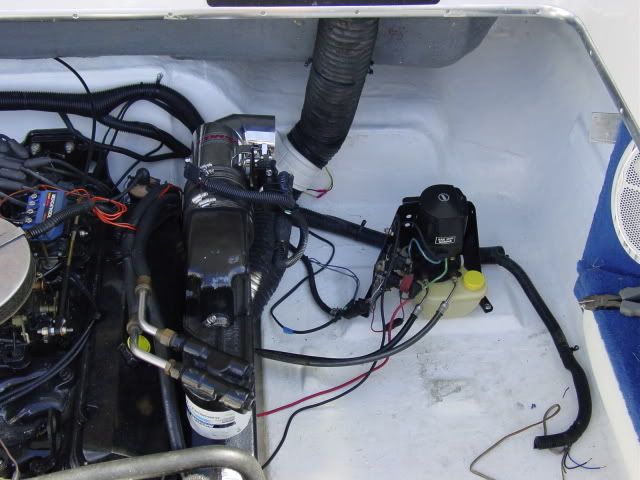
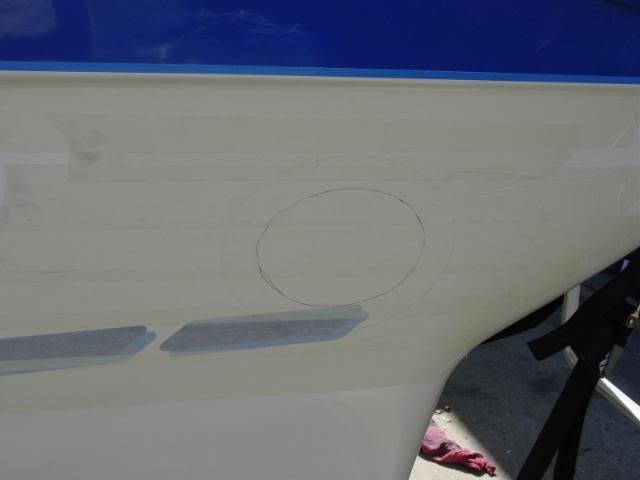
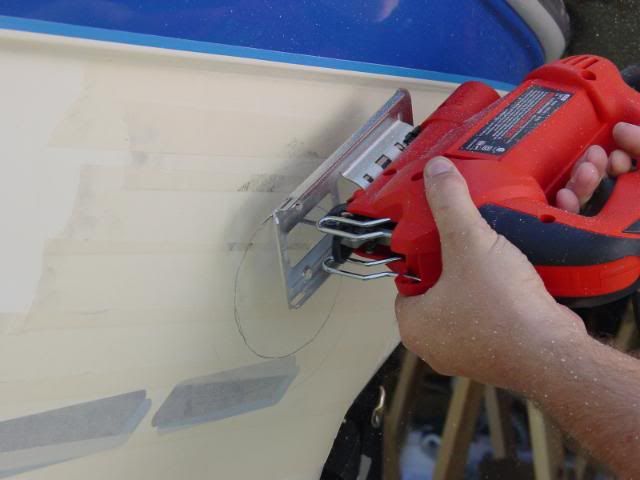
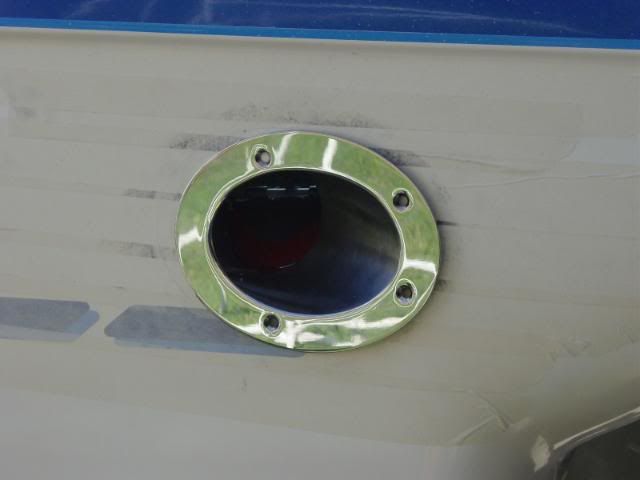
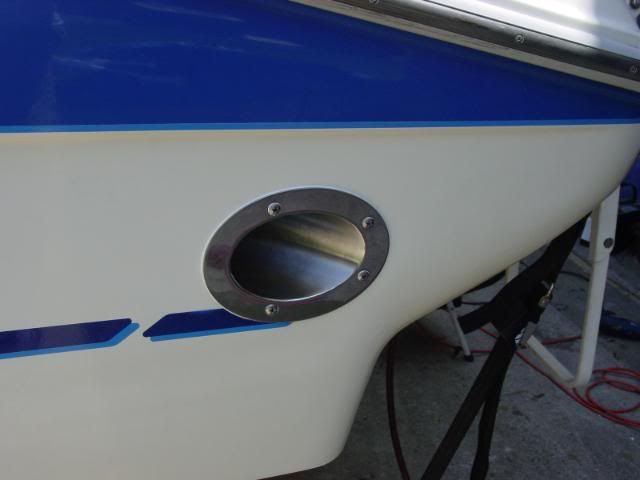
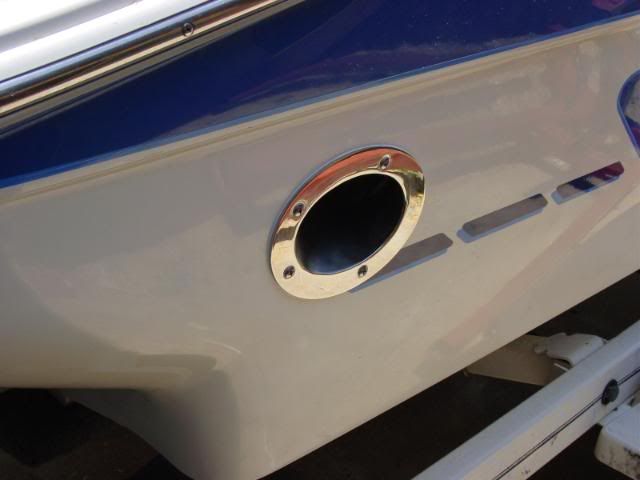
Exhaust tube for the side exhaust

DSC00921.jpg


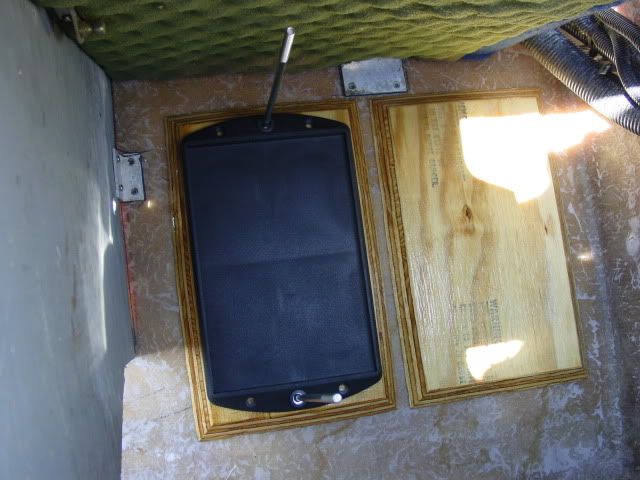
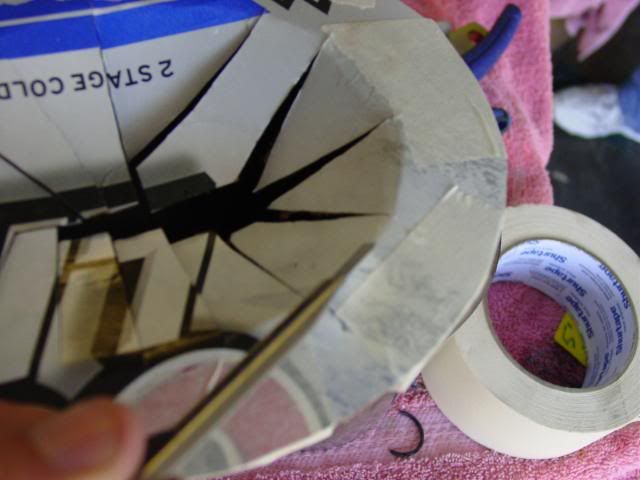
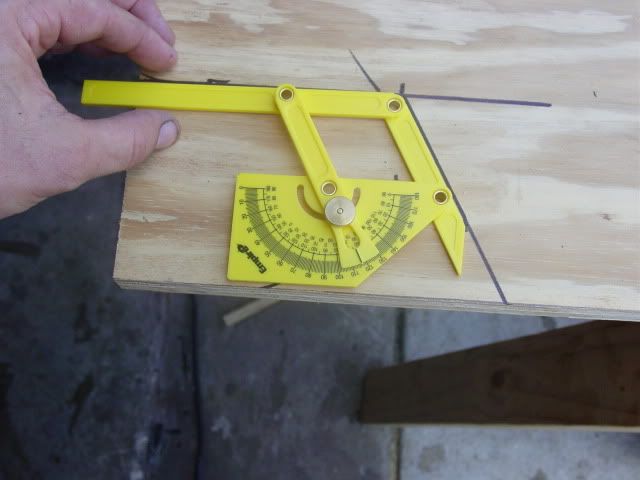
I found this little angle finder at lowes, and it really helped in getting the proper angle for the mount

DSC00923.jpg
 
Last edited:

Friscoboater

Captain
Joined
Jul 3, 2009
Messages
3,095
Re: Here I go again!! 1995 Sea Ray 220 Signature Deck and Stringer Restoration

Re: Here I go again!! 1995 Sea Ray 220 Signature Deck and Stringer Restoration

I used PB to glue the blocks together, and then I rounded all the corners to the glass would lay down.

DSC00926.jpg


All glued in. I used L brackets to hold the mounts to the stringers while it cured.

DSC00933.jpg


I also added a place for the bilge pump and float switch to mount too.

DSC00934.jpg


All glassed in.

DSC00937.jpg


DSC00936.jpg


Here is the video

 
Last edited:

Friscoboater

Captain
Joined
Jul 3, 2009
Messages
3,095
Re: Here I go again!! 1995 Sea Ray 220 Signature Deck and Stringer Restoration

Re: Here I go again!! 1995 Sea Ray 220 Signature Deck and Stringer Restoration

I also started to repair the gimbal housing to. I removed the gimbal ring, which was a night mare. The steering pin gets rusted and requires alot of penetrating oil and a hammer to get it out. I have ordered a Stainless Steel model from JR marine to replace it. I will then give it a coat of paint.

The steering pin

DSC00932.jpg


Got them sanded down and ready for paint.

DSC00930.jpg


I was lucky and my gimbal ring did not need to be repaired.

DSC00938.jpg


Last edited:

Friscoboater

Captain
Joined
Jul 3, 2009
Messages
3,095
Re: Here I go again!! 1995 Sea Ray 220 Signature Deck and Stringer Restoration

Re: Here I go again!! 1995 Sea Ray 220 Signature Deck and Stringer Restoration

We have decided on teh new name for the boat


OVER-HULLED
 
Last edited:

Friscoboater

Captain
Joined
Jul 3, 2009
Messages
3,095
Re: Here I go again!! 1995 Sea Ray 220 Signature Deck and Stringer Restoration

Re: Here I go again!! 1995 Sea Ray 220 Signature Deck and Stringer Restoration

Delete
 
Last edited:

Friscoboater

Captain
Joined
Jul 3, 2009
Messages
3,095
Re: Here I go again!! 1995 Sea Ray 220 Signature Deck and Stringer Restoration

Re: Here I go again!! 1995 Sea Ray 220 Signature Deck and Stringer Restoration

This was one heck of a weekend, and Dad and I got MAJOR progress done, and had one major setback.

1. Deck is gel Coated
2. Gimbal housing is painted, rebuilt and installed
3. Most of the interior is done
4. The engine is about 90% installed. (here is where the setback occurred)

We had to set the engine in place to get the markings for the front mount holes. When we raised it back up one of the little spring washers on the rear engine mount fell off and disappeared. I mean we searched everywhere for this thing. My neighbors, wife, kids and inlaws helped. It was just gone. So I had to buy a rear bolt kit this morning and we will try again tomorrow. The problem is that I have to pay for two more days of cherry picker rental. The only thing about not being able to find the spring is that I hope it is not somewhere that will hurt the engine. The flame arrester is installed, and the only place it could go is the exhaust manifold. It is unlikely though. I think I picked it up and put it somewhere is the mess of a garage I have right now.


Here is my box of goodies.

DSC00940.jpg


This is the new steering pin made of Stainless steel.

DSC00941.jpg


Here is where I mocked up the rear seating area to make sure it all fit.

DSC00943.jpg


My new battery trays. I made them out of one sheet of 5/8" ply and then glassed them to the deck. That way if they rot, I just replace them.

DSC00944.jpg


Last edited:

Friscoboater

Captain
Joined
Jul 3, 2009
Messages
3,095
Re: Here I go again!! 1995 Sea Ray 220 Signature Deck and Stringer Restoration

Re: Here I go again!! 1995 Sea Ray 220 Signature Deck and Stringer Restoration

Gel Coat is on the deck

DSC00966.jpg


Here is the gimbal ring assembled and ready for installation

DSC00955.jpg


I put a new seal on with bellows adhesive, and them put a thin bead of 4200 on the seal and installed it.

DSC00956.jpg


DSC00959.jpg


DSC00958.jpg
 
Last edited:

Friscoboater

Captain
Joined
Jul 3, 2009
Messages
3,095
Re: Here I go again!! 1995 Sea Ray 220 Signature Deck and Stringer Restoration

Re: Here I go again!! 1995 Sea Ray 220 Signature Deck and Stringer Restoration

Running all the wires to where the needed to go.

DSC00960.jpg


The big moment

DSC00964.jpg


DSC00970.jpg


Here is how the Seat mounts turned out.

DSC00971.jpg


I installed the ski locker with 5200. I want to see if it will hold up. I really do not want to screw into the wood.

DSC00972.jpg


Bellhousing installed!!!!

DSC00973.jpg
 

Friscoboater

Captain
Joined
Jul 3, 2009
Messages
3,095
Re: Here I go again!! 1995 Sea Ray 220 Signature Deck and Stringer Restoration

Re: Here I go again!! 1995 Sea Ray 220 Signature Deck and Stringer Restoration

MMMMMMMMMMM....... BLIIIIIIIING!!!!!!!!!!!

DSC00974.jpg


Trim pump installed on its perch.

DSC00975.jpg


Dual batteries installed.

DSC00979.jpg


I am getting really close guys. Just a few more days.
 

Friscoboater

Captain
Joined
Jul 3, 2009
Messages
3,095
Re: Here I go again!! 1995 Sea Ray 220 Signature Deck and Stringer Restoration

Re: Here I go again!! 1995 Sea Ray 220 Signature Deck and Stringer Restoration

And last but not least, the videos.


Last edited:

Friscoboater

Captain
Joined
Jul 3, 2009
Messages
3,095
Re: Here I go again!! 1995 Sea Ray 220 Signature Deck and Stringer Restoration

Re: Here I go again!! 1995 Sea Ray 220 Signature Deck and Stringer Restoration

We made lots of headway yesterday. I got done with work at about two and Dad came over to see what we could get done. We wrestled the outdrive up to the boat and by some miracle got it seated and filled with oil. One that was done I ran the wires for the Corsa Exhaust and tested the functions (will make a video of that later). When I cam time to cut the holes for the Corsa we ran into some issues. Where I wanted them to come out originally would not have any "fall" to the pipes. That might allow water to run back into the engine. So we relocated them and then started thinking that they might be below the water line. We packed up and took her to the lake to do out "float test". The tips are going to be perfect in the new location, and the boat looked good in the water. Hopefully we will get a test fire today.

I found this picture the other Day and I wanted to post it.

DSC01678.jpg


Installing the Outdrive

DSC00980-1.jpg


DSC00984.jpg


Test fitting the Corsa System

DSC00985.jpg


Getting ready to head to the lake

DSC00987.jpg


DSC01679.jpg
 

Friscoboater

Captain
Joined
Jul 3, 2009
Messages
3,095
Re: Here I go again!! 1995 Sea Ray 220 Signature Deck and Stringer Restoration

Re: Here I go again!! 1995 Sea Ray 220 Signature Deck and Stringer Restoration

She floats!!!!

DSC01680.jpg


DSC01681.jpg


Dad and Zachary looking at where the water sits.

DSC01683.jpg


All we did was test float it, and we did not fire it off. That will be today if everything goes right.

Here is the Video


Friscoboater

Captain
Joined
Jul 3, 2009
Messages
3,095
Re: Here I go again!! 1995 Sea Ray 220 Signature Deck and Stringer Restoration

Re: Here I go again!! 1995 Sea Ray 220 Signature Deck and Stringer Restoration

Now it is time to cut holes in the side of a perfectly good boat.

Here is the pictures of the Corsa system installation.

Making a template for the cutout. I just used a razor to cut up to the opening and then went around it.

DSC00989.jpg


DSC00990.jpg


I used masking tape all over the area where I cut. It keeps the gel coat from chipping and scratching.

DSC00991.jpg


EEEEEEEEEEEKKKKKKK!!!!!!!!!!!!!


DSC00992.jpg


DSC00993.jpg


Fits nice

DSC00998.jpg
 
Last edited:

Friscoboater

Captain
Joined
Jul 3, 2009
Messages
3,095
Re: Here I go again!! 1995 Sea Ray 220 Signature Deck and Stringer Restoration

Re: Here I go again!! 1995 Sea Ray 220 Signature Deck and Stringer Restoration

Sealed up with 5200. I found that Mineral Spirits cleans that stuff up nice.

DSC00999.jpg


DSC01000.jpg


You can see the original marking where I wanted it. After measuring again, it had to come forward.

DSC01001.jpg


My wonderful family helping out with the cleanup. It took us over 2 hours to clean the inside.

DSC01005.jpg


Friscoboater

Captain
Joined
Jul 3, 2009
Messages
3,095
Re: Here I go again!! 1995 Sea Ray 220 Signature Deck and Stringer Restoration

Re: Here I go again!! 1995 Sea Ray 220 Signature Deck and Stringer Restoration

Well... She is splashed! I am still in shock that I actually able to drive her! We had the whole family come out and we went through the de-naming ceremony. We will do the naming ceremony next week when I have the letters. After the ceremony we spent about six hours and about a half tank of fuel running around the lake putting her through the paces. We even went out into the big water and hit some big chop. All I can say is WOW, that boat is meant for bigger water. She handles so smooth, and refined, I am still in awe. She is a bit of a dog out of the hole, but I think some trim tabs will fix that. I just really do not want to drill into the transom.

The Corsa system cannot be described. It is the coolest thing I have ever heard. When you hit the throttle it is like a pride of lions all roared at the same time. I just says " I AM IN CONTROL HERE"!!!!!!! I constantly had people throwing the thumbs up and telling me to hit the throttle. it is for sure an attention getter, and at our lake it is all about getting the attention I am afraid. It is not harsh like I thought it would be, but a sweet sweet smooth Big Block Chevy roar. The Side exhaust makes a difference on how the exhaust note sounds. For some reason it softens the raspiness that a transom exhaust has. Don't get me wrong, it is loud, but not enough hurt. To my astonishment, my wife even liked it. The video we took just does not do it justice, and the wind noise is awful. I am actually going to try to borrow a professional HD cam soon with the special mic that cuts the wind noise. You just have to hear what this thing sounds like when you throttle up. The cool thing is that you flip a switch, and it is all gone. It is WELL worth the money!!!!!!!!!!!!!!!!!!!

There are a few little gremlins that I need to fix this week. The gas gauge is not working, and the only thing that I can think of is the fuel sender is on backwards, and the float is hitting the side of the tank. I replaced the fuel sender gasket, and I might have put it on wrong. Also the Tack is reading wrong. It is about 1000 rpms too high at speed, and I am not sure how to fix that. The last thing is the oil gauge. When you turn on the ignition (not turning on the engine) the oil gauge pegs all the way to 80 psi. So I replaced the oil sender, and it still did it. I ran a new wire, and still had the same issue. So I went to autozone and got a cheap mechanical gauge and hooked the tube onto the engine, and I have really good oil pressure. So I am not sure what to do next besides get a new gauge. I am sure I will get it figured out somehow.

Now I need to measure for carpet. I guess I will order the template kit this week, and get started on it. For the most part, this gel coat is not slippery at all when it is wet. I was really kinda shocked.

So anyway, I am kinda sad that it is over.

Thank you everyone for all your support and advise through these past seven months. It has been a rough ride.

On to the really fun stuff.

Interior installed and cleaned for launch

DSC01007.jpg


DSC01008.jpg


DSC01009.jpg


My inlaws and the first mate

DSC01702.jpg


Doing the De-naming ceremony. You have to drop a piece of metal with the old name on it from the bow.

DSC01698.jpg


Me pouring the Champagne into the water for the gods

DSC01700.jpg
 

Friscoboater

Captain
Joined
Jul 3, 2009
Messages
3,095
Re: Here I go again!! 1995 Sea Ray 220 Signature Deck and Stringer Restoration

Re: Here I go again!! 1995 Sea Ray 220 Signature Deck and Stringer Restoration

Pulling away from the dock for the maiden voyage. Just Dad and I.

DSC01704.jpg


DSC01706.jpg


Happy family.

DSC01714.jpg


Friscoboater

Captain
Joined
Jul 3, 2009
Messages
3,095
Re: Here I go again!! 1995 Sea Ray 220 Signature Deck and Stringer Restoration SPLASH

Re: Here I go again!! 1995 Sea Ray 220 Signature Deck and Stringer Restoration SPLASH

We had another great day on the lake today, until my daughter hurt herself tubing. She is ok now, but you will see in the video that she hit pretty hard. We decided to come back a little early and then hit it again tomorrow. We did the naming ceremony today, and actualy had to do the de-naming all over again. When we put the paperwork in the glove box last week we did not take out the original interned add that had a picture of the boat with its old name. According to legend, you must do the ceremony again. So we did. Then we proceeded to re-name her, and that went perfect. She now has the new name on her stern.

Also yesterday when I took the cover off I discovered that the sun pad had turned a awful shade of pinkish brown. I have no idea what would have caused this. It was pure white last weekend and now looked terrible. I went autozone and got some vinyl paint, and now everything is all good. That stuff is awesome.

Getting ready to re-name the boat

DSC01770.jpg


Me and my Dad

DSC01772.jpg


Zachary Helping me pour the champagne

DSC01779.jpg


The new name ready to go on the boat.

DSC01792.jpg


A toast to the new name, and good times to come.

DSC01785.jpg


Applying the new name

DSC01798.jpg
 
Last edited:

Friscoboater

Captain
Joined
Jul 3, 2009
Messages
3,095
Re: Here I go again!! 1995 Sea Ray 220 Signature Deck and Stringer Restoration SPLASH

Re: Here I go again!! 1995 Sea Ray 220 Signature Deck and Stringer Restoration SPLASH

Brittany Feeding the ducks

DSC01775.jpg


Hmmmmmm... Looks like I need a tan and to lose about 15 pounds.

DSC01800.jpg


Ta Daaaaaaa

DSC01802.jpg
 

Friscoboater

Captain
Joined
Jul 3, 2009
Messages
3,095
Re: Here I go again!! 1995 Sea Ray 220 Signature Deck and Stringer Restoration SPLASH

Re: Here I go again!! 1995 Sea Ray 220 Signature Deck and Stringer Restoration SPLASH

For some reason the back sun pad got discolored under my cover, so I had to apply some vinyl paint. It worked pretty good, and will buy me some time before I have to get it recovered.

 
Last edited:

Friscoboater

Captain
Joined
Jul 3, 2009
Messages
3,095
Re: Here I go again!! 1995 Sea Ray 220 Signature Deck and Stringer Restoration SPLASH

Re: Here I go again!! 1995 Sea Ray 220 Signature Deck and Stringer Restoration SPLASH

I guess it is time for some updates. We had a great weekend on the boat, and have sunburn to prove it. I cleaned out the spark arestor and she ran even better, and used less fuel. It was pretty dirty. I have put a solid 6 hours on her since the splash, and things have been perfect. I still need to fix the gauges, and that has really got me perplexed. The Tach I think is just shot. I have messed with the dial on the back and it is set correctly, but still shows the RPMs to be way off. I will take a picture of the back of the gauge and see if the guys in the engine forum can help. I replaced the Lights last night, and added to guide on pipes to help when loading and backing up the trailer. I also got a new depth gauge, but have net installed that yet.

Today we took the boat to the local recycler place and had her weighed. We weighed the boat and trailer together, and then dropped her at the lake and drove back and weighted just the trailer. I have to get a title for the trailer, and here is Texas the require a weigh in. So drum roll please... The boat weighed 4440 lbs and the trailer is 1080 lbs for a grand total of 5520 lbs. All of our gear was out of the boat, and I have about half a tank of fuel sloshing around in there. That is less that I thought to be honest.

So here are some pictures from the weekend

Me trying to cool off in 106 degree heat.

DSC01814.jpg


Z and B doing the same

DSC01811.jpg


Mrs Friscoboater

DSC01819.jpg


Just me

DSC01826.jpg


DSC01840.jpg


Water was like glass

DSC01829.jpg
 
Status
Not open for further replies.
Top