Woodonglass
Supreme Mariner
- Joined
- Dec 29, 2009
- Messages
- 25,924
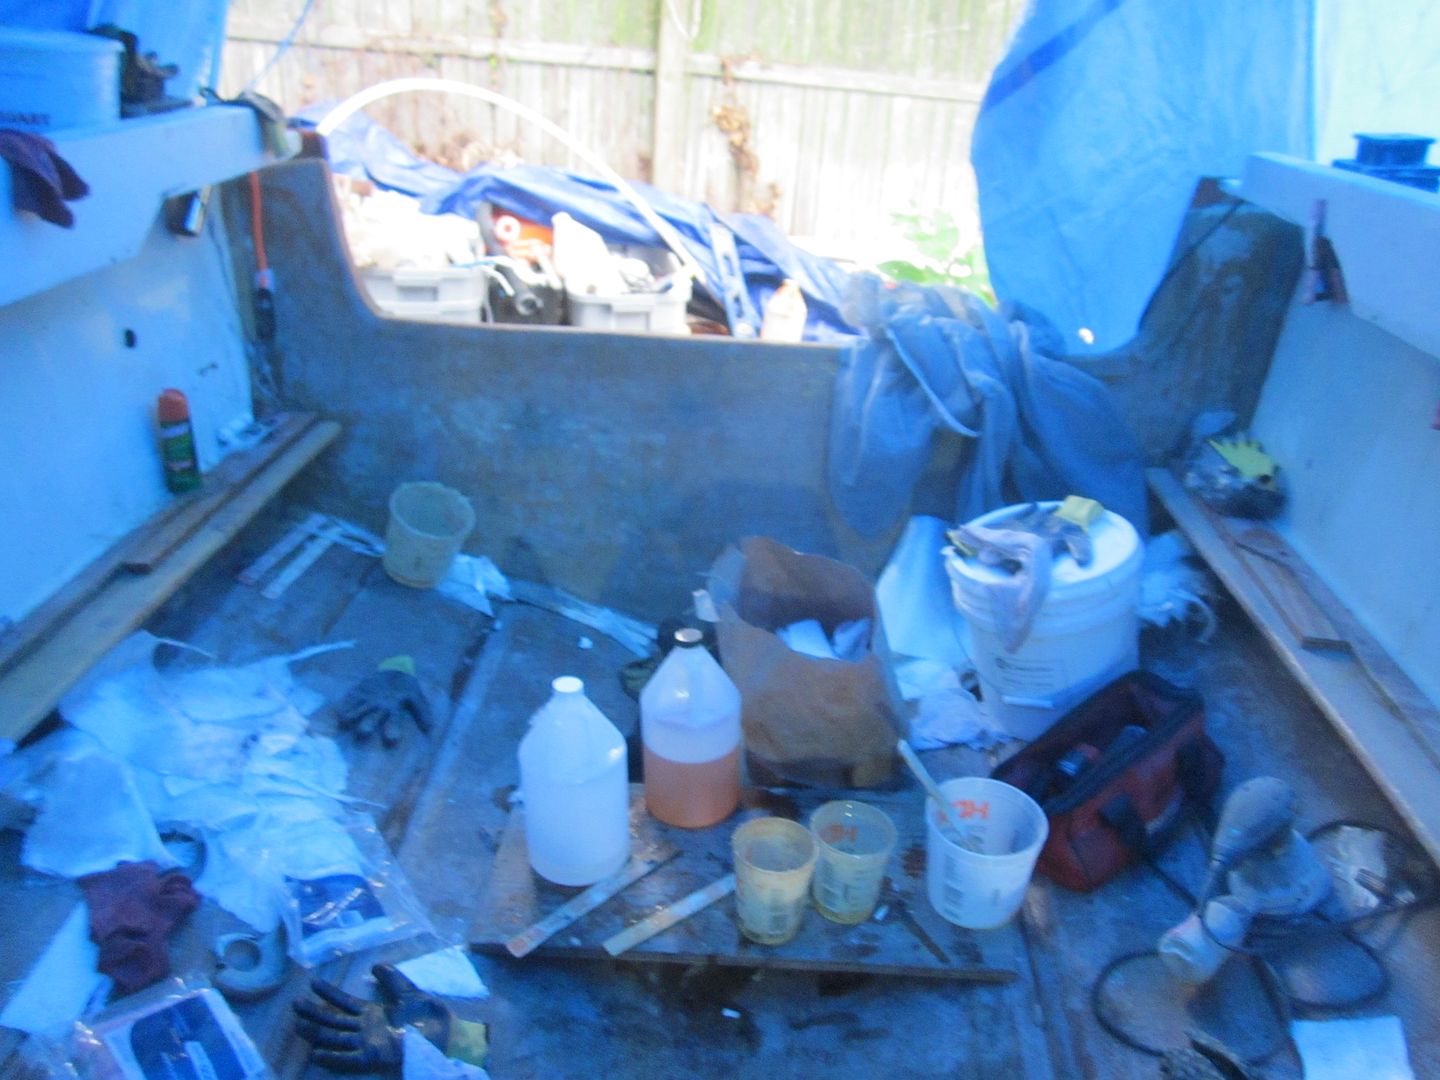
Me Likey the Teaky!!! Whatcha doin to it? Treatment wise???


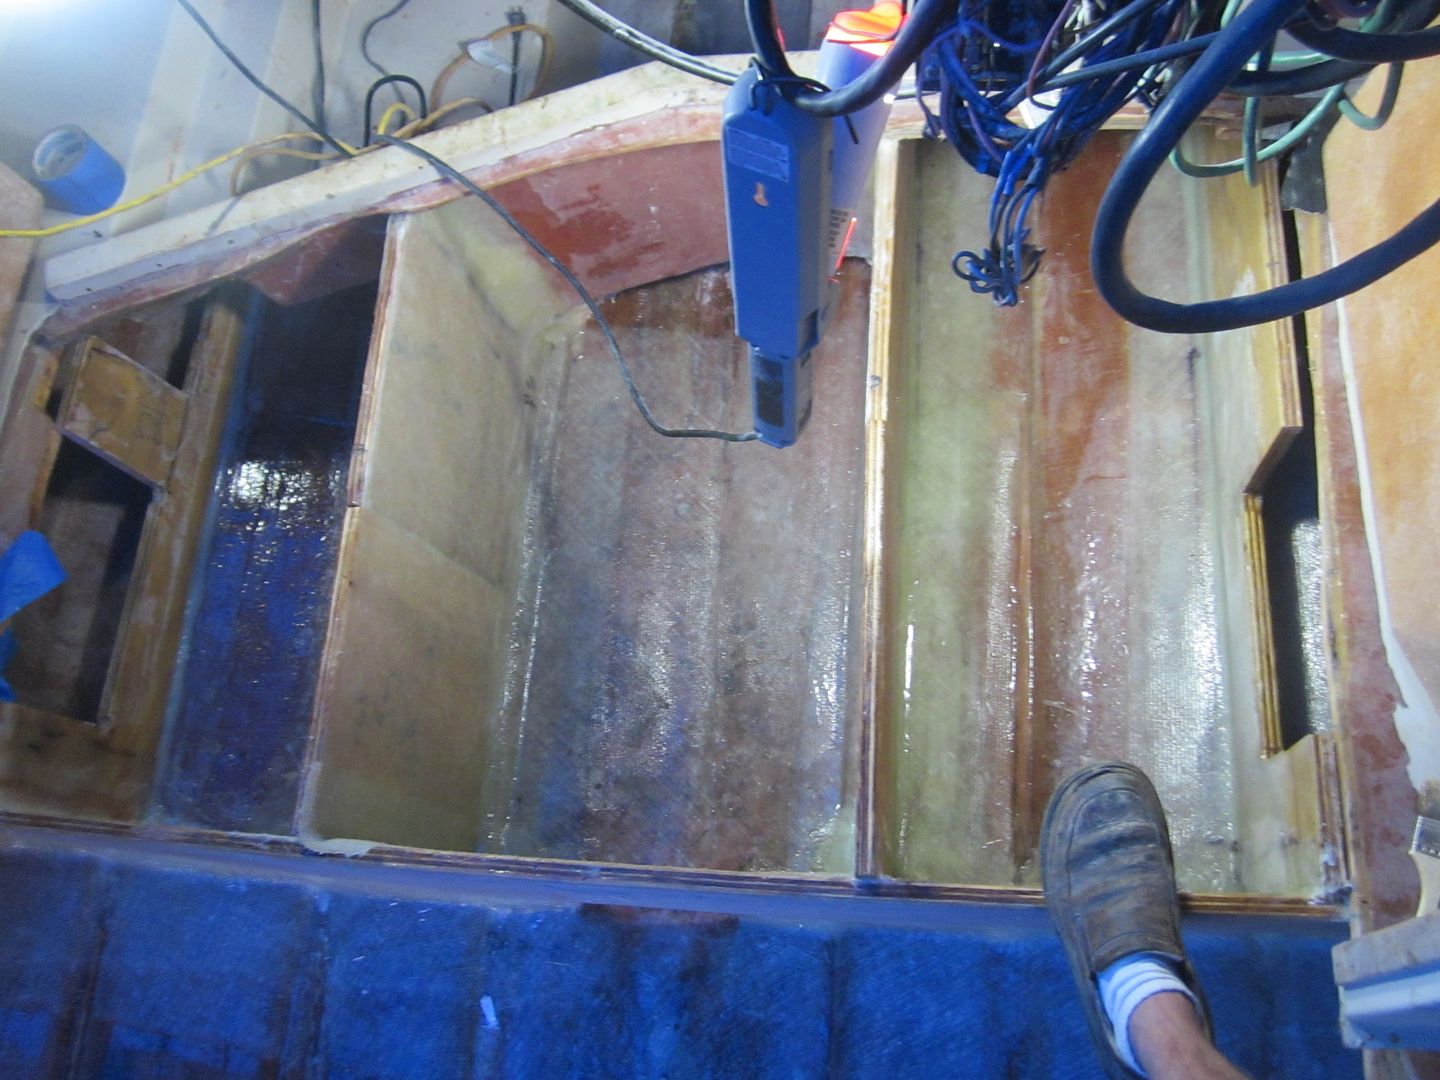
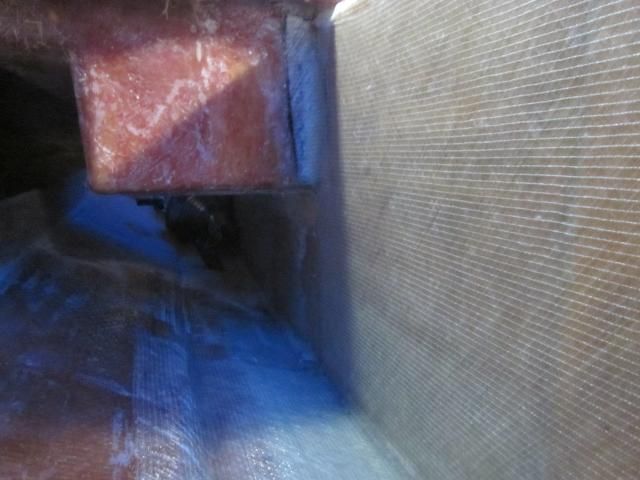
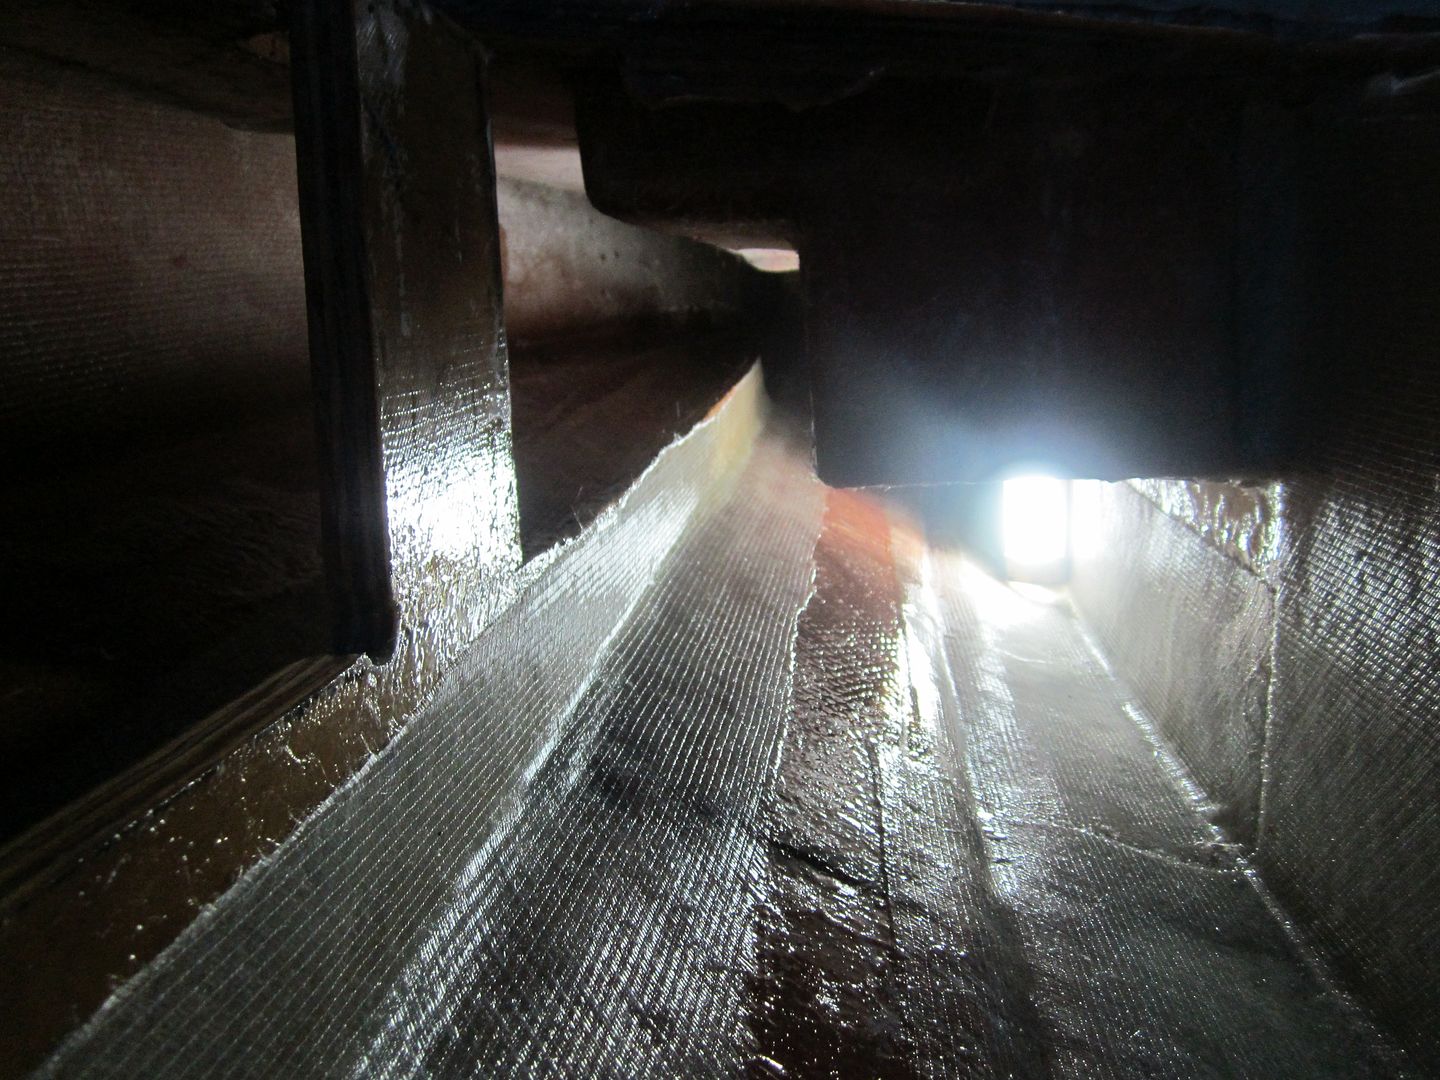
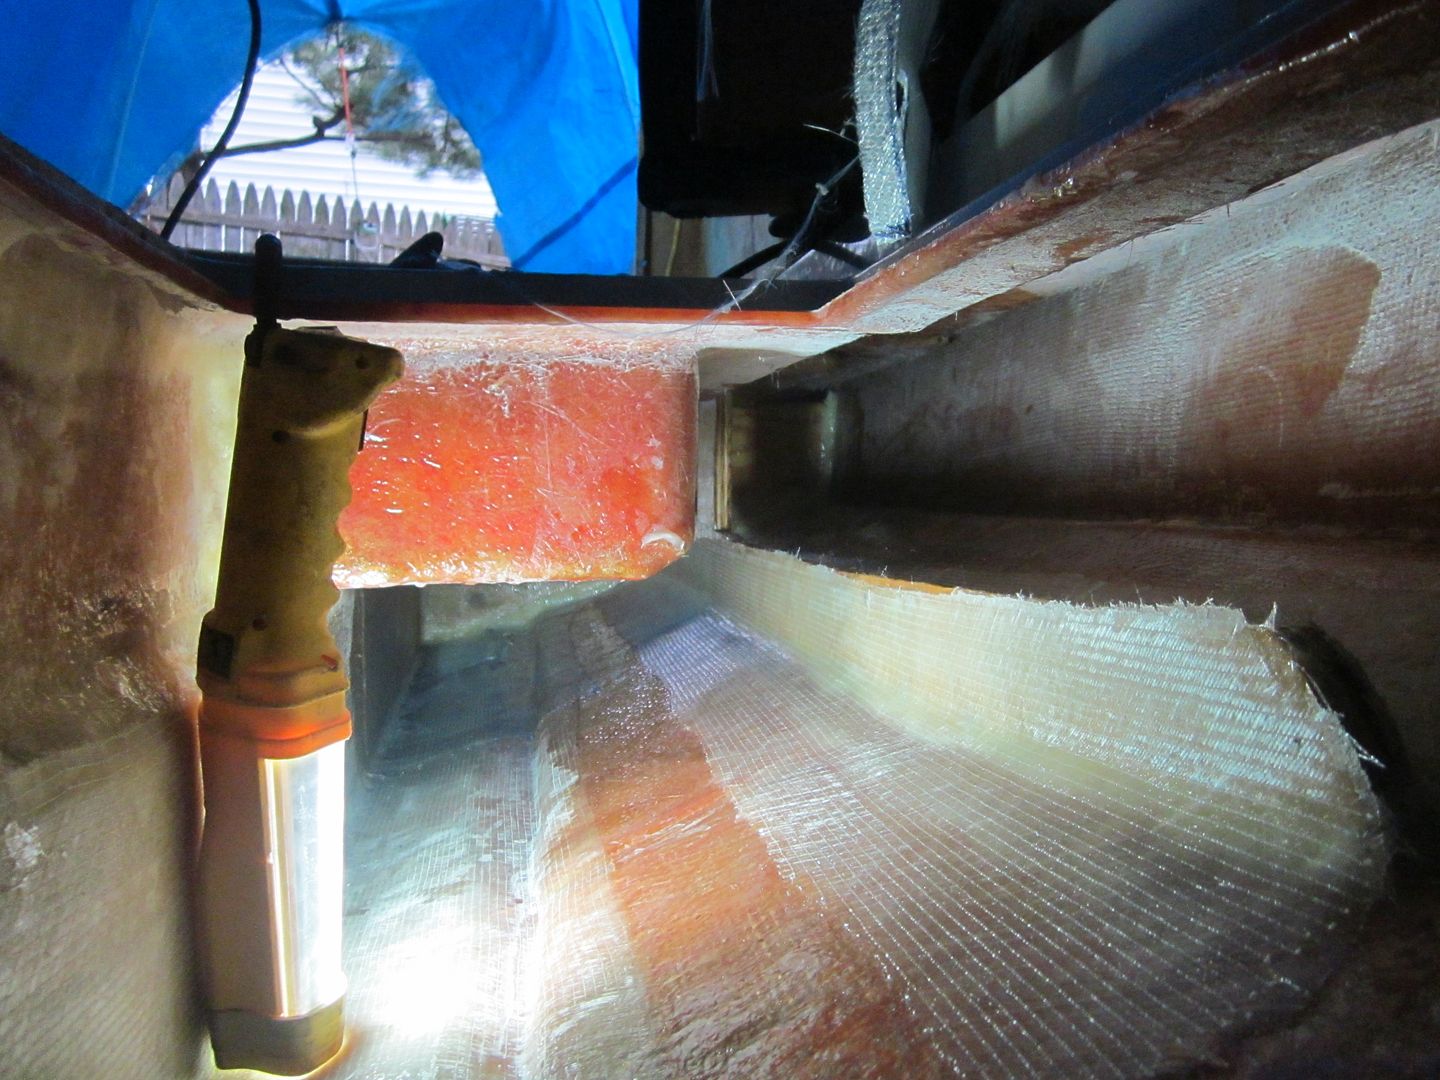
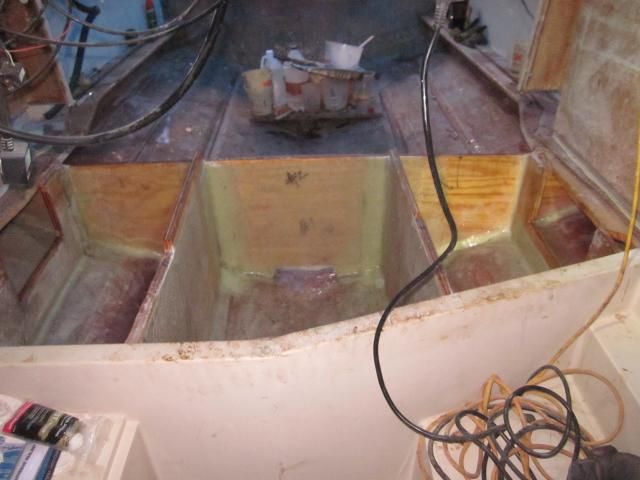
When working with Biax and Epoxy you might try This. Roll the substrate with epoxy and let it tack up. Lay the fabric on the substrate and tape one edge of it using masking tape to hold it in place. Then Pour the epoxy on the fabric. Use a bondo spreader or plastic putty knife to squeegee the resin across the surface of the fabric to wet it out. You might be surprised at how well this works especially on horizontal flat surfaces. Taping the top edge of vertical surfaces works well too. You can cut the taped edge off later when the epoxy just begins to tack up.
I see Zool using a lot of 1708 biax in his epoxy build and no one is correcting him:
http://forums.iboats.com/forum/boat...280sf-engine-swap-and-restoration-pics/page62
.
")
On another note I don't like the way it doesn't stay in place. The Biax with the backing has the ridgity to stand straight up until I wet it out. But so what....Next year there will be a whole nother pc of fiberglass that does it all. lol.
Umm, wrong again Jig...im using 17oz 45 deg biax and 8.9oz eglass.....but feel free to use and recommend 1708 if you want (ill refer you to the second line of your sig this time)....and thanks for stopping by my thread, just be more accurate when promoting it
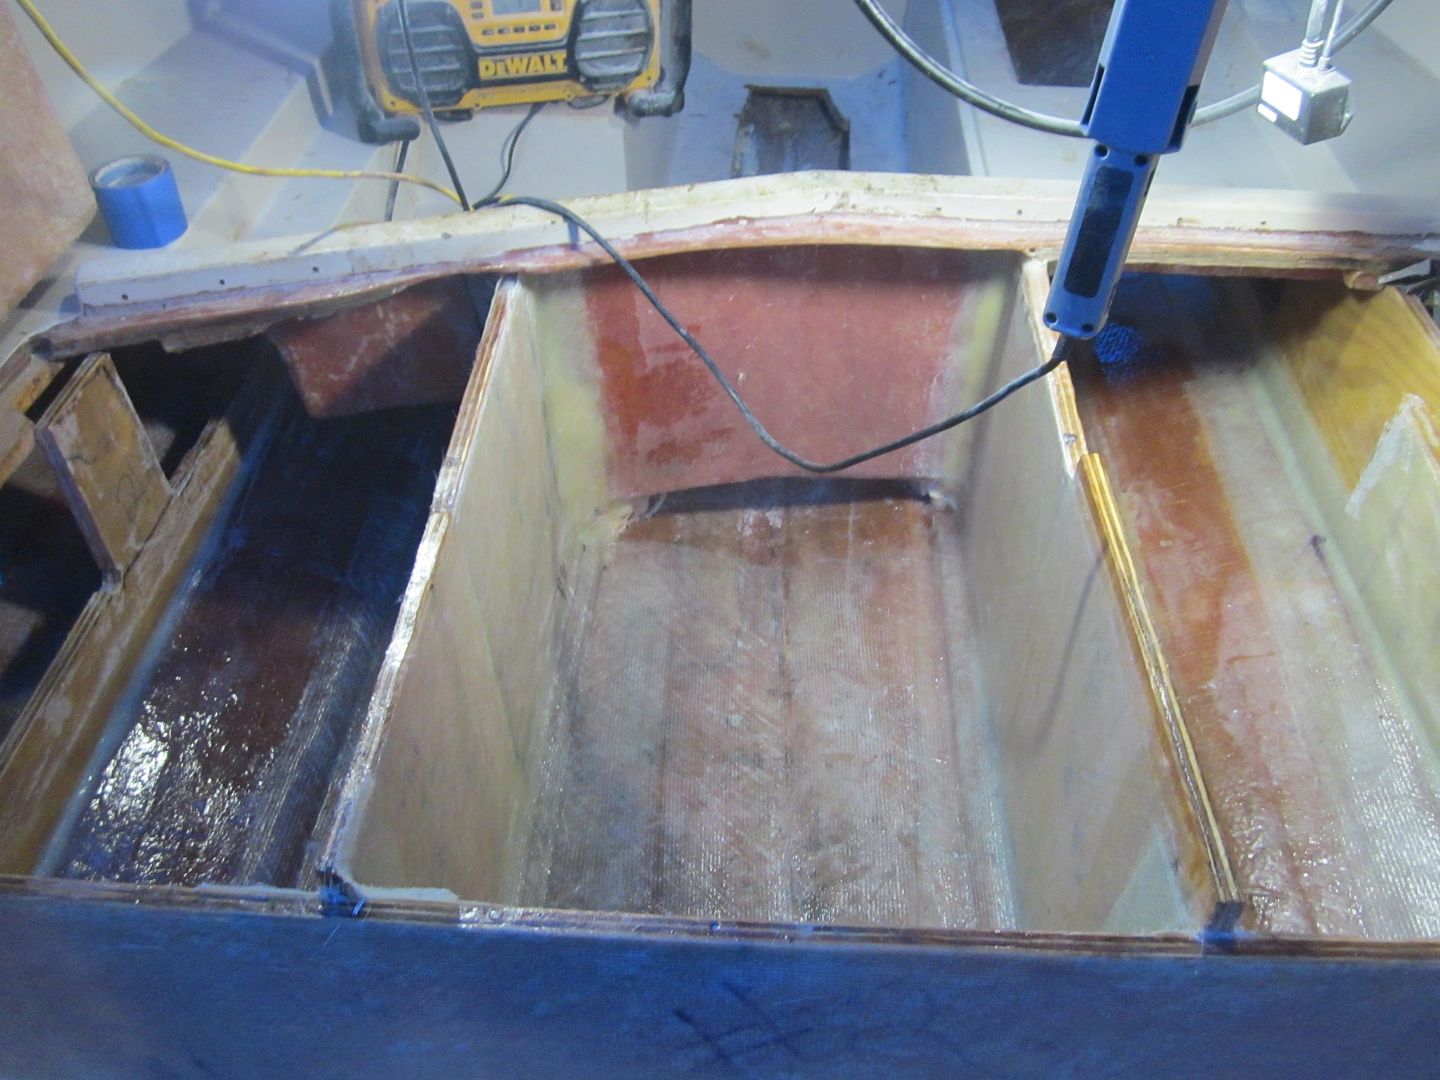

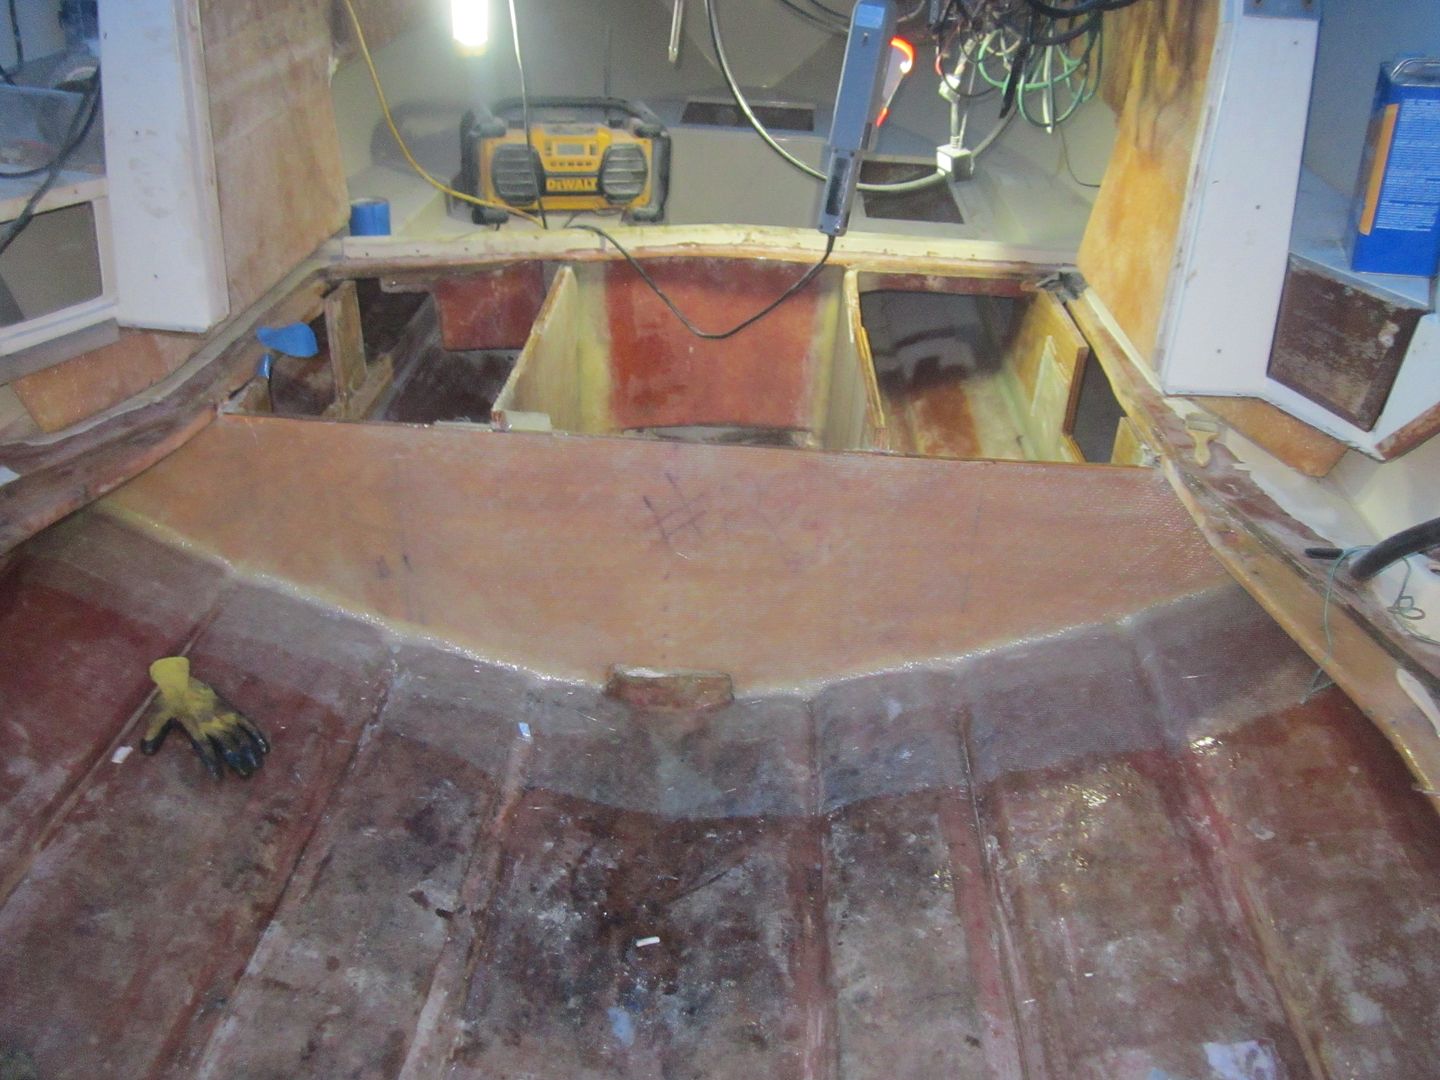


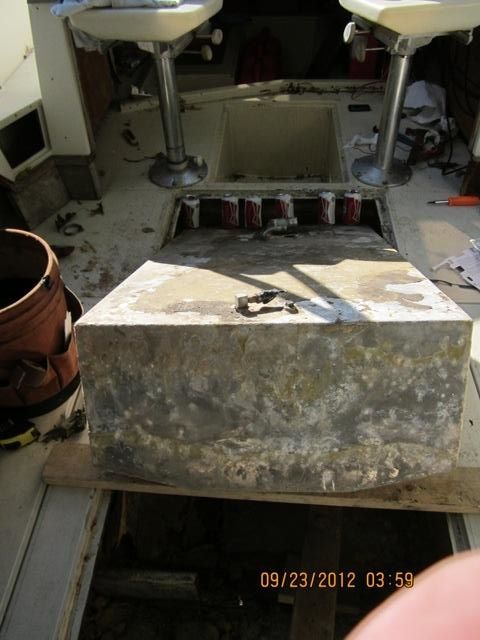
Wow that is a lot of work under that cuddy...and outside too. It's looking real good kcassells, you're gonna have a whole new boat.