1988 Imperial 280sf engine swap and restoration (pics)

Woodonglass

Supreme Mariner
Joined
Dec 29, 2009
Messages
25,924
Re: 1988 Imperial 280sf engine swap and restoration (pics)

Buy a KEG and invite some friends when it's time for the twistin and fiddlin!!!:D
 

zool

Captain
Joined
Aug 19, 2012
Messages
3,432
Re: 1988 Imperial 280sf engine swap and restoration (pics)

glad you are making great progress! Funny that you are retrofitting a retro-fit! lol!

Yeah arch, retro-fit...good word....thats like a license to get "creative" :D
 

zool

Captain
Joined
Aug 19, 2012
Messages
3,432
Re: 1988 Imperial 280sf engine swap and restoration (pics)

So today was another brutaly hot and humid day, and i was having no part of the bilge...

So I drained out the xylene from the tank and moved it into the paint room where there is air conditioning. The xylene full strength worked great cleaning out the inside, even the small rust specs that were in there.

After degreasing it again, i started cleaning up the welded edges with a wire brush.


Then I used a variable speed drill with a small wire wheel to gring out the pitted areas to clean metal.


this was time consuming but necessary to allow the phosphoric acid to sanitize the pitted areas.
 

zool

Captain
Joined
Aug 19, 2012
Messages
3,432
Re: 1988 Imperial 280sf engine swap and restoration (pics)

It needs to be cleaned completely and look like fresh, rough, solder


besides the ends, most of the bottom is clean and pit free


zool

Captain
Joined
Aug 19, 2012
Messages
3,432
Re: 1988 Imperial 280sf engine swap and restoration (pics)

After it was all grinded out on the bottom and lower half, i tacked the dust off, then wiped with the dx533 (alumiprep).


These bags of tshirt fragments from HD last forever for around 10 bucks


now its ready for fill...
 

zool

Captain
Joined
Aug 19, 2012
Messages
3,432
Re: 1988 Imperial 280sf engine swap and restoration (pics)

I ended up switching from the metal to metal to JB cold weld, the long cure one. I wanted to use epoxy for the craters instead of the aluminum filled poly filler. You have to wait a day between coats, buts strong stuff.


after i block this down, just the pits will be filled, then another coat.


archbuilder

Vice Admiral
Joined
Sep 12, 2009
Messages
5,697
Re: 1988 Imperial 280sf engine swap and restoration (pics)

Looks like you are doing nice work, I appreciate the eye for detail!
 

Tboner7864

Petty Officer 2nd Class
Joined
Mar 27, 2013
Messages
177
Re: 1988 Imperial 280sf engine swap and restoration (pics)

Hey Zool I just noticed that I have the same pair of saw horses I love em I bolted on 2x6s atop nice lookin' work that tank will be beautiful when your done
 

GT1000000

Rear Admiral
Joined
Jul 13, 2011
Messages
4,916
Re: 1988 Imperial 280sf engine swap and restoration (pics)

Geez, that tank is so huge you could almost start a restoration thread just for it...:rolleyes:
Nice clean up...:cool::D
You gonna paint it...?
 

zool

Captain
Joined
Aug 19, 2012
Messages
3,432
Re: 1988 Imperial 280sf engine swap and restoration (pics)

Geez, that tank is so huge you could almost start a restoration thread just for it...:rolleyes:
Nice clean up...:cool::D
You gonna paint it...?

Hey GT, since some of the craters were about half the guage of the tank, i needed to build them out to an even guage as the tank bottom and walls, then just a few brushed on coats of por15 silver to add a barrier and some more thickness, then a few more mm's of a hard coat sealer inside....then back in the crypt ;) I want to try the new por15 formula, the old silver would stripe and get a marble effect unless sprayed, i hear the new stuff, if stired constantly goes on solid with a brush, we will see.

Not going for asthetics, just durability...


this is blocked back to flush, like a seamless weld


I just have to fill a little more jb in the larger pits that had shrinkage.
 

zool

Captain
Joined
Aug 19, 2012
Messages
3,432
Re: 1988 Imperial 280sf engine swap and restoration (pics)

Hey Zool I just noticed that I have the same pair of saw horses I love em I bolted on 2x6s atop nice lookin' work that tank will be beautiful when your done

Yeah tbone, they've been with me a long time, didnt they say in the old west that "a good woman is almost as good as a good horse" ;)
 

Woodonglass

Supreme Mariner
Joined
Dec 29, 2009
Messages
25,924
Re: 1988 Imperial 280sf engine swap and restoration (pics)

I'm gunna be watchin for the POR-15 results. I'm really intrigued by this stuff.
 

zool

Captain
Joined
Aug 19, 2012
Messages
3,432
Re: 1988 Imperial 280sf engine swap and restoration (pics)

I'm gunna be watchin for the POR-15 results. I'm really intrigued by this stuff.

Its also rated for over fiberglass, i bet topped with the flexcote in white, it would make for a bulletproof bilge. Solvent wont even touch it after it cures, and it will ruin a gun if not cleaned out thoroughly before it sets up.
 

GT1000000

Rear Admiral
Joined
Jul 13, 2011
Messages
4,916
Re: 1988 Imperial 280sf engine swap and restoration (pics)

I used POR-15 on my trim motor housing, the upper steering arm and the lower intermediate mounting bracket of my motor bracket, since they are all made of carbon steel and were very badly rusted and pitted...I applied it according to their directions and even though those parts have yet to see any actual real world use, the stuff seems to have dried to a steel-like coating...also, if the parts are going to be exposed to sunlight, as mine are, they should be top coated with paint for protection from UV.
 

zool

Captain
Joined
Aug 19, 2012
Messages
3,432
Re: 1988 Imperial 280sf engine swap and restoration (pics)

Update:

Took advantage of the break in the rain forest weather and started chippingout the transom. Alot of the wood is solid so its hammer and chisel, bit by bit.


Then the rain came again...
 

zool

Captain
Joined
Aug 19, 2012
Messages
3,432
Re: 1988 Imperial 280sf engine swap and restoration (pics)

So back inside by the tank, i took the 3 feed tubes out, and the sending unit cap screws and started cleaning this area up.


Put the last coat of epoxy on the sides, just need to sand that off and finish hitting it all with the d/a.


The por-15 and solvent came in, so hopefully i can get it etched and coated tomorrow.
 

zool

Captain
Joined
Aug 19, 2012
Messages
3,432
Re: 1988 Imperial 280sf engine swap and restoration (pics)

Update:

So i sanded off the excess epoxy and did a final sand over it all with 100grit. Then i cleaned with the 6383, then washed/rinsed it all down with soap/water. Then applied the dx533 diluted 3:1 with water, using a wipe method. Then sprayed on the dx503 and just let it bond. I appied the 1st coat and wiped it in, then a second coat with no rinse.


It leaves a golden hue.
 

zool

Captain
Joined
Aug 19, 2012
Messages
3,432
Re: 1988 Imperial 280sf engine swap and restoration (pics)

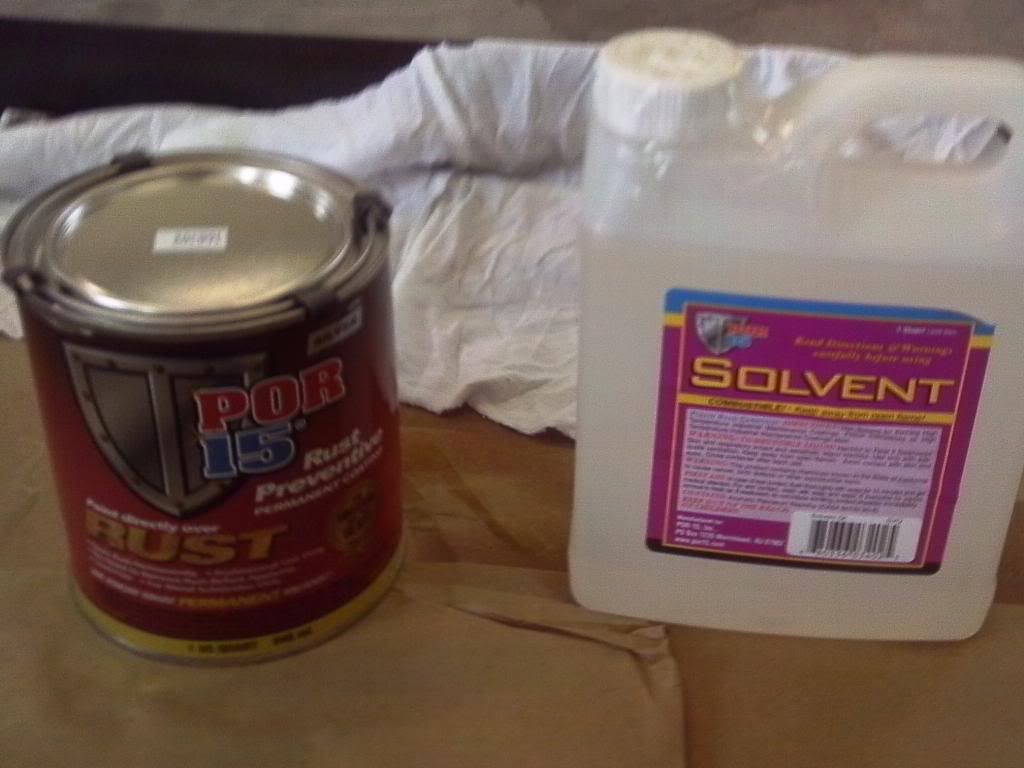
From here on in, im using the por15 instructions. They recommend using their prep products, but i used what i had around, and the 533/503 is usually a solid method. Basically i replaced their Marine Clean with the MS6383, replaced their Prep & Ready with the 533/503.

Painting the por15 over the 503 was like painting glue with a foam brush, it really grips so im happy with that.


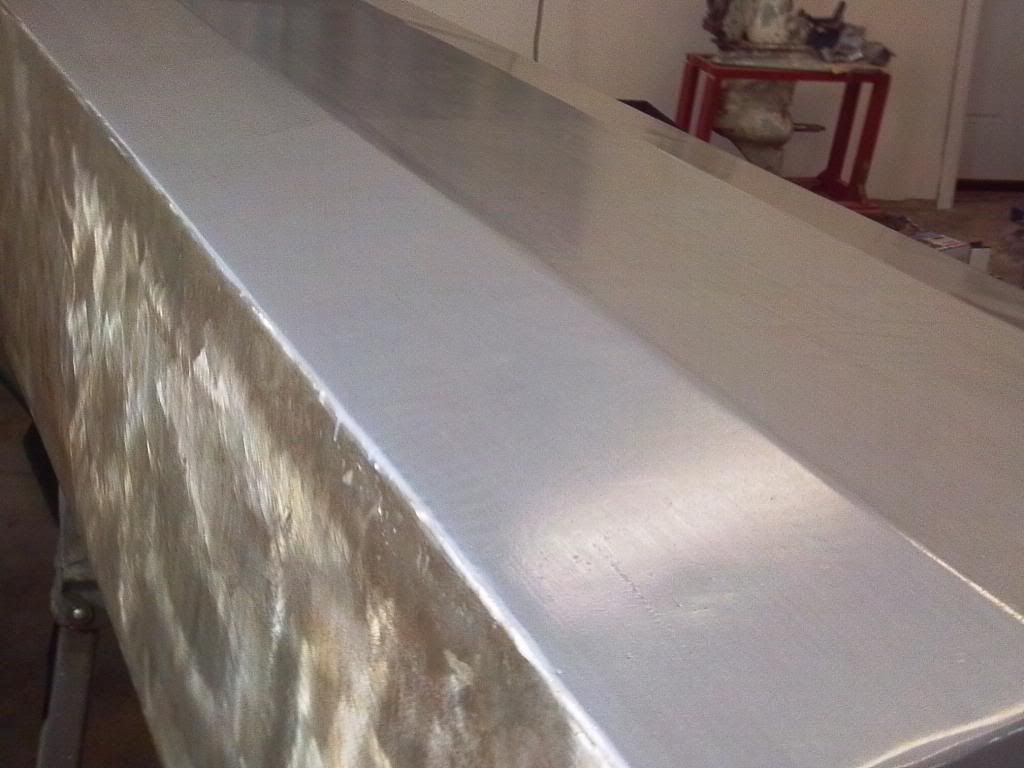
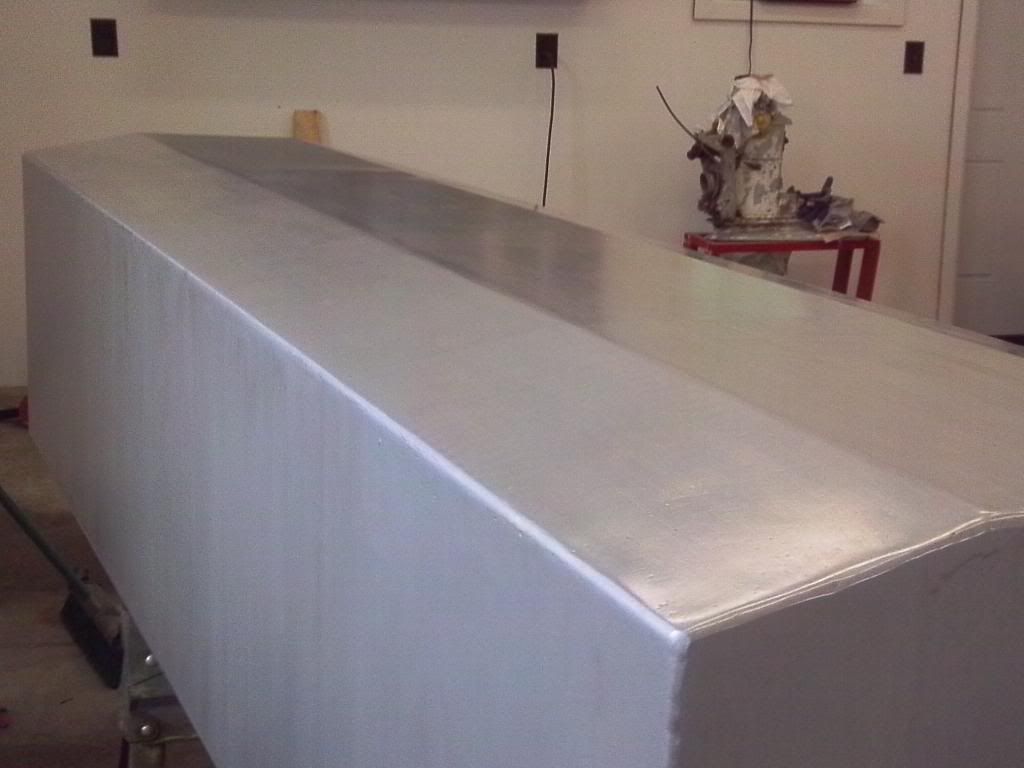
this is one coat so far over the bottom and sides, ill finish the second coat on these areas, then do the top last. I need to get the second coat on after it flashes.


The per15 is working out great so far, but you still need to constantly stir it, before each brush dip, to keep it from streaking...


zool

Captain
Joined
Aug 19, 2012
Messages
3,432
Re: 1988 Imperial 280sf engine swap and restoration (pics)


theres a little run on the edge, but ill nib that off for the final coat ;)
 

zool

Captain
Joined
Aug 19, 2012
Messages
3,432
Re: 1988 Imperial 280sf engine swap and restoration (pics)

Update:

So i prepped and coated the top of the tank, just need the second coat and its good for service. After removing the feed tubes, i could see good inside, and it looks like new, the xylene really cleaned it up. It doesnt need to be sealed.


So on to the transom...
 
Top