1985 Bayliner 2450 Ciera Sunbridge Restoration underway!

Status
Not open for further replies.

kcassells

Fleet Admiral
Joined
Oct 16, 2012
Messages
8,596
Ah see what it looks like after you get it out. Definitely give it a once over.
 

steve_h7

Chief Petty Officer
Joined
Sep 16, 2018
Messages
401
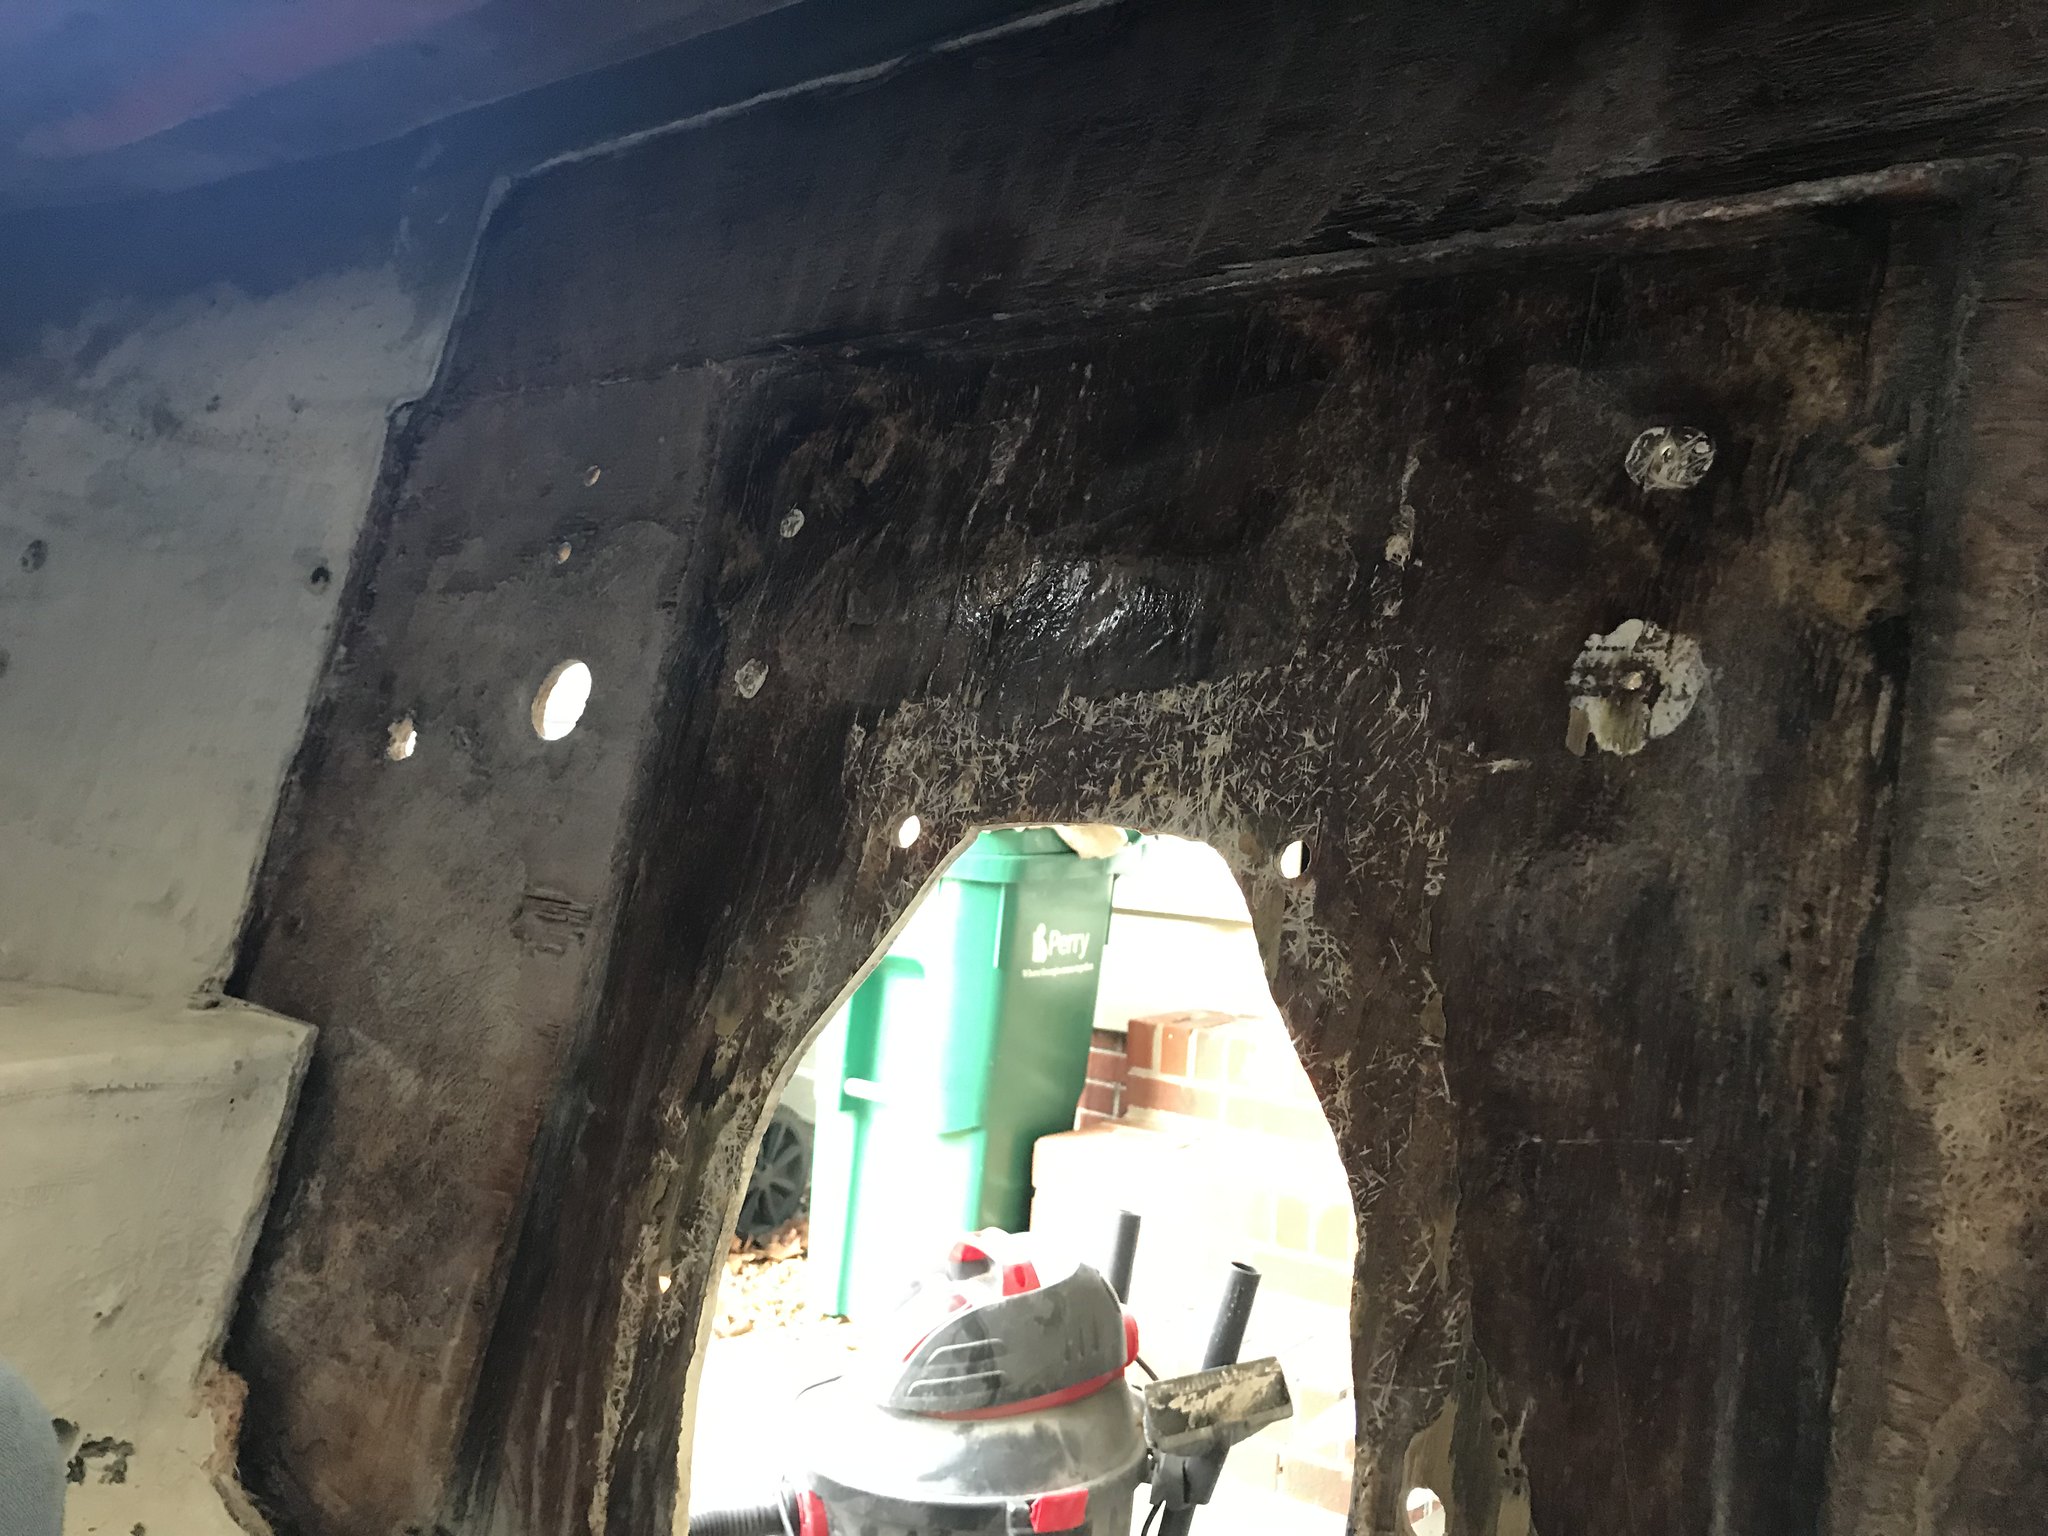
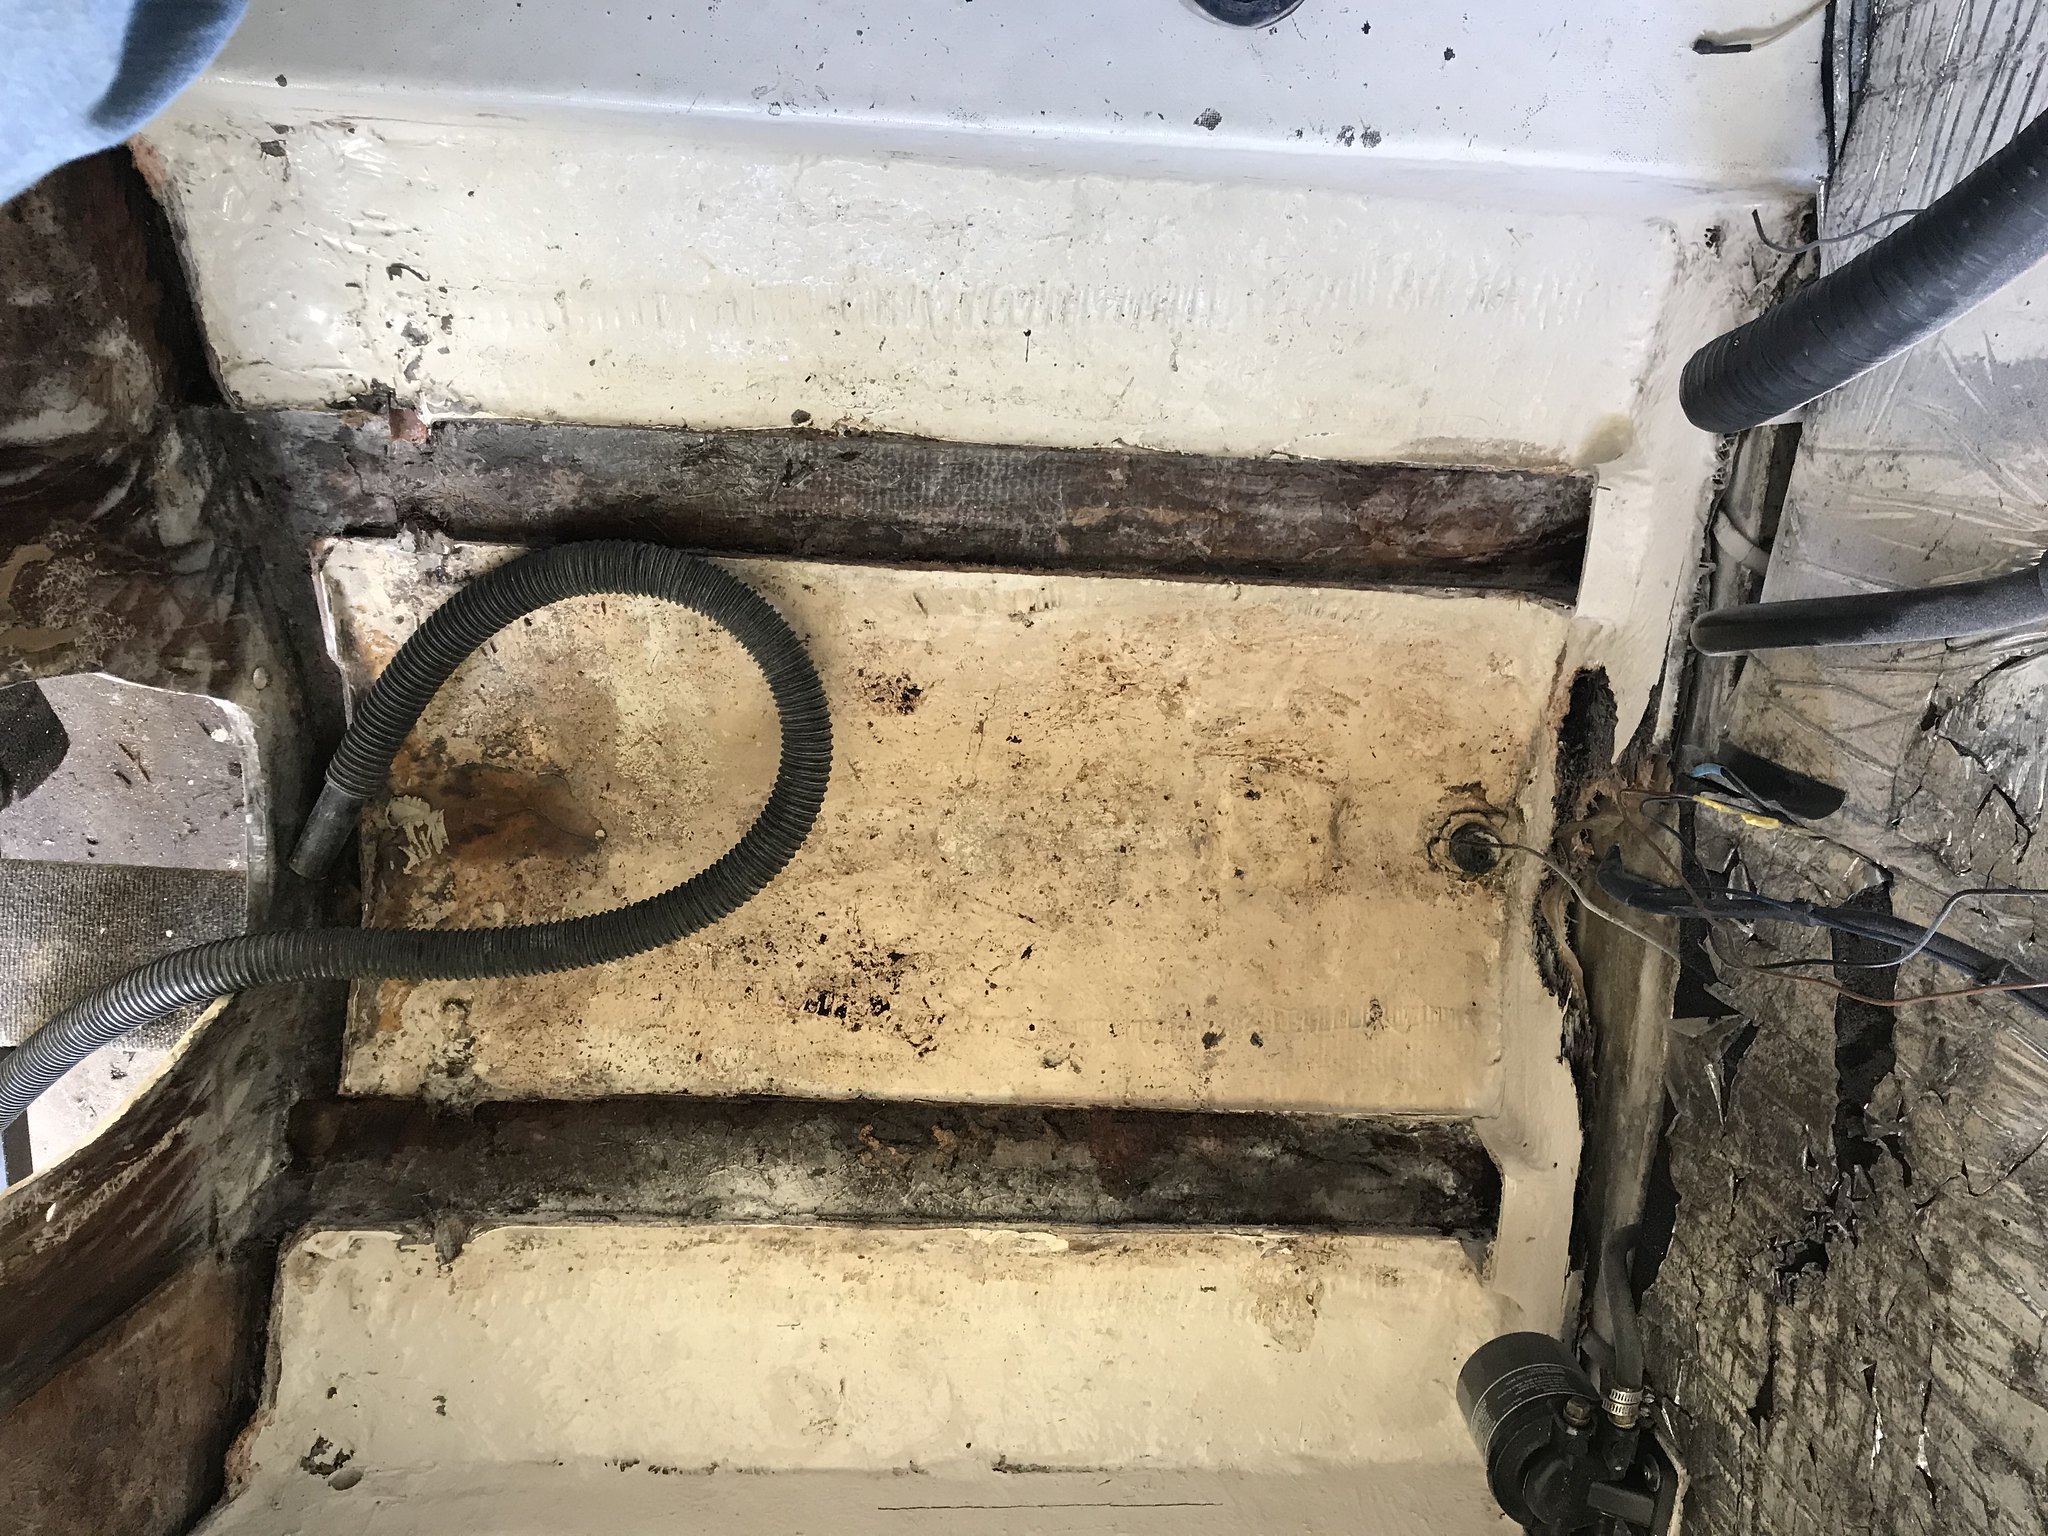
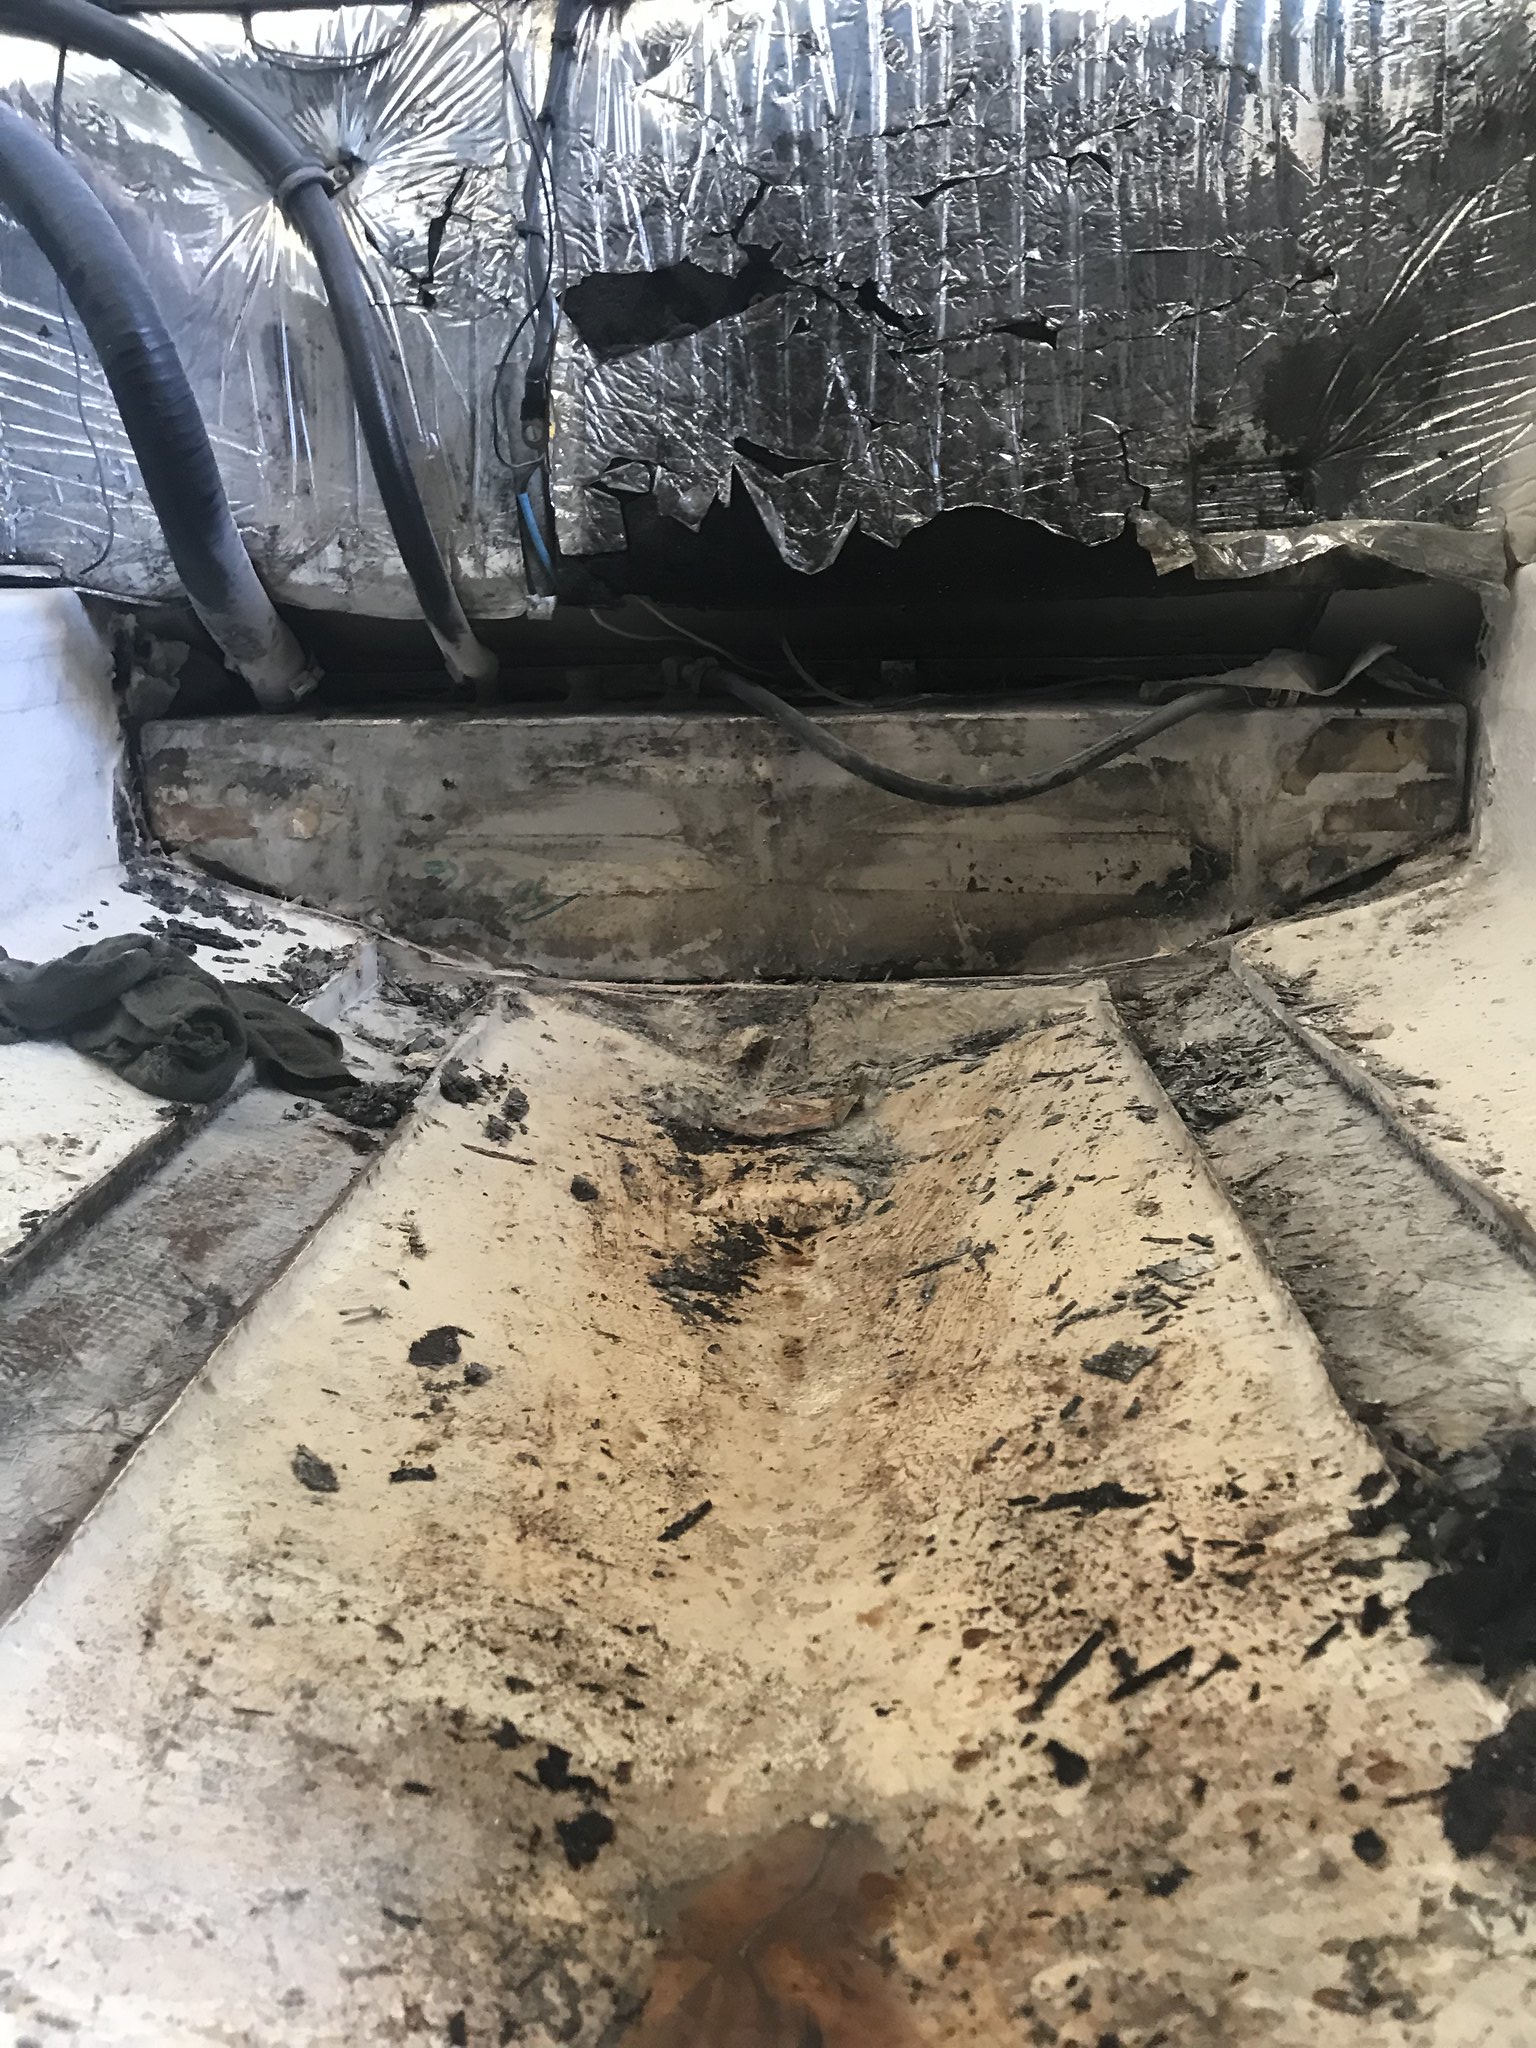
The upper part is going to be tricky. Not much room to get at it. This portion is again only 1 layer of 3/4” core. [if that)

i think I can get my multi tool in there to cut it out. Grinder will fit as well I hope. Glassing it back in will be tricky but I’m not removing the cap on this big girl for this small area. The wood actually appears solid here as it’s above water line and no holes in the area.

I used a regular dremel tool and a diamond cutting wheel to remove the transom skin in tight spots. I used it a lot cutting out tabbing and such during demo of the seats and stringers. They're pricey but last a long time and cut really well in tight spots.

https://www.lowes.com/pd/Dremel-1-1-2-in-EZ-Lock-Diamond-Grit-Cutting-Wheel/1270745
 

oldrem

Commander
Joined
Nov 7, 2013
Messages
2,002
The multitool cuts through fiberglass like a hot knife in butter without a lot of dust.
 

Ciera2450

Lieutenant Junior Grade
Joined
Apr 8, 2011
Messages
1,049
Well got most everything cut out. That top section of the transom that I asked about before had a very very thin core plywood. Maybe a quarter inch, luckily I didn’t cut through the hull!

CDE5F09E-FD0F-4B9C-9808-0A38F6FD178D by Ciera 2450, on Flickr

going to be tight to glass up here! I’ve got maybe 5” of room to work.

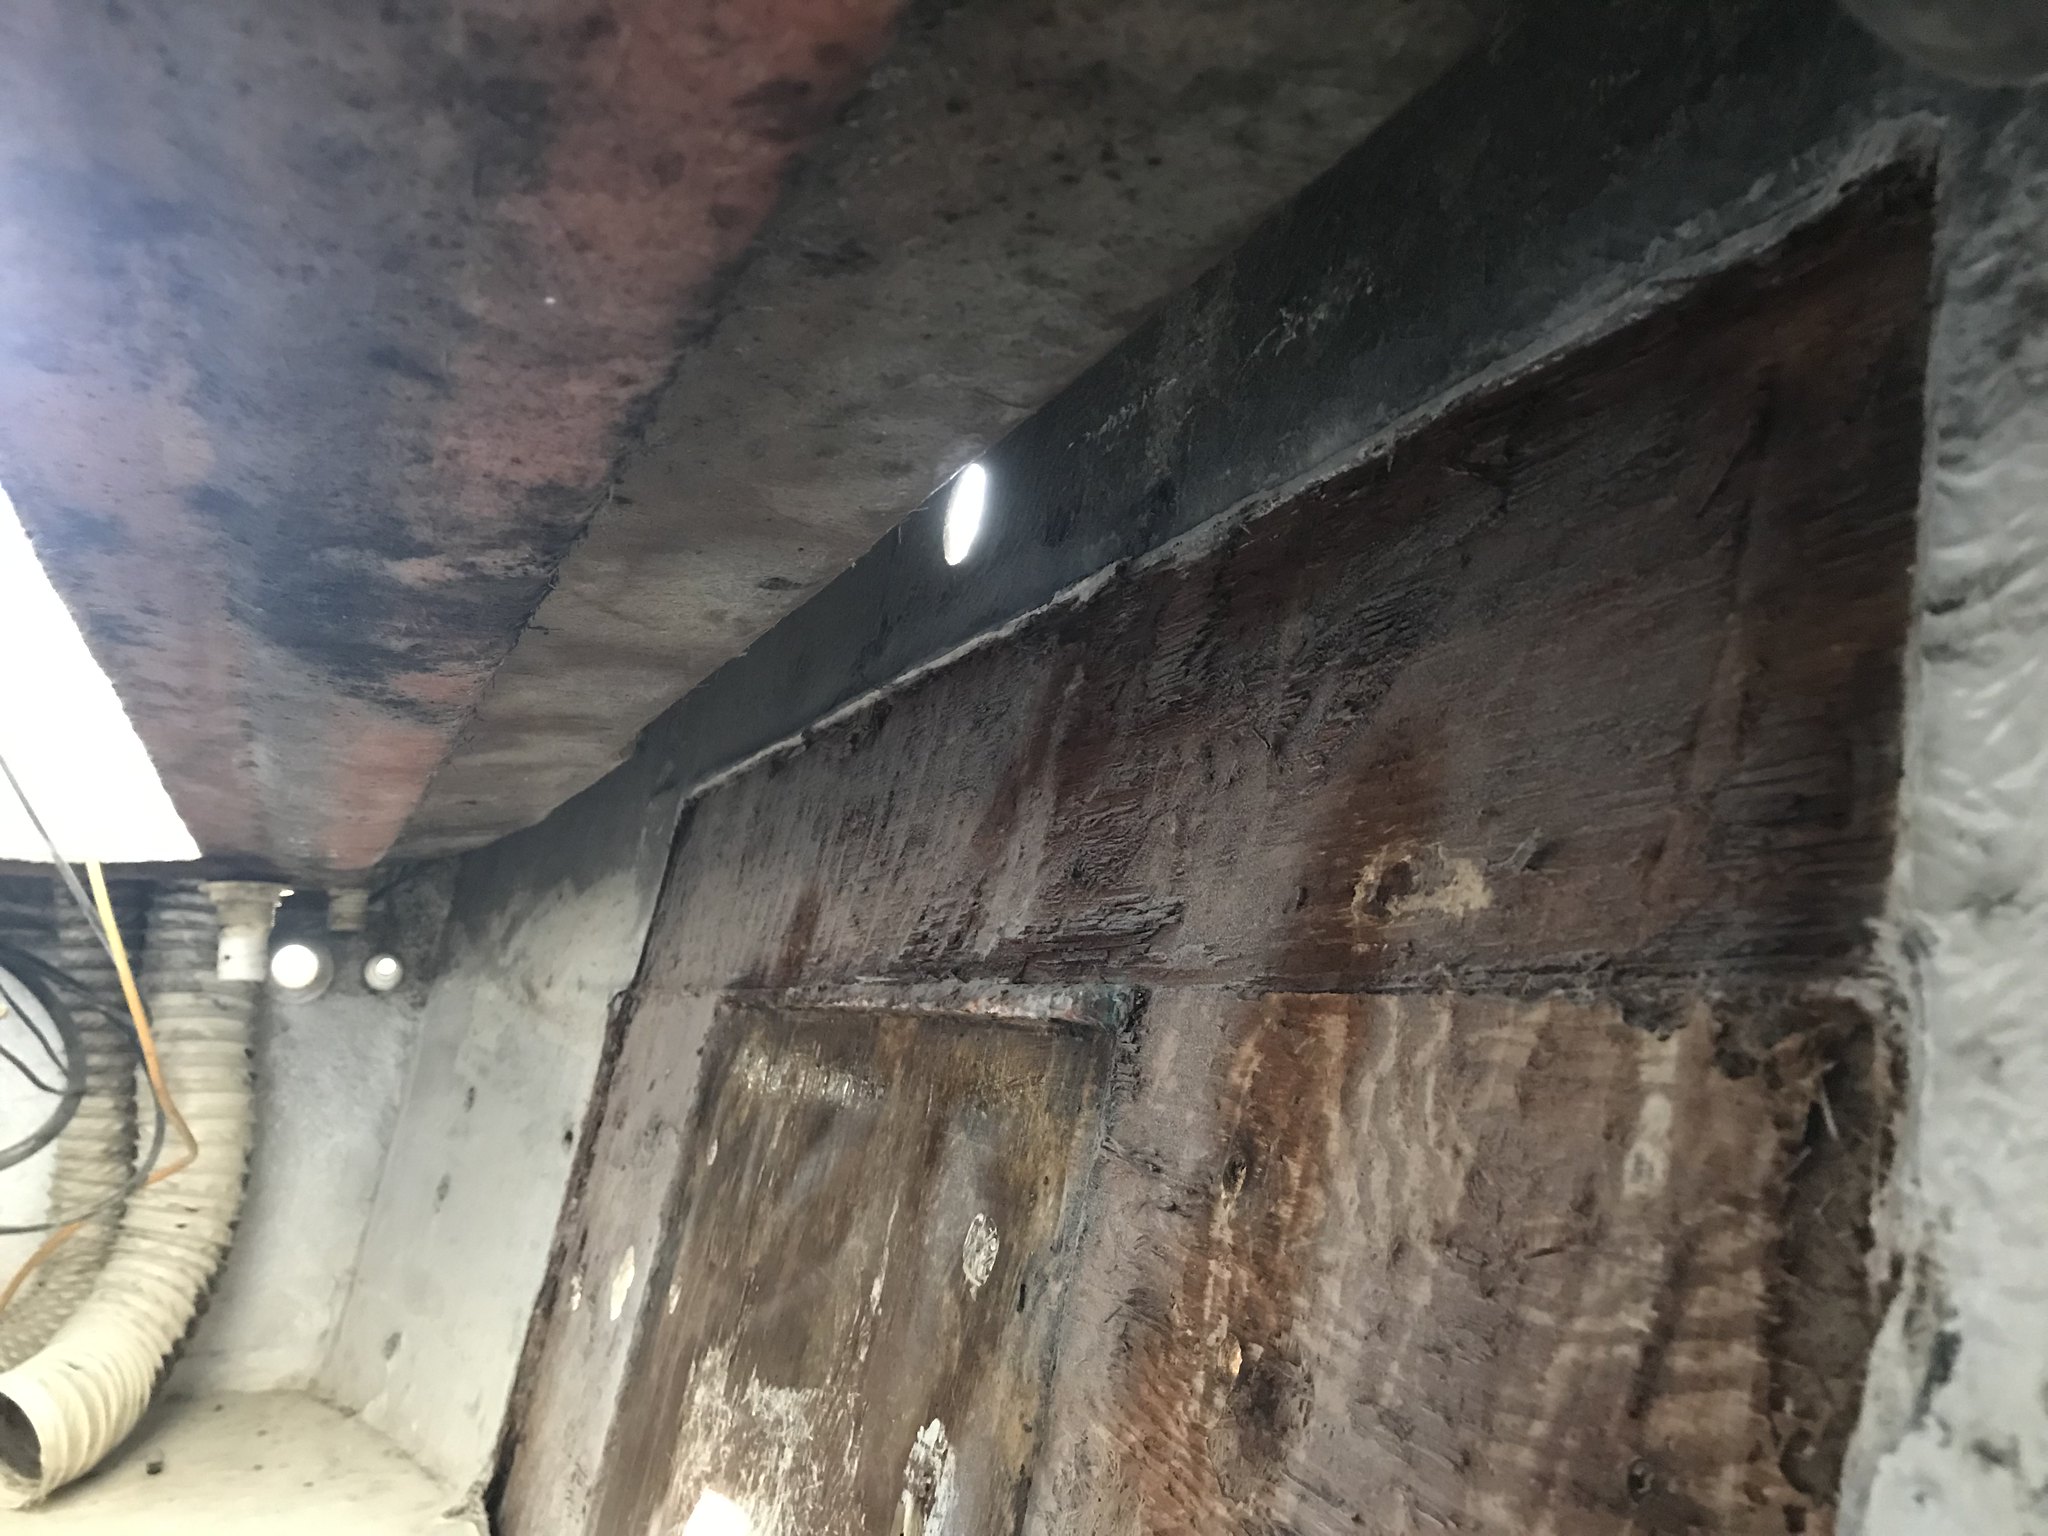
97393C36-35AD-424B-BFF1-1894A3B7D84E by Ciera 2450, on Flickr

cut a section of he cap off the stringers.... I did NOT cut those pieces. That’s how it was! Wet broken mulch. There was nothing to use as a template at all. Appears like a 4x4 angle cut at the bottom to match the hull angle. Scary!,
37BEA070-5856-4DDB-B5FB-4E755EE294EE by Ciera 2450, on Flickr
 

Ciera2450

Lieutenant Junior Grade
Joined
Apr 8, 2011
Messages
1,049
Thank you for the replies Steve and oldrem! I found the multi tool and angle grinder with a 40grit cut off wheel worked for ,most everything. The cut off wheel made quick work of the stringer but gotta be very careful as it can get crazy quickly.
 

Ciera2450

Lieutenant Junior Grade
Joined
Apr 8, 2011
Messages
1,049
Where I left off for the day. Gotta finish cutting the bulkhead and remove the tank tomorrow, but a bit nervous with the tank directly behind it. Any idea? Other than just be careful. Lol


45928650115_3653f4fc49_k.jpg
EFDDF296-68F2-40B1-981D-0A18099A9C9E by Ciera 2450, on Flickr


45928673845_7574a3b626_k.jpg
B7BC8537-6376-4AD0-991E-B353D7271763 by Ciera 2450, on Flickr
 

Ciera2450

Lieutenant Junior Grade
Joined
Apr 8, 2011
Messages
1,049
Alright guys.... all was going well cutting the bulkhead out to slide the tank forward and remove it.....

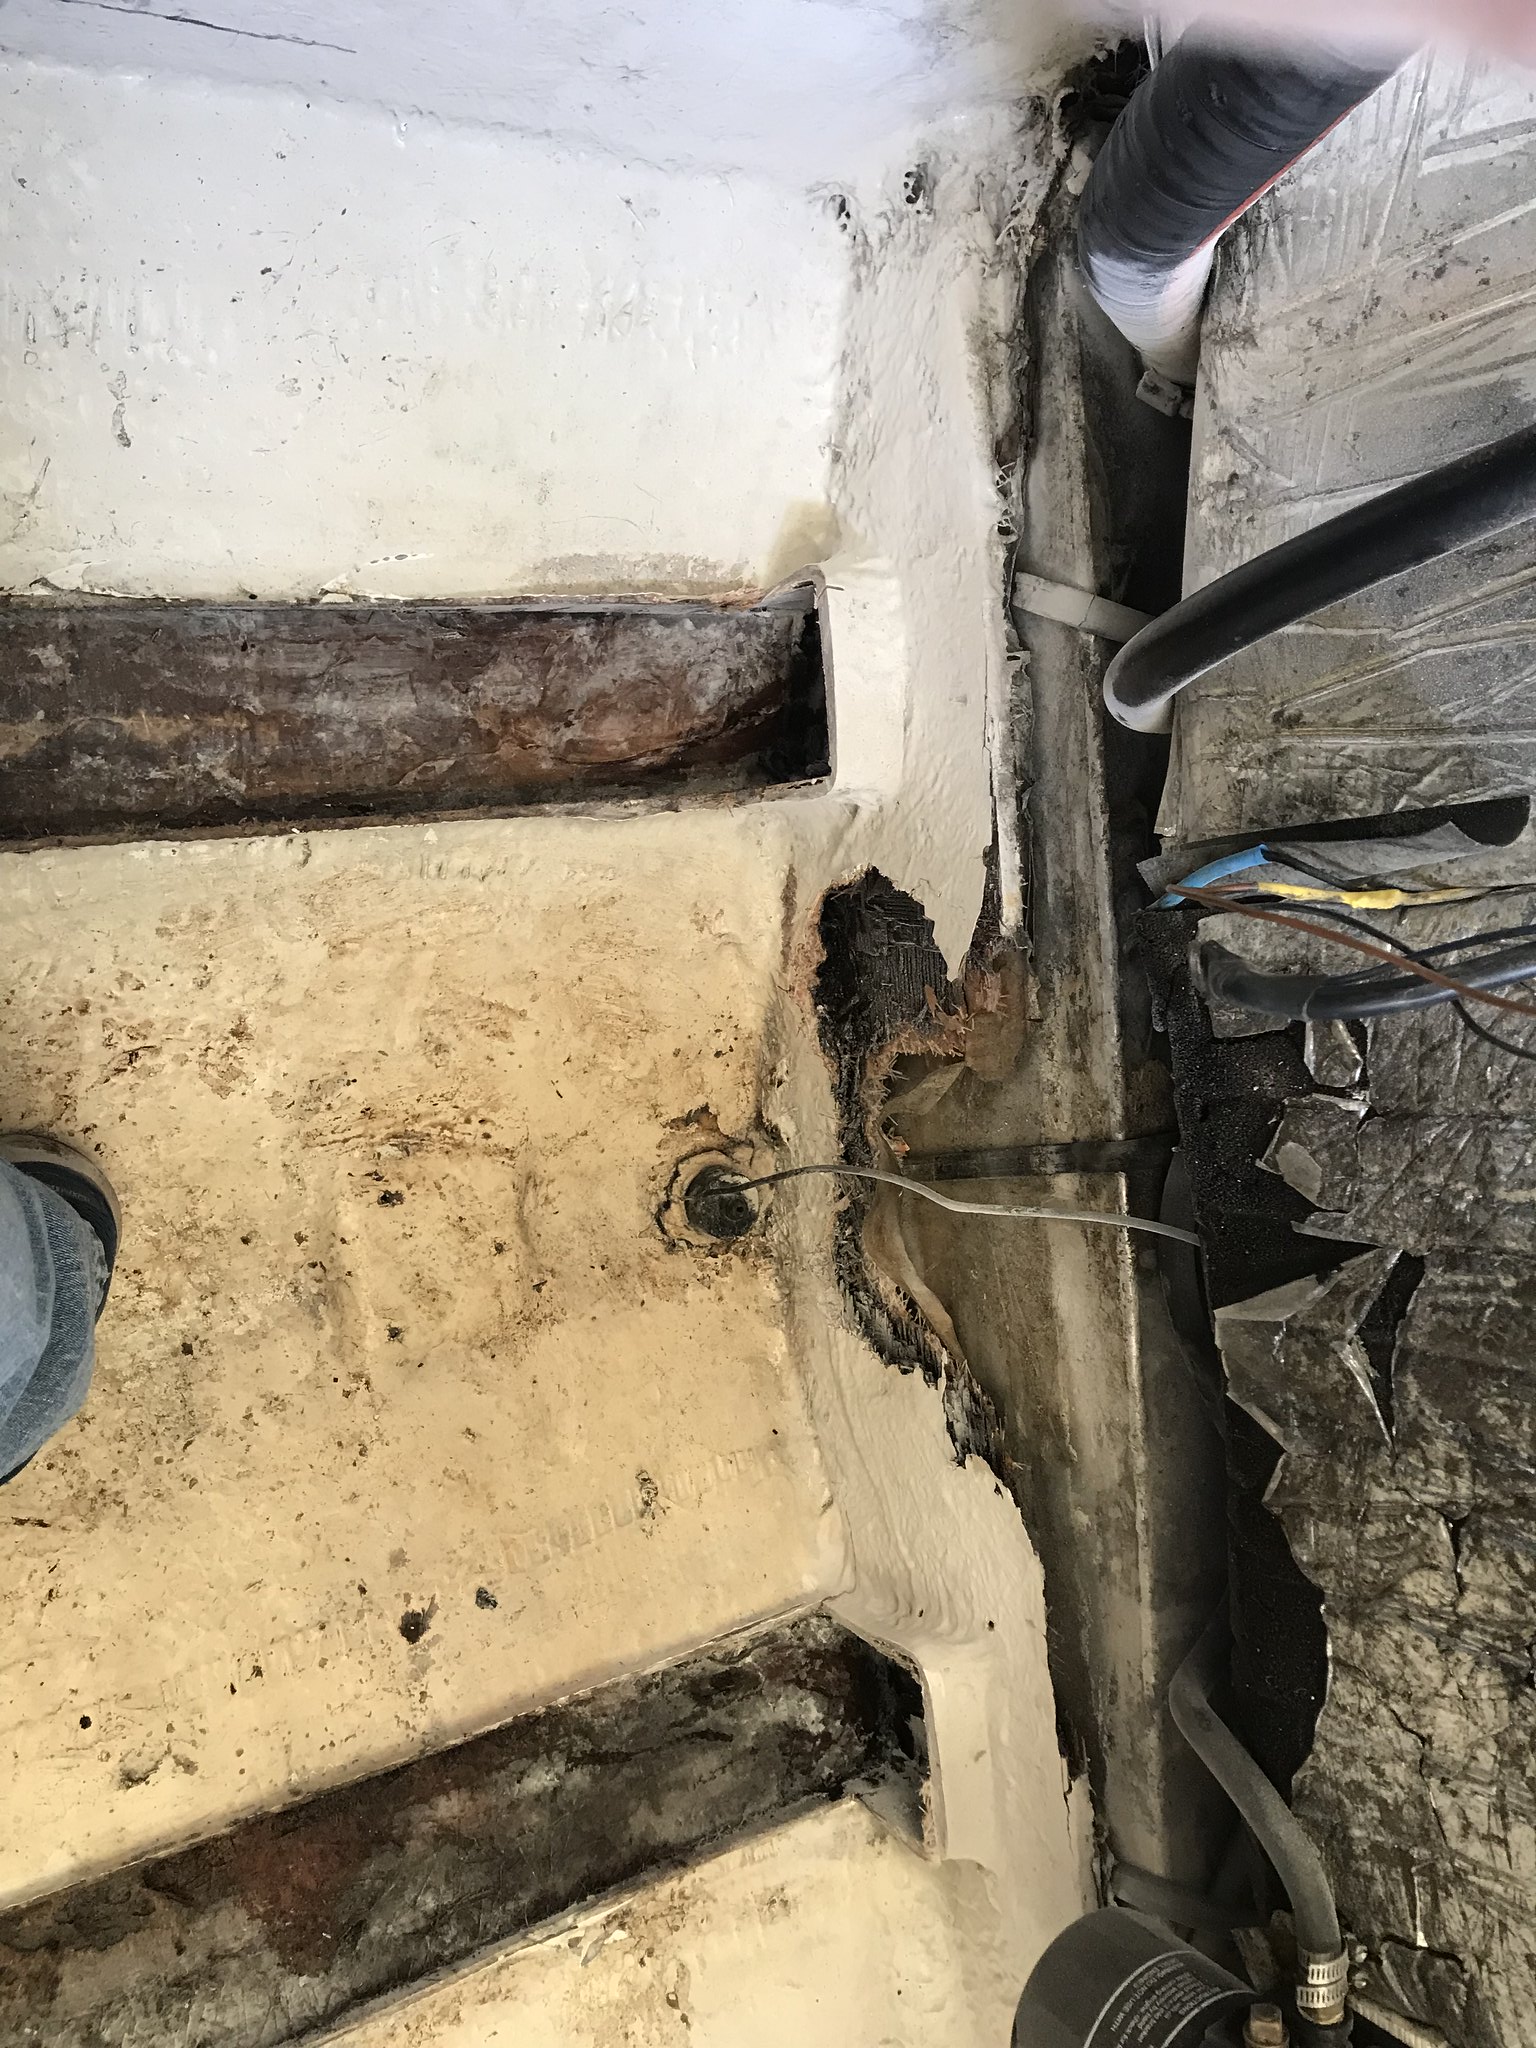
24FC79B3-8241-4FB2-8195-622B52EF03E6 by Ciera 2450, on Flickr

and then.... it won’t slide forward far enough to come out!!!

660C2F0D-F66E-4BCE-94E1-5F3F92342627 by Ciera 2450, on Flickr

the tank is deeper than I thought. Crap. Question: I slid out the little rubber strips that were under it. They are maybe 1/2” wide and there were three of them that appar d to be almost straps around it at one time. Only one was wrapp d over the top and just pulled out so it was loose in there. Do I run a risk of anything not having these strips under the tank? No idea how I’d get them back under it. I can only lift the tank maybe 1/4” before it hits the top (rear berth floor)

i was was so frustrated and had to Walk away for a minute. Built a slap together little stand for my drive out of scrap wood laying around. Didn’t even have to cut any of it. It was just laying on the ground. Had to accomplish something to feel better. Grrrrrrr
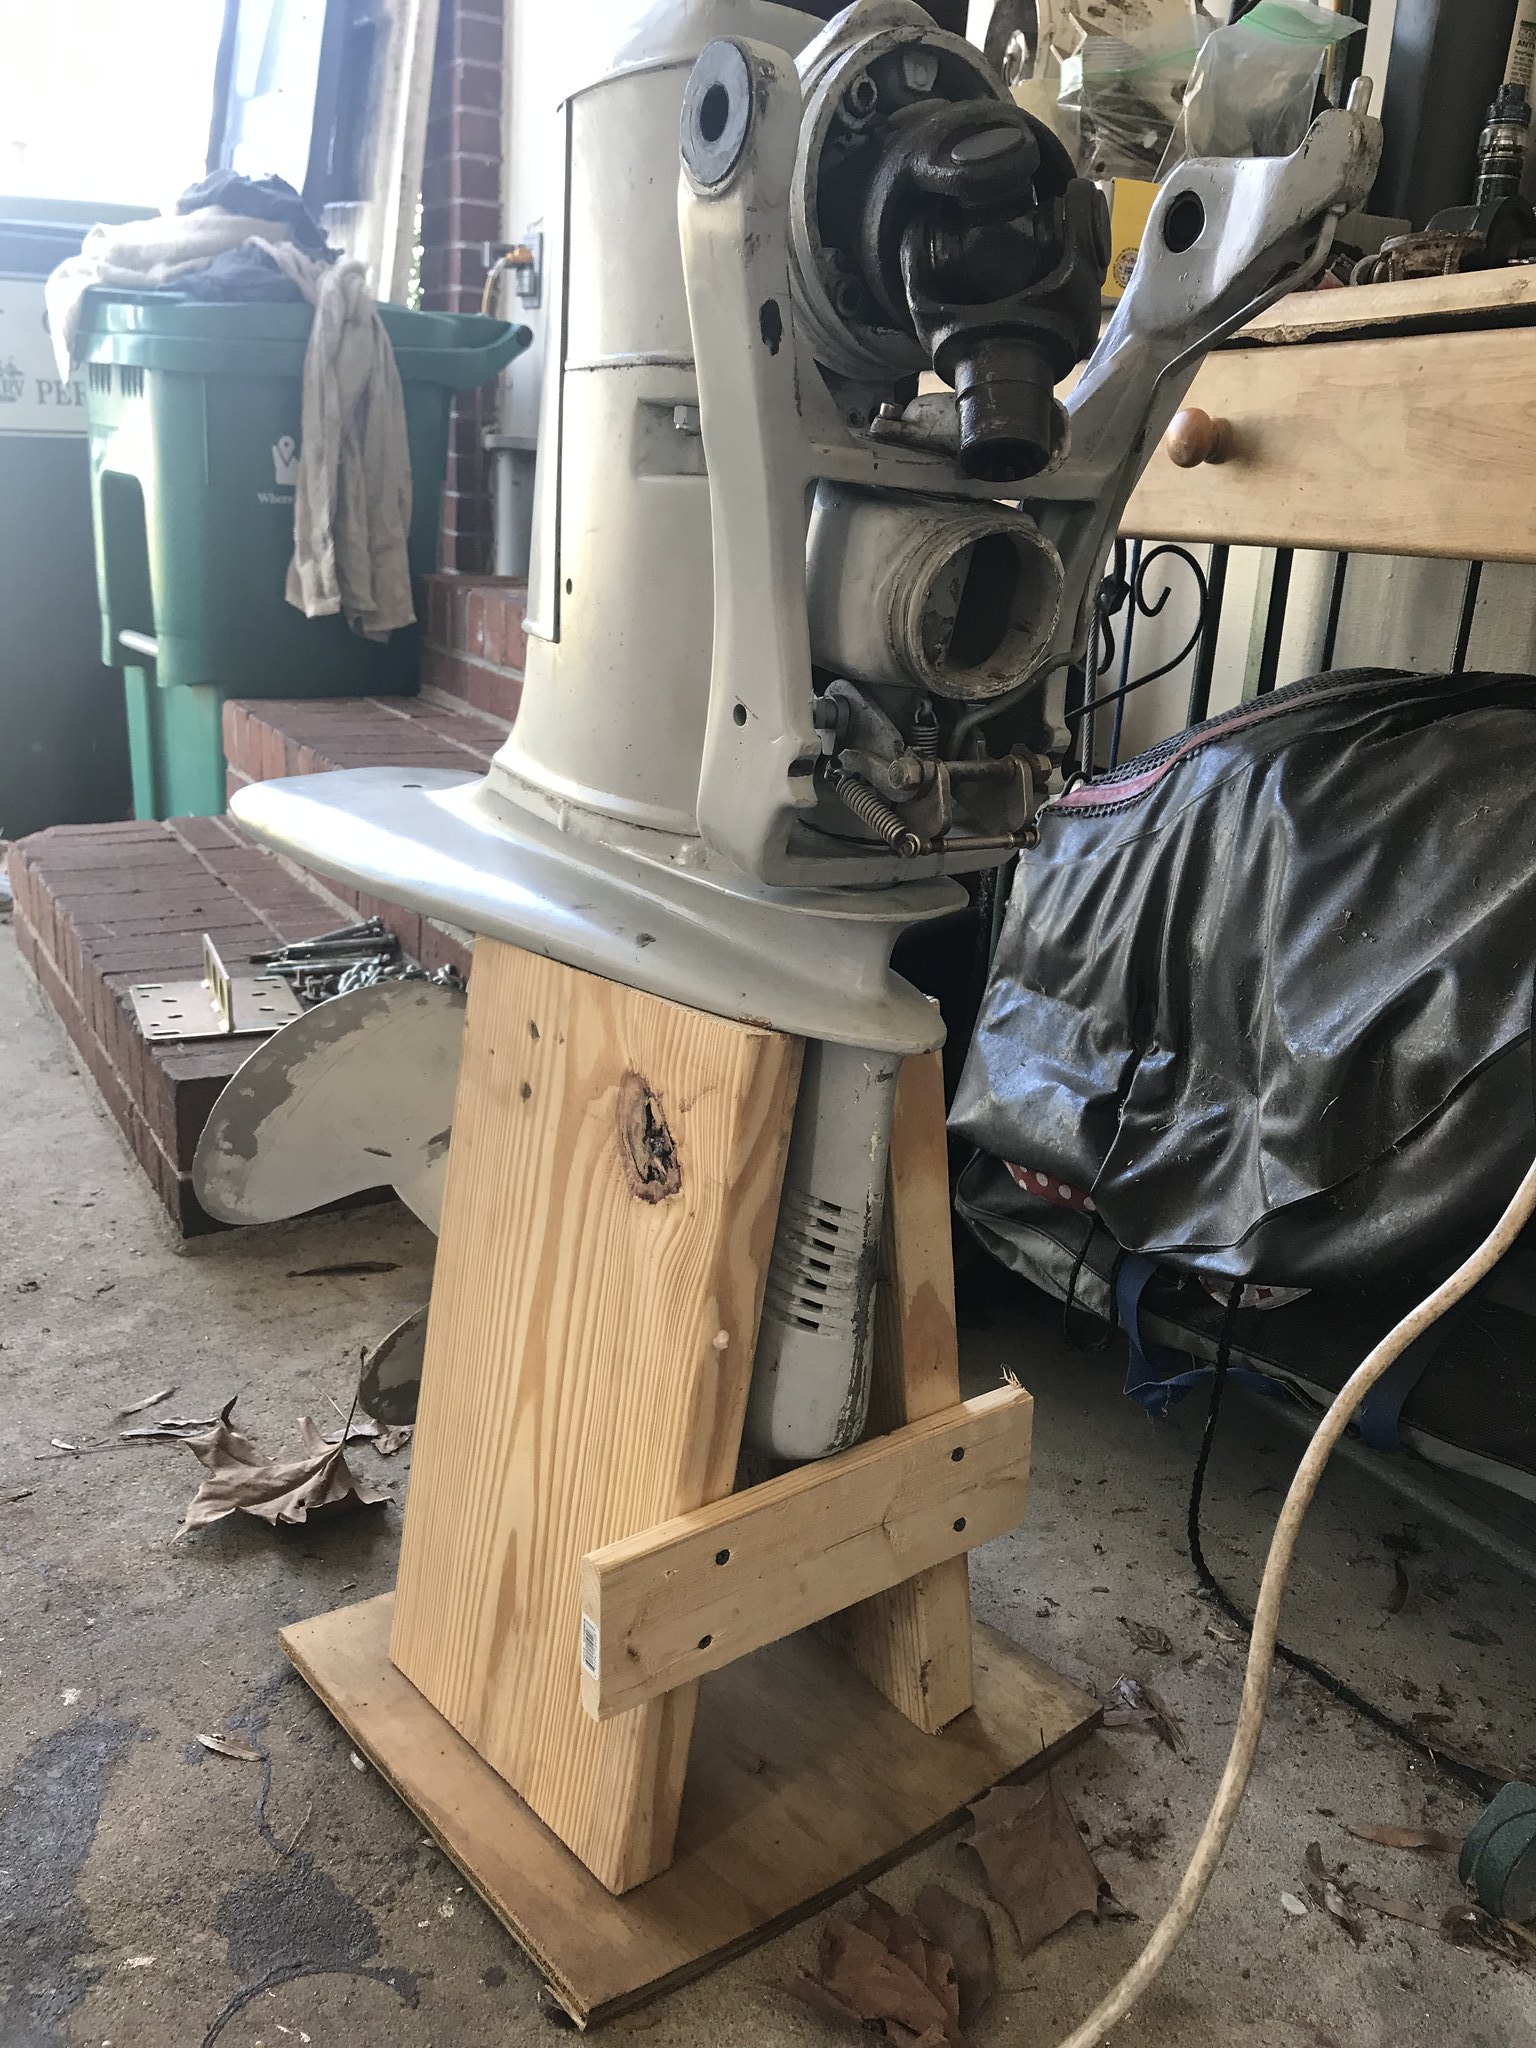
ABAE0E6A-32B3-4BE6-8AE1-CAAA9613A4BC by Ciera 2450, on Flickr

I look forward to any advice you all have about the gas tank
 

kcassells

Fleet Admiral
Joined
Oct 16, 2012
Messages
8,596
Bummer. Yea you'll need the neoprene to protect the tank from the hull. One way ordautter you'll get the tank out for inspection. :D Looks tucked in there pretty tight. Good six pack moment.
Try some wood for leveraging it up down. That eventually worked on mine. I had it all foamed in.End of the day it was pitted beyond repair.
 

Ciera2450

Lieutenant Junior Grade
Joined
Apr 8, 2011
Messages
1,049
I am thinking I’ll have to cut the bulkhead (where the foil stuff is) and slightly into the floor of the berth area to have enough room to remove it. What the heck, I’m this far in.... what’s cutting more of your boat apart gonna do??!! Lol. Gonna think on it for a bit and decide what to do. I’d really like to get the tank out for a once over before it’s sealed back in there
 

Ciera2450

Lieutenant Junior Grade
Joined
Apr 8, 2011
Messages
1,049
With the tank slid aft as far as I can get it.. against the transom, I still can’t feel the edge of it forward where I can slip my hand under there.
 

Ciera2450

Lieutenant Junior Grade
Joined
Apr 8, 2011
Messages
1,049
If anyone has a better idea let me know. I believe this tank was sealed in when the cap was dropped on. I don’t know how else they’d of got it in there.
 

mickyryan

Rear Admiral
Joined
Apr 18, 2016
Messages
4,210
yep its why i de capped my trophy, i realized no matter what that tank wasn't coming out without either de capping or cutting the cap and it was way to intricate to cut it was best to decap.
 

Ciera2450

Lieutenant Junior Grade
Joined
Apr 8, 2011
Messages
1,049
Thanks MickyRyan! I really don’t want to remove the cap. I will if I must but I’m going to think on it a few days and try to figure out what to do. I’ll get some pics but I think I can cut a section of the bulkhead and berth floor area and gain enough room to pull the tank. Then simply glass the section back in.
 

mickyryan

Rear Admiral
Joined
Apr 18, 2016
Messages
4,210
yeah on my trophy there just wasnt enough room and i wasnt cutting that area because too many curves corners and stuff, plus i knew once i was in id go do stringers and stuff before i put a new tank in :)
 

Scott Danforth

Grumpy Vintage Moderator still playing with boats
Staff member
Joined
Jul 23, 2011
Messages
47,490
usually removing the cap may seam the hardest, however it will be the easiest
 

mickyryan

Rear Admiral
Joined
Apr 18, 2016
Messages
4,210
once its removed it makes things so much easier and you have this confidence that after all is said and done you know from the bones to top shes solid, nice part about removing cap too is you can flip cap fix all the bad wood in that as well. I did mine with 2 well built gantrys and a 3500 lb winch from hf on each one, it also let me use said gantrys to flip boat to water sandblast all the old paint off bottom :)
 

Ciera2450

Lieutenant Junior Grade
Joined
Apr 8, 2011
Messages
1,049
Thanks for all the insight guys! I’m going to think on it. I hadn’t really scoped out this extensive of work. Isn’t that always the case with boats?? Lol
 

kcassells

Fleet Admiral
Joined
Oct 16, 2012
Messages
8,596
You sound like 2 options;
-Chop out the area you need to remove tank.
Save all pcs and reset after tank is placed back in. Not sure how feasible that will be. Probably can be done.
or
Remove cap.
Allows total access and ease of movement for all work needed.

Just anutter hurdle to be reckoned wit. Arghhh! Plenty more to come. Did ya think you would be doing this, ever? lol! Plenty of support here to get you thru it.
On my bis ole boat I left the cap on. Lot of cursing but got thru it. Slowed down a lot of progress and a lot of new body bending methods found I did not have before.
Cheers....6 pack moment! :joyous:

Take some more pics further back so we can see the obstacles.
 

mickyryan

Rear Admiral
Joined
Apr 18, 2016
Messages
4,210
knowing bay liner Construction of this class i don't see a feasible way removing the tank without at least a partial decap , as in take all the screws out raise the cap up in back slide old tank out put new tank in and hope stringers aren't rotten further in
however every single bay liner boat i ever looked at this class floor was rotten up front meaning it was nose down at one point or another or water traveled stringers to rot the first floor.coolest part is there is nothing really keeping you from decap the wiring is usually just unclipped from side and stays connected to top cap and that leaves fuel hoses and air blower vents and top cap is off. believe it or not on mine the top cap wasn't even supported by the stringer system its supported by outer edges bulkheads were to keep fumes from engine bay permeating into cabin i guess.
 
Status
Not open for further replies.
Top