Re: 66 Starcraft Sunchief Re-Build
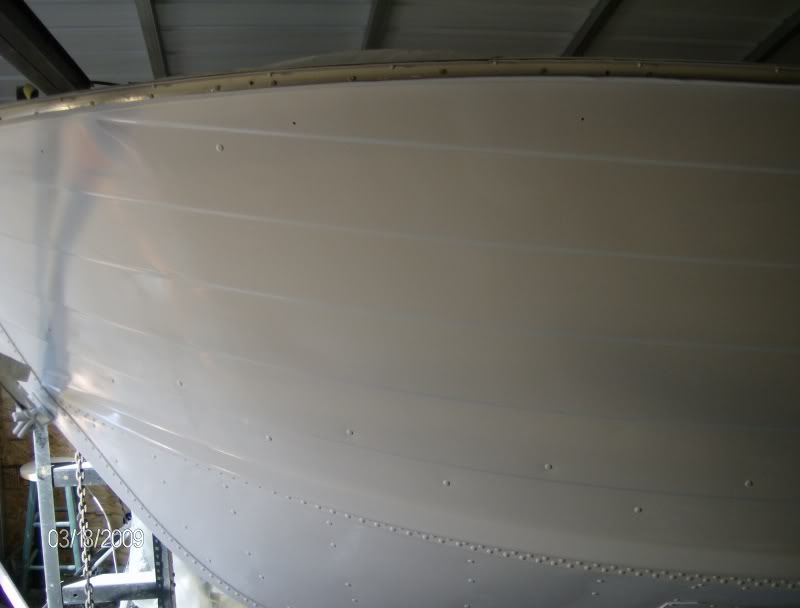
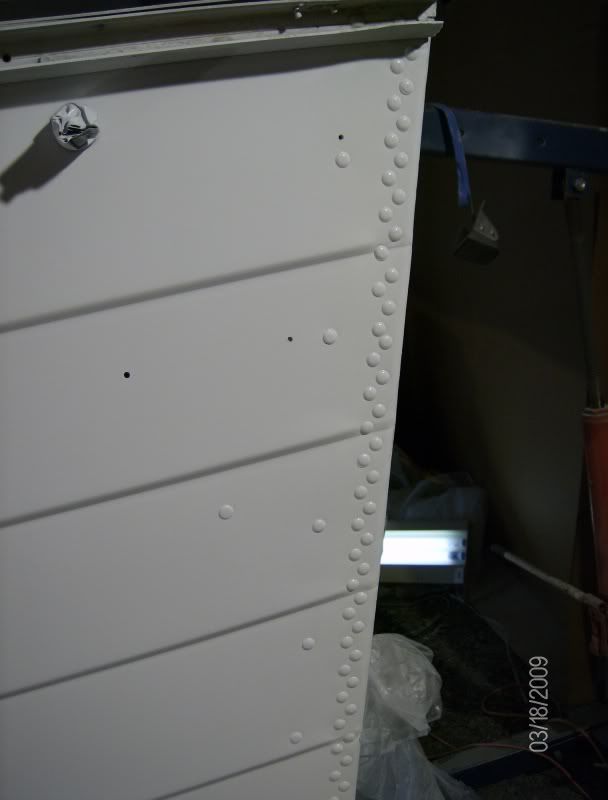
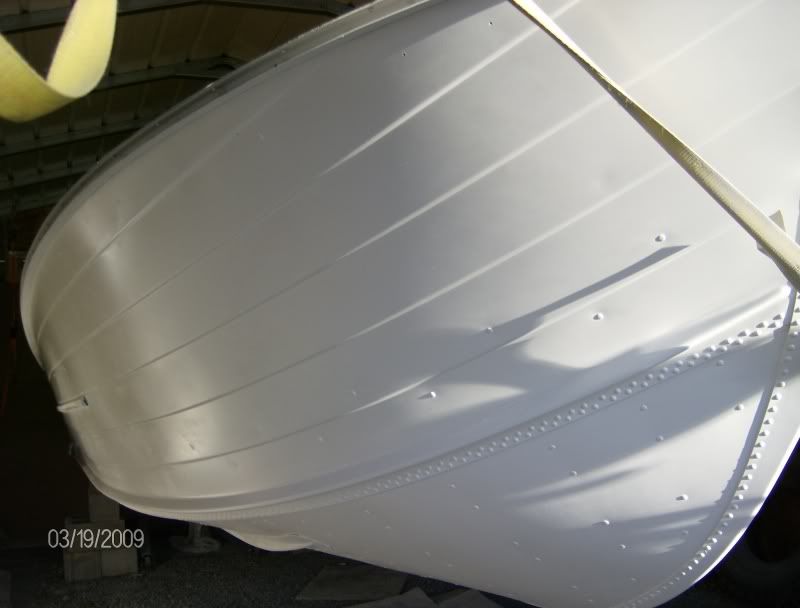
Pictures don't tell the whole story so I'm not sure if I should belive what I think I'm seeing. It looks a little flat almost like it's over thinned. That would also explain why you're not filling in the scratches, seeing those rough spots and getting runs.
Try cutting back on the thinner. Use what you need to get it to go through the gun and only thin more if the weather is warm, (above 75 deg. You probably have a 66 tip on that gun so you can go pretty thick. If you're sanding between coats don't forget that you need to start every time with a light tack coat followed by a full coat.
I try to avoid sanding between coats and try to shoot the next coat when the first one is dry to the point where if you touch it, you'll leave a finger print but you won't get any paint on your finger. That's the point where the next coat will still soften the undercoat enough to form a good bond and allow the undercoat to dry through the topcoat.
According to the pro's and a rule that I've learned by my own mistakes is that if you miss the overcoat stage, wait 7 days until the paint is hard and then sand and recoat. If you sand earlier than that you can leave deep scratches that won't fill properly and you will also distrupt the hardening process.
In a nutshell, if you sand and your paper loads up with paint and not dust then you are too early.
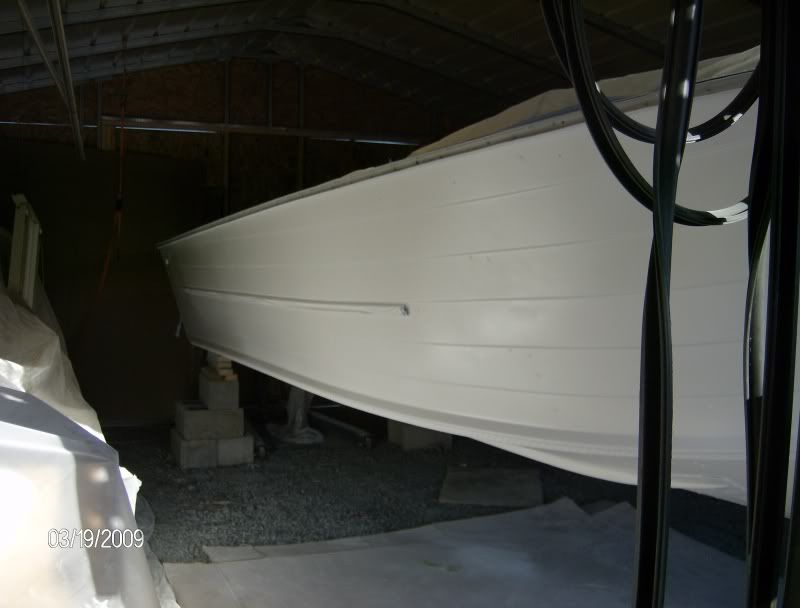
I think it looks like simply not enough paint, just a fog or tac coat.
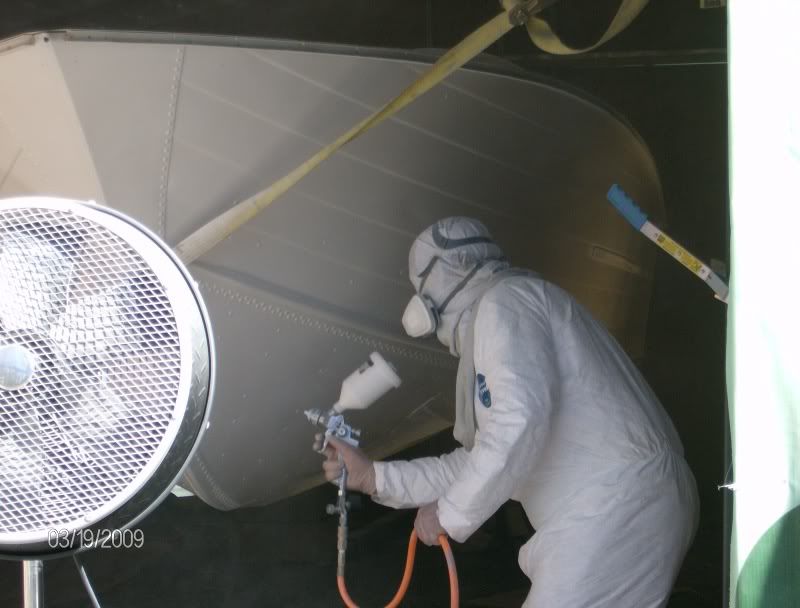
He shot half of the boat with 18.5 oz of primer, and if i understand he did
the same with paint that is not nearly enough to get a good wet coat which
is what you need to bring out a good flow and gloss. and you need to really
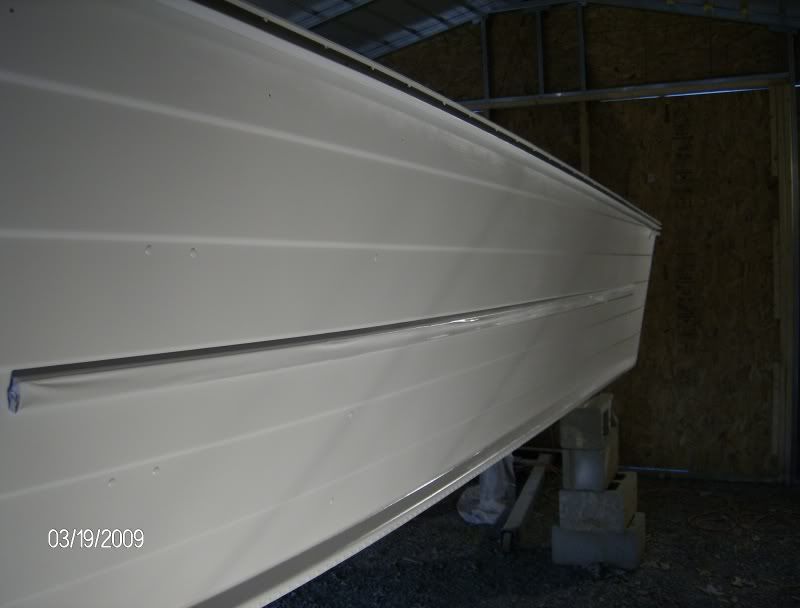
over thin to affect the gloss. And i have seen more runs from under thinned
paint because people are trying to get the gloss or wet look and keep hitting
a area till they get it, and being under thinned the gun is not atomizing the paint particles proporly. thus very thick paint which leads to runs.
warmer wheather means warmer paint which actually thins the paint for you.
think of cold honey next to hot honey .which falls off a spoon faster?
so when its warm does not mean more thinner.
Tip let your paint supplies stay in the warm house, not the cold garage when your painting the next day.
Instead of leaving a finger print in what ever were painting how about going
a good medium tach coat followed by a good medium tach coat probably 80
percent covered followed by a good wet coat.
Instead of just picking a random amount of time to do different things with your paint. Get a product data sheet, it will give you specific info.
EG: cure schedules, recoat times.
Sorry to be a A## H### my first post
im just a anal retentive perfectionist painter.