Building a '93 Caravelle 1750 Classic Bowrider

Reserector_

Chief Petty Officer" & 2021 Splash of the Year Win
Joined
Oct 15, 2019
Messages
592
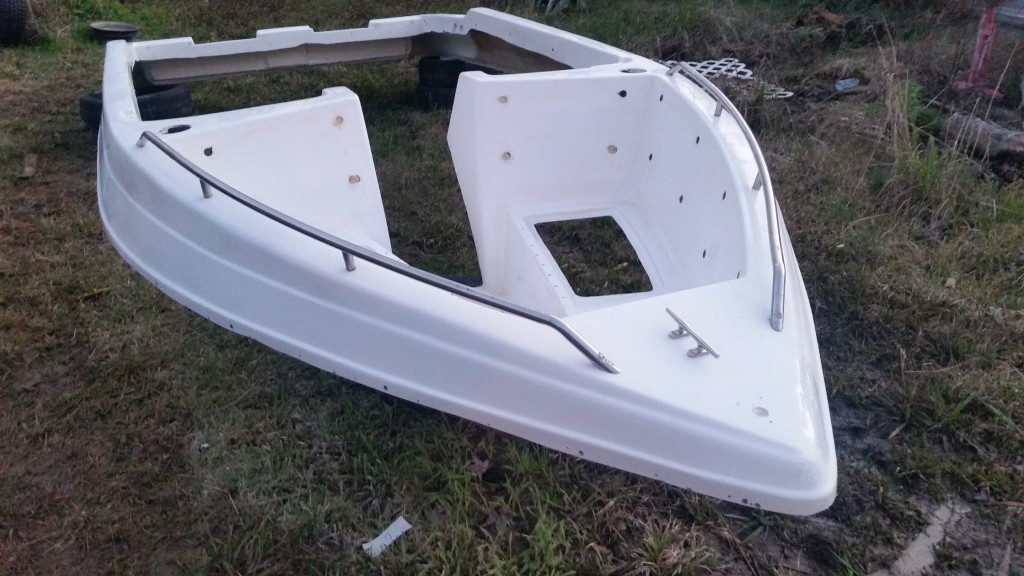
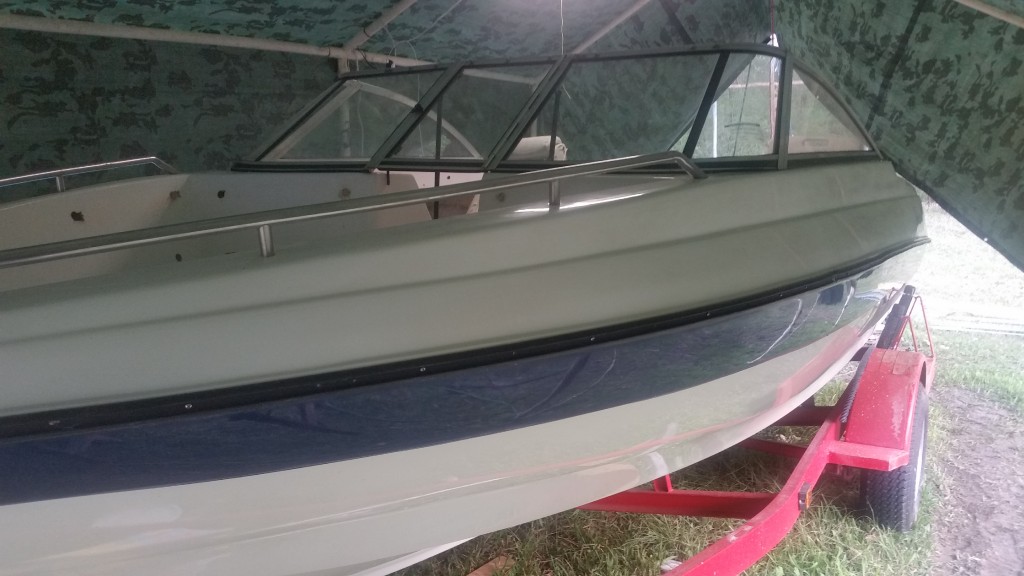
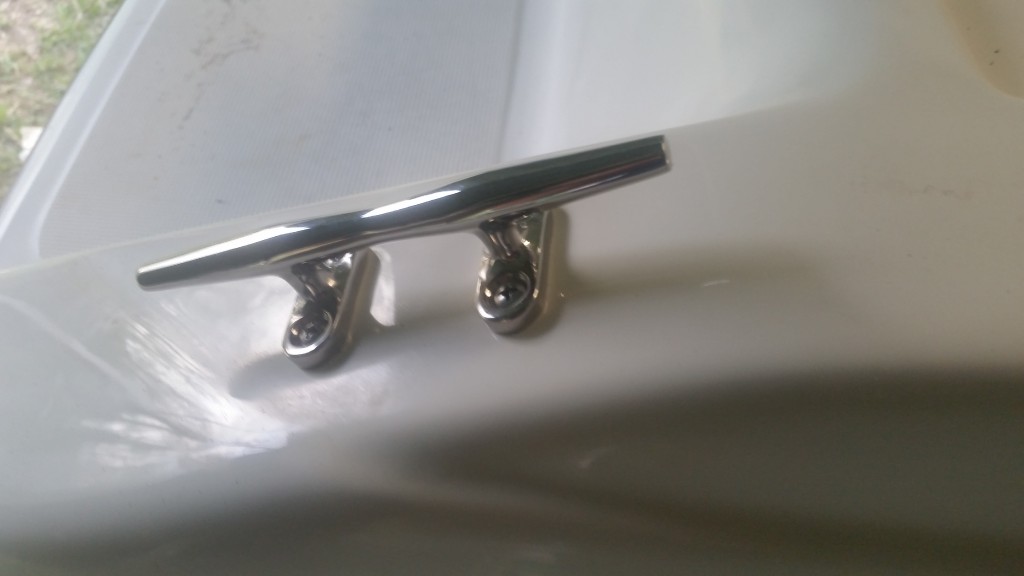
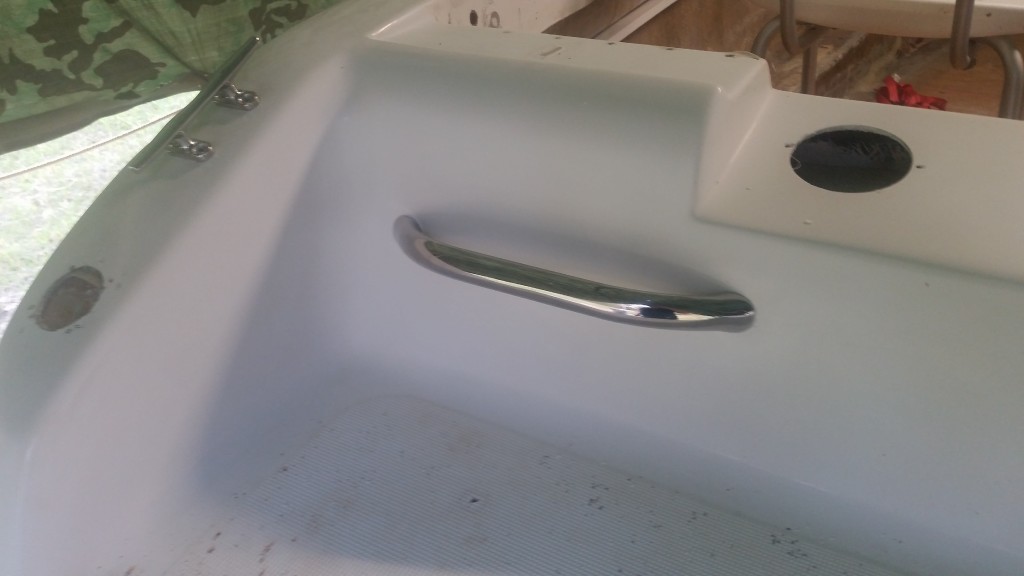
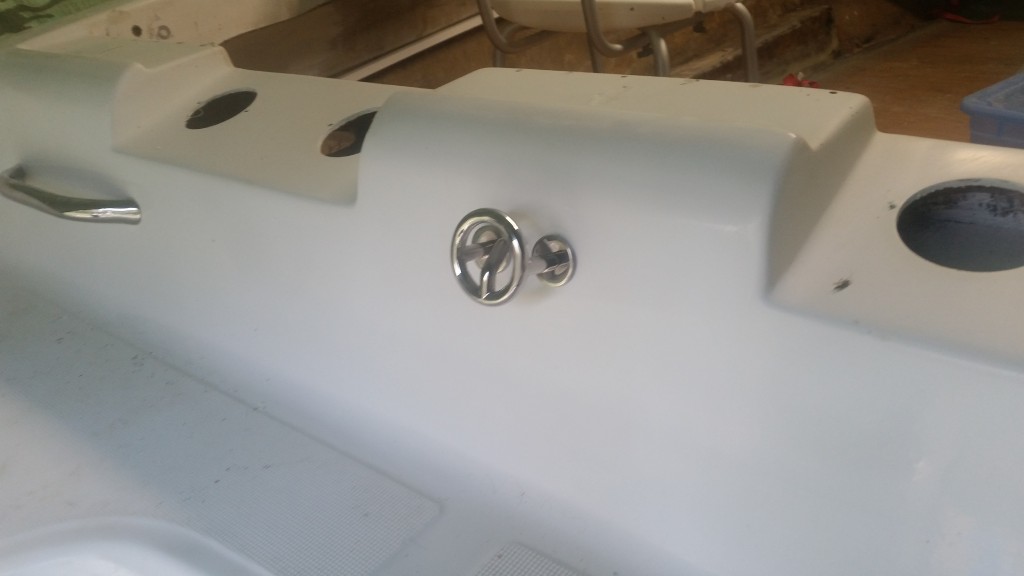
I was determined to install the cap this weekend, but there were several things that had to happen before I could set the cap on. Things like the bow rails. They would need to be installed while I could access all of the hardware from underneath. There is just no getting to them once the cap is on. Before the bow rails could go on, that portion of the cap would have to be polished along with any other place that gets Hardware because you wouldn't be able to polish that surface efficiently once the hardware is on.

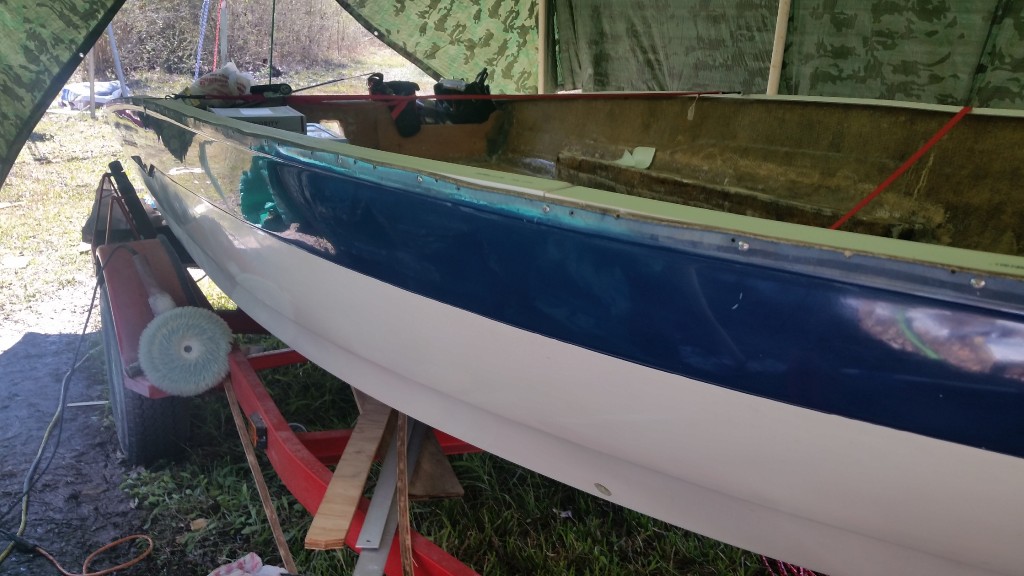
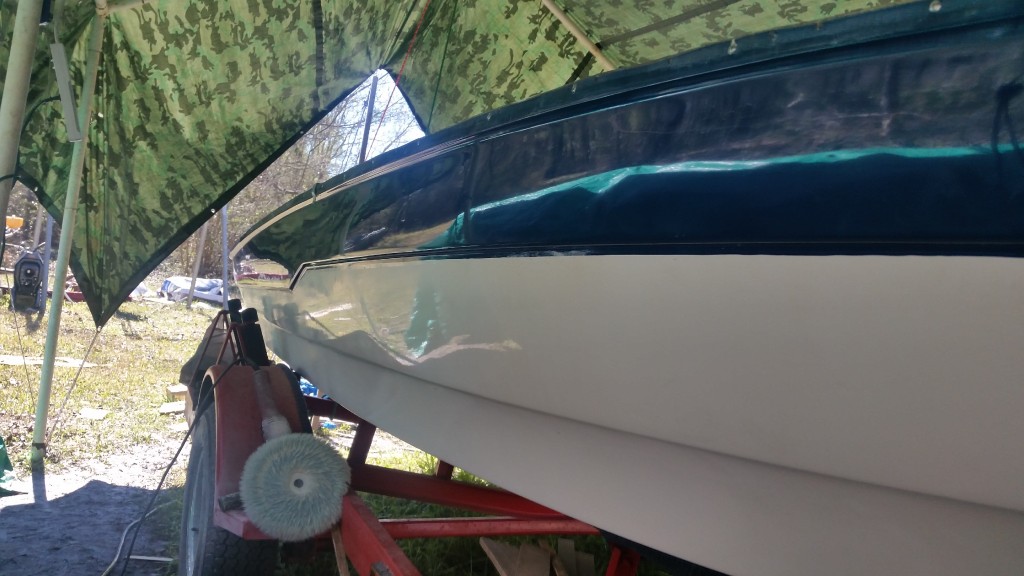
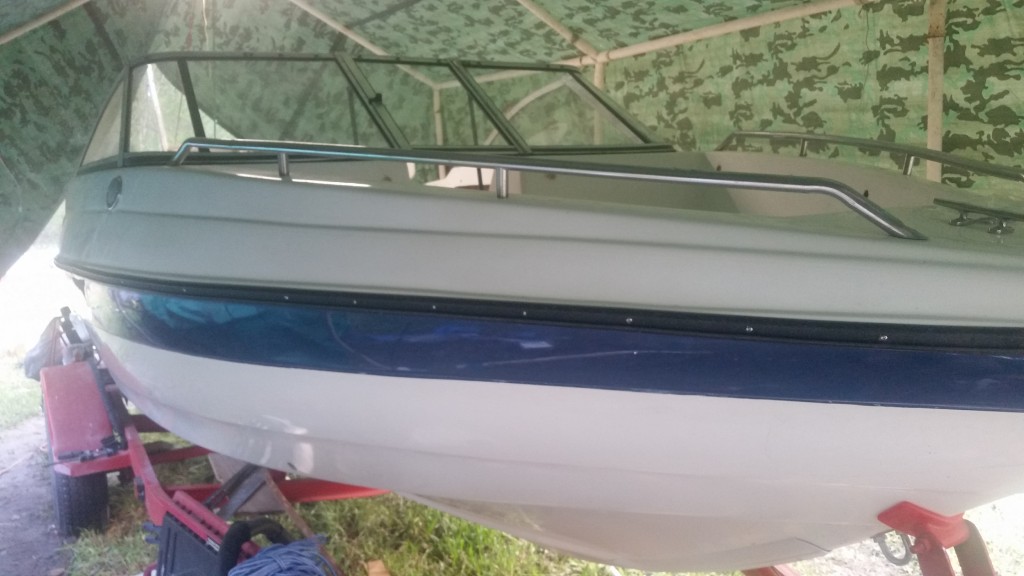
I'm always trying to think of the most efficient way to go about things so that I don't waste my precious time or effort. I even considered that it would be more difficult to buff out the blue stripe at the top of the hull once the cap is in place because the edge of the cap would be snagging the buffing wheel, so I went ahead and buffed that before the cap went on.
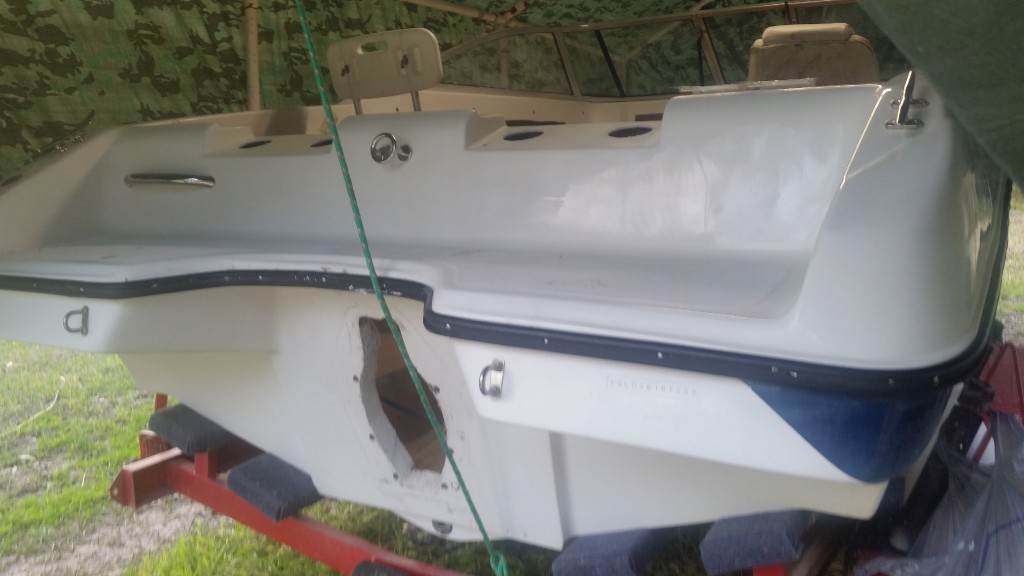
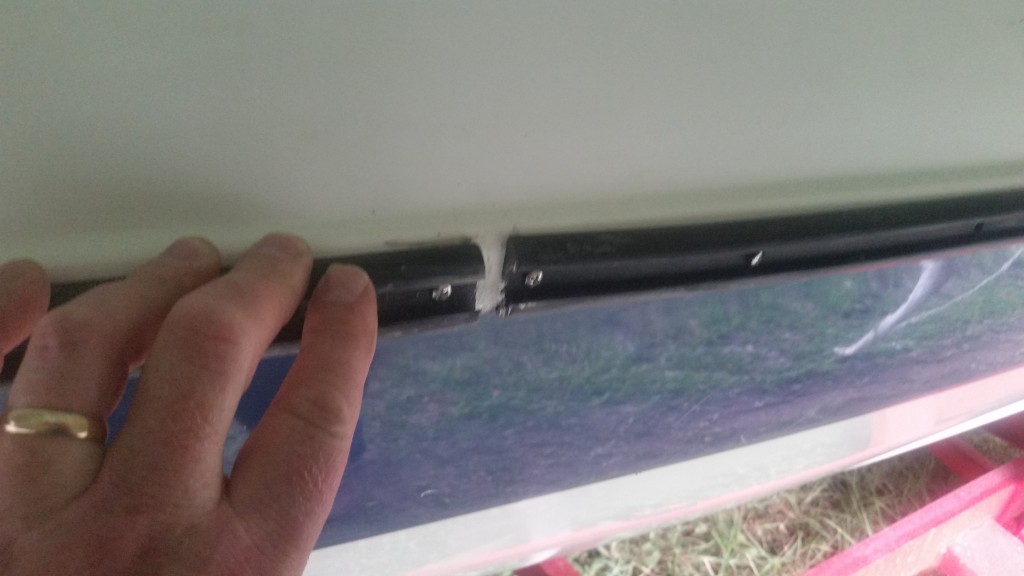
I had to use 1000 grit wet to remove the oxidation before going to cutting compound. I still need to use the Polishing Compound which will bring the color out even better.

20200222_110836.jpg

20200222_110850.jpg

20200222_122731.jpg


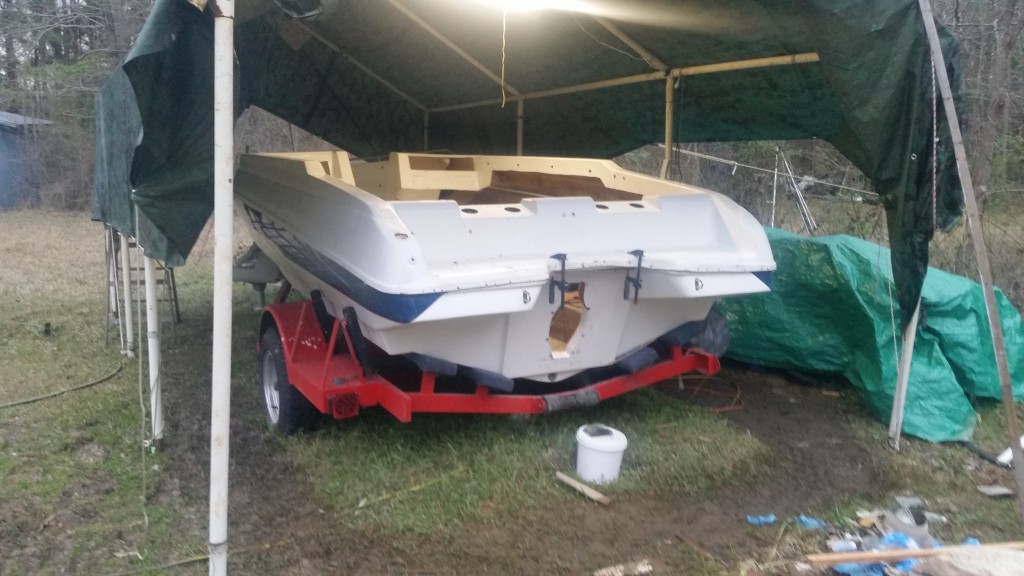
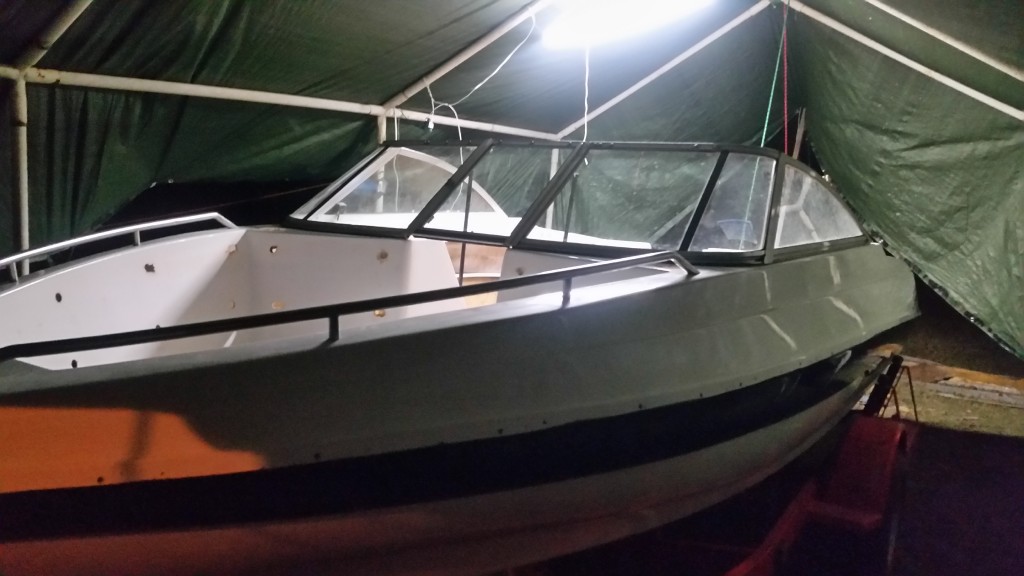
The cap had 15 years of exposure before I ever got the boat and was pretty oxidized. I had to go all the way to 500 wet to cut through to good gel coat. From there I was able to step up to 1000 and then to cutting compound. I wet sanded the entire cap but only polished what I needed to on the top surfaces because it would be easier to reach the sides once it was in place on the hall. The top surfaces went all the way to Polishing Compound and it shines like a new penny.

20200222_163118.jpg

20200223_165854.jpg

20200222_175447.jpg


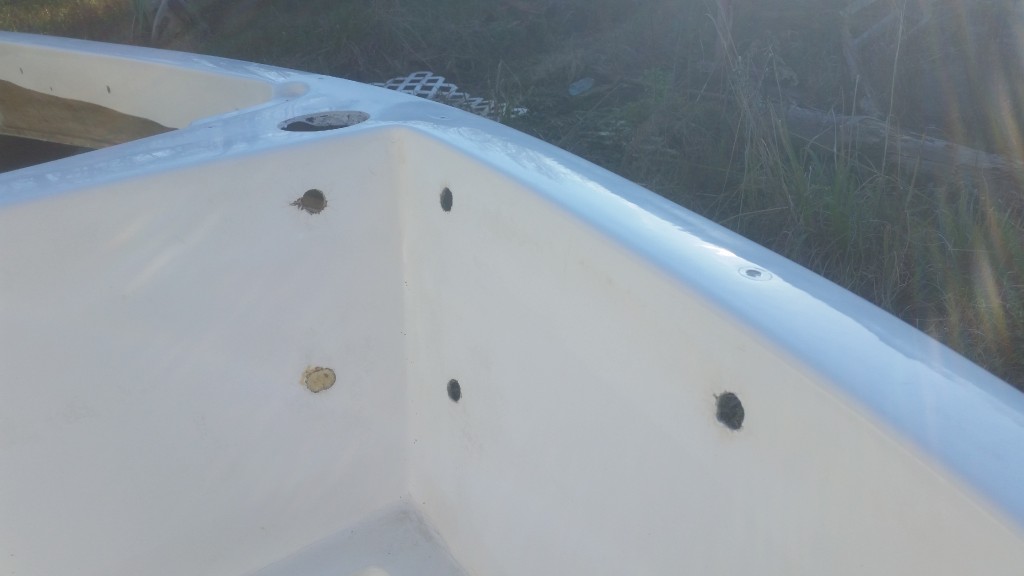
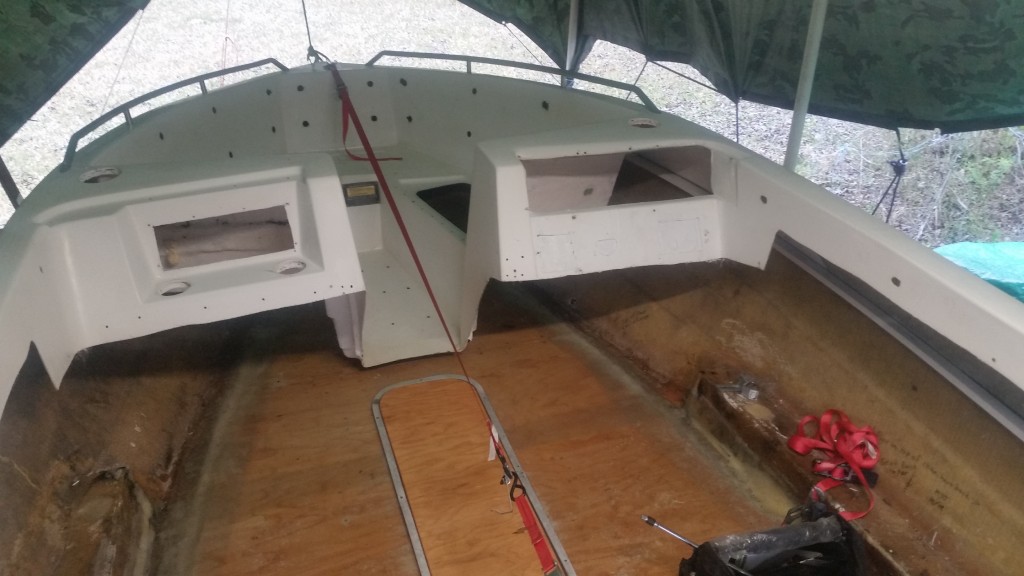
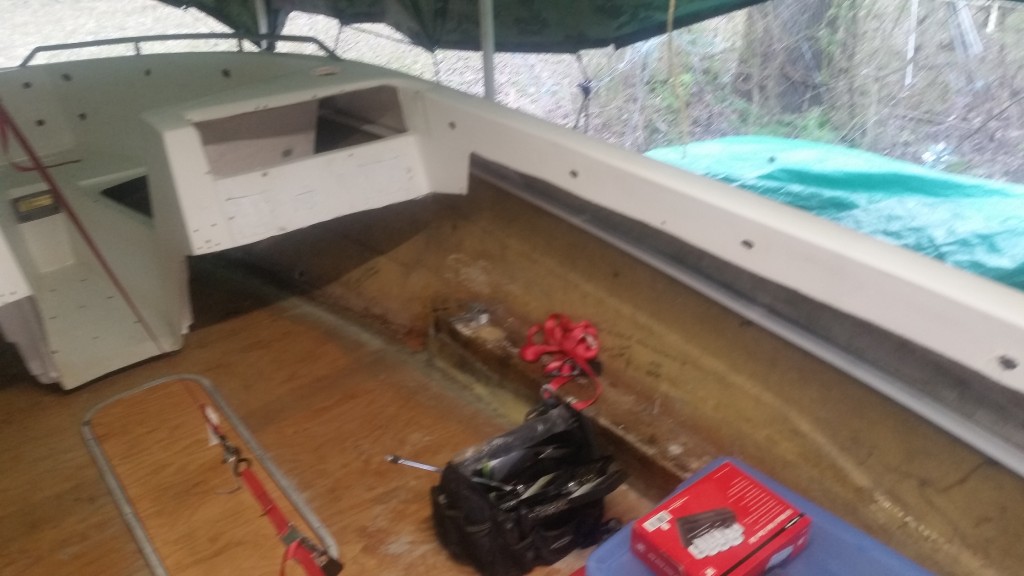
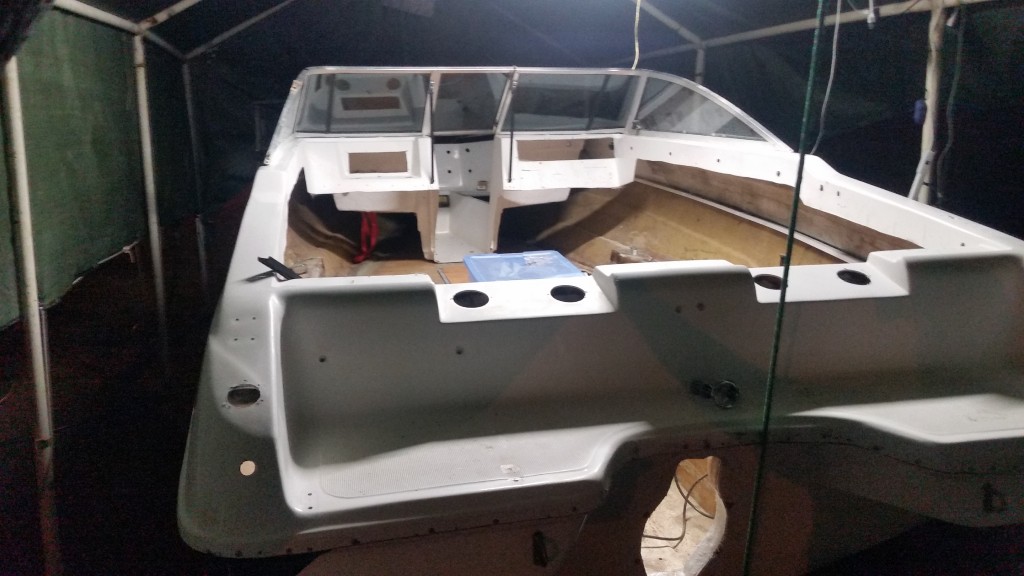
On Sunday afternoon, I moved things out of the way and got ready to set the cap in place. The last thing I did was to drill a 4 inch hole in the floor at the very bow to allow air to drop into the ski locker area and be drawn all the way back to the engine compartment. It is something I had talked about earlier in the thread. I think if I ducted my intake air properly, it will pull some air from underneath the bow structure, down through the ski locker, and into the engine compartment keeping everything dry and at ambient temperature (at least while it's running.)
Then I sealed the edges of that hole with resin.

I then rounded up my two sons Dustin and Douglas, and together we lifted the cap in place. Dustin stayed with me like a trooper and helped me to shoehorn it all the way down onto the hull, which was not an easy fight.

20200223_163405.jpg

20200223_163422.jpg

20200223_163428.jpg

20200223_172347.jpg

20200223_165823.jpg

20200223_172212.jpg
 

Reserector_

Chief Petty Officer" & 2021 Splash of the Year Win
Joined
Oct 15, 2019
Messages
592
I have a concept to improve the graphics that will be both simple and bold.
Here is a photo of the mock-up earlier in the project...

20191005_180853.jpg


And here is my idea using red and white vinyl, and some air brushed highlights and shadow.
I could call it my flag ship.


Idea.png
 

Reserector_

Chief Petty Officer" & 2021 Splash of the Year Win
Joined
Oct 15, 2019
Messages
592
Thanks, guys. I'm more stoked than ever about this project now. I feel like I'm over the hump. I might actually be only half way, but I'm past the structural part that I knew nothing about. I feel comfortable with all the rest.
 

Reserector_

Chief Petty Officer" & 2021 Splash of the Year Win
Joined
Oct 15, 2019
Messages
592
Had a productive, but tedious weekend. I took forever to get the cap lined up to a point where I could get it screwed to the hull.
Once that was in place, I went on to wet sanding, buffing and polishing the rest of the outside. That needed to be done before adding hardware and rub rails.
Next was horn installation because it is easiest to access with the windshields off.
Finally,I was able to refit the windshields. I attached them using the factory screw holes, and they were too far apart, as expected, because the hallway was not pulled down to the floor yet.
Once the hallway was attached to the floor, I still lacked a good 3/4" of where I needed it to be.
After some deliberation, I chose to unscrew the front 75% of the windshields and set them where they need to be. Not a big deal aside from a few screw holes to fill.

20200301_185203.jpg

20200301_185100.jpg
 

Reserector_

Chief Petty Officer" & 2021 Splash of the Year Win
Joined
Oct 15, 2019
Messages
592
No progress to show for this week because I've been passing kidney stones. But I do have a new sewing machine on the way, and am currently shopping for gauges and switches.
I figure I can get familiar with my electrical system while taking narcotics. Can't do much else.
 

Reserector_

Chief Petty Officer" & 2021 Splash of the Year Win
Joined
Oct 15, 2019
Messages
592
This weekend's progress was to install the rub rail channel. It took hours working alone. It was old and set in its ways. I ended up drilling new holes and running each screw in manually. It's still missing every other screw.
Yes, I remembered to caulk the seam first.

​​​​​
20200315_180745.jpg

20200315_180822.jpg

20200315_180840.jpg


On another note, this plastic channel actually shrunk a small amount in the 15 years it has been laying around. I ended up with a 1/2" gap on each side of the boat. I will most likely add some modified P seal to fill the gap so that it's not obvious. The insert will bridge the gaps no problem.

20200315_180929.jpg

20200315_180920.jpg


I decided to install some of the new hardware next, to give my screwdriver hand a break. All of this hardware was missing. I had to research pictures and hole patterns to find accurate replacements. I'm pleased with the new shiny bits.

20200315_1807280b5bd7d18c4323e9.jpg

20200315_18070049ebce8483e8d88b.jpg

20200315_1806546e6fed009c2c9ad8.jpg
 

Reserector_

Chief Petty Officer" & 2021 Splash of the Year Win
Joined
Oct 15, 2019
Messages
592
I hope to stay steady at it and be done and splashed in a few more months. The days are getting longer, so I can work on it in the evenings during the week. That will help.
 
Top