Building a '93 Caravelle 1750 Classic Bowrider

Reserector_

Chief Petty Officer" & 2021 Splash of the Year Win
Joined
Oct 15, 2019
Messages
592
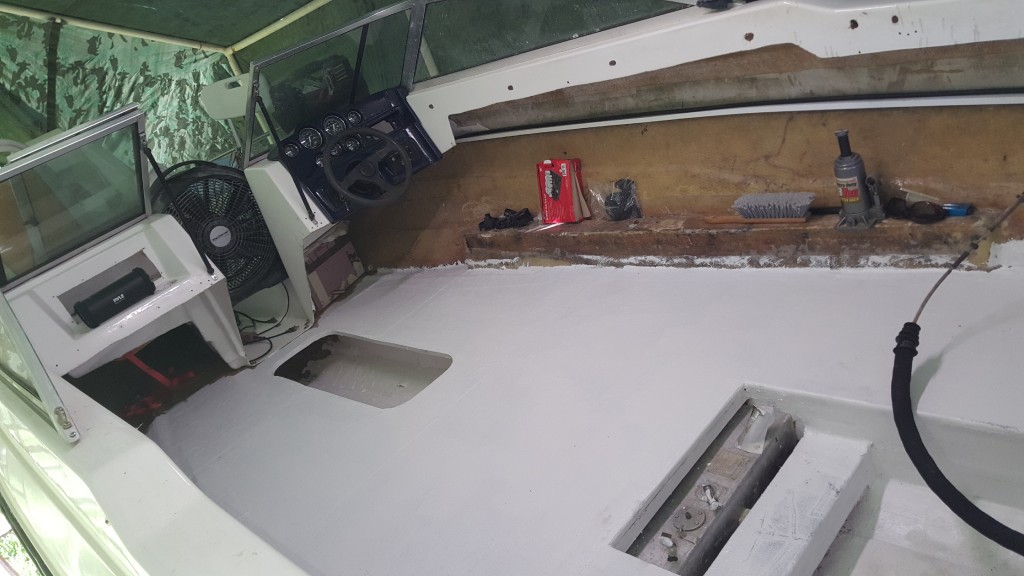
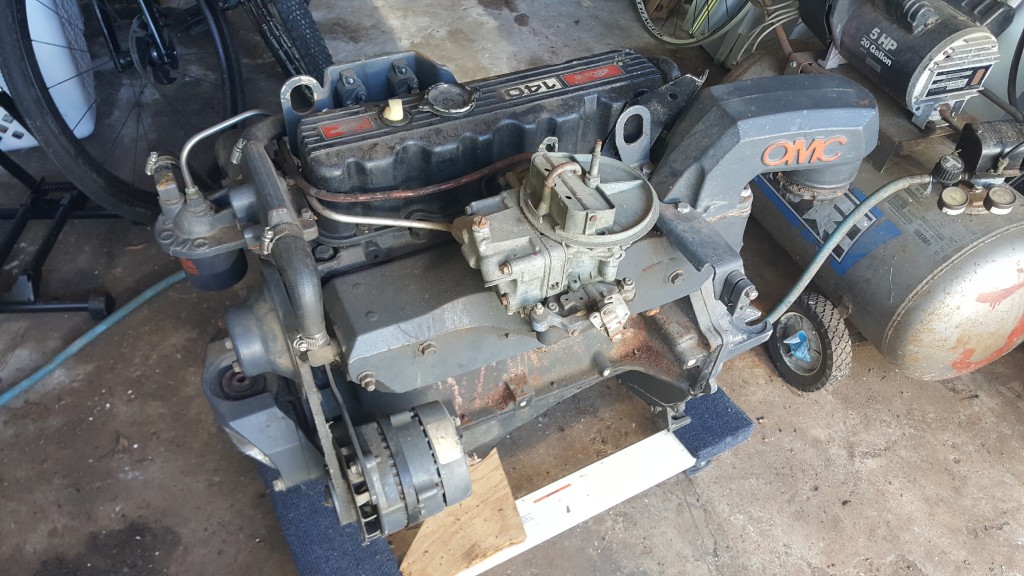
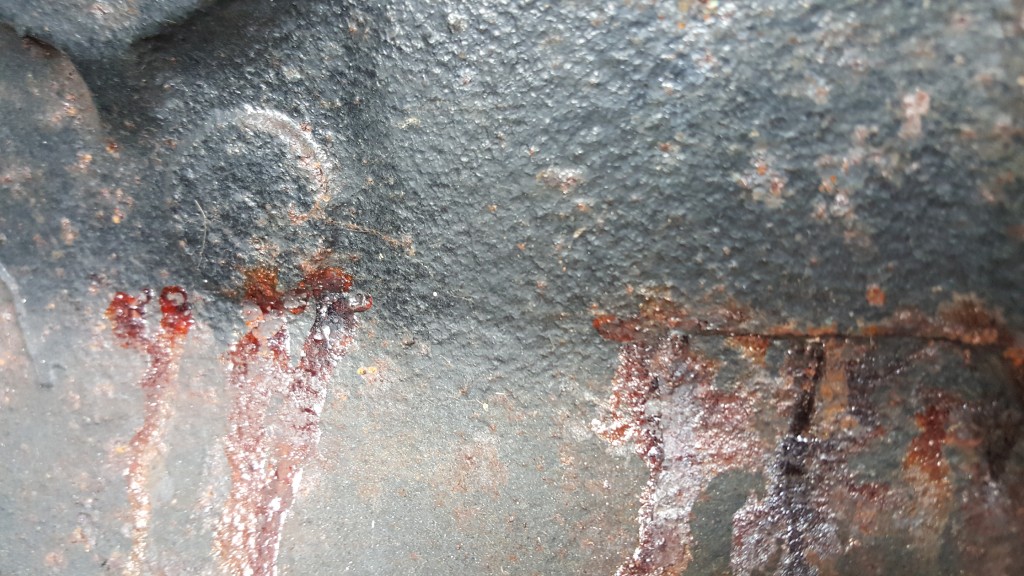
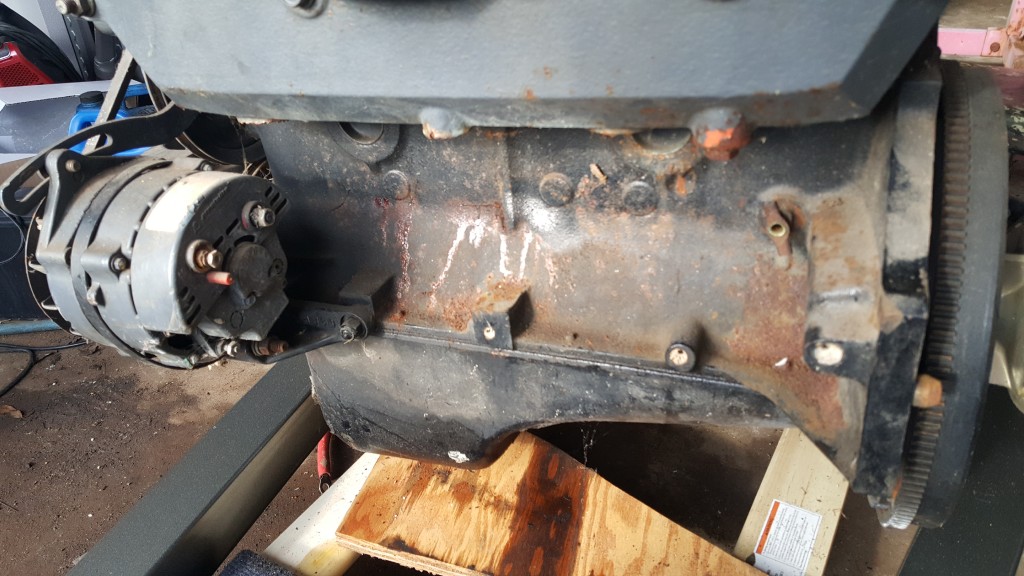
I didn't get much done on the boat for having to do some transmission repair on my truck. But to be honest, I'm at a point where I'm not sure what to do next. There are so many things I could work on, but I have to watch my money right now and don't want to order a bunch of material.
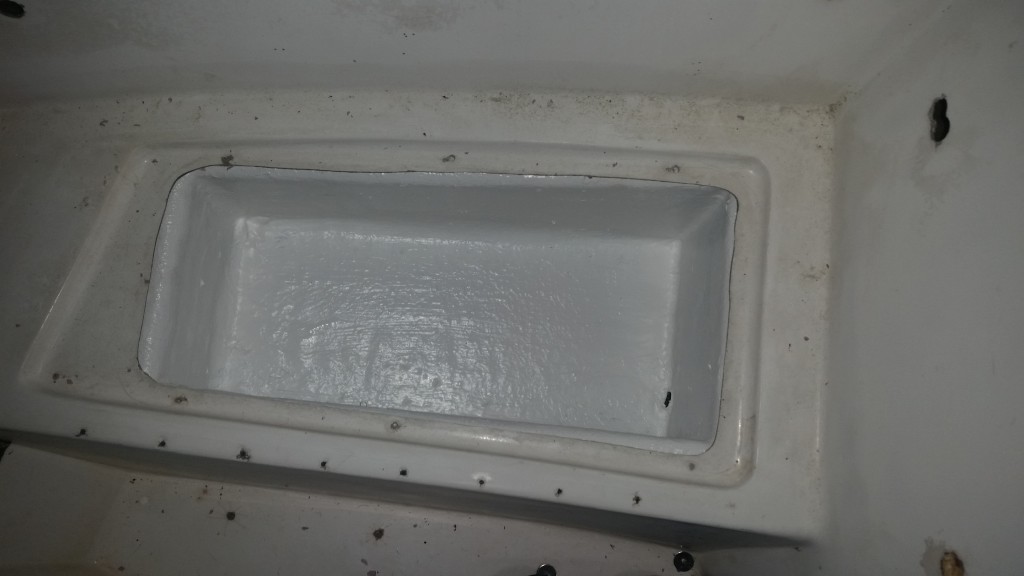
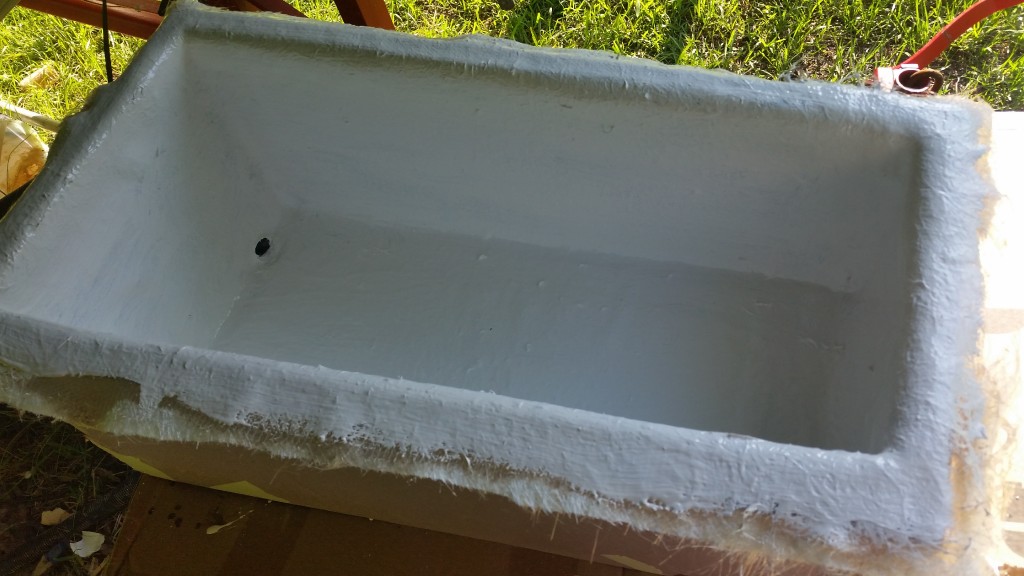
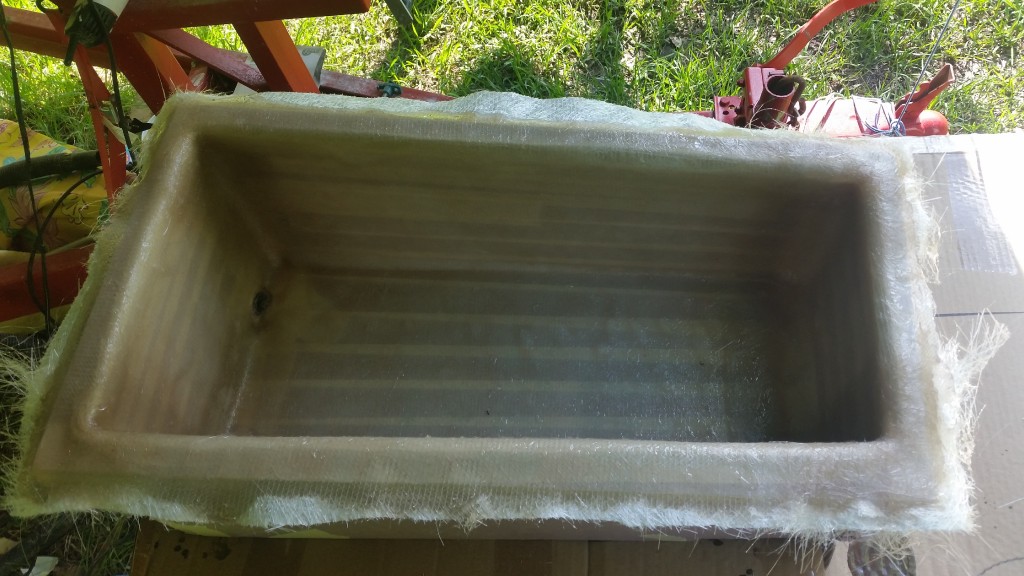
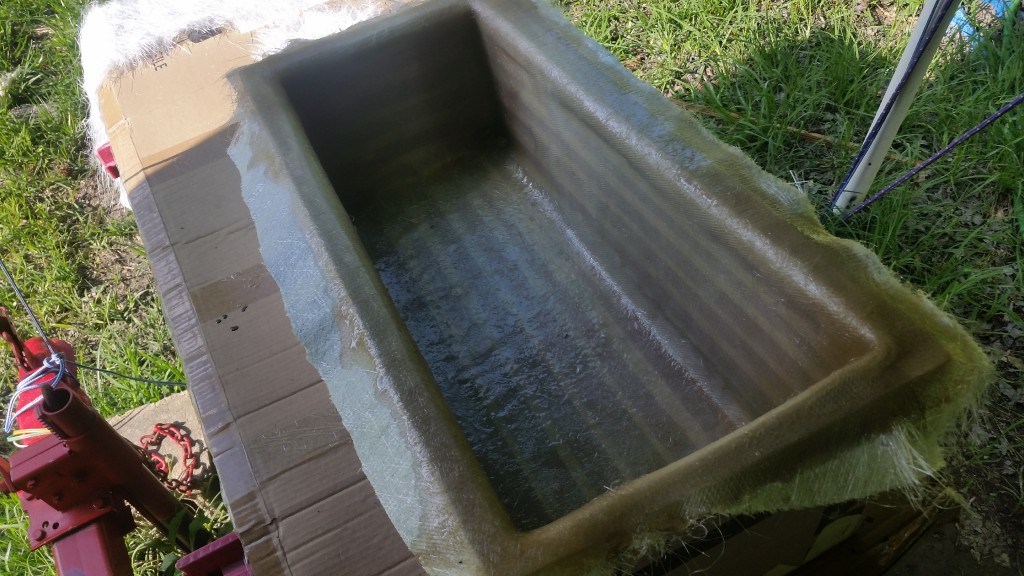
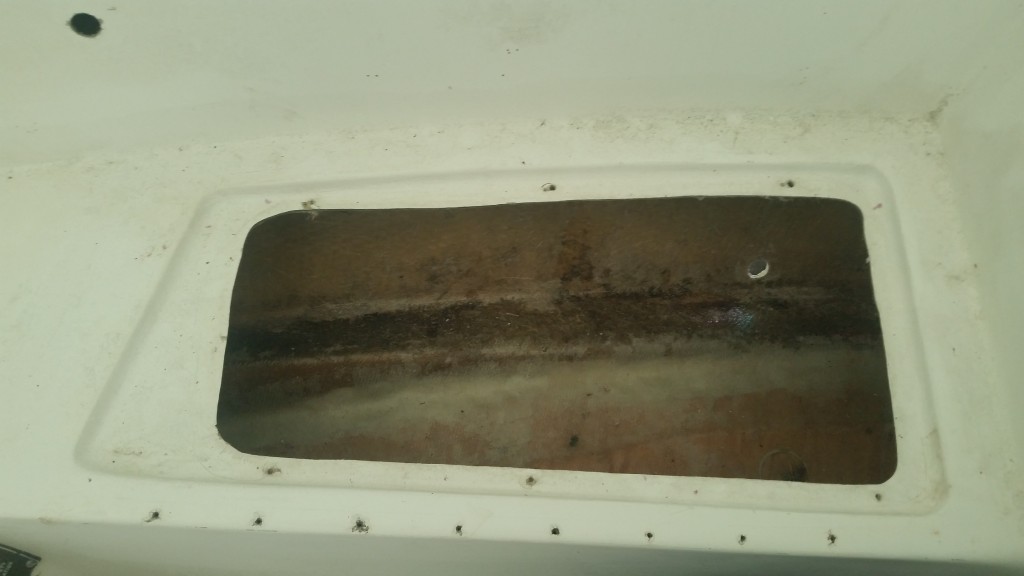
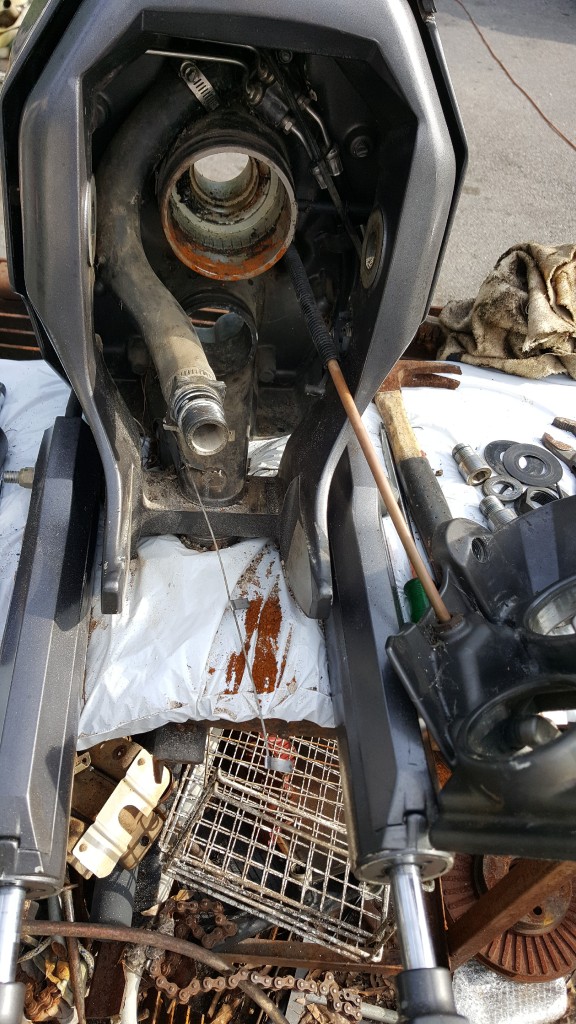
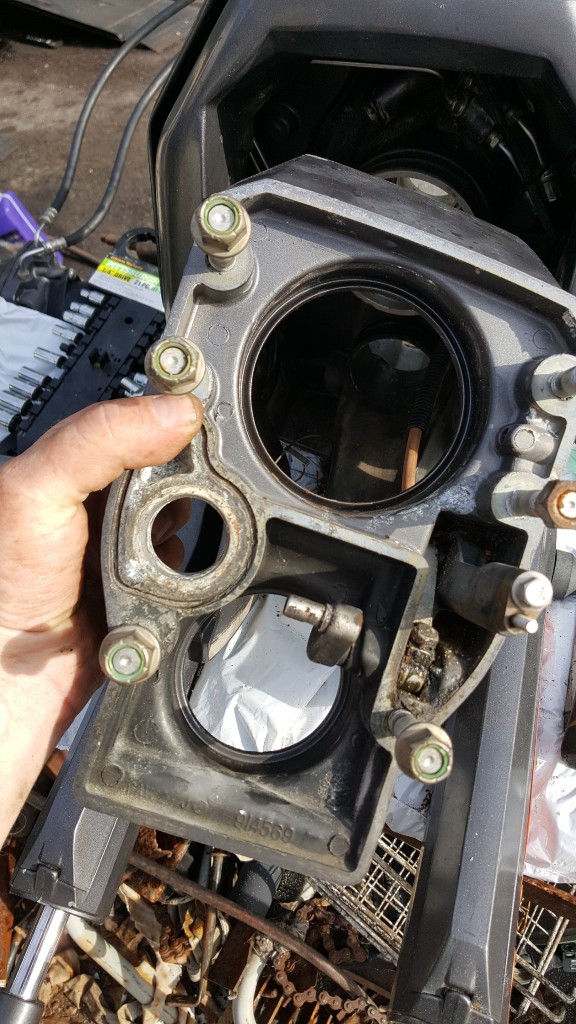
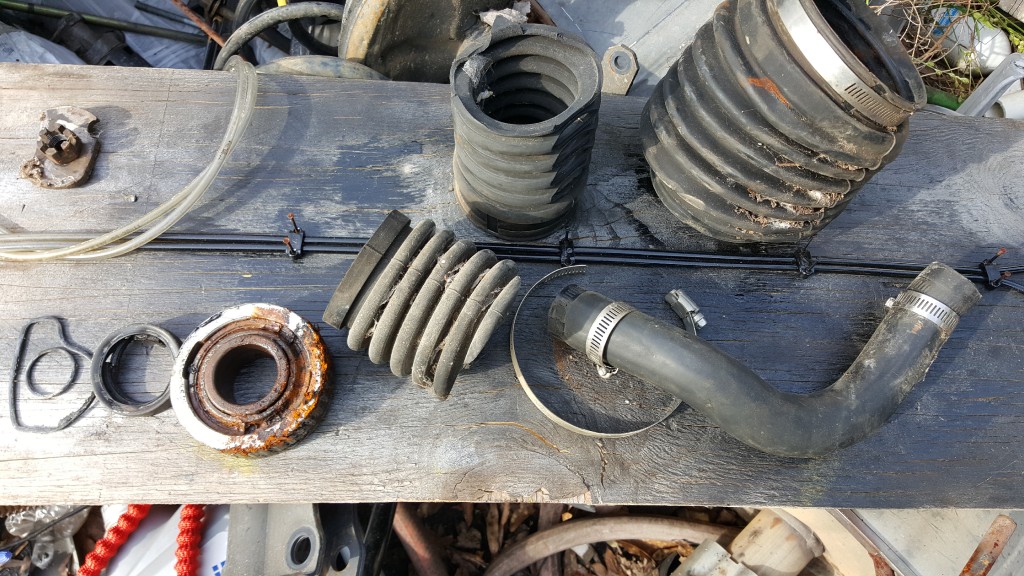
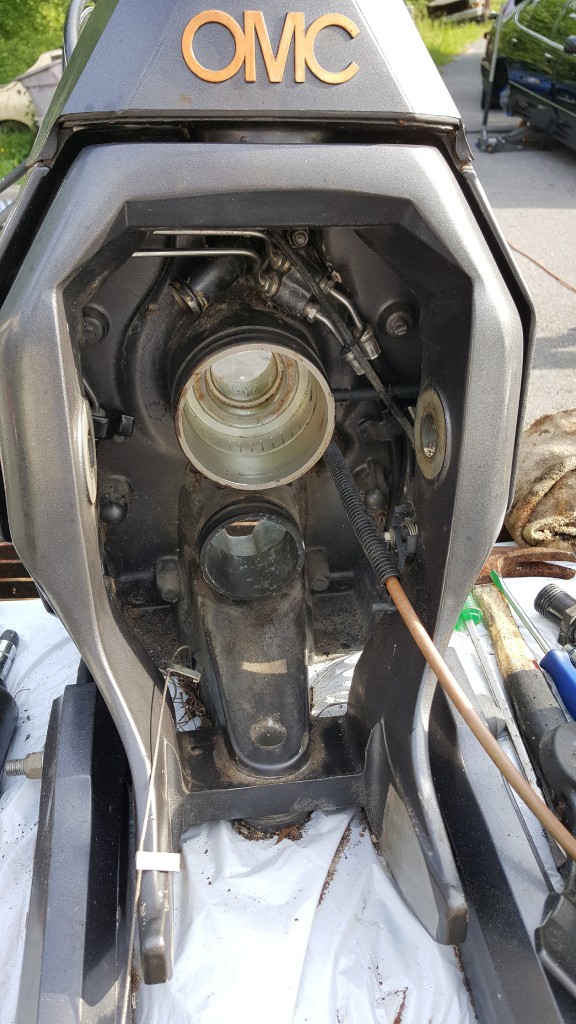
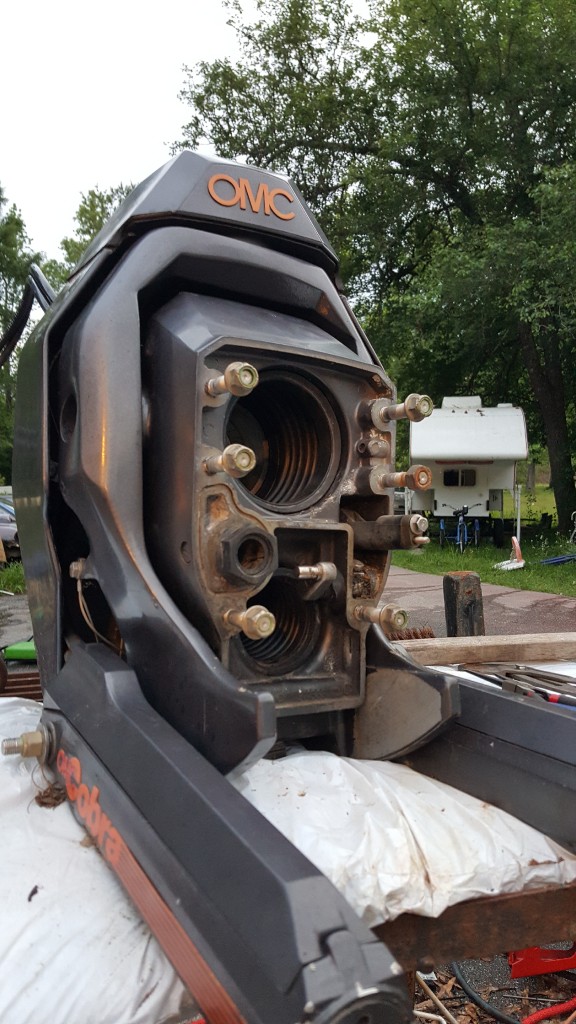
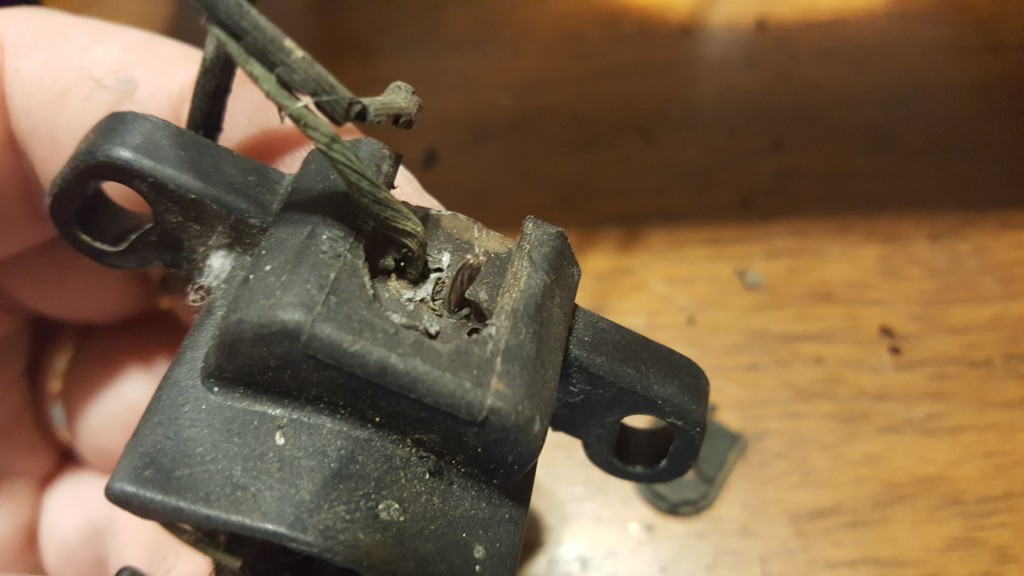
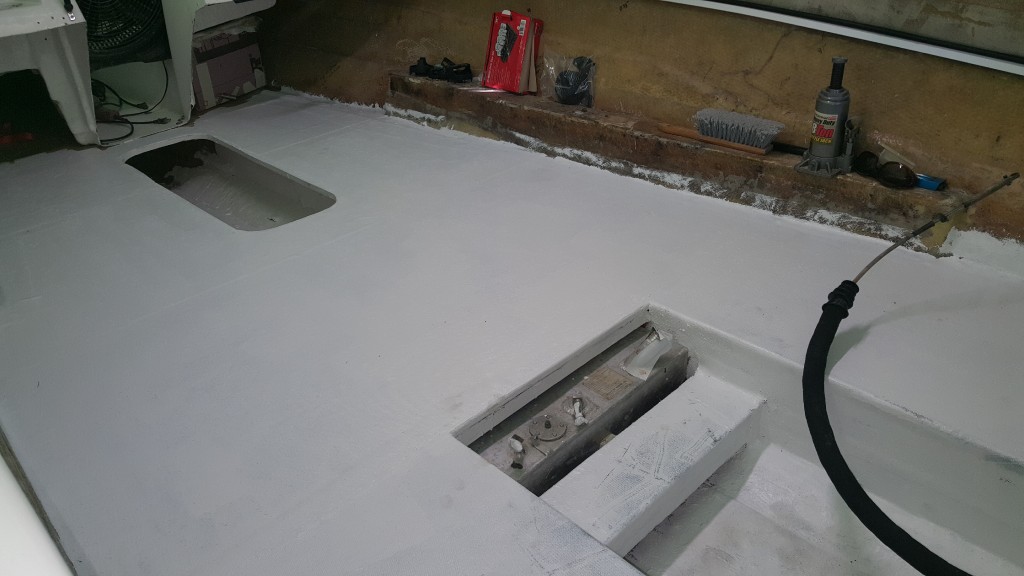
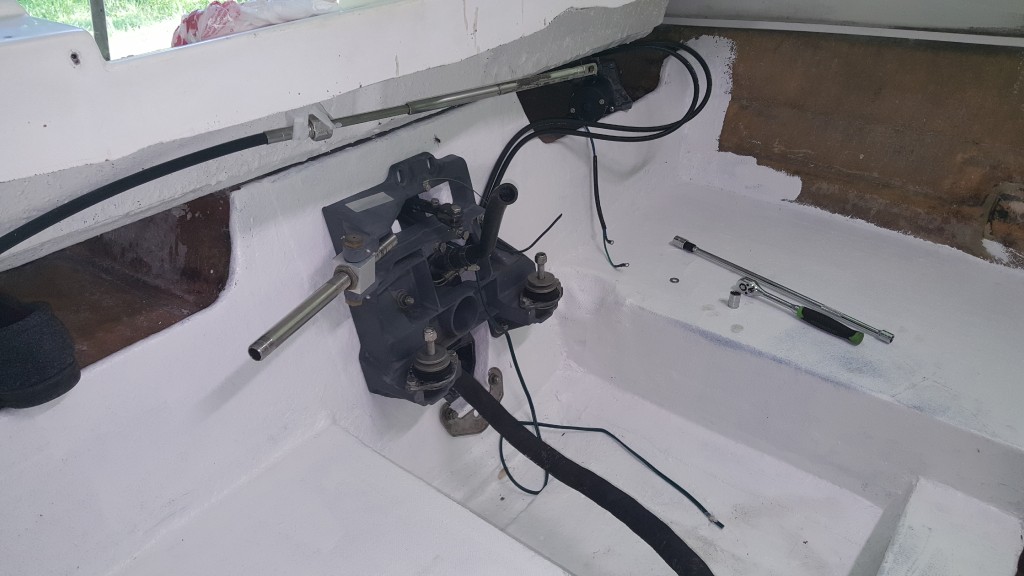
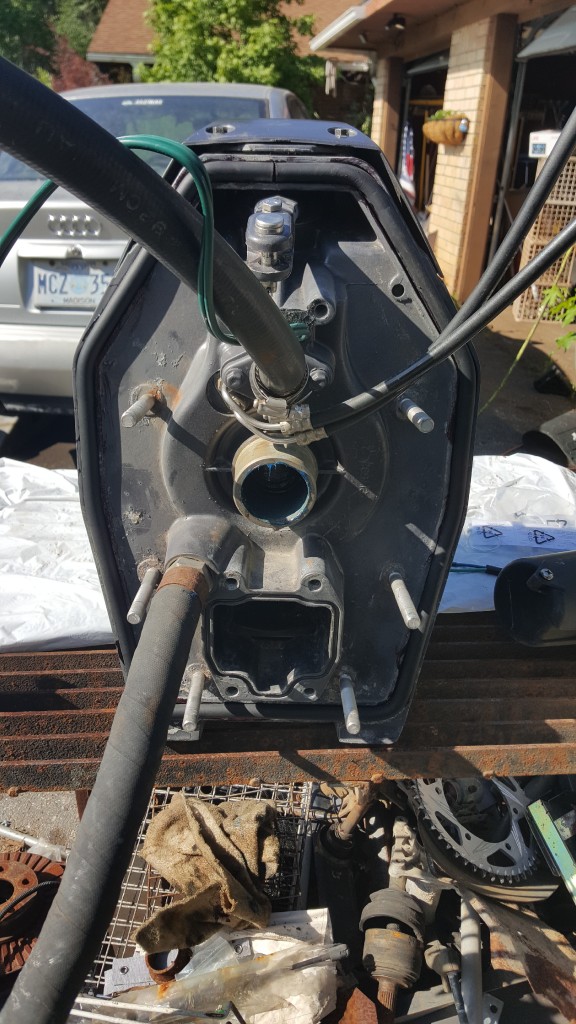
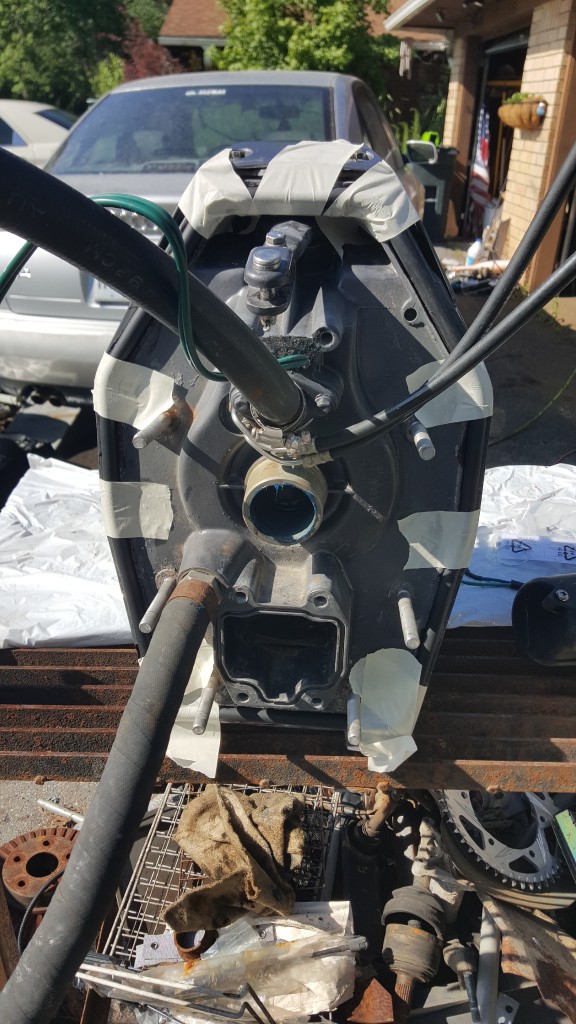
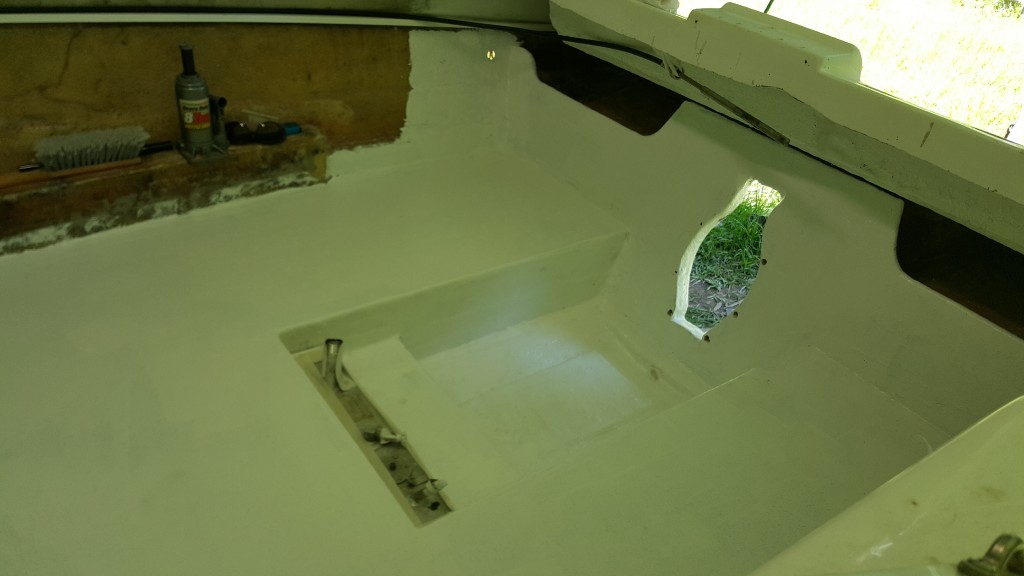
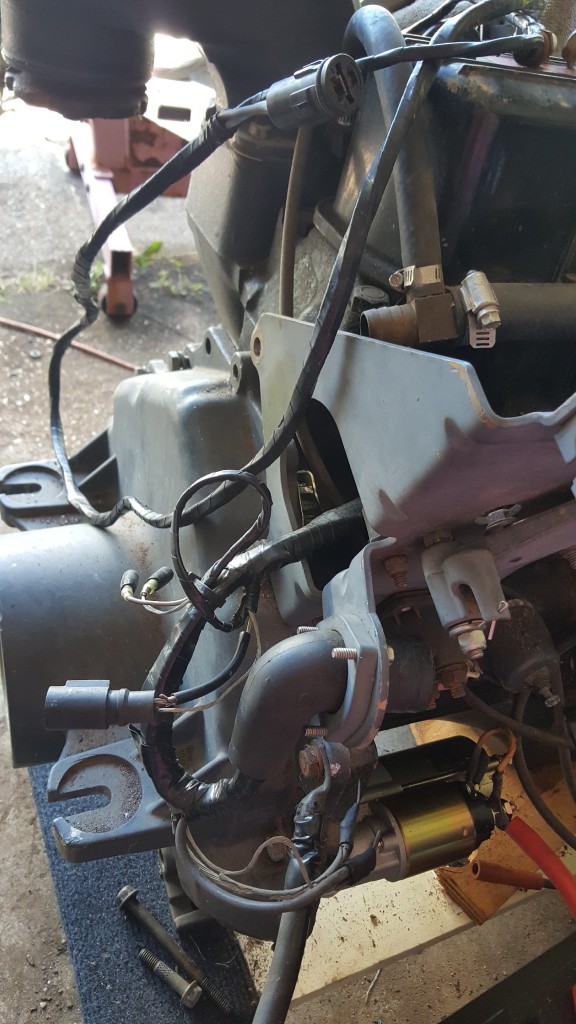
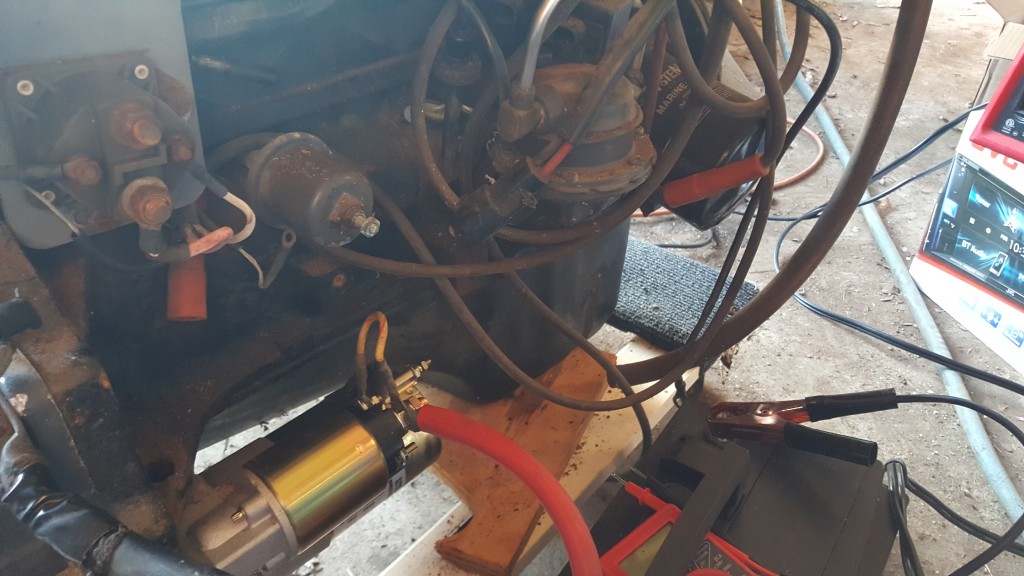
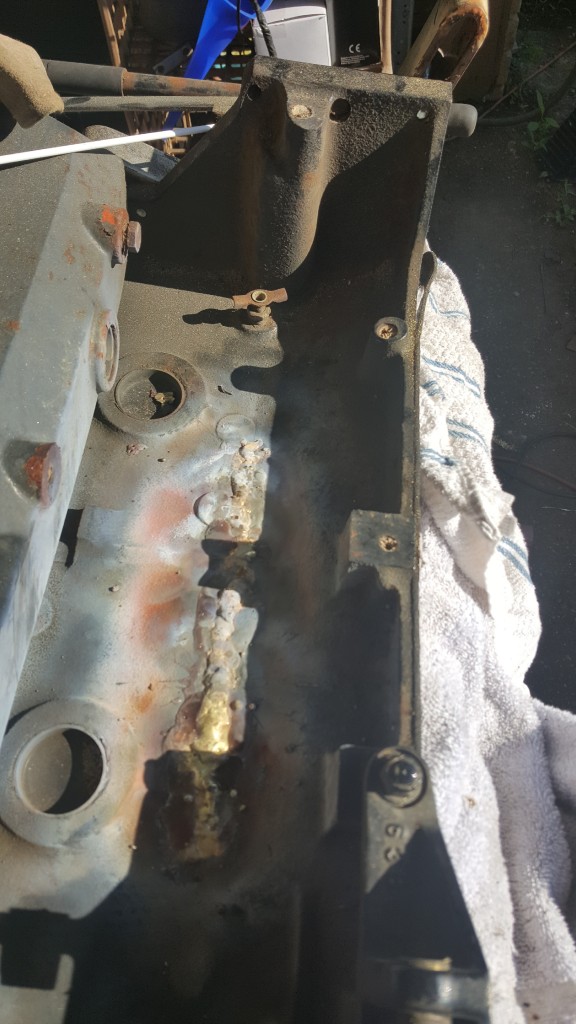
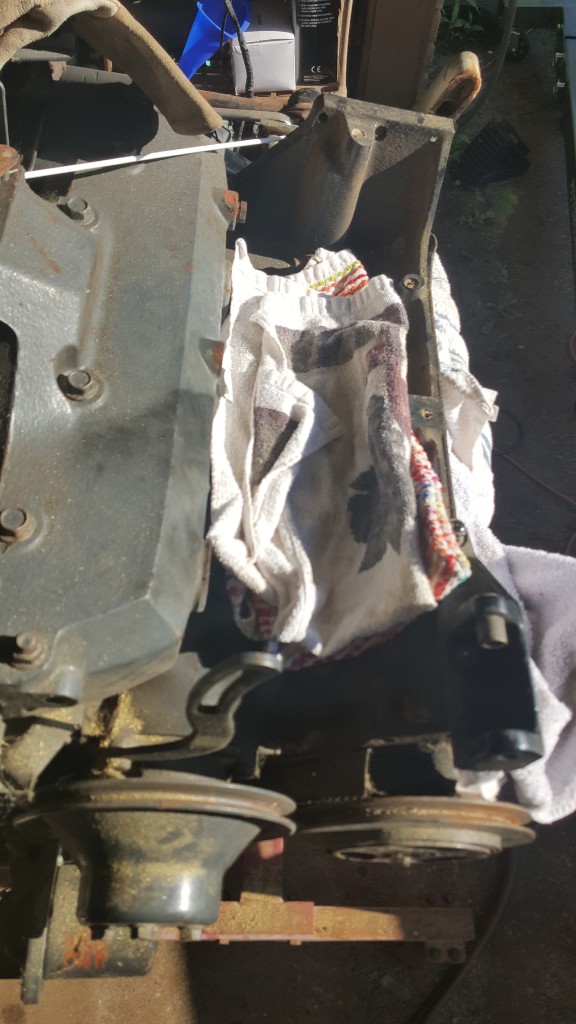
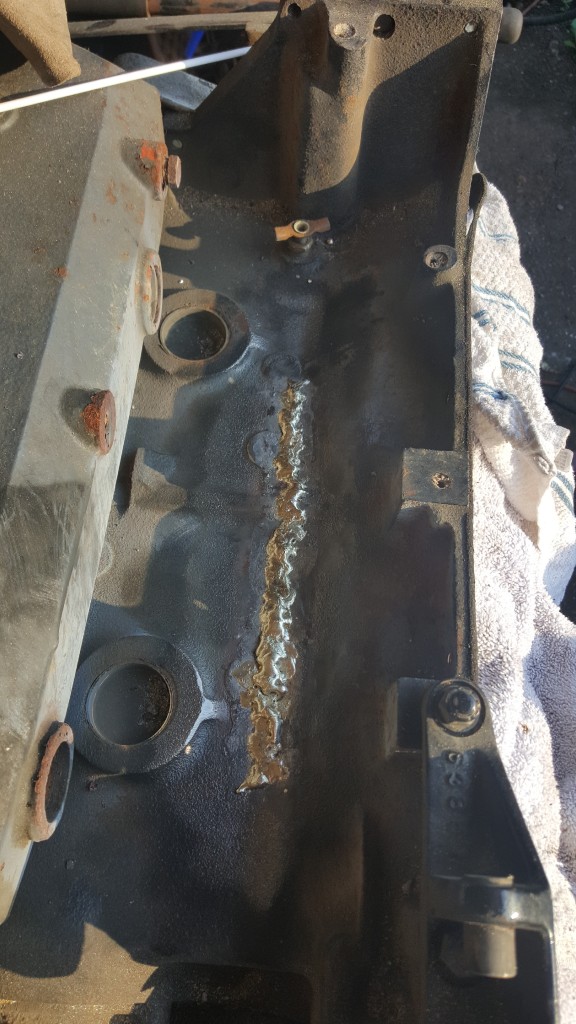
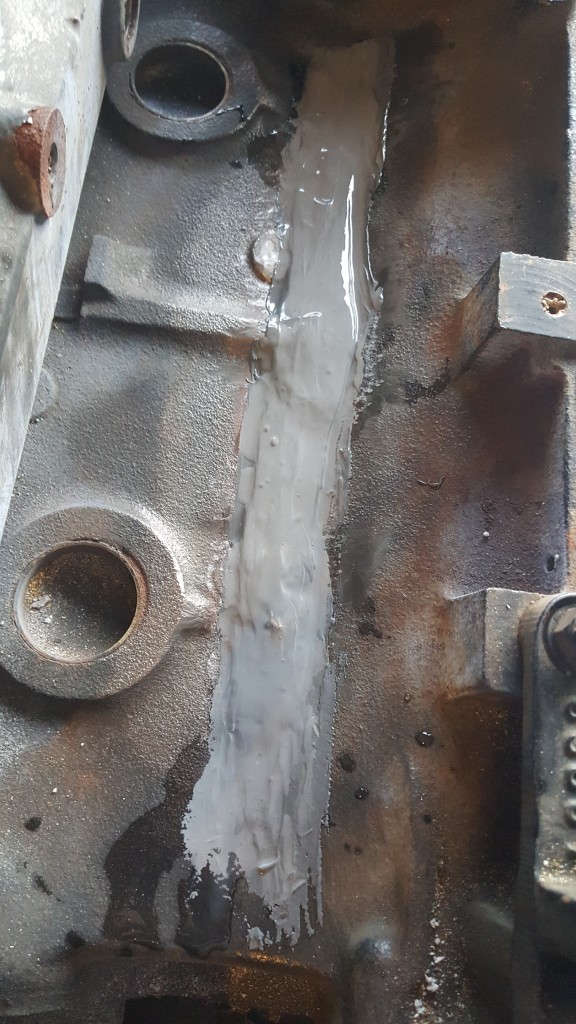
I have gel coat, so I might as well go ahead and gelcoat the bilge and ski Locker to get that out of the way. I can continue to wire up the gauges. But I think I really need to drop back and do the mechanical stuff. Starting with the gimbal housing.
what I really want to do is work on the carpet and upholstery, because that to me that's fun.
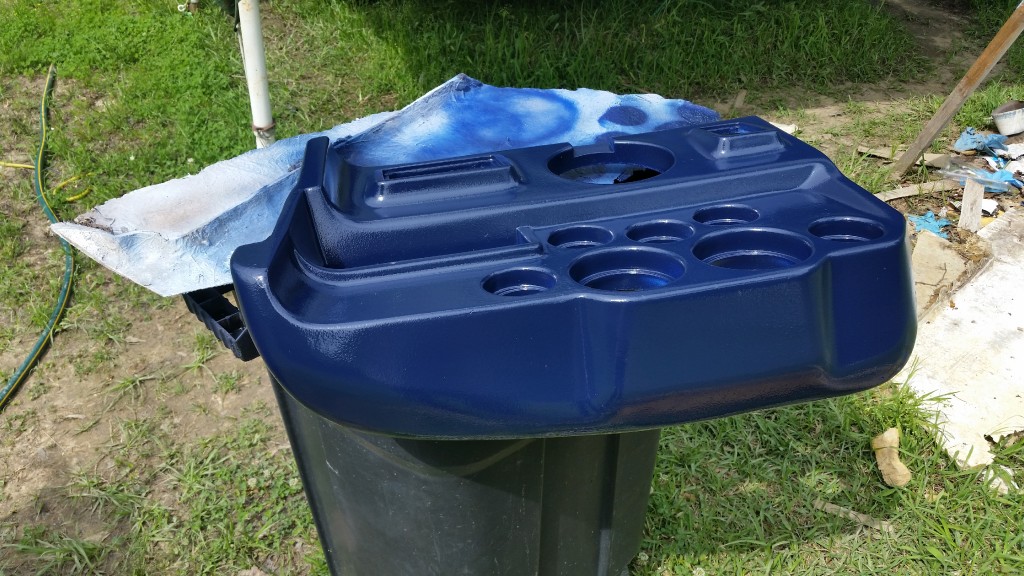
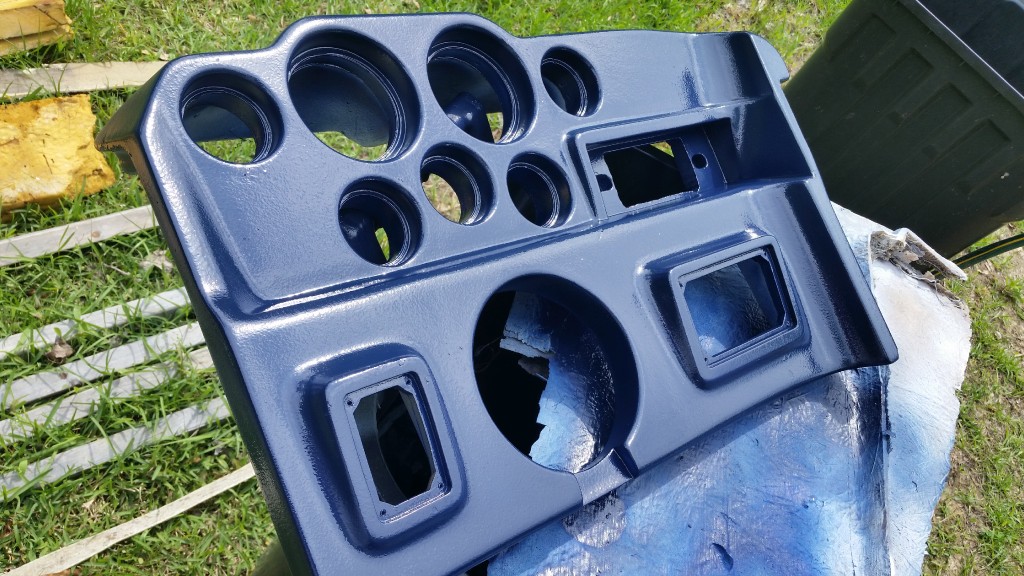
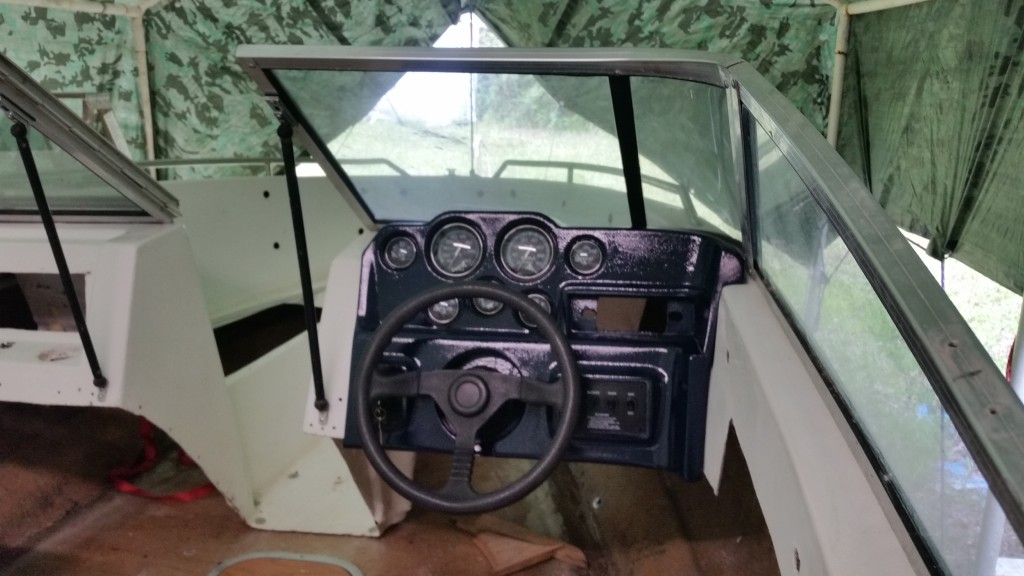
But anyway, all I did on the boat this weekend was respray the instrument cluster panel. The first paint blushed and needed recoating. And to be honest I didn't like the color, so I went with navy blue this time.

20200329_144518.jpg

20200329_144541.jpg

20200329_153114.jpg


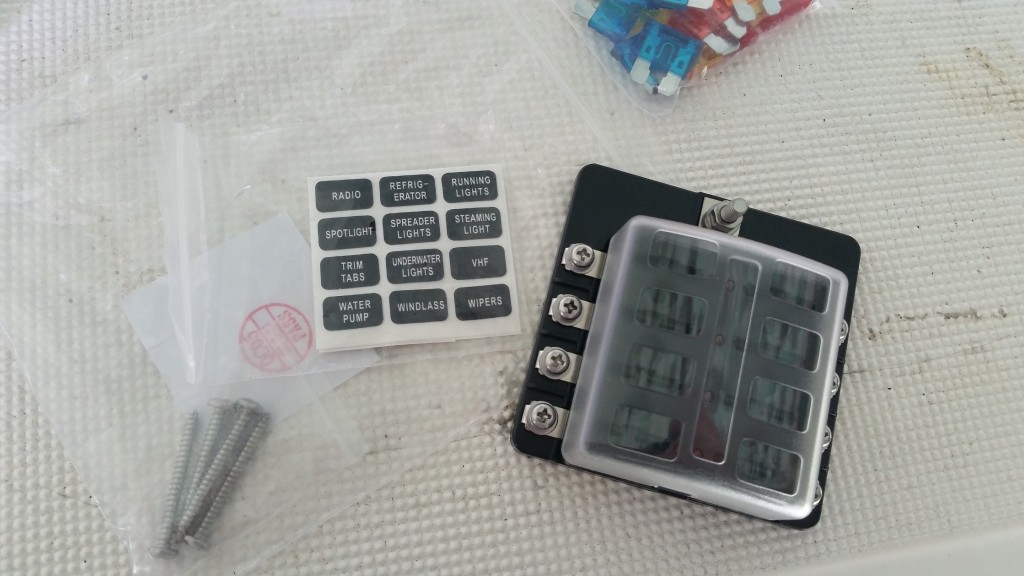
I ordered a fuse panel because mine was missing. I ordered one with a few extra circuits, and LEDs that will show you if a fuse is burned out.

20200329_144653.jpg
 

archbuilder

Vice Admiral
Joined
Sep 12, 2009
Messages
5,697
slow progress beats no progress! I have found that sometimes slow progress turns out to be the best kind! Carpet is very rewarding, but super frustrating at the same time! You end up doing some odd acrobatics lol!
 

Reserector_

Chief Petty Officer" & 2021 Splash of the Year Win
Joined
Oct 15, 2019
Messages
592
I need to figure out how to add the kick panels (or whatever you call them) under the dash on both sides. I have no clue how the factory installs that sort of thing. Are they glassed in? Is it wood strips attached here and there and the panels screwed to those?
I think I would like them to be removable, but at the same time, I don't know if they should be structural or not.

Any input and pictures are certainly welcome.
 

mickyryan

Rear Admiral
Joined
Apr 18, 2016
Messages
4,210
the kick panels on the wellcraft i did were screwed into the front fiberglass bucket for the bowrider
 

Reserector_

Chief Petty Officer" & 2021 Splash of the Year Win
Joined
Oct 15, 2019
Messages
592
Thanks, Mick. It looks like that's how this may have been. No indications of any tabbing.
I plan to make a pair of plywood braces to reinforce that area. Like gussets. They will attach to the bucket, and to the floor. I will leave them as open as is practical so I can have access to wiring and such. I will screw the kick panels to those.
I'm still working it out in my head.
 

Reserector_

Chief Petty Officer" & 2021 Splash of the Year Win
Joined
Oct 15, 2019
Messages
592
I built a cooler, since the factory part was missing.

I used a foam that is not compatible with poly resin, so I covered it with masking tape and made the best of what I had.

A piece of stainless tube for the drain.

The photos are out of sequence, and I don't have a pc to work on, so scan through them, and ask any questions you may have.
Basically, I built a foam box to fit the opening and to become the outside of the cooler. It is both the form and the insulation.
Because the box is bigger than the opening under the seat, it had to slide in under the helm. The drain will exit through the factory location in the hull, which you can see in some of the pics. That hole is the only thing that led me to understand that this boat had a cooler chest built in.
I plan to have the seat bottom act as the cooler lid, including a seal of some sort.


20200405_193737.jpg

20200405_171713.jpg

20200405_162751.jpg

20200405_162759.jpg

20200405_171706.jpg

20200405_150322.jpg

20200405_155311.jpg

20200405_150326.jpg

20200405_152651.jpg

20200405_143402.jpg

20200405_150318.jpg

20200405_150252.jpg

20200405_144350.jpg

20200405_143341.jpg

20200405_143024.jpg

20200405_141300.jpg

20200405_142407.jpg

20200405_141021.jpg

20200405_142255.jpg

20200405_133746.jpg

20200405_133946.jpg

20200405_133623.jpg

20200405_133527.jpg

20200405_133541.jpg

20200405_133609.jpg

​​​​​​​
 
Last edited:

chevymaher

Commander
Joined
Mar 29, 2017
Messages
2,915
Flotation foam is what 4 winns used on the cooler. Mine had ice in it 2 days later so it works pretty good.
 

Reserector_

Chief Petty Officer" & 2021 Splash of the Year Win
Joined
Oct 15, 2019
Messages
592
I hardly touched the boat this weekend. Got caught up on some maintenance around the house, though. Then there was Easter. Then there were tornadoes tearing by, just missing us.

I went ahead and ordered parts for the gimbal housing even though I said I wasn't going to spend money right now. I just figure that the gimbal housing is the one mechanical piece that ties everything together. That is the piece that will get me over the hump and moving again.

With the storms coming, I decided to be redundant and install the Carver boat cover that I got on clearance through iboats.com back when the boat was still in a million pieces. Great deal, I think. It is a universal fit for this size bowrider, and it fits really well.
Ultimately, I will store the boat under a carport. The cover will keep the leaves, cats and wasps out.

20200411_204748.jpg

20200411_204838.jpg
 

chevymaher

Commander
Joined
Mar 29, 2017
Messages
2,915
LOL I keep mine in a enclosed carport and under the cover. Then in winter a second cover for that snow drifting. Looks good there.
 

Reserector_

Chief Petty Officer" & 2021 Splash of the Year Win
Joined
Oct 15, 2019
Messages
592
This weekend I worked on the gimbal housing. It's mostly ready to install. I replaced everything except the trim sensor. I haven't put the new bearing in yet because I forgot to order a seal.

20200418_171025.jpg

20200418_171944.jpg

20200418_171502.jpg

20200418_171938.jpg

20200418_191350.jpg


The trim sending unit had a wire broken flush with the unit, and most of the insulation was gone. Money is beyond tight at the moment, so I elected to replace the wires and save the $135 cost of a replacement. The potentiometer tested good, so that became today's rainy day project. I built up a strain relief to prevent future breakage.
Next weekend I plan to sand and gelcoat the transom and bilge, finish up the gimbal housing and install that dude.

20200419_112923.jpg

20200419_120709.jpg

20200419_120726.jpg

20200419_145508.jpg

20200419_151447.jpg

20200419_151638.jpg
 

Reserector_

Chief Petty Officer" & 2021 Splash of the Year Win
Joined
Oct 15, 2019
Messages
592
More progress. I tidied up the drain, sanded the fuzz off the floor, gelcoated the floor, bilge and ski locker, installed the gimbal seal and bearing, installed the foam rope seal, and installed the gimbal housing.
I gave the gelcoat a full day to cure, but my socks would stick to it off I didn't keep moving. I now have a blue jean butt print next to the bilge where I sat to tighten the nuts.
The other problem I ran into was that the two bolts that pass through the inner casting into the gimbal casting have become "the bolts Excaliber". They were the first thing I installed, snugged them down to hold everything, then started working down the stuff nuts. Once fully seated, I went back to the bolts, and they won't go on any farther.
I loosened the inner casting to make sure it was not binding them, but no go. I can back them out one round each and then they jam. Both have one round of freedom. Where is King Arthur when you need him?
I will try to get some penetrating oil in the threads, and maybe use an impact on a light setting. I had to walk away to avoid making rash decisions.

20200426_173557.jpg

20200426_173535.jpg

20200426_173455.jpg

20200426_173421.jpg

20200426_162505.jpg

20200426_162305.jpg

20200426_162253.jpg

20200425_143451.jpg

20200425_125131.jpg

20200425_125116.jpg
 

Reserector_

Chief Petty Officer" & 2021 Splash of the Year Win
Joined
Oct 15, 2019
Messages
592
I'm still alive. Haven't died of COVID19 or anything. Just got lazy when it comes to posting updates.
I just thought I'd jump on here to let you guys know that progress is still progressing on the Caravelle. I've mainly been going over the engine. I will get some pics uploaded shortly and get you guys all caught up.
 

Chris51280

Ensign
Joined
Jan 24, 2018
Messages
907
yup, gelcoat need the wax as final coat or cover it up so no air get to it. been there too.
 

Reserector_

Chief Petty Officer" & 2021 Splash of the Year Win
Joined
Oct 15, 2019
Messages
592
With the gimble housing in place, I moved on to the engine. I figure that if I get the heart of the boat in place, I can start bringing it all together.
As you can see, a Mercruiser 140 replaced an OMC 3.0 at some point. It was all Cobra to start with.
It was a bit of a mess. Plug wires were a mile long. Car starter. Stuff like that. Not terrible, but not exactly loved, either.
The first thing I replaced was the starter. New, marine version.

I checked compression, but the results were all over the place. I think it may have sucked some rust flakes through the valves, preventing a good seal. I put some oil in each cylinder and tried again. Looked around with a scope camera and the bores looked ok, but I was right about rust or dirt getting in there.
With oil added, some were better and some were the same. I let is set for a day and all was well. I suspect that there were stuck valves, rings, and lifters before because the later results were 150 across the board. Yay!

20200502_122451.jpg

20200510_122354.jpg


Shiny new starter.
20200507_190335.jpg
 
Last edited:

Reserector_

Chief Petty Officer" & 2021 Splash of the Year Win
Joined
Oct 15, 2019
Messages
592
Then I got the dude up on an engine stand and found this: Cracks with coolant stalactites running out of them. Also, a missing freeze plug in the manifold, and one behind the flywheel that was popped out.
The drain petcock on the block was open, so I think the PO did not realize that it froze before he had a chance to drain it. I know the guy, and even though he gave me the boat, he was excited to see it have a new lease on life because (he thought) the engine was in really good condition.

20200516_123511.jpg

20200516_123518.jpg

20200516_123934.jpg

20200516_173802.jpg


20200516_173752.jpg


At first , I was bummed. Almost defeated. But I took a breath and started researching. I learned that this is a common failure, and that JB Weld or MarineTex is usually adequate to repair it.
Since the engine is on a stand, and I am no stranger to casting repairs, I decided to braze the cracks as a stronger, more permanent repair. As luck would have it, I was out buying some new brazing rods and got into a conversation with another welder who had done this same repair on his boat using special stick welding rods. He claimed that the casting is so thin in places that he kept burning through and ended up going over it with brass.

I brazed mine, and then coated it in JB Weld just to go completely overkill. I later found a small crack up near the head that I repaired with JB Weld only. I did't want to heat soak that area.
My only concern now is that cracks may develop in the bores. That would be the worst-case scenario. I don't think that will happen in this case, but I had it happen in a small block Chevy once. Time will tell. I'm going to run it and hope for the best.

Cracks prepped, and preheated, with a "tack" braze in teh middle of the longest one to stabilize the area.

20200520_161244.jpg


Brazed
20200520_172758.jpg


Covered to allow it to cool evenly
20200520_173234.jpg


Cleaned up
20200520_185325.jpg


JB Weld applied and smoothed with an ice cube.
20200521_193630.jpg
 
Last edited:
Top