SHSU
Lieutenant Junior+Starmada Splash Of The Year 2019
- Joined
- Mar 8, 2017
- Messages
- 1,665
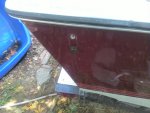
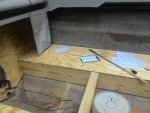
I did get the transom hole out. Still need to get the steering angle done.
Very Nice


I did get the transom hole out. Still need to get the steering angle done.
LOL I knew that would be the answer. I found this resin and with shipping it was 120 bucks. You heard me right 10 bucks shipping no haz mat fee. I just needed smacked back to reality. I could swing that even now and get the transom permanently in. And they don't sell the kind i really need i looked.I would be very leery about anything calling itself general purpose resin, not for structural repairs. Like your intuition is telling you. Stay away. You want a good quality unwaxed layup resin from a supplier who sells it frequently. Shelf life of polyester resin is around three months.
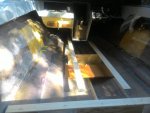
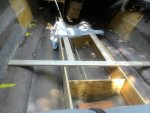
Got alot of exercise doing this today. Trim with the grinder. Climb in and test fit mark it. Climb out. Rinse and repeat for hours.
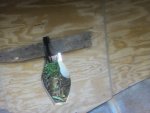
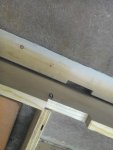
I took a pic of one of the guide pins.
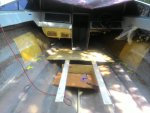
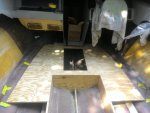
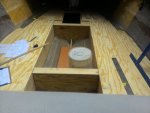
I took the main stringers out and cut the top for the underdeck bracing. It ended at the stringer before and they had wood attached to the bottom of the deck to hold the skii locker door up. I just ran it across to do that.
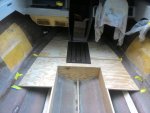
Cut the skii locker hole in the bracing and deck.
Basically that was it a long day. Lots of rinse and repeat going on.
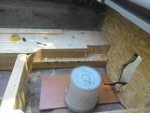
Yes it is getting the foam. Every where it had it before. Under the skii locker. Under the tank. Under the decks. And it had it in the side things arm rest I keep calling them. They are actually the shelf in the side storage compartments. Cup holders in there to. But with the side panels off they look like arm rest.You going to fill with pour in foam under that deck?