HI everyone,
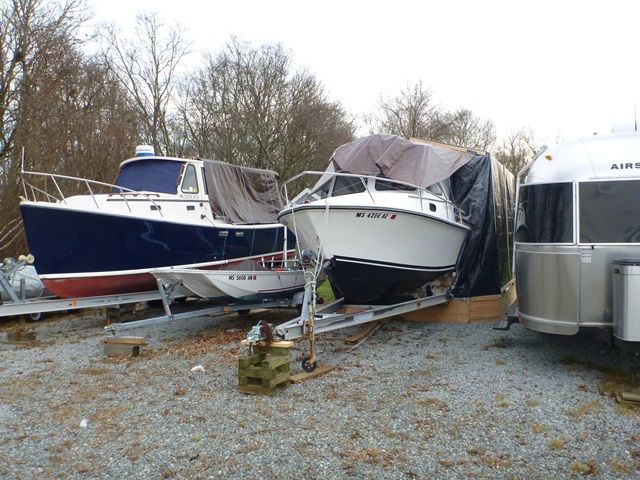
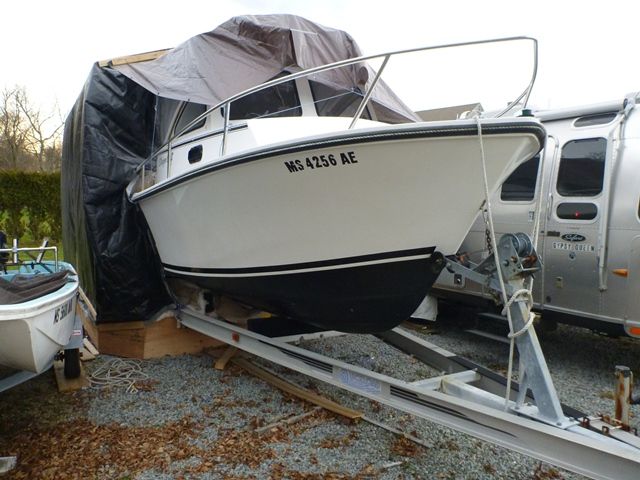
My name is Tom and I am looking for some advice on the rebuild I am in the middle of. I am currently rebuilding a 1988, 23? Stieger Craft Block Island. When I bought the boat it was not intended as a project, but shame on me, some major issues slipped right past me. Boat is pictured below.
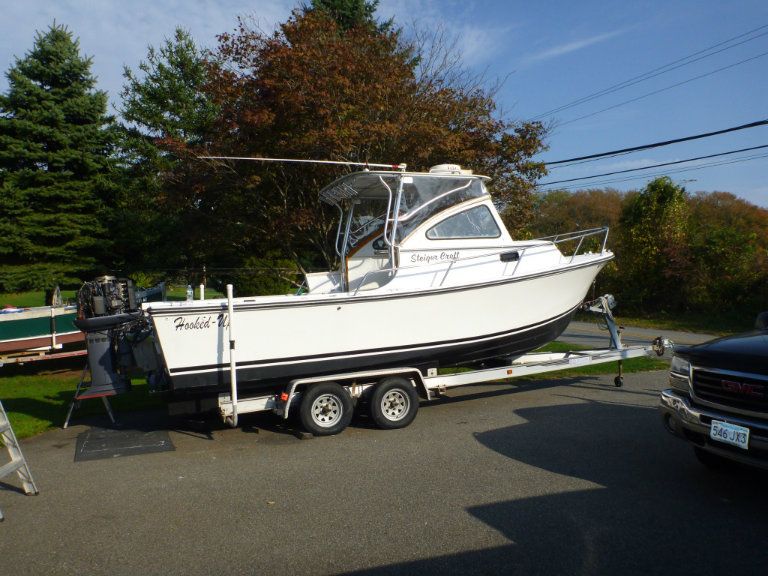
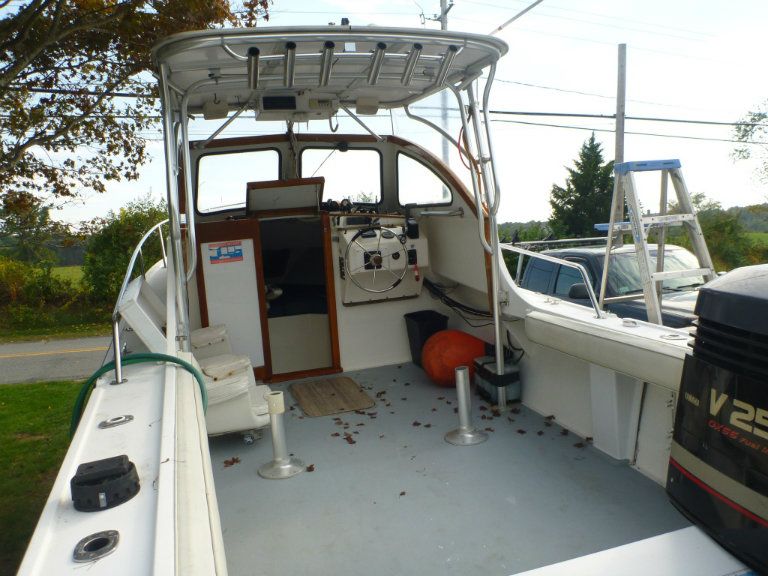
1988 was one of (if not the) the first years that Steiger built the Block Island Deep Vee models. For its age the boat was in very nice condition. Appeared sound, clean and well kept. The owner had frozen the head on his Yamaha OX66 250 at the beginning of the season and decided to sell the boat. I got it without the motor for a reasonable price (for a boat that was otherwise good to go).
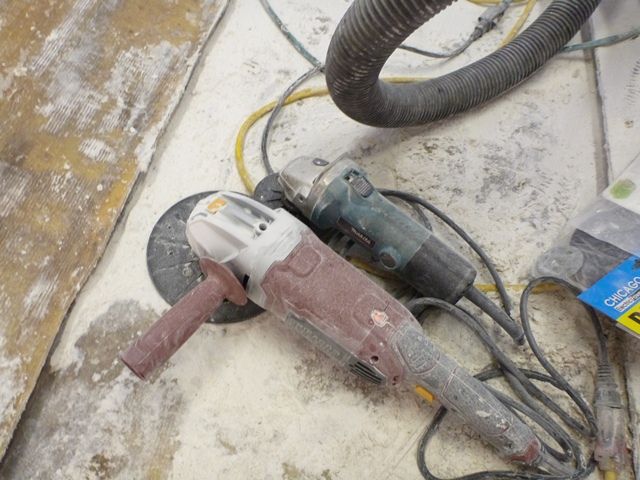
What I ultimately found was that the boat had already had the deck out once, and as a result the last owner took some drastic, horrific and scary methods to get rid of rot in the stringers/bulkheads and did a shotty job of the sole replacement. The result was a boat with inadequate, hacked up stringers and bulkheads with endless rot problems in the original structure. I?ve now removed all of it and besides a ton of grinding, I?m left with planning how to put it all back in. Some pictures below of what I ran into:
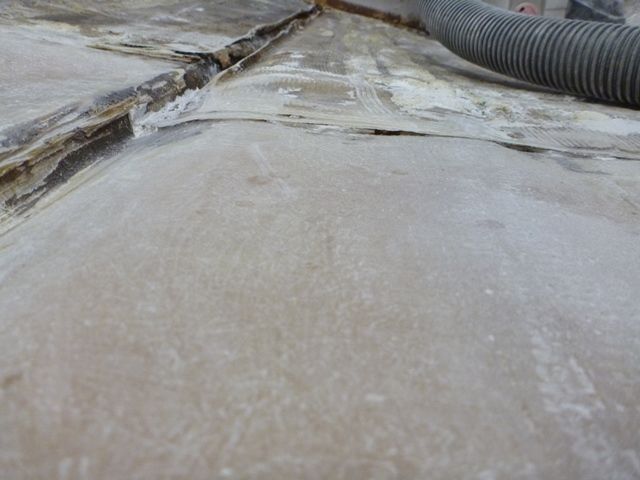
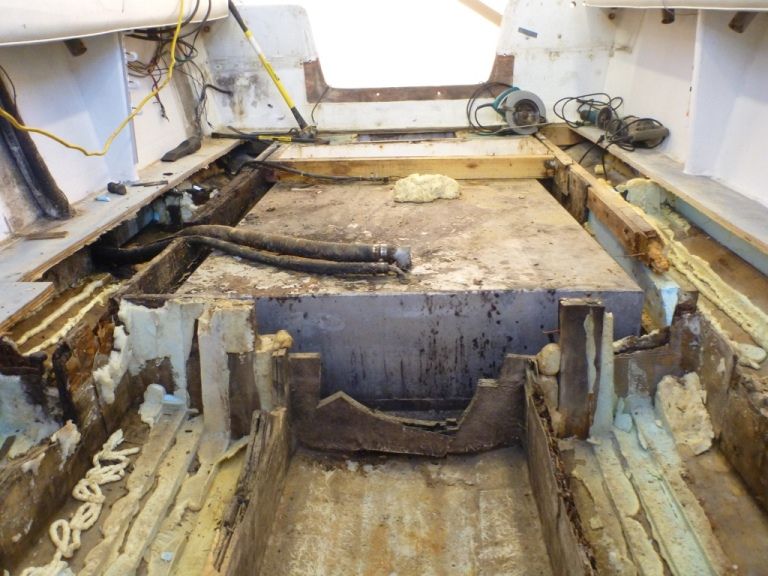
Below is one from after all the foam was removed from both sides looking back toward the tank. Its amazing to see how much of the stringers were just cut out and left to rot.
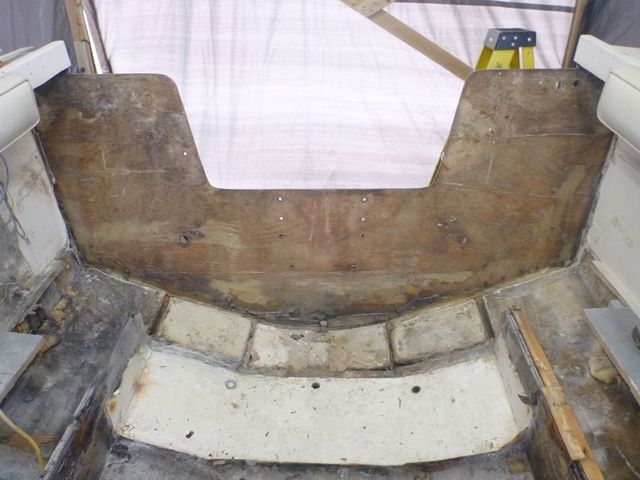
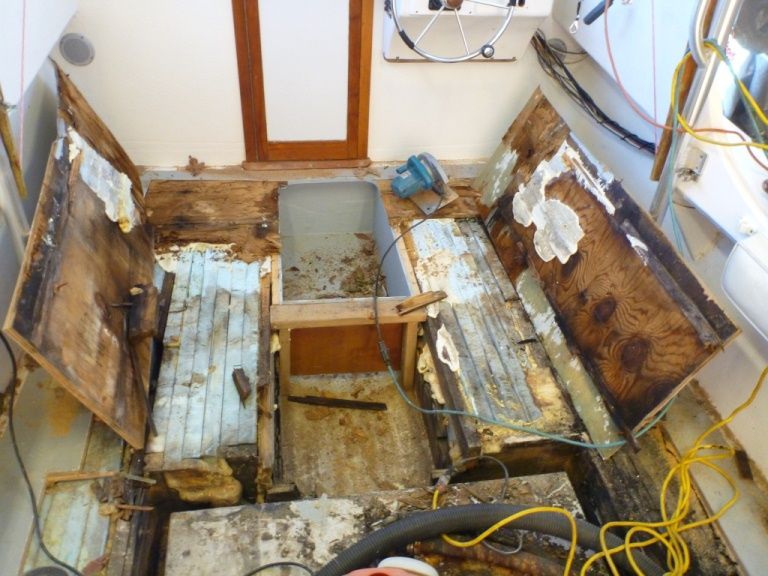
Forward of the tank just behind the helm. The last owner put blue foam like you?d find around foundations under the sole. Without it the rotted deck probably would have collapsed by now.
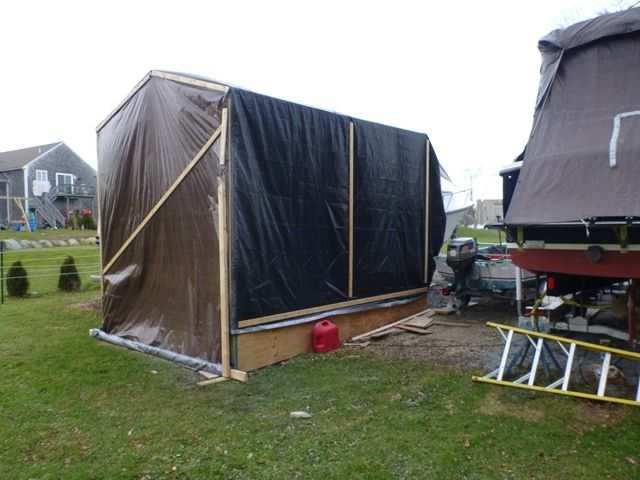
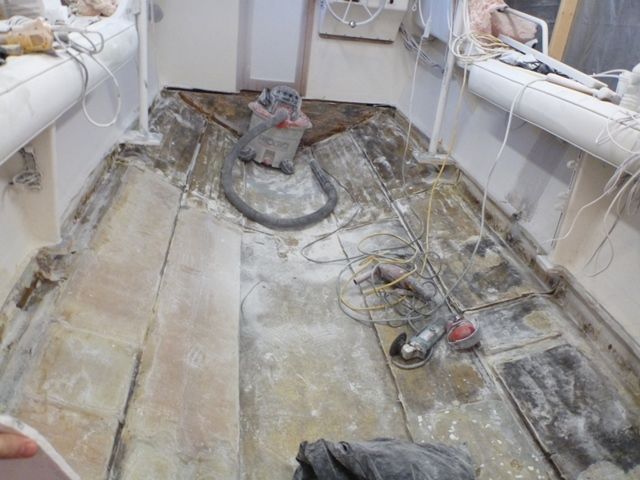
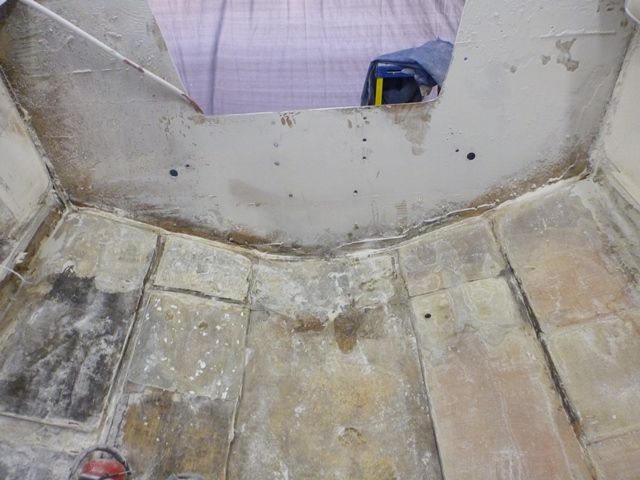
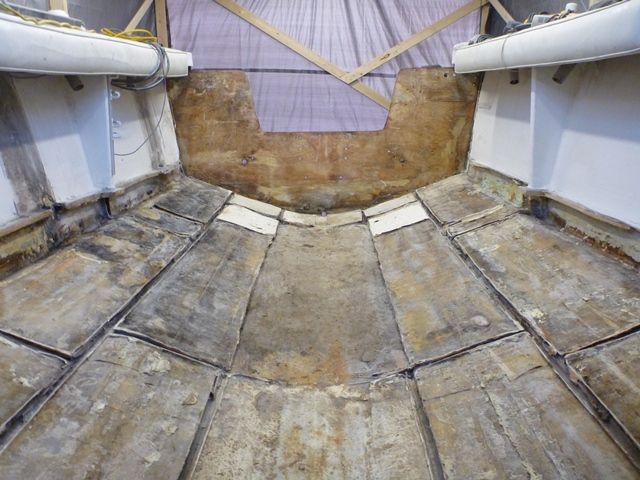
There?s a lot more which I have been chronicling on another website, but wasn?t sure if I could post a link to it here so I didn?t. Below is a picture of where I?m at now.
Looking aft
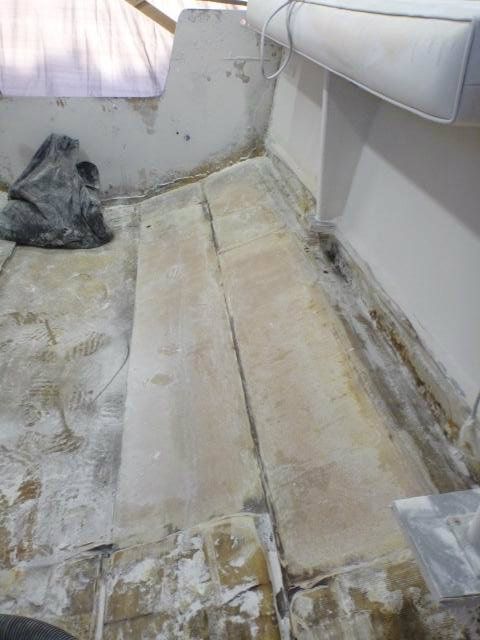
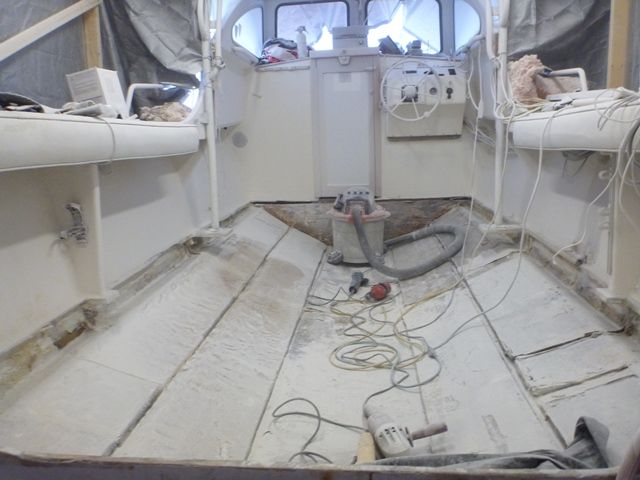
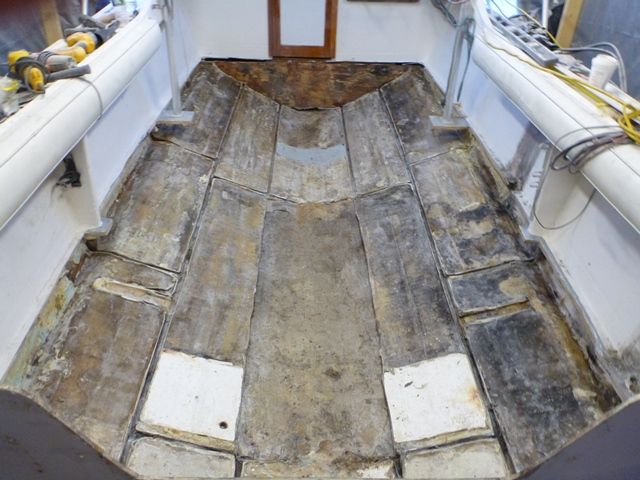
Looking forward
I have some questions now for everyone here regarding how to put it all back together. I?ll start that in the next post.
My name is Tom and I am looking for some advice on the rebuild I am in the middle of. I am currently rebuilding a 1988, 23? Stieger Craft Block Island. When I bought the boat it was not intended as a project, but shame on me, some major issues slipped right past me. Boat is pictured below.
1988 was one of (if not the) the first years that Steiger built the Block Island Deep Vee models. For its age the boat was in very nice condition. Appeared sound, clean and well kept. The owner had frozen the head on his Yamaha OX66 250 at the beginning of the season and decided to sell the boat. I got it without the motor for a reasonable price (for a boat that was otherwise good to go).
What I ultimately found was that the boat had already had the deck out once, and as a result the last owner took some drastic, horrific and scary methods to get rid of rot in the stringers/bulkheads and did a shotty job of the sole replacement. The result was a boat with inadequate, hacked up stringers and bulkheads with endless rot problems in the original structure. I?ve now removed all of it and besides a ton of grinding, I?m left with planning how to put it all back in. Some pictures below of what I ran into:
Below is one from after all the foam was removed from both sides looking back toward the tank. Its amazing to see how much of the stringers were just cut out and left to rot.
Forward of the tank just behind the helm. The last owner put blue foam like you?d find around foundations under the sole. Without it the rotted deck probably would have collapsed by now.
There?s a lot more which I have been chronicling on another website, but wasn?t sure if I could post a link to it here so I didn?t. Below is a picture of where I?m at now.
Looking aft
Looking forward
I have some questions now for everyone here regarding how to put it all back together. I?ll start that in the next post.
")