1976 Century Arabian - Mercruiser 888 - Boat Restoration

jones01m

Petty Officer 1st Class
Joined
May 23, 2011
Messages
252
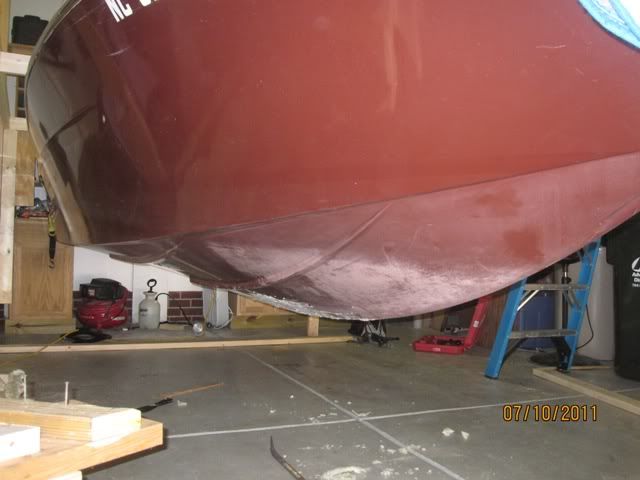
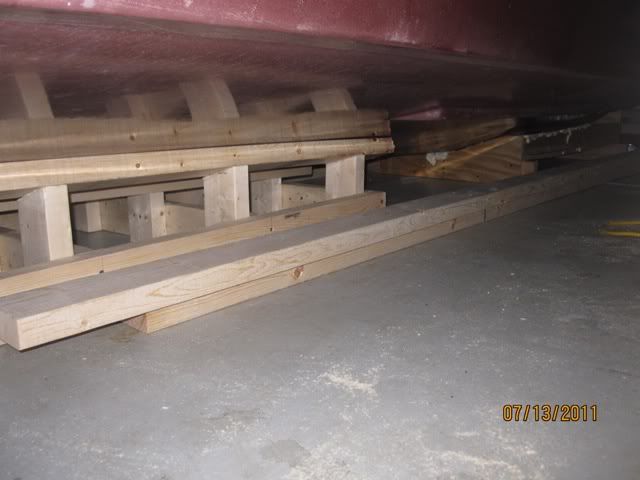
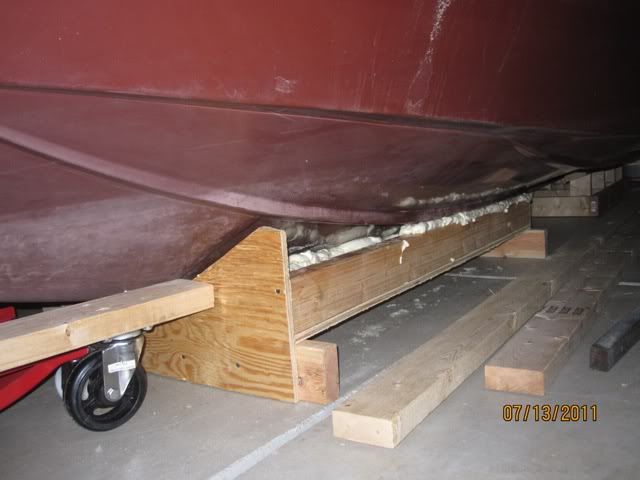
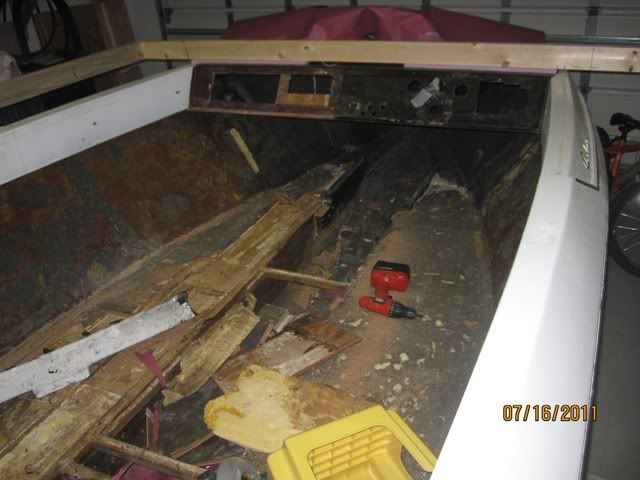
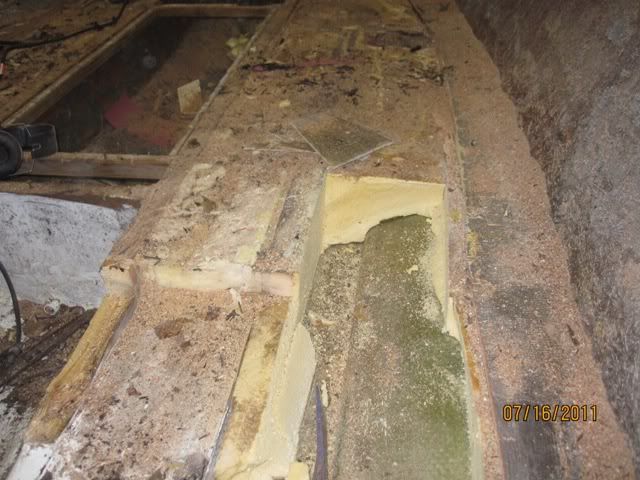
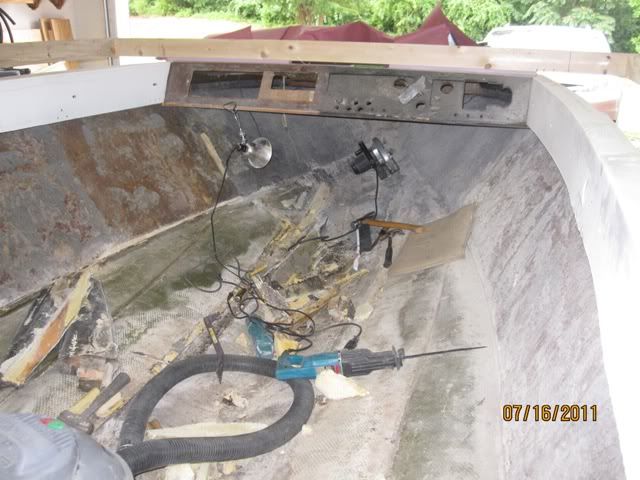
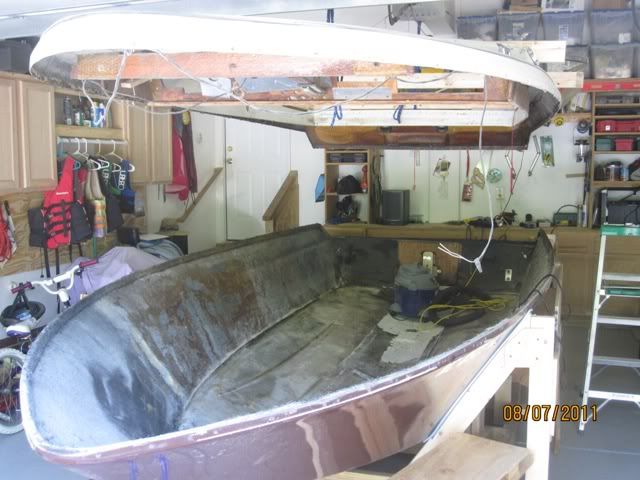
O.K. A repair that started out as a lower shift cable replacement has turned into a complete restoration: two cracks eminating from the drain hole, one large crack in the bottom of the hull, and rotton wood supports for the engine (displaces about 3/8").

I have owned the boat (first one) for two years with not a single issue. I guess water damage is similar to termites - you don't know you have an issue until it is too late.

This is the first time I have attempted any such repairs. I am very thankful for the information in this forum.

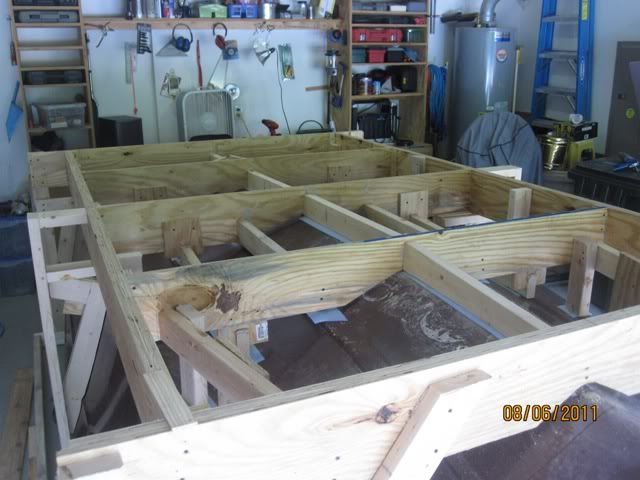
I have photodocumented everything, so if anyone needs a picture of a part, assembly, or the like, please let me know.

I haven't read how to upload pictures yet. As soon as I do I will upload some.
 

ezmobee

Supreme Mariner
Joined
Mar 26, 2007
Messages
23,767
Re: 1976 Century Arabian - Mercruiser 888 - Boat Restoration

Welcome the dry dock! My personal opinion is that photobucket.com is the easiest way to host and post pictures. I look forward to seeing yours. Those Centurys are nice boats for sure.
 

jones01m

Petty Officer 1st Class
Joined
May 23, 2011
Messages
252
Re: 1976 Century Arabian - Mercruiser 888 - Boat Restoration

Attempting the pictures. Lets see how it works


IMG_1761.JPG
IMG_0688.JPG
IMG_1699.JPG
IMG_1760.JPG
 

jones01m

Petty Officer 1st Class
Joined
May 23, 2011
Messages
252
Re: 1976 Century Arabian - Mercruiser 888 - Boat Restoration

Two more pictures with everything disassebled except a few trim parts.
Removed gas tank last night. Goal for the weekend is to get her out of the trailer and resting on some crating. I probably ought to clean the garage a bit too.

I am trying to think the restore at least a couple weeks ahead. From the other threads it looks like the West epoxy system is a pretty robust way to go for the fiberglassing. Any comments?

ezmobee, thanks for the pictures tip. Dry dock is not where I wanted to be for the summer, however, I wasn't all that interested in having 'er in the bottom of the lake either.

You can see from the dash the guy before me was a bit of a hacker. We'll see what's under the deck... next weekend.

IMG_1799.JPG
IMG_1800.JPG

Is it better to have the small icons for the pictures in the post, like I have them, or can I make a full image for better viewing? Just trying to get a handle on the forum. thanks
 

boatnut74

Lieutenant Commander
Joined
Aug 29, 2010
Messages
1,835
Re: 1976 Century Arabian - Mercruiser 888 - Boat Restoration

Nice looking project you have there. Full images make it easier for everyone. You can host them on photobucket, resize to 640x480 and then copy the link into your post.

This link should help as well.
http://forums.iboats.com/showthread.php?t=410147
 

jones01m

Petty Officer 1st Class
Joined
May 23, 2011
Messages
252
Re: 1976 Century Arabian - Mercruiser 888 - Boat Restoration

She is now out of the trailer.

I said my goal for the weekend was out of the trailer and resting in crating - not quite. She's off the trailer but not in the saddles. Actually, she is currently suspended (no kids in the garage the next couple of days). Thank goodness for massive beams in house construction. The problem is letting her down approximately 1-1/2 feet with only one hoist and two pivot points. I'll probably pick up another hoist tomorrow - Harbor Freight is hard to beat.

IMG_1811.JPG

http://s1183.photobucket.com/albums/x470/jones01m/?action=view&current=IMG_1811.jpg

ezmobee and boatnut74 thanks for the photo suggestions. Can you tell me if this link is working OK. thanks.
 
Last edited:

ezmobee

Supreme Mariner
Joined
Mar 26, 2007
Messages
23,767
Re: 1976 Century Arabian - Mercruiser 888 - Boat Restoration

The link and the photo attachment are working for me. Using the IMG code link that photobucket provides and pasting that into here is the easiest way to do pictures.

IMG_1811.jpg
 

Chadsci

Seaman Apprentice
Joined
Apr 29, 2010
Messages
37
Re: 1976 Century Arabian - Mercruiser 888 - Boat Restoration

I really love the Century Arabians. The Iowa Maritime museum has a 1967 that is absolutely mint.

Good luck with the project. I will be following this thread.
 

jones01m

Petty Officer 1st Class
Joined
May 23, 2011
Messages
252
Re: 1976 Century Arabian - Mercruiser 888 - Boat Restoration

Thanks for the picture tips for photobucket. You were right... EASY. Just click on the link, right click, then paste.

I constructed some support crating under the hull that will evenly distribute the load. At the stern I took measurements and made a pattern just inboard of the trailer rails such that each vertical 2x4 would just make contact with the hull. At the bow a sprayed the boat with silicone and filled a wood box cavity with the high expansion insulation foam used for home construction, pushed the box up to the hull, and let it set overnight. Everything fits like a glove.

Question: The width of this support structure is 2 feet - one foot on each side of the boat centerline. Is this enough support to begin sole and stringer removal? I appreciate the help.

IMG_1812.jpg

Hull support at stern

IMG_1814.jpg

Hull support at bow
 

jones01m

Petty Officer 1st Class
Joined
May 23, 2011
Messages
252
Re: 1976 Century Arabian - Mercruiser 888 - Boat Restoration

stringers were soaked.
There was a pocket at the bow that allowed water to run all the way to the stern and then get trapped by the caulk that the previous owner so liberally aplied.
Sole, stringer and foam, then hull construction.
I cut into the main stringer going from stern to bow and water ran out - hasn't been in the lake in 2 months.
A mess, but the stringers are finally stripped.

Question: Still would be interested about the best way to support the hull during stringer re-installation. Any expert out there who can advise me? thanks
 

jones01m

Petty Officer 1st Class
Joined
May 23, 2011
Messages
252
Re: 1976 Century Arabian - Mercruiser 888 - Boat Restoration

I have been camping for the last week and have had no time to touch the "boat" - the family calls her "Miss Diamond" and she probably deserves some lettering to state just that when this project is complete.

Anyway, a week of camping doesn't stop the wheels from turning. Now that the stringers are gone the hull is really getting flexible even with the crating I originally had supporting her from beneath. After reading multiple threads and thinking through this a bit more I decided to flip it over and support the top side (now bottom side) evenly across the garage floor to regain the intended shape of the hull. I will now build crating such that it just maintains intimate contact with the hull while insuring it also has a planer surface for it to rest on when she is flipped back over. So I backtracked about 1/2 day of labor and 25 bucks in material... So What!!! lets do this right!

All stringer positions were measured prior to disassembly.

Probably 2 weeks before the crating is complete as I will be helping a friend with another project. I really need a couple of solid days to make some progress and feel a bit better about this.

IMG_1906.jpg
 

jones01m

Petty Officer 1st Class
Joined
May 23, 2011
Messages
252
Re: 1976 Century Arabian - Mercruiser 888 - Boat Restoration

I made a little progress with grabbing an hour or two throughout the week.
When I begin replacing stringers my biggest fear is changing the shape of the hull as I walk around in it. The last thing I want is a hull with a different shape than original. So, I flipped the hull on its top and got the top planer to allow the hull to regain its natural form. Then I built a structure just above the hull with stiff 3/4 plywood strips. The outer portion of this frame I doubled up the strips to insure that deformation is minimal when she gets flipped back over. This baby is perfectly flat and parallel with the apposing planer service.

Now, from the plywood structure, I simply bring down struts that just come in intimate contact with the hull without applying pressure. In many places I scribe the struts to the hull and cut out the shape with a jigsaw. Somewhat into this process I learned that I can also use a thin blue foam insulation sheet from HD and use panel adhesive the back so that the portion touching the hull is a bit more conformable. EVERYTHING has panel adhesive, but none touches the hull - this has worked very well and is nice and stiff.

I finally get a full day of construction today. The goal is to have her filpped back over tomorrow after I finish the crating construction and the panel adhesive sets up.

IMG_1938.jpg
 

jones01m

Petty Officer 1st Class
Joined
May 23, 2011
Messages
252
Re: 1976 Century Arabian - Mercruiser 888 - Boat Restoration

Well she ain't goin' nowhere. She's as secure as a baby in a cradle.

I should have no give when she's flipped over and I am walking in the hull.

IMG_1950.jpg


IMG_1949.jpg
 

MountaineerMiner

Petty Officer 2nd Class
Joined
Mar 9, 2010
Messages
146
Re: 1976 Century Arabian - Mercruiser 888 - Boat Restoration

Nice project. I am looking forward to following this one!
 

jones01m

Petty Officer 1st Class
Joined
May 23, 2011
Messages
252
Re: 1976 Century Arabian - Mercruiser 888 - Boat Restoration

MM, that Mustang of yours is a pretty sweet ride. I read your thread on the Glassport, CRAZY, to see that sucker sliced up.


Made some good progress this weekend. I got the support structure all glued and set up, flipped the boat, then pulled the cap off.
For those of you cosidering pulling the cap make sure you have some stiff supports on the side to keep the hull from shifting on you. I am really happy with the way mine turned out. Once I pulled the cap, I lowered it back down to the hull and there was no mismatch at all!!! This sucker is not moving! A couple of days worth of what seemed to be non-productive work will really pay off as I can continue with my rebuild with confidence knowing nothing is moving on me.

I also got a cheapo 7" sander from HF. This works awesome for the rough work. The side of the hull has adhesive and carpet globs everywhere. In one of the pictures below you can see about six square feet that was smoothed out with the sander in about 10 minutes - just wanted to see what see could do.

Cap is off... Yahoo!!!!
IMG_1954-1.jpg

She's hanging just above the hull. I'm lovin' the beam in the garage. I can bolt anything to it.
IMG_1953-1.jpg

Some test sanding with Mr. Cheapo!
IMG_1952.jpg


jones01m

Petty Officer 1st Class
Joined
May 23, 2011
Messages
252
Re: 1976 Century Arabian - Mercruiser 888 - Boat Restoration

Question: Does anyone know the cured weight of 1.5oz CSM saturated with epoxy resin per square foot???
 

jones01m

Petty Officer 1st Class
Joined
May 23, 2011
Messages
252
Re: 1976 Century Arabian - Mercruiser 888 - Boat Restoration

I could really use some help on this one.

I have run into a thick sheet of glass that has some contamination beneath it (water, oil, etc.). It is not everywhere, which creates my problem: this sucker does not want to come up!!! You can see the tools I have been using - chisel and hammer.

Any suggestions???

Very frustrating day after work.

IMG_1958.jpg
 

MountaineerMiner

Petty Officer 2nd Class
Joined
Mar 9, 2010
Messages
146
Re: 1976 Century Arabian - Mercruiser 888 - Boat Restoration

Have you been using a hammer and chisel to remove both stringers and fiberglass? Although it itches like hell I cut everything out with a cut off wheel on an angle grinder then used a flap wheel (like in your previous pic only smaller) to clean it up. Is it too large of an area to grind away like this?
 

jones01m

Petty Officer 1st Class
Joined
May 23, 2011
Messages
252
Re: 1976 Century Arabian - Mercruiser 888 - Boat Restoration

MM, I think I've used every tool in the shed: a circular saw for deck removal, sawzall for stringer removal, and a 4" angle grinder with a cutter wheel for slicing the old tabbing. I also used the 7" sander to knock down the all the transitions. Now I am trying the chisel to peel the sheet. It will work for an inch or two then hit a good bond... and so on.

The area I am dealing with is big. It is about 3/16 to 1/4" thick, 3' wide, and 5' long. It was the area under the engine.
 
Top