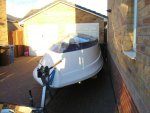
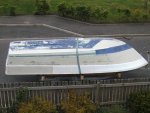
Re: At the gelcoat stage - help needed!!!
hi bud........couple of things here...
first of all......if ondarvr disclames any thing i say.....follow his advice, as he has forgotten more about gellcoat than i will ever learn
")
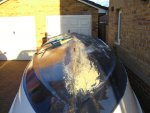
the reason the gellcoat is sticky is because of the lack of wax in the gellcoat.
it will allways be sticky with out wax.
you might try to spray some pva over the rolled surface soon after a slight tack is acheived. (even a hand sprayer and hope it does not get clogged by the wax)
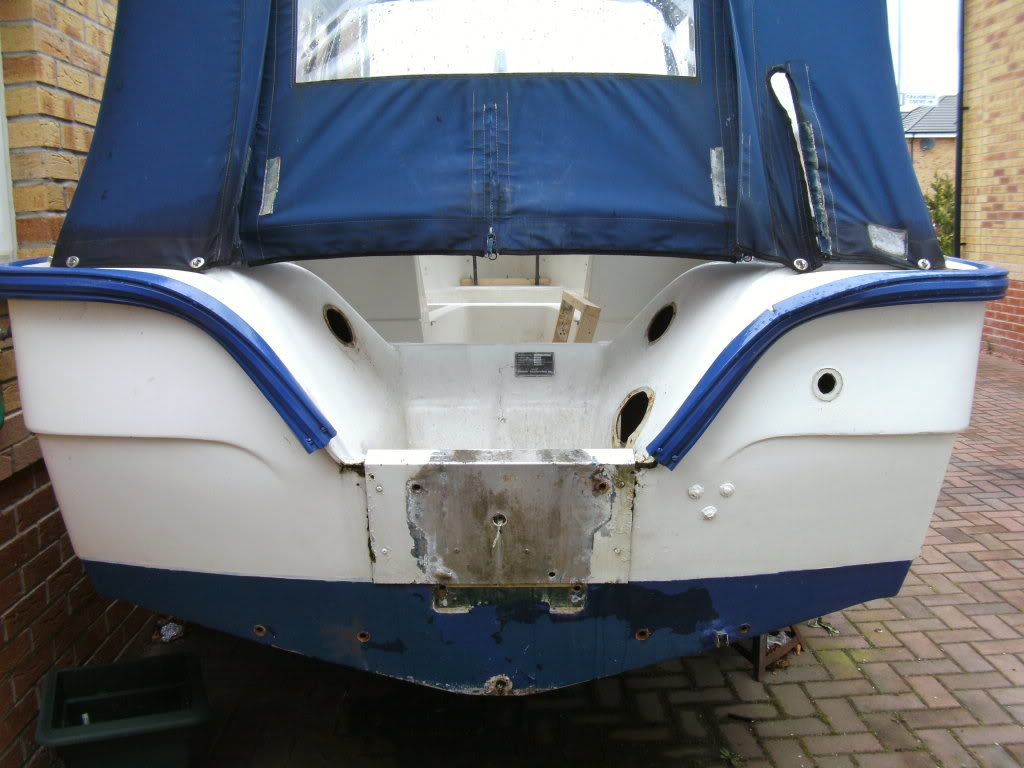
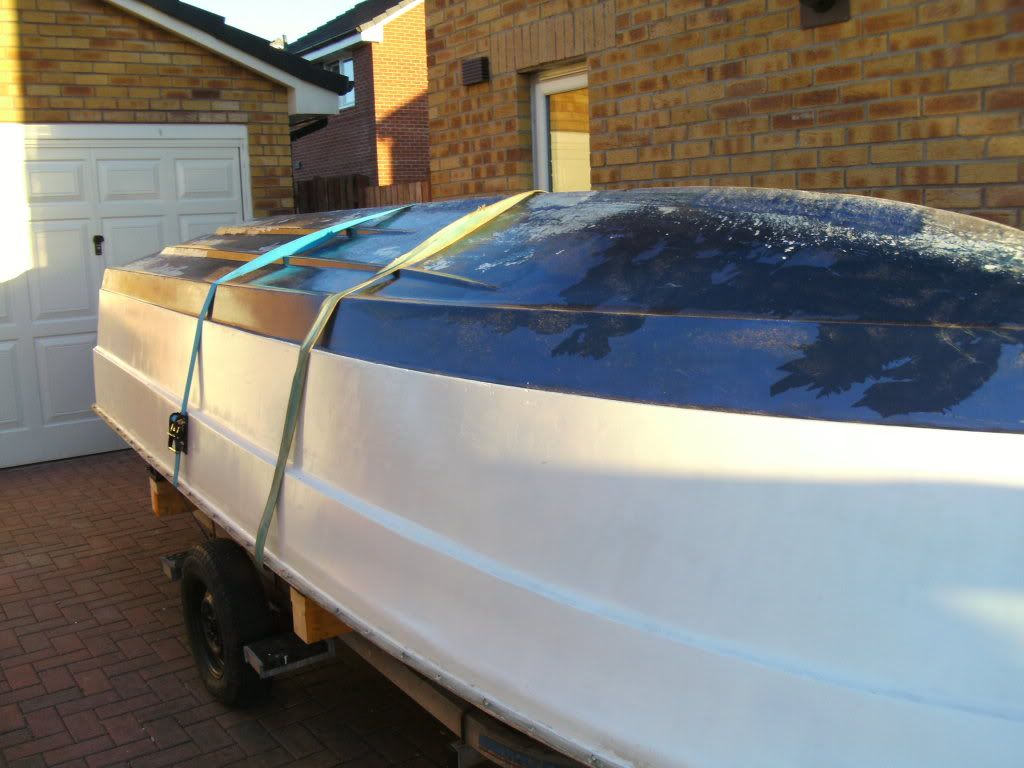
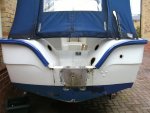
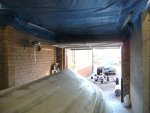
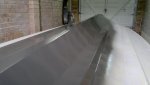
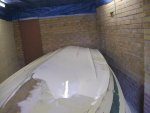
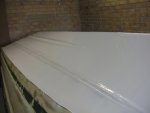
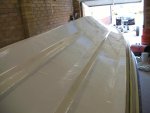
as ondarvr mentioned that most stuff in the uk is rolled....(
i dont know why they roll it over there) the gellcoat will be thicker than the standard sprayed stuff.
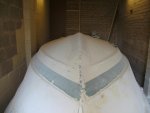
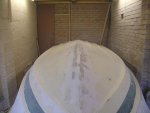
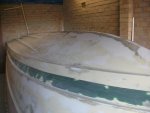
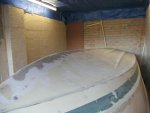
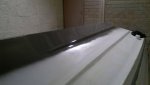
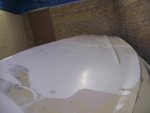
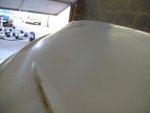
since gellcoat does not lay down like paint, this will cause you problems even using the squeegee, as uneven hand/arm pressures will make ridges and high and low spots.
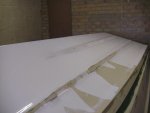
this is a real pain when sanding, as to make it even you may burn thru.
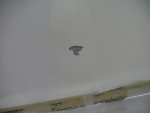
even brushing over a small area for crack repair takes a huge amount of sanding and usually the lows are at substraight level so a second or third application is usually nessary for a good repair.
did i mention there is lots of sanding to this process?
spraying gellcoat is really the best way to do it IMHO.
IF YOU CAN.... a standard hvlp with the biggest tip you can find will work just great. open 'er up wide and let 'er rip (dont worry too much about getting all uniform and perfectly even as you will be sanding lots off. just keep moving at a constant pace)
expect to use 3 1/2-4 gallons on a craft that size.
if you do spray...use wax. and try to get a product called patch aid to thin the gell coat.....mix the patch aid at 10% no more.
if you cant....acetone will work....but again...NO more than 10% or you mill mess with the properties of the gellcoat.
after the gellcoat is fully cured, wipe with acetone this will remove some of the wax that has come to the surface and make sand paper loading a little less troublesome
the fast gell time at 2% may be due to the products age.....the older...the faster
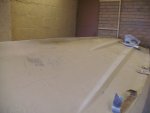
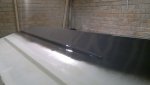
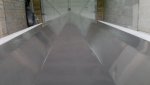
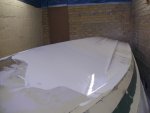
well.....i have to get sanding on the big regal im on now........the rain has stopped.....so its back to 600 grit gellcoat sanding....and sanding.....and sanding...lol....did i mention sanding?
HEY ONDARVR !
how ya doin bud ? wanna buy a cheap 38 fountain with staggered twins cheep?..........lol
whats up with the UK rolling the stuff? any ideas why?....is it a different mix of gellcoat?
why have they re invented the wheel?