lowkee
Lieutenant Commander
- Joined
- Dec 13, 2008
- Messages
- 1,890
Re: '1990 Bayliner Capri 2050 BR - Deck, stringers, transom, custom interior'
Well, so far so good on the transom...
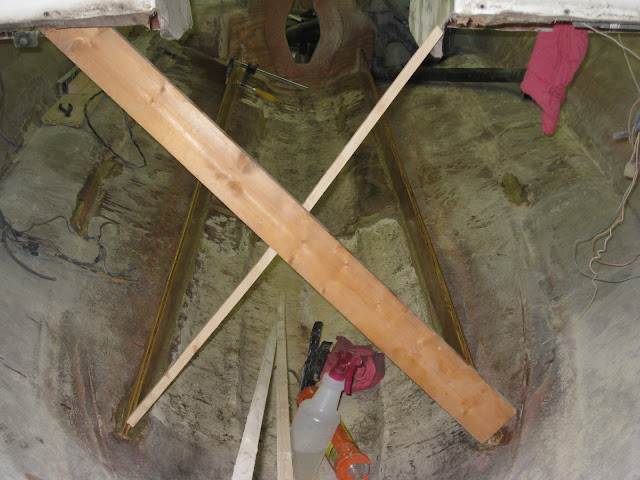
Today I spent a bit of time cleaning the front of my garage, as for months it was simply a dumping ground for anything removed from the hull. Seats, gunwale sections, you name it. This gave me room to create a nice roll out glassing workstation. On to the photos!
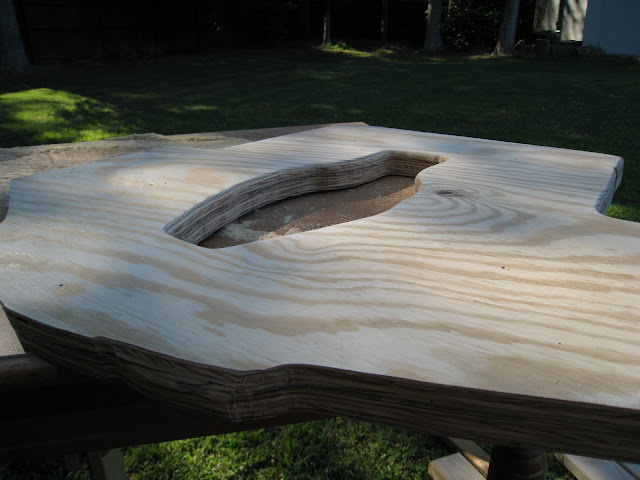
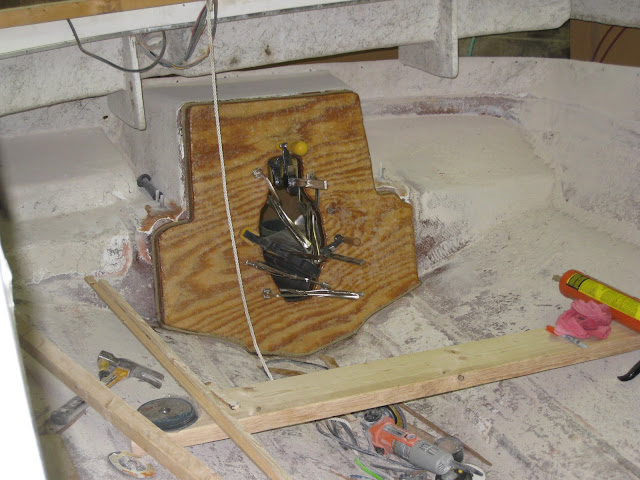
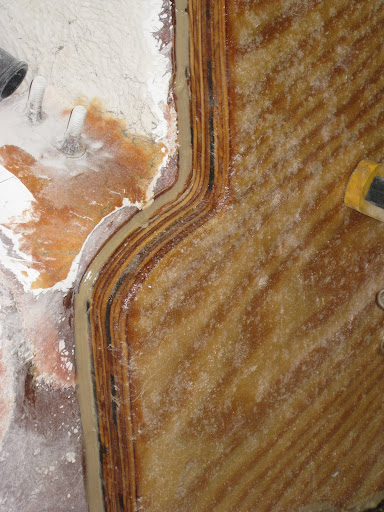
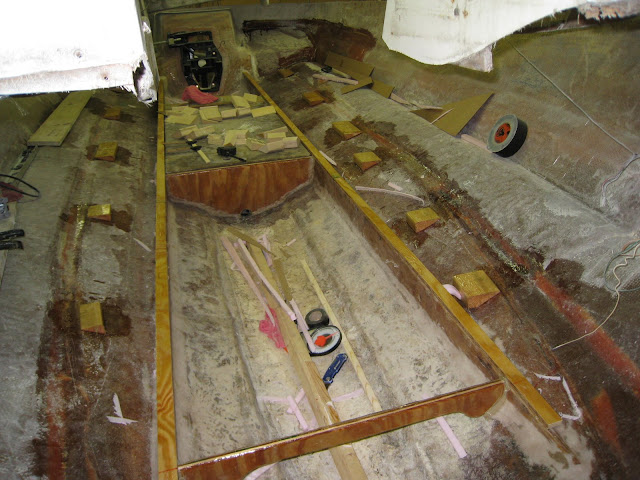
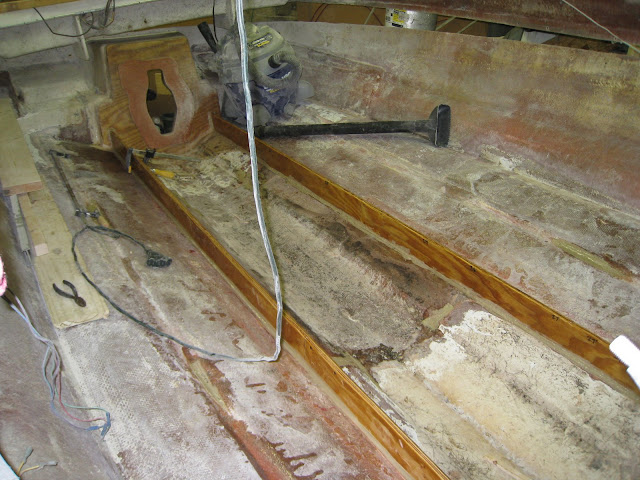
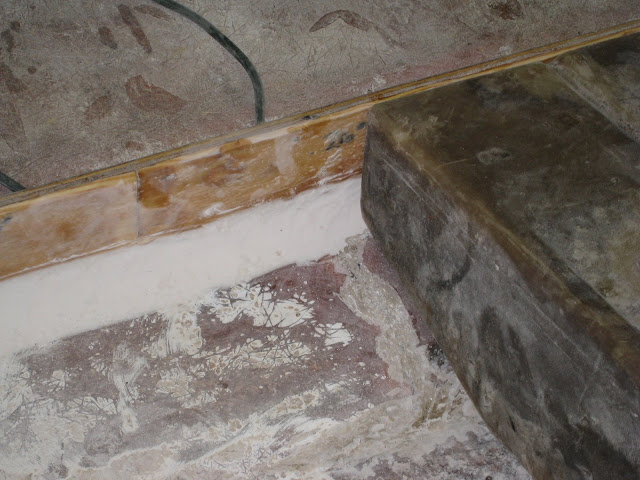
Used a roundover bit to remove the sharp edges so the fiberglass would stick okay
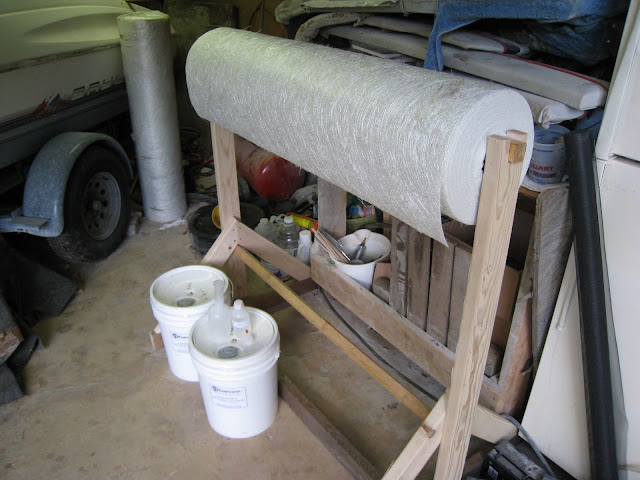
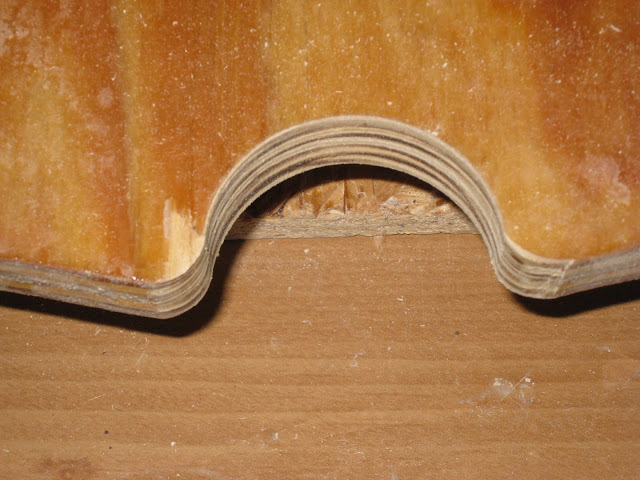
I finally (after 4 months) made a stand for the roll of 1.5oz mat. Note the extra roll in the background.. yep, I'll def need more resin.
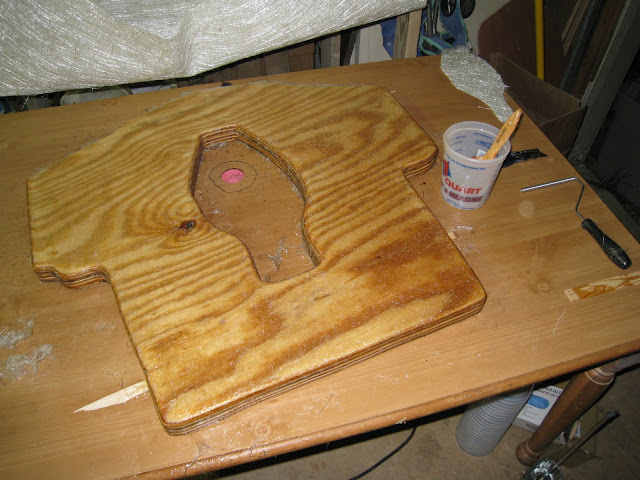
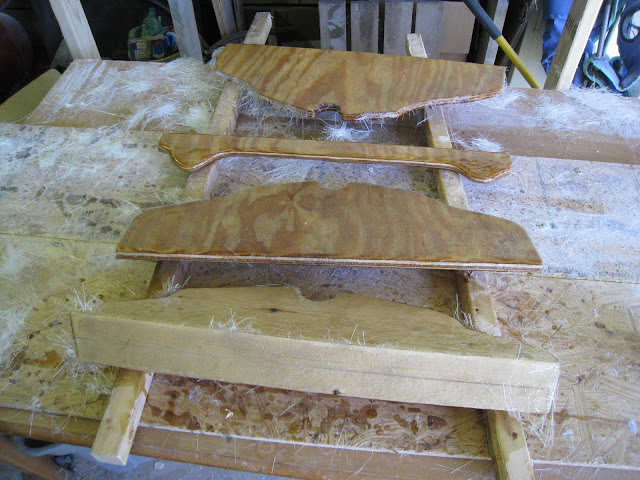
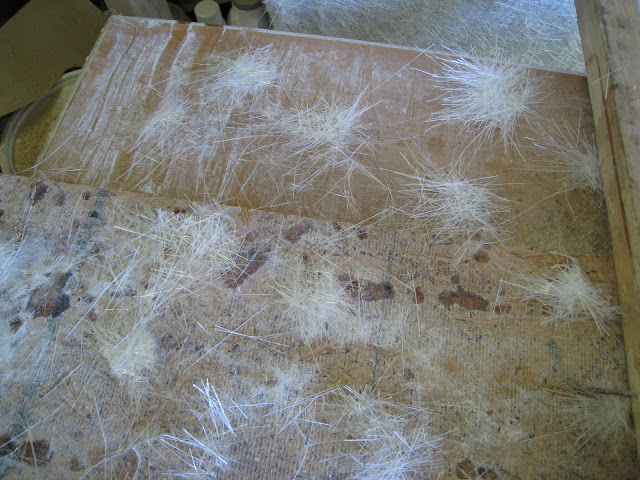
My 1st ever glassing job! That 1.5oz mat sucked up a TON of resin. I had to mix three batches to make it fully wetted out (~30oz total). The roundover was certainly a requirement, as the bottom edge that I left sharp didn't conform in the least. I'll have to cut the excess off tomorrow.
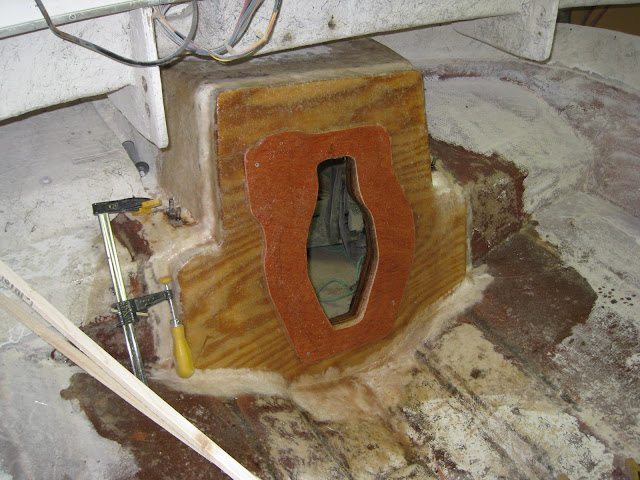
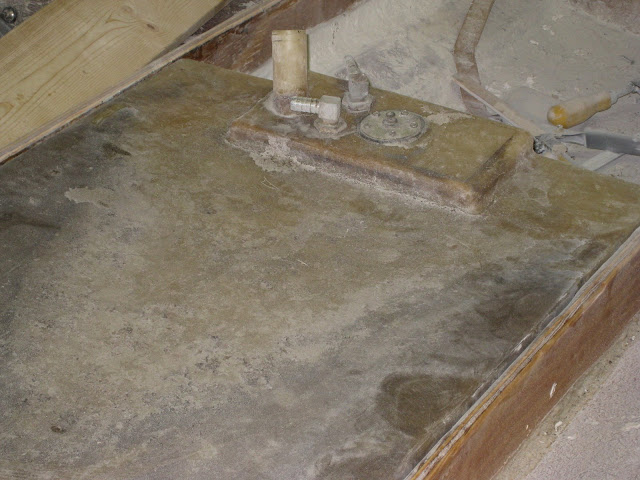
For those who are wondering (like I was) about the transom hole, it should be a 90 degree angle to the transom, NOT the hull bottom. I used the existing outside transom to draw the hole. I'll wait to drill the mounting holes until after I get it installed.
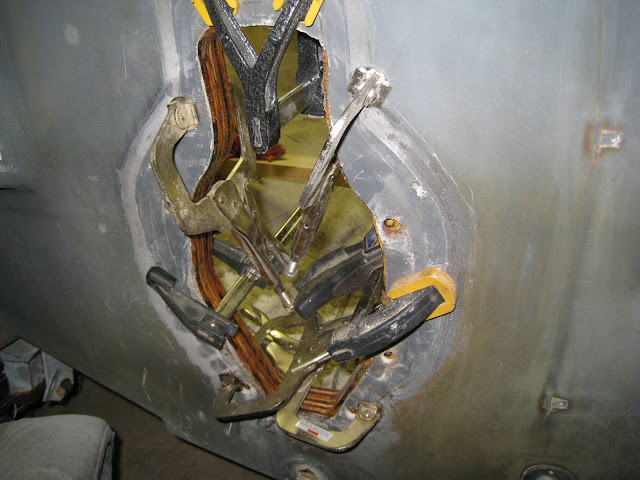
This is a big step for me! I finally did some glassing! For those who are reading this dreading it as much as I was.. don't. It was easy! I precut the glass, then mixed the resin into the cup, added 2 drops per ounce (this gave me a good 20 mins working time) and painted on the resin. It was a piece of cake. The only hitch was I had to wait for the resin to begin to 'kick' (harden) before I could leave it, as some glass spots on the corners didn't want to stay laying down. Here's hoping it all looks okay in the morning.
Well, so far so good on the transom...
Today I spent a bit of time cleaning the front of my garage, as for months it was simply a dumping ground for anything removed from the hull. Seats, gunwale sections, you name it. This gave me room to create a nice roll out glassing workstation. On to the photos!
Used a roundover bit to remove the sharp edges so the fiberglass would stick okay
I finally (after 4 months) made a stand for the roll of 1.5oz mat. Note the extra roll in the background.. yep, I'll def need more resin.
My 1st ever glassing job! That 1.5oz mat sucked up a TON of resin. I had to mix three batches to make it fully wetted out (~30oz total). The roundover was certainly a requirement, as the bottom edge that I left sharp didn't conform in the least. I'll have to cut the excess off tomorrow.
For those who are wondering (like I was) about the transom hole, it should be a 90 degree angle to the transom, NOT the hull bottom. I used the existing outside transom to draw the hole. I'll wait to drill the mounting holes until after I get it installed.
This is a big step for me! I finally did some glassing! For those who are reading this dreading it as much as I was.. don't. It was easy! I precut the glass, then mixed the resin into the cup, added 2 drops per ounce (this gave me a good 20 mins working time) and painted on the resin. It was a piece of cake. The only hitch was I had to wait for the resin to begin to 'kick' (harden) before I could leave it, as some glass spots on the corners didn't want to stay laying down. Here's hoping it all looks okay in the morning.
Last edited: