OUR CARVER RESTORATION

Old Carver

Seaman Apprentice
Joined
Dec 12, 2006
Messages
46
Re: OUR CARVER RESTORATION

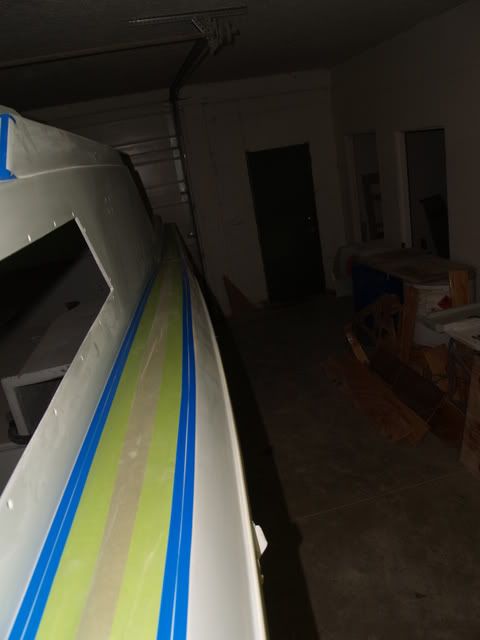
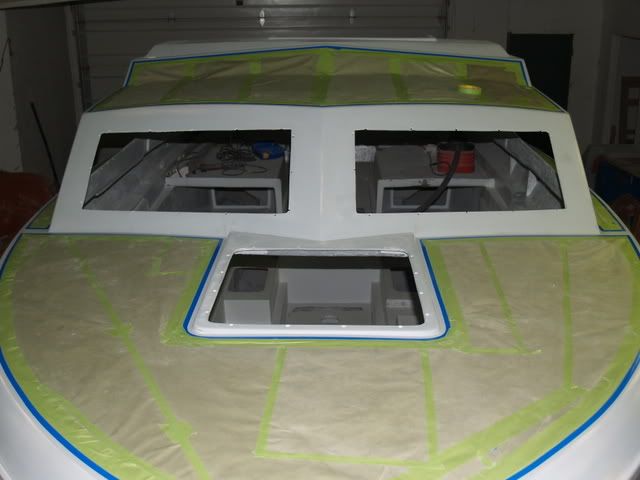
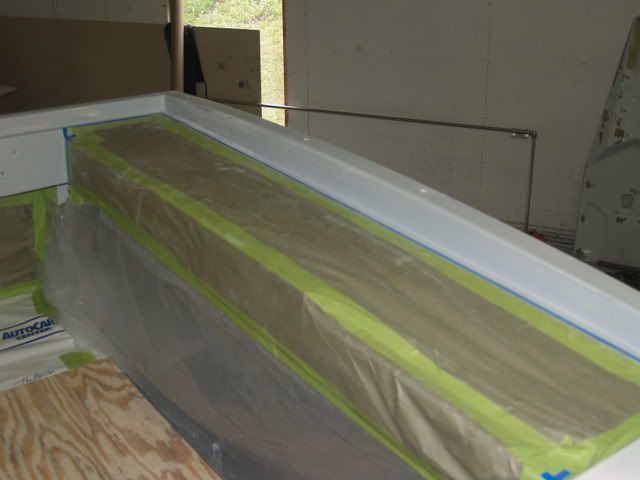
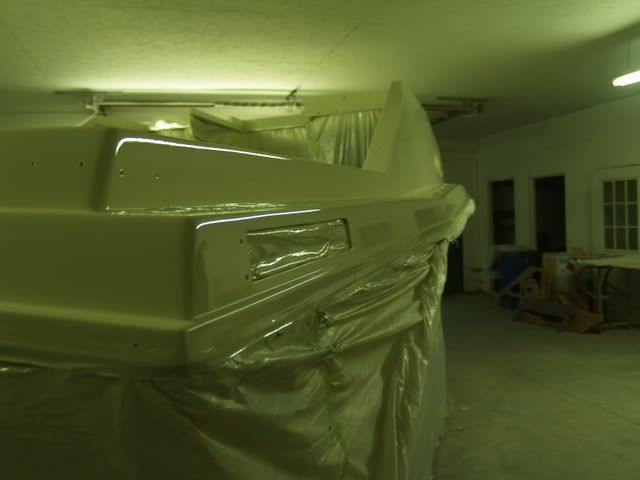
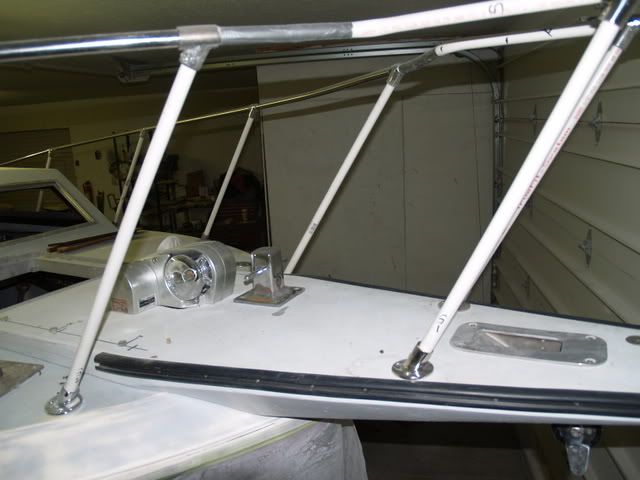
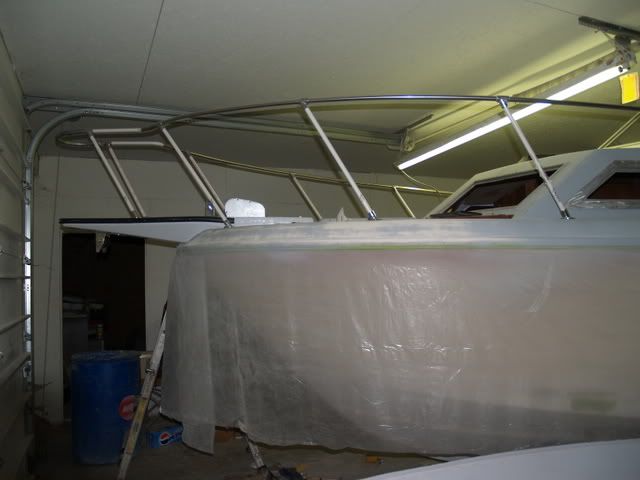
Been hard at it mock building and drilling all attachment holes the last few weeks,friends from the net,Double Eagle and Hiram helped cut and fit the mock build-up of the deckrail,could not have done it without their help,thanks again guys.

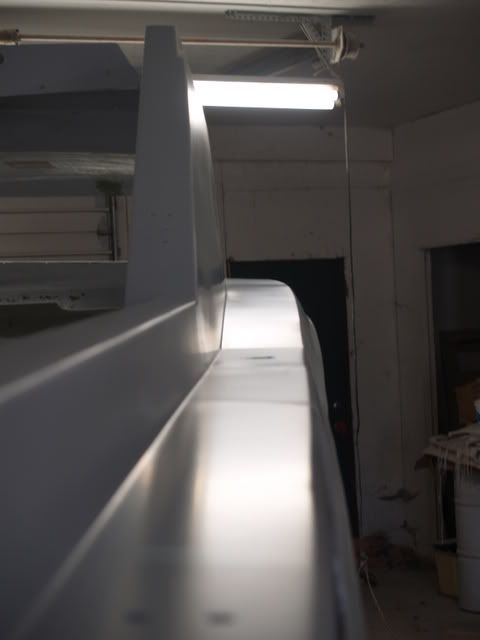
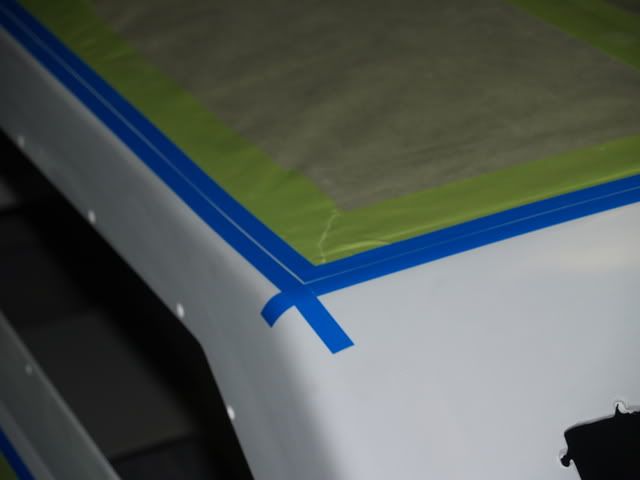
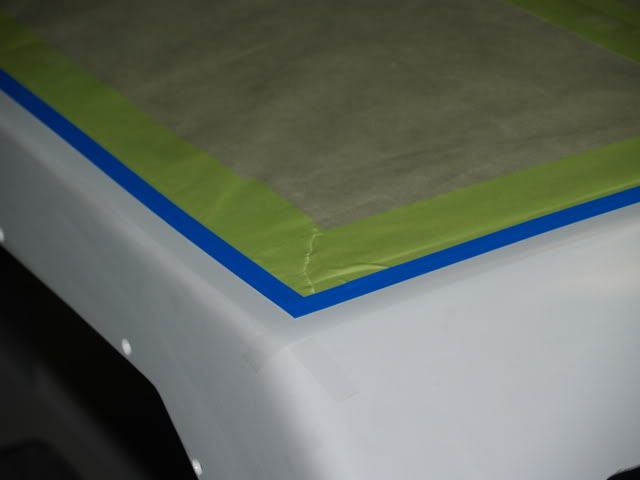
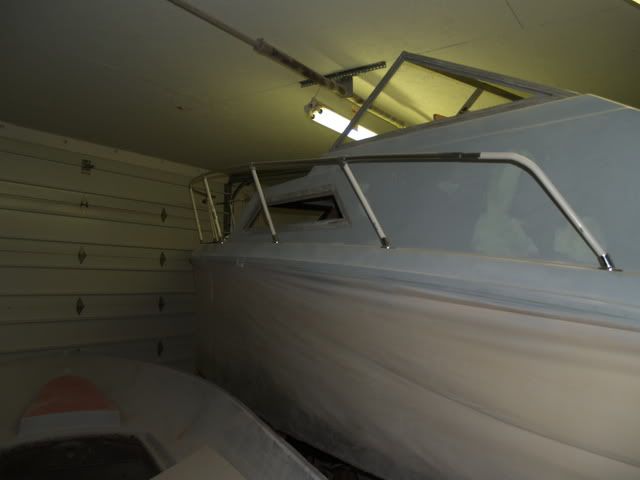
Pulpit railing placed and rub rail rough fit to see if curling will take place in the tight corners,we inverted the railing for this applicatoin and did the same on the swim platform to give it a finished appearance as well.

P3190050.jpg


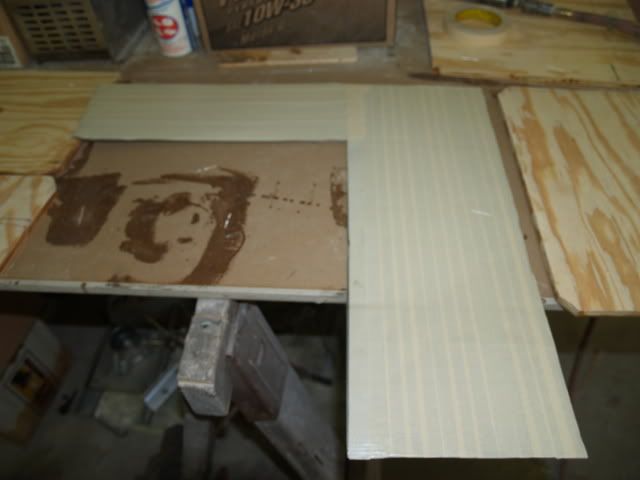
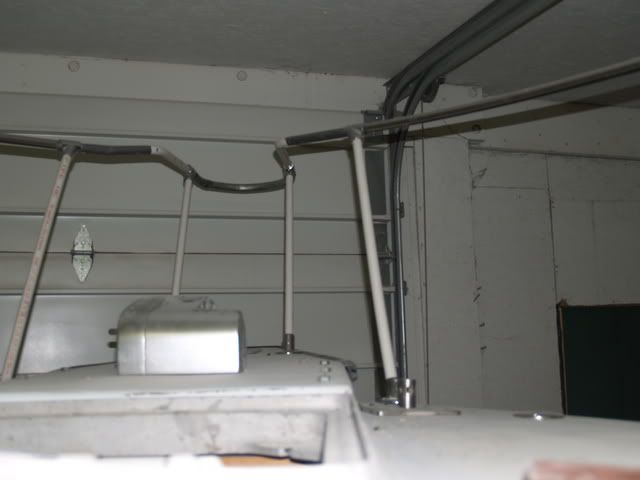
Bollard placed but will be modifying as I would like to mount the planer mast from the top of it as well as incorporate an anchor tie down.The railing was from the OE and the pcv was a cheap way to mock and fit prior to cutting the heavy walled stainless we will be using.

P3190051.jpg


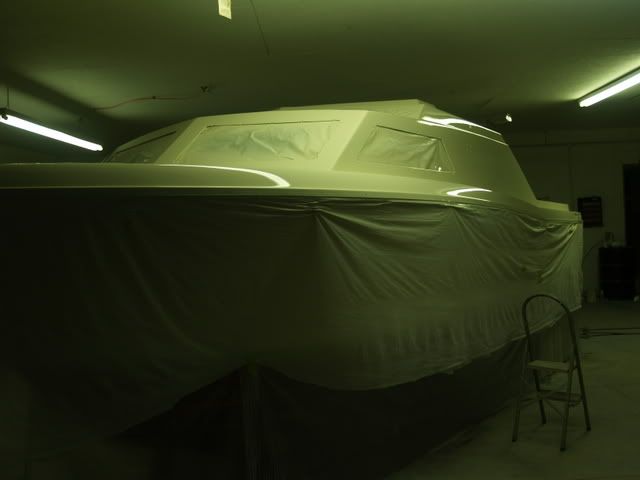
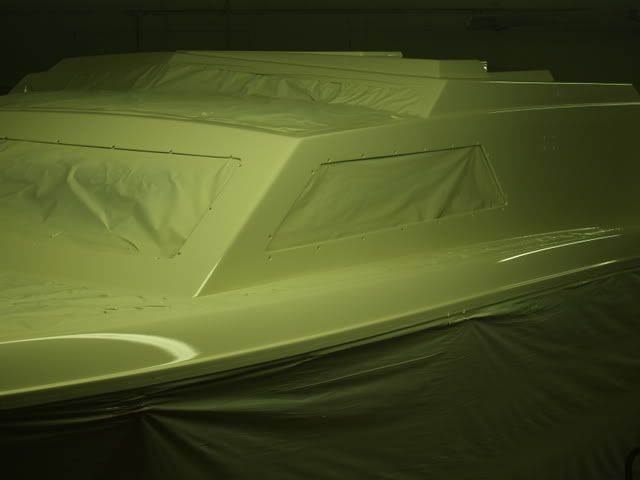
Trying to keep it all proportionate can be aggrevating.

P3190054.jpg


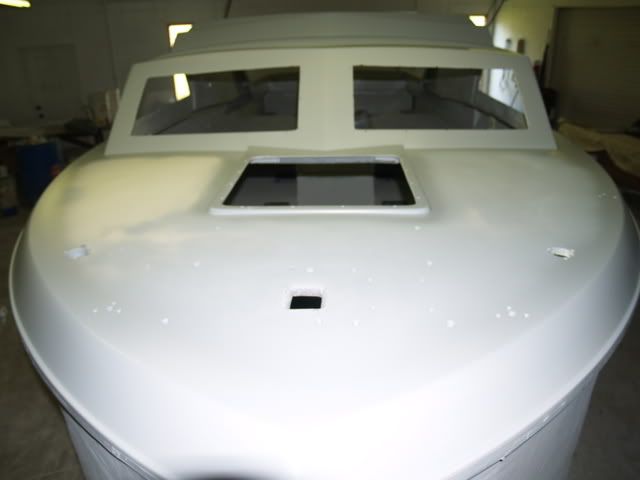
Made the bow area feel significantly larger.

P3190083.jpg


Blends to thedeck pretty well.

P3190060.jpg


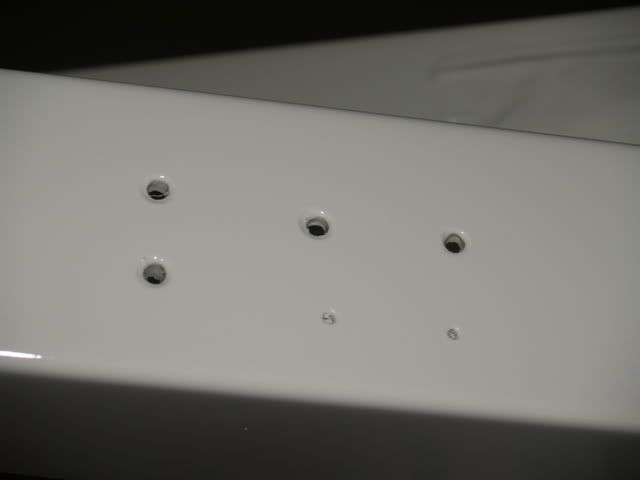
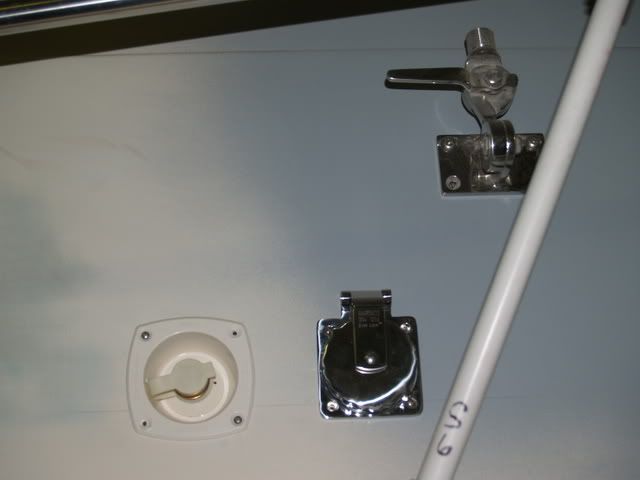
Added new shorepower connector,water tap with pressure regulator and stainless antenna mounts to both sides.

P3190048.jpg


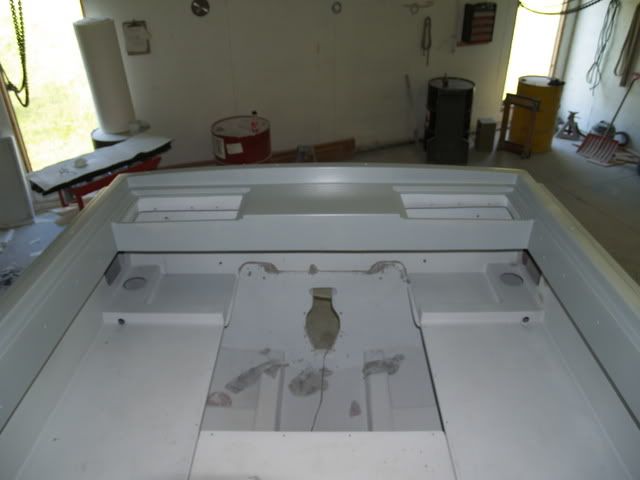
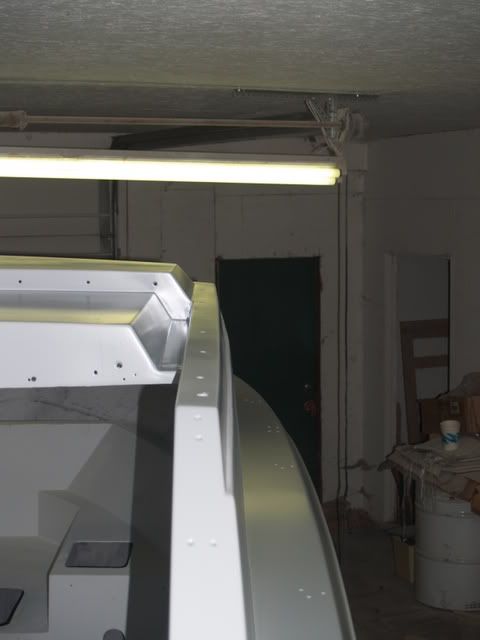
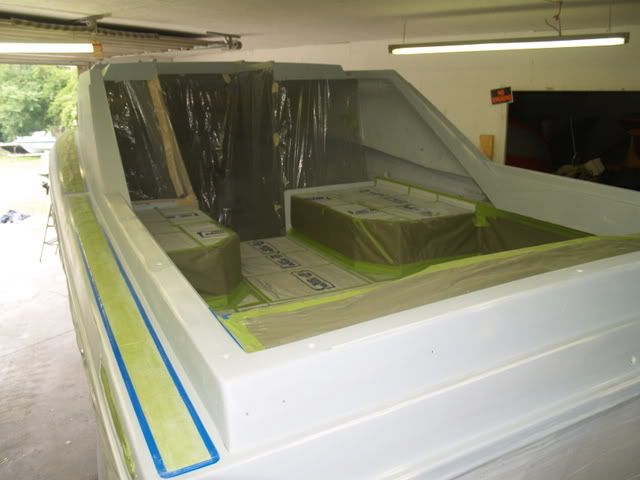
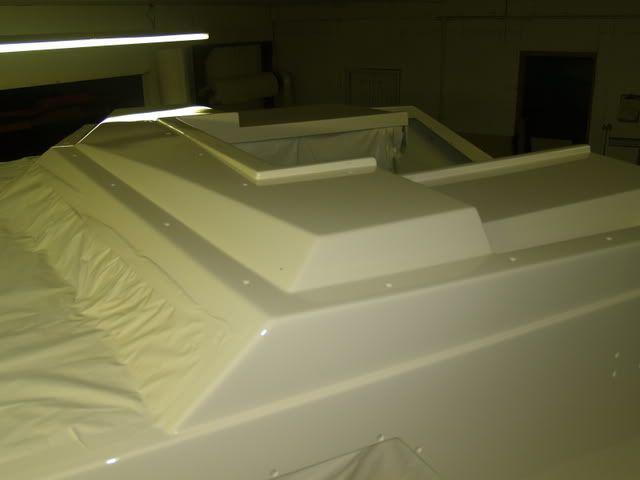
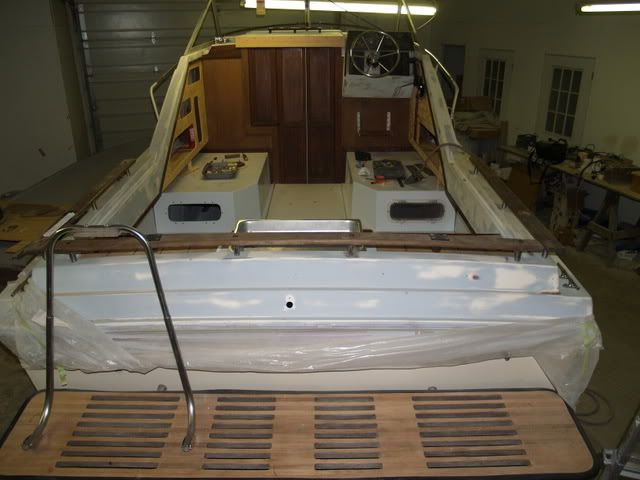
The rear deck is starting to shape up.

P3190007.jpg


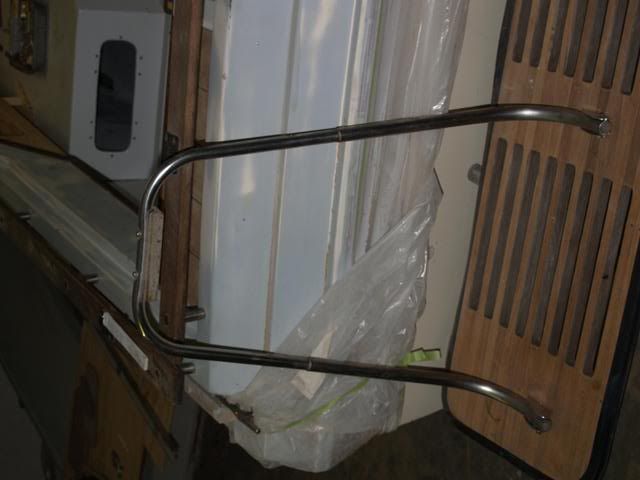
Opened up the mount on the swim ladder to match the swim platform mount tubes and drilled through all to eliminate the flex that occured with the origional set up.

P3190008.jpg


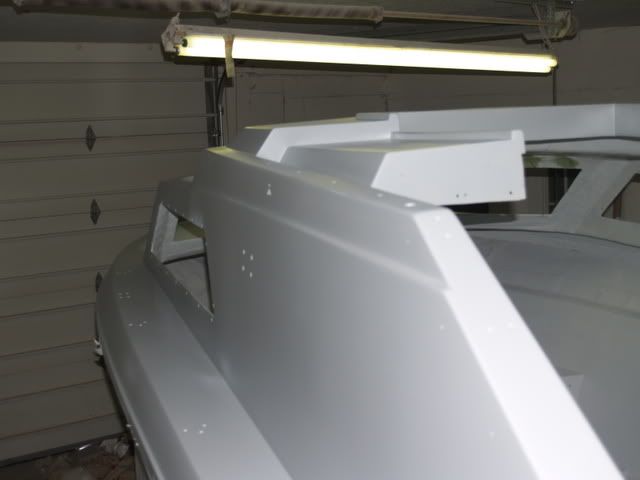
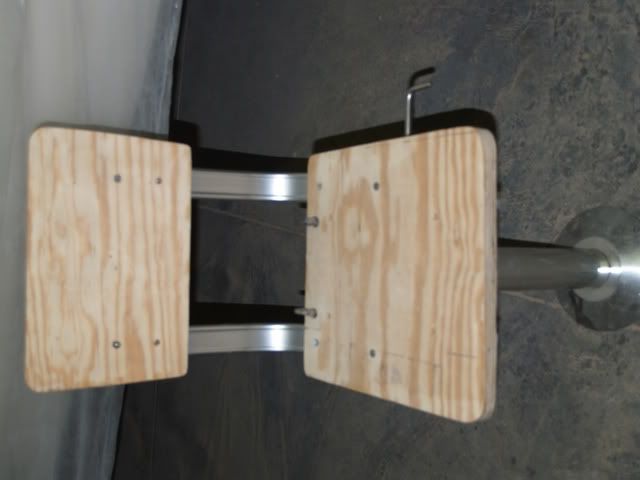
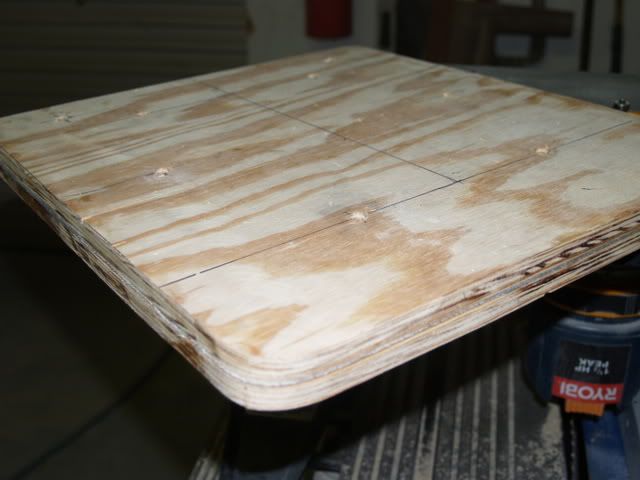
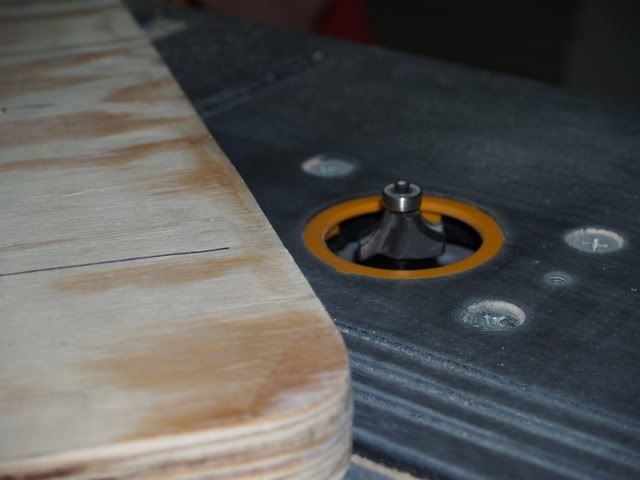
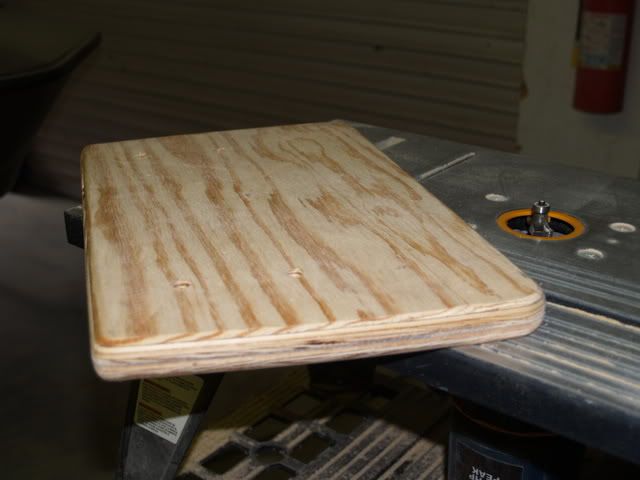
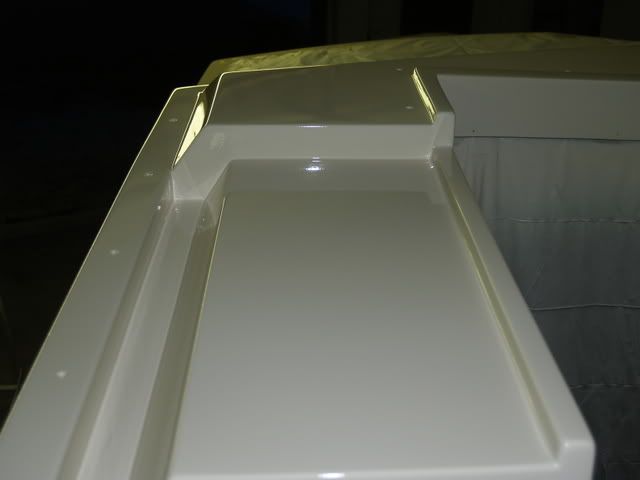
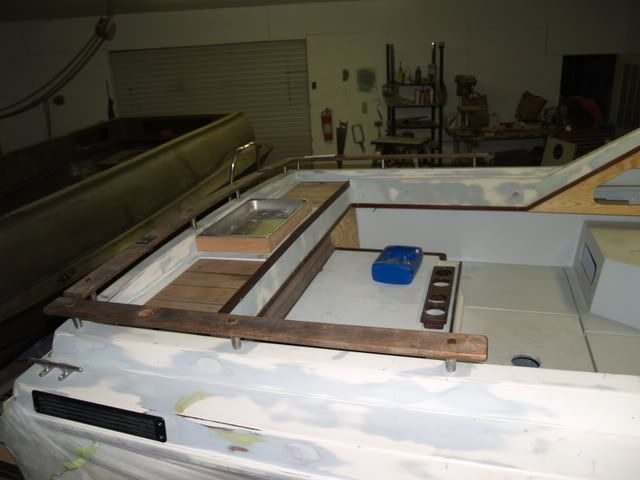
Added the taffrail that eventually will hold six rod holders per side.

P3190009.jpg


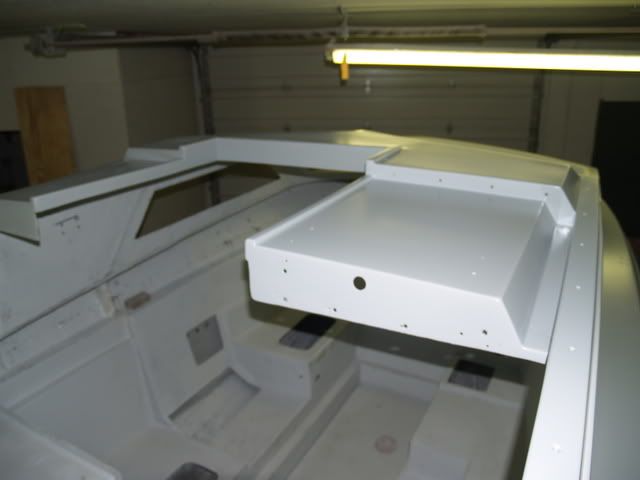
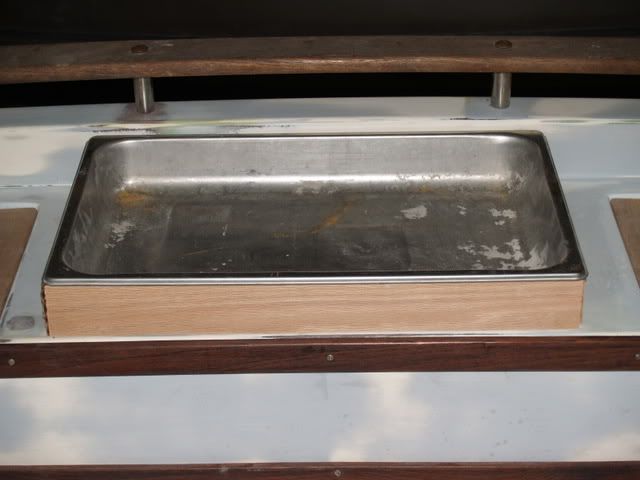
We had this same style stainless tray mounted in the other boat and have roughed in the housing that will bolt to the deck at this point.Sure makes it easier to work baits and fish.

P3190012.jpg


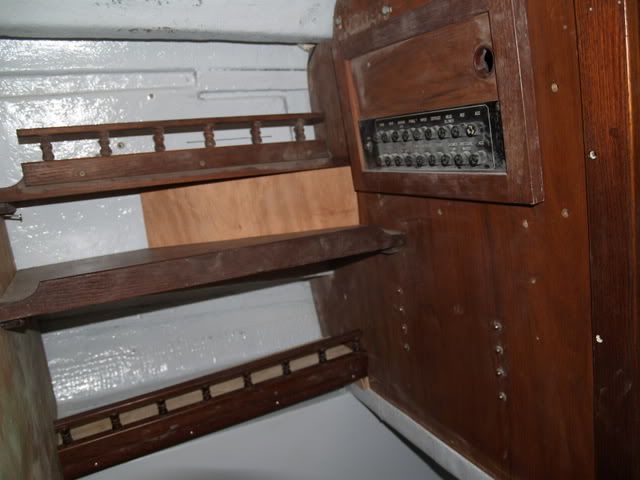
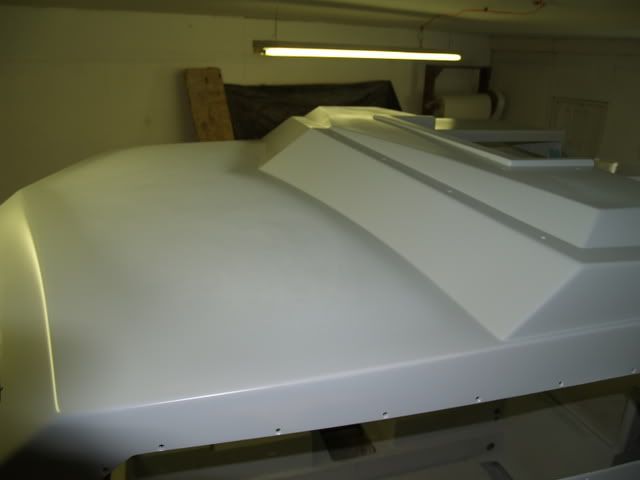
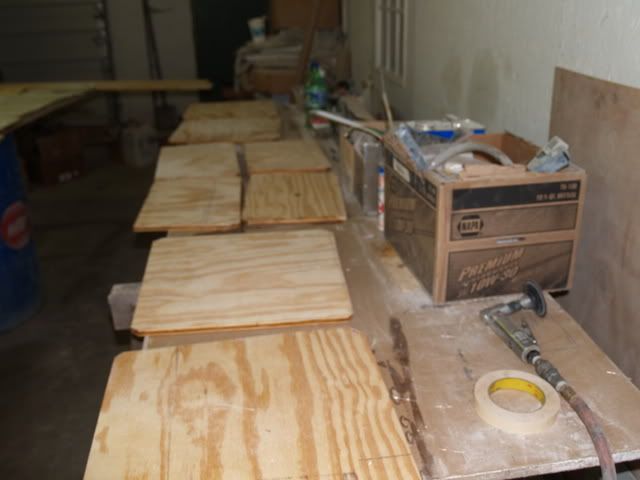
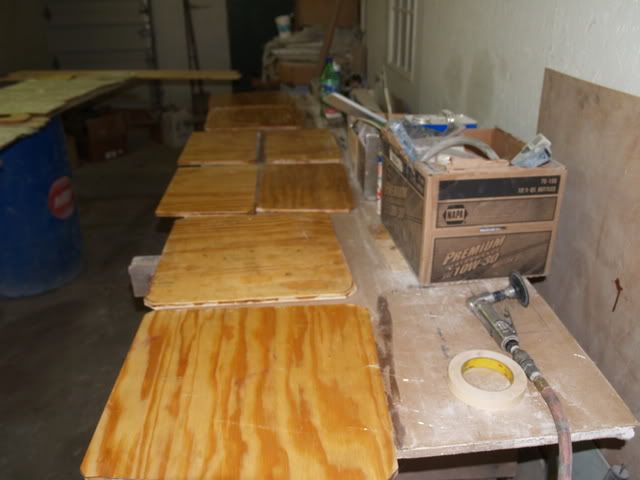
The panel behind the engine cover cut and access doors are fit.

P3190010.jpg


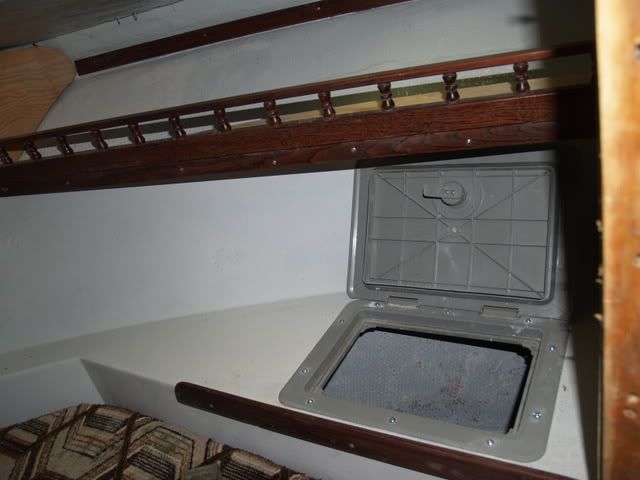
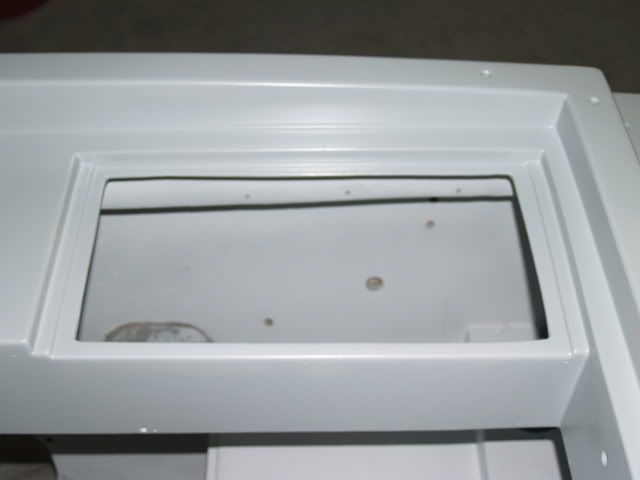
Will house rod holders and a latch to allow easy access to the batteries.

P3190061-1.jpg


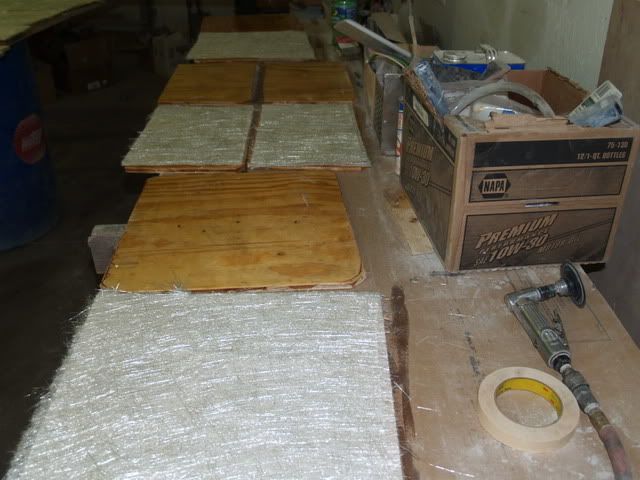
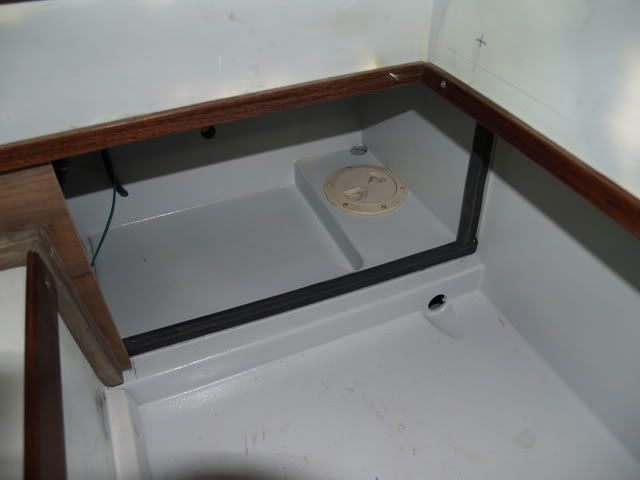
The panels lay up against aluminum angle finished with a bulb type seal to keep a heavy gulp of water contained to the self-bailing cockpit.

P3190062.jpg


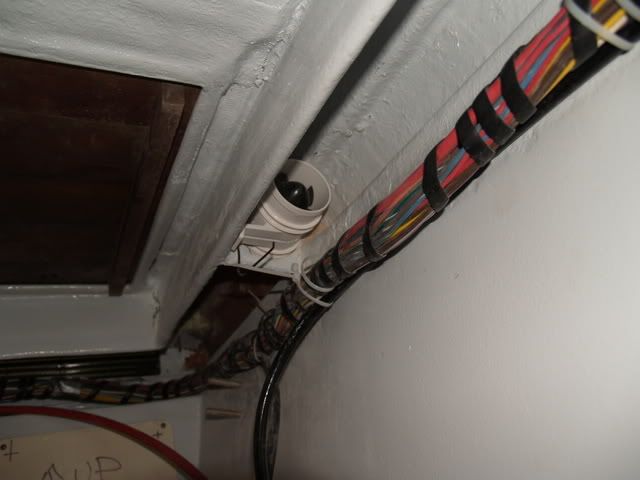
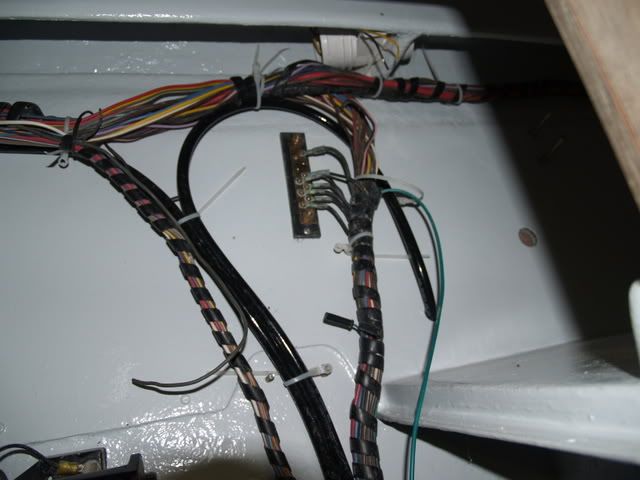
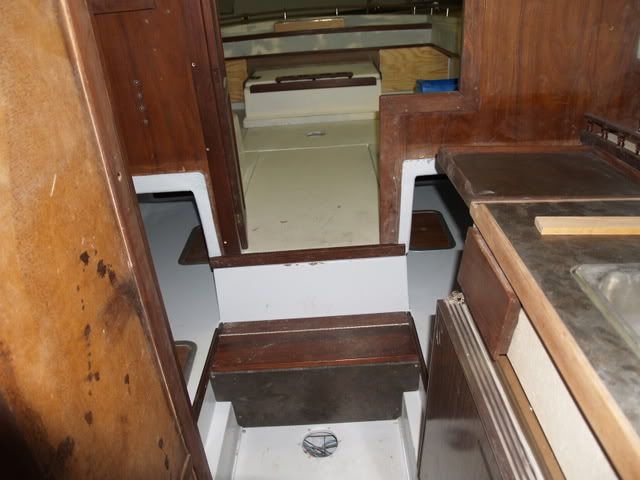
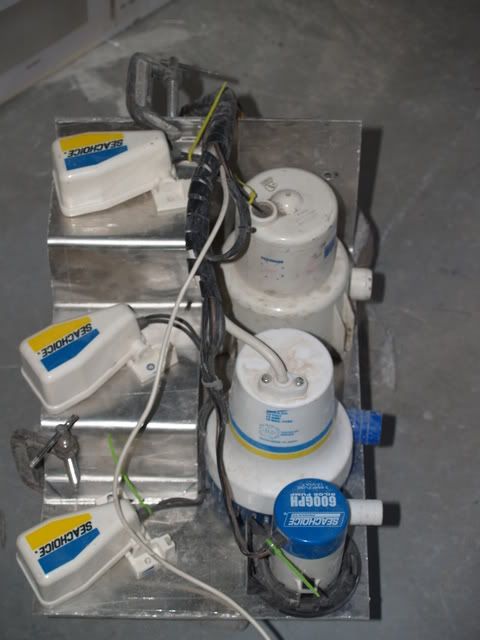
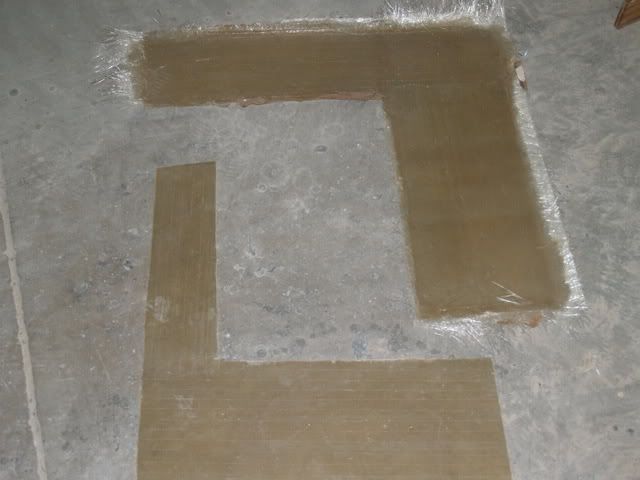
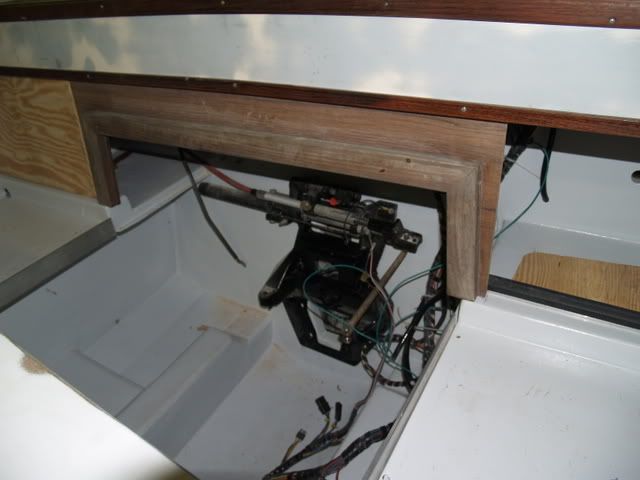
Laid in inner transom plate to check fit and obtain the best cable routing.

P3190064.jpg
 

Old Carver

Seaman Apprentice
Joined
Dec 12, 2006
Messages
46
Re: OUR CARVER RESTORATION

Collector boxes are molded into the frame and will only have hoses on the bilge side of the blower.

P3190065.jpg


There is a blower on both the intake and exhaust side of the system,harnesses and hydraulic lines are rough placed.

P3190070.jpg


Helm is starting to look like something.

P3190084.jpg


Side panels have been fit,pockets cut and routed and components placed.Speakers,courtesy lighting and a bilge water and engine alarm system will be mounted starboard side.Mounted a trim panel to backup the in shifter trim buttons in the event of a failure.

P3190019.jpg


Port side got larger storage pockets and both sides will house an extinguisher.

P3190015.jpg


P3190018.jpg


The cabin hatch is capped with trim lumber which will be trimmed to contour and routed,stained and finished to match the rest of the trim.The cabin walls are Decolam veneer which will be sanded,stained and finished.The doors are at the stain stage,hence the darker tone.

P3190017.jpg


We are molding in headliner panels to make the wiring easier to service and make the Hull Liner material easier to apply.Looks like carpet put is significantly lighter.

P3190040.jpg


Looking forward into the vee berth,the old upholstery was in fair shape but will go along with its 70's look and be replaced with a buckskin toned vinyl.

P3190025.jpg


P3190026.jpg


All hardware will be located and drillings completed and sealed before topside paint.

P3190009.jpg


The head is mounted and pumpout hose routed.Too much stowage loss for a black water tank kept the porta pottie in place.

P3190042.jpg


Reinforcing the refrigerator flange mount and support as Carver had it way too loose for Lake Erie beatings.

P3190032.jpg


Stowage shelving starboard side roughed in, fuse panel in door will be modified to cover all the added circuits.

P3190030.jpg


Starboard side in berth got another shelf and a hatch to access dead space.

P3190028.jpg


Installed step and trim,the sill for the door covers the top edge which during the mock we chipped into an air void.

P3190036.jpg


Took a small hammer after the edge to find additional air in the lay-up,at least it is now while it is easier to fix.

P3190034.jpg
 

mike176

Petty Officer 1st Class
Joined
Feb 18, 2007
Messages
202
Re: OUR CARVER RESTORATION

wow, thats cool. I bet you can't wait to get that in the water.
 

Old Carver

Seaman Apprentice
Joined
Dec 12, 2006
Messages
46
Re: OUR CARVER RESTORATION

Still sanding seems to be a endless task but we may have shot the final prime coat if there is not too much repair that gets things raw and pourus.We are now hand sanding with 220 grit.Little tip from the pros is to attach two self adhesive DA discs to each other back to back and create a two sided sandpaper,it is alot easier to hold with the light pressure utilized at this point.Many inside and outside radii have made for some trying evenings as I am by no means a professional ,thats why making it right takes so long.

P4260276.jpg


All the mock build stuff is removed and she is bare for hopefully her final days.

P4260284.jpg


Multiple converging lines make it just a little more fun.

P4260311.jpg


Just a few steps,corners and rounds to maintain.

P4260287.jpg


Or are large flats a bigger headache???

P4260283.jpg


Port side shaping up.

P4260293.jpg
 

Old Carver

Seaman Apprentice
Joined
Dec 12, 2006
Messages
46
Re: OUR CARVER RESTORATION

Starboard following suit.

P4260291.jpg


Starboard may need some blocking as two lows showed up in the wet but they are not too deep thank God.A digital SLR lets us tweak things to get a better view of the lines,motice it even shows the overspray where we blended the beginning of the shoot with a low

P4260320.jpg


P4260317.jpg
.

Looks much better just losing the spot effect.

P4260295.jpg


Got the Interlux moisture barrier today and will be starting on the bottom,six coats in store.Will have to finish buff a spot on the hull for the paint color match by scan.Put a wax coat on the hull to protect it while working and it will provide some fun for sure being almost 11/2 years old!!!

P4260325.jpg


Can't wait to see the topcoat,hopefully all the prep pays off,it's the hidden work that makes the final appearance.

P4260323.jpg
 

Old Carver

Seaman Apprentice
Joined
Dec 12, 2006
Messages
46
Re: OUR CARVER RESTORATION

The gel coated panels topped out at 28 and the total number of additional panels that needed resin,glass,gelcoating or the like was 51.Takes forever to run them all.

P4260335.jpg


The panels that are not in direct contact with water have been resin painteds and I an going to moisture barrier them.Has anyone tried this???

P4260329.jpg


Assembling the engine bilge module,4600 GPH total all auto at stepped depths and manually overridable at the helm.Will run Whale checks on all hoses.

P4260327.jpg


Didn't I say a while ago I was done glassing???

P4260339.jpg


Going to share a couple of "high tech" approaches.Being an auto tech by trade antifreeze containers are a dime a dozen as I don't bulk dispense.Cut and cleaned with acetone they make great parts trays,trays for mixing resin,gelcoat and the like.Cut the other way they make a good measure if they have the translucent window on the side.

P4260339.jpg


Needed some flexible waterproof panels for the blower collectors so I opted to handlay 1708 with a layer of 1.5oz mat on each side for finish.You cut a cardboard template larger than needed,that I reinforced with high tech duct tape...lol...then covered with masking tape,the resin will affect the duct tape but not the masking tape,just doesn't seem right but thats how it is.

P4260095.jpg
 

Old Carver

Seaman Apprentice
Joined
Dec 12, 2006
Messages
46
Re: OUR CARVER RESTORATION

Then you wax with top secret chemicals.

P4260120.jpg


Mat and biaxial cut to size,a little cardboard to catch all the mess when wetting.

P4260100.jpg


Roller,brush,acetone,catalyst and vinyl ester resin,OMG NOT EPOXY IT WILL NEVER WORK!!!,lol...The old Carver went 27 years on that substandard bs and seemed to hang pretty well so I guess we will use the build practices of the era,seemed to work pretty well,hmmmmm...

P4260103.jpg


One part popped and trimmed,the other rough all off the same high tech cardboard.Short sweet and simple,any panels you need can be fabricated like this,infact you can plug anything you can tape with this meathod as long as it has enough angle in its design to release.You can gelcoat first if desired but here I opted to gel after the trimming,drilling and fitting.

P4260331.jpg


We do our own upholstery and the seat bases and backs are a project of their own.

Rough cut 1/2 inch lumber,going to laminate two together for each panel.There are additional panels in the assembly line.

P4260097.jpg


Then resin coat before joining with two layers of 11/2oz mat between the halves.

P4260098.jpg
 

Old Carver

Seaman Apprentice
Joined
Dec 12, 2006
Messages
46
Re: OUR CARVER RESTORATION

P4260099.jpg


Drilled the joined halves and mock build to check fit.

P4260121-1.jpg


All cut and trimmed ready for a routed edge.

P4260122.jpg


1/2 inch radius worked well here on a single thickness of 1/2 it is 1/4 that woirks best and will allow glass to follow the part if laminating.

P4260126.jpg


Routed,finished sanded ready for resin and eventually 2000e.

P4260129.jpg


Then put in the line up for resin.

P4260094.jpg
 

Old Carver

Seaman Apprentice
Joined
Dec 12, 2006
Messages
46
Re: OUR CARVER RESTORATION

Finally getting to stages that will show a final finish.Needed to buff an area to scan to get final color of the hull for scannoing for topside paint mix.Started with 3M super duty compound followed by cutting creme but will be changing to another brand of cutting creme that leaves no reesidue.Wool pad for rough cut and the yellow for finish.

P5130043.jpg


Starboard side just compound and creme no wax,the 27 year old gelcoat had life left in her,wish I could have said the same for the topsides.

P5130001.jpg
.

Port side had a little wiggle in the build as you can see in the reflection.Still not bad for the age,can't wait to see her waxed but wax is our worst enemy right now as we are still painting.

P5130010.jpg


Pulling the waterline up 3/4" will allow for blend of sanding dig at the origional line as well as shifting the boot stripe to hide the tonal change in the gel that was under the OE stripe.

P5130007.jpg


Not being a professional allowed me many attempts to get the tapeline straight.

P5130011.jpg


We had prior coated the transom so it needed sanded to accept the new coats.Once again you can see the elevated waterline,actually better in this shot.You need to maintain a one inch gap between the bottom paint and the transom housing of the drive.

P5130054.jpg
 

Old Carver

Seaman Apprentice
Joined
Dec 12, 2006
Messages
46
Re: OUR CARVER RESTORATION

Taped and ready for bottom finish.

P5130018.jpg


The dig at the old waterline needed faired,hence the green filler.

P5130036.jpg


Port side was a little more cooperative.

P5130051.jpg


You can see we dropped the boat on jack stands and blocked the keel for bottom finish making less area to spot in when finishing.

P5130050.jpg


Jack stands under the spray rail at the transom are adequate but will need blocked for good height.

P5130049.jpg


A piece of plywood cut to fit the jack's saddle is the ticket here.

P5130048.jpg
 

Old Carver

Seaman Apprentice
Joined
Dec 12, 2006
Messages
46
Re: OUR CARVER RESTORATION

Now she is as clear as it can be for coating and we mix the moisture barrier,Interlux 2000e here.This product gasses like crazy so the carbon respirator is a must as well as good ventilation,we use a 3 foot fan built into the shop wall and regulate cross draft with doors.

P5130046.jpg


Interlux wants 10 mil coating thickness and 2.5 per coat is their best estimate.We sanded at the third and fifth coats for smoothness and went six total.The last two we rolled with a foam roller and prior with a medium nap.Some of the pinholing did not cover over until the fifth coat and all obvious were dabbed to height prior to the final barrier coat.

P5130055.jpg


Getting better now!!!

P5130057.jpg


Gotta be a redneck if you use a four foot shoplight with duct tape to retain the bulbs when tossing her around the floor to sand.

P5130068.jpg


Went for Interlux's VC17 in origional color,a brownish tone,hence the copper color for those of you who are not familiar with VC.Thjis can be rolled or sprayed but spraying can be tricky so we opted to roll,foam rollers all the way.

P5130086.jpg


P5130088.jpg
 

Old Carver

Seaman Apprentice
Joined
Dec 12, 2006
Messages
46
Re: OUR CARVER RESTORATION

When coating around a spot in area be sure to step the products so a sand and finish will allow each coat to flow into the new coatings applied.

P5130089.jpg


Same holds true at the jack stands.

P5130090.jpg


This product can cause some serios dainbrammage go be sure to ventilate and respirate with carbon.

P5130093.jpg
 

hoytultratec

Cadet
Joined
Apr 24, 2007
Messages
28
Re: OUR CARVER RESTORATION

WOW! awsome work, such detailed pics wish i had patience to do something like that to my tub.

nice work

hoyt
 

Old Carver

Seaman Apprentice
Joined
Dec 12, 2006
Messages
46
Re: OUR CARVER RESTORATION

Moving our residence,heavy workload at the shop,friends and family in from out of town and on and on excuses have kept us from the boat but progress has been happening slowly.

Masked off all the areas to be coated with Durabak and will reverse mask when it is applied.The masked areas also give exact areas that can be rested upon in the shooting process.

P8060004.jpg


First we established the perimeter margin with half inch 3M fineline tape.

P8060011.jpg


Then masked the area to within 1/2-1/4 of an inch from the margin.Use real masking paper,it will not soak through as newsprint can and will.

P8060016.jpg


P8060015.jpg


The good 3M green masking tape is the ticket unless excessive long set times are anticipated until it is to be pulled.Leaving tabs to start the pull are a good idea as well.You can adjust the tape using the margin as a guide for even bends catching bad lines in the first step and adjusting accordingly as well as when the Durabak is applied.

P8060006.jpg


hen tape the actual finish edge guided by the margin tape,leaving a slight gap.

P8060018.jpg
 

Old Carver

Seaman Apprentice
Joined
Dec 12, 2006
Messages
46
Re: OUR CARVER RESTORATION

Then pull the perimeter margin tape to only allow the masked area to remain.

P8060021.jpg


P8060023.jpg


Quite a few feet went into the trash and will in the reverse mask process.

P8060001.jpg


When pulling long runs it is easy to overstretch the tape and it will tend to pull the corners.

P8060024.jpg


So I opted to cut radii rather than repair the squared cuts.The rounds look better and were cut with a socket laid against the edges as a guide for the razor blade.

P8060040.jpg


The fineline tended to lift with the width and the sharp radius but some masking tape on top on the covered side was the ticket.

P8060013.jpg
 

Old Carver

Seaman Apprentice
Joined
Dec 12, 2006
Messages
46
Re: OUR CARVER RESTORATION

Fully masked and sanded with 320 production paper prior to final wash.

P8060026.jpg


P8060032.jpg


P8060033.jpg


One last run for pinholes,was able to fill them best with a finger tip...lol...A second tier of plastic was taped just above the bottom paint to keep overspray from speckling the VC17.

P8060036.jpg


Dupont Chroma One was the choice over Imron as it is easier to work of dirt,a sag or the like come to haunt the process.Not a cheap topcoat at $400.00 for paint,reducer and activator that will mix one gallon.Computer scanned and mixed by our Dupont dealer.Color looks pretty good and should yellow over time and hopefully make it dead on.

P8060053.jpg


Final finish close up,out of the gun,no buffing or touching but we will be doing so for the final finish.

P8060045.jpg
 

Old Carver

Seaman Apprentice
Joined
Dec 12, 2006
Messages
46
Re: OUR CARVER RESTORATION

Dash area.

P8060054.jpg


P8060046.jpg


The chamfered and sealed hardware bores fully good to go!!!

P8060057.jpg


Sealed all and any breaches to the core so water will not do its "magic act"

P8060058.jpg


Just a little over spray.

P8060051.jpg


Port side.

P8060060.jpg
 

Old Carver

Seaman Apprentice
Joined
Dec 12, 2006
Messages
46
Re: OUR CARVER RESTORATION

Hopefully the repairs and buffing are minimal after the time put in prep.

P8060066.jpg


Some available light shots show the surfaces a little better.Two sags to repair and they need to happen within the first two days of shooting.

P8060050.jpg


P8060044.jpg


P8060060.jpg


P8060059.jpg


P8060068.jpg
 
Top