1973 SS 16' Resto & Fishing Conversion

Watermann

Starmada Splash of the Year 2014
Joined
Jan 12, 2013
Messages
13,753
Pretty standard looking damage to repair, keep at it and you'll have her back on the waves in no time. :thumb:
 

Crusader002

Cadet
Joined
Dec 19, 2011
Messages
23
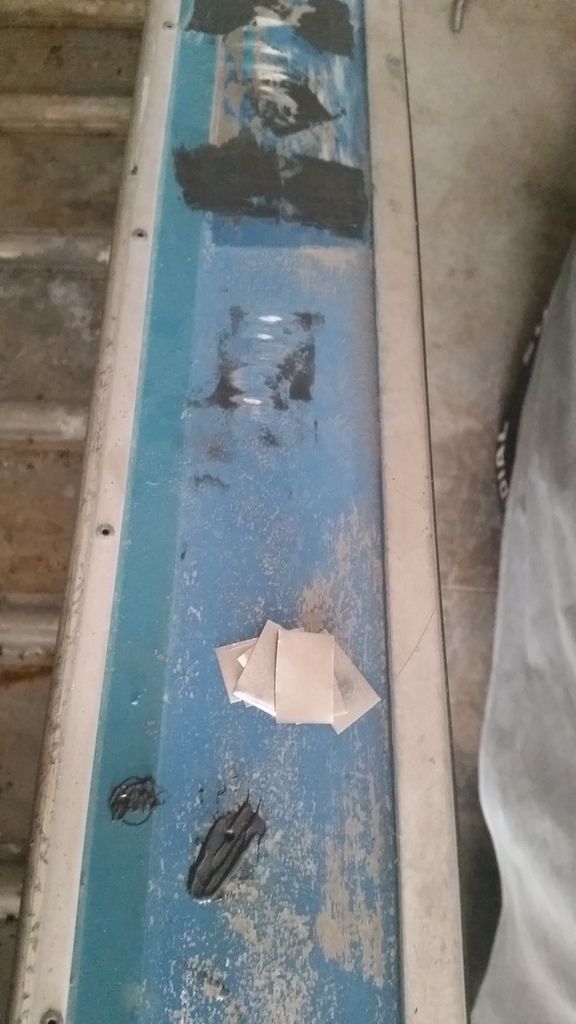
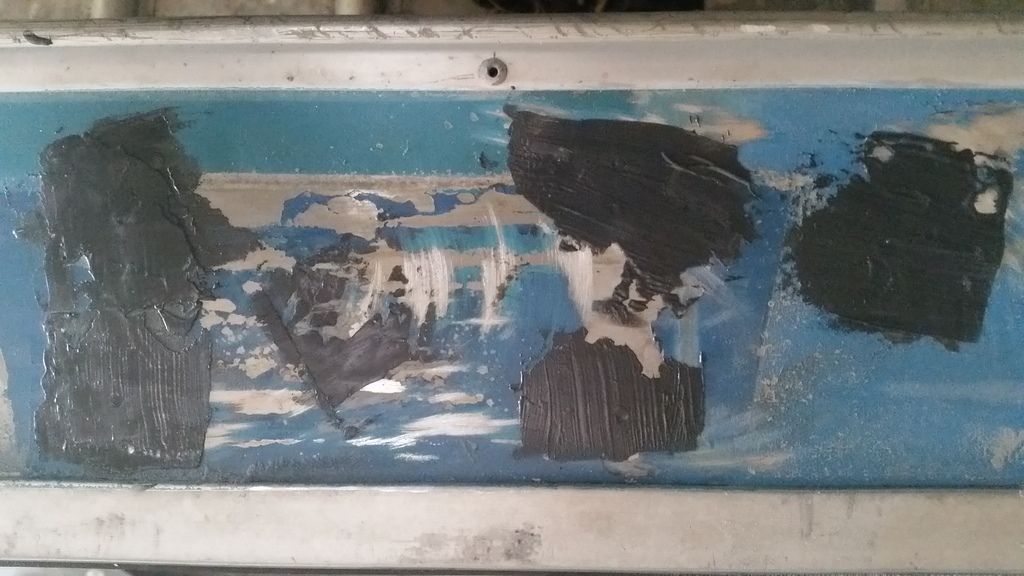
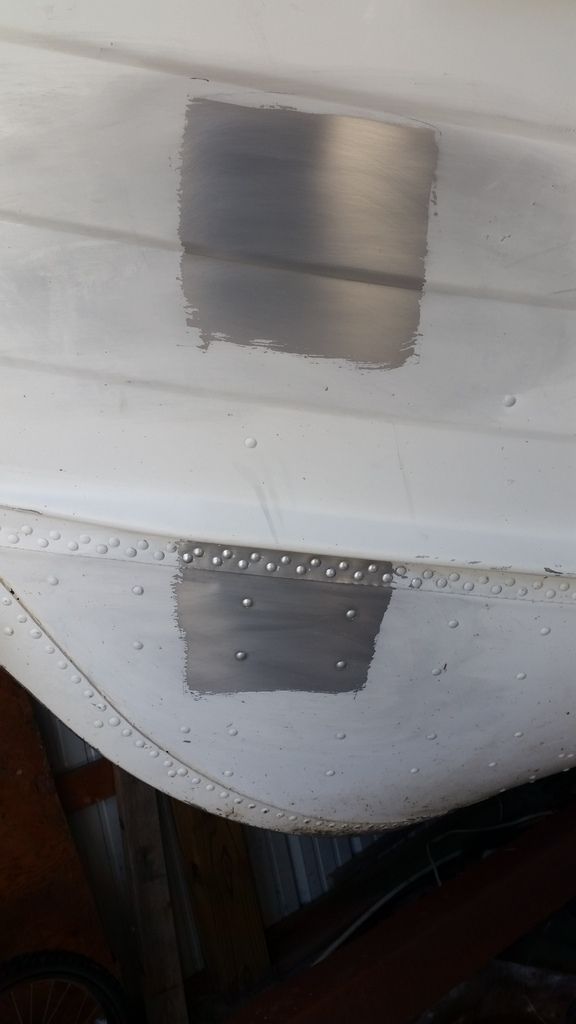
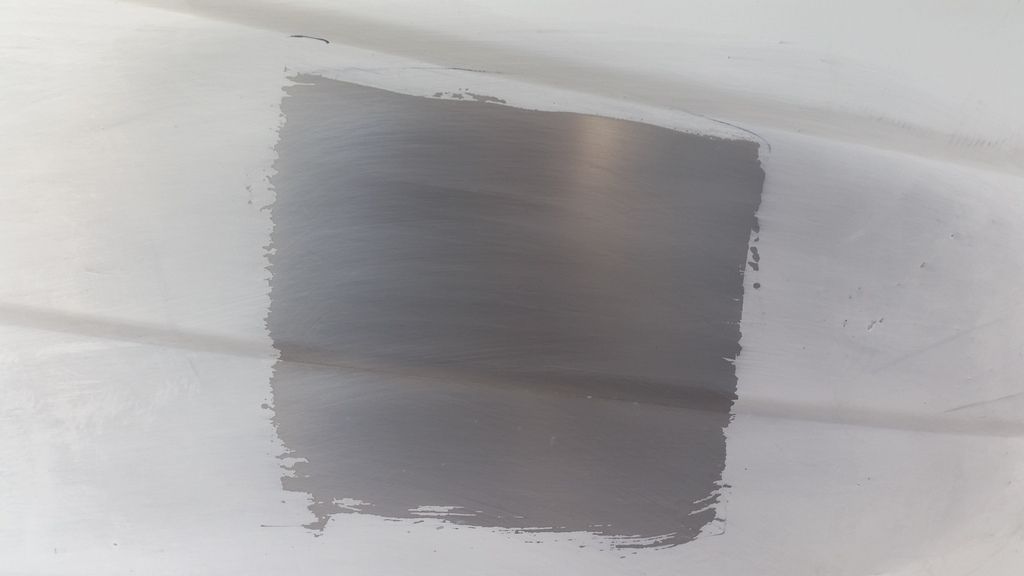
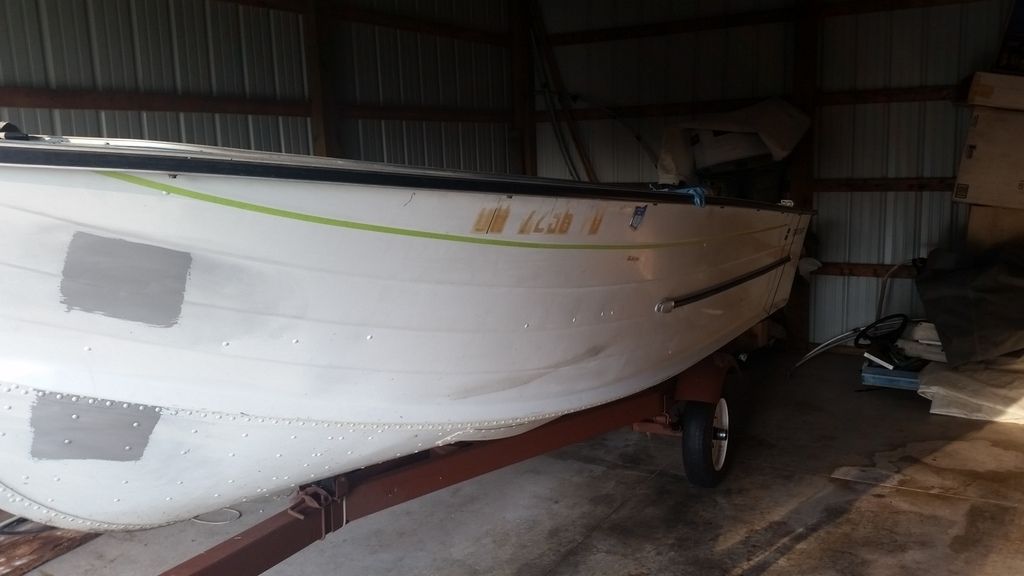
Had some time to mess with the boat this weekend and it appears most of my JB repairs did the job. Only one of the aluminum backers I cut from flashing didn't do the job and fell to the bottom of the boat. I did a few more and commandeered some duct tape to help hold them in place whole it dries. Cleans up nicely with some 80 grit on a disk. A few needed a second coat to fill some sinkage that has occurred but otherwise it has worked quite well. Now if I could get the stuff to last a bit longer so I don't run out so quickly... a few pictures below for the mob of my backers and the repairs post drying.


Crusader002

Cadet
Joined
Dec 19, 2011
Messages
23
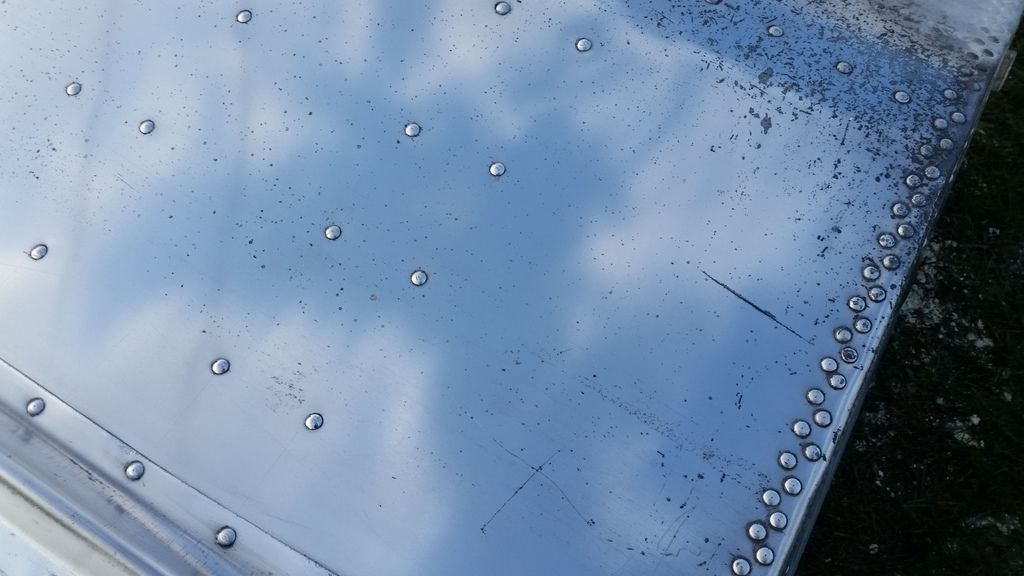
I do have a question to the forum that I was pondering last night. Has anyone found a particularly good way to bring some life back to the aluminum trim you see in the pictures. I'll be repainting anything that is blue but I was hoping to bring some luster back to the aluminum before I tape her off for paint. I also planned to take the hull down to bare aluminum like dozer did with the Naked Lady, but I was curious if anyone had suggestions on materials or protectant to use outside of sharkhide since a few have had mixed results with it? The metal is in decent shape so I'm hoping a quick skuff and buff does the trick.
 

DreadPirateSam

Recruit
Joined
Apr 4, 2011
Messages
2
Crusader, what are you going to do to those caps after you fill all the holes? Just paint them? My cap rails are swiss cheese. Considering the fill route like you are doing there, thinking maybe durotek them like the floor we did. Let me see if I can get a floor pic up here...
floordone2
 

Crusader002

Cadet
Joined
Dec 19, 2011
Messages
23
Hey DPS. The plan is to paint the area that I am working on now along with the consoles and inside of the craft that was originally painted blue. I'm hoping a few coats of primer will hide my metal work for the final color coat once I fluff the repairs with some 180 or 400 grit.

Never seen the duratec before. Is it working well for you thus far? Did a quick search and it appears they have a good variety of marine coatings available.
 

Crusader002

Cadet
Joined
Dec 19, 2011
Messages
23
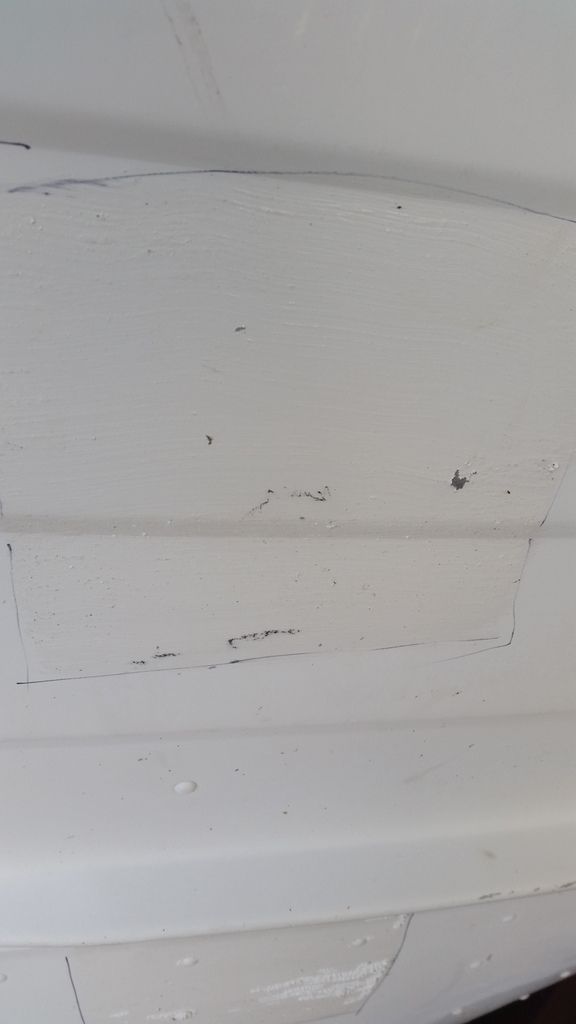
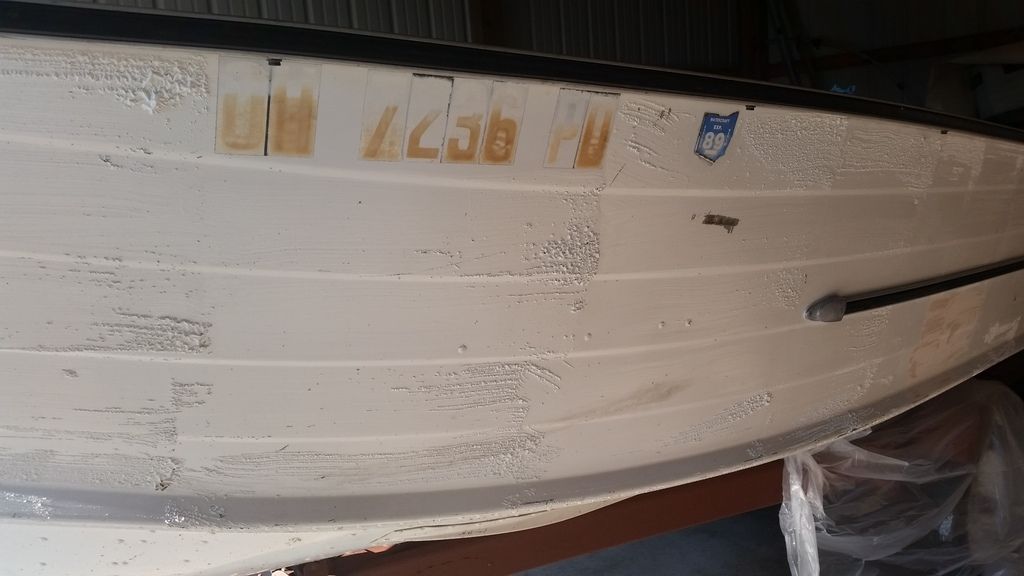
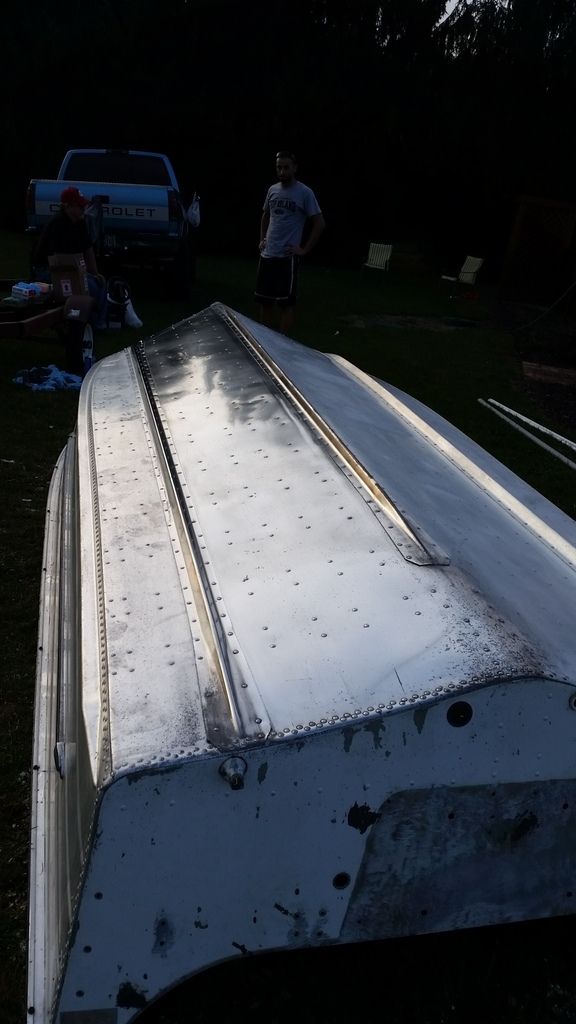
Exciting times coming for the SS. Had a chance to do some test work today before I take the next week to dive in and finish up the prep work on the hull to get it ready for new floatation and wood. I'm looking to do something similar to what dozer did on the Naked Lady so I wanted to see what surprises hid below the paint on the old girl.


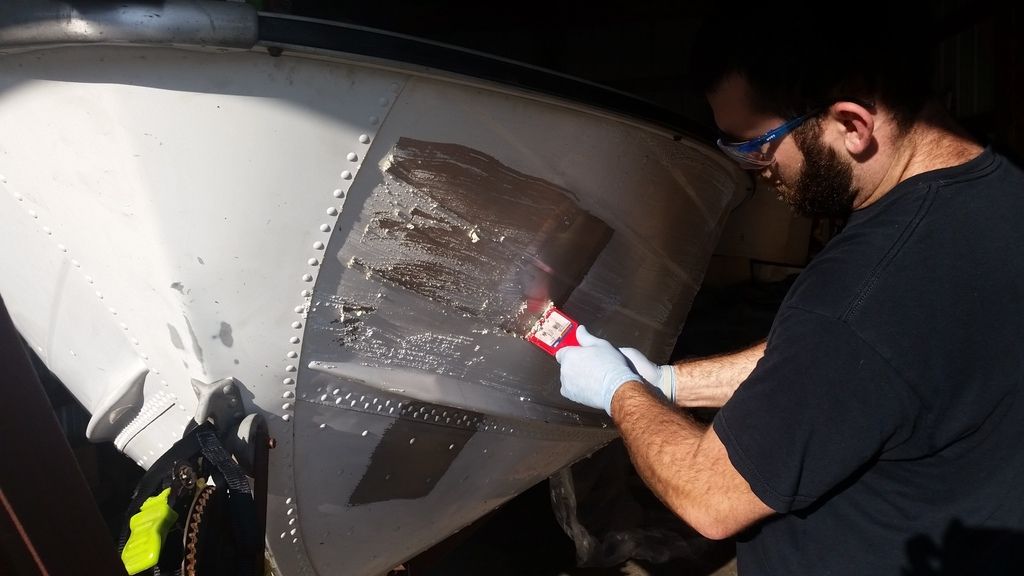
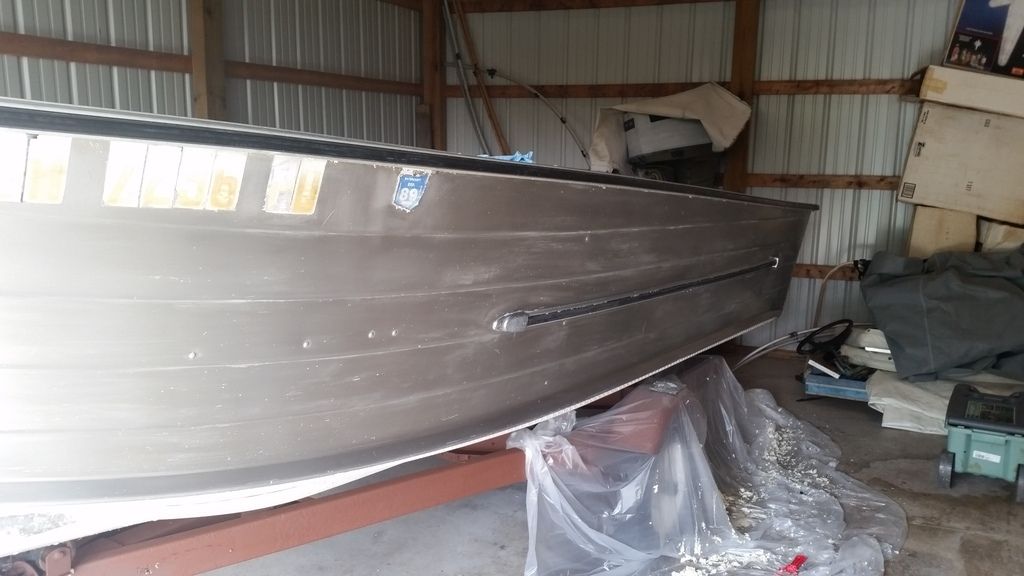
Around 15 minutes and a couple of coats later revealed this. A few minutes so scrubbing with a fine scotch pad and mineral spirits helped clean it up and I'll use the sharkhide product I bought to finish the job once I get the rest of the boat stripped. Still looking for a better product to remove the glue and junk inside the boat, but slathering on the stripper seems to loosen it up and two applications usually finishes the job. Look for an update next week!
 

Watermann

Starmada Splash of the Year 2014
Joined
Jan 12, 2013
Messages
13,753
Oh man another spit polish guy is born, way to go Dozer! :lol:
 

Decker83

Commander
Joined
Apr 5, 2011
Messages
2,592
Still looking for a better product to remove the glue and junk inside the boat, but slathering on the stripper seems to loosen it up and two applications usually finishes the job. Look for an update next week!

I used the Klean Strip Adhesive Remover.. Took the glue off in 1 coat.. It will also remove paint as well..
 

Crusader002

Cadet
Joined
Dec 19, 2011
Messages
23
I used the Klean Strip Adhesive Remover.. Took the glue off in 1 coat.. It will also remove paint as well..

Sounds great Decker. I'll grab a quart next week and try it out. I seem to remember seeing it at Lowes but Menards usually saves my bacon should the big blue box store bot have what I need.
 

Crusader002

Cadet
Joined
Dec 19, 2011
Messages
23
A quick question. Did you do anything outside the manufacturers specifications to get that result (soak time, thickness of application, etc.)? I sometimes find it isn't what you use but how you use the tool!
 

Watermann

Starmada Splash of the Year 2014
Joined
Jan 12, 2013
Messages
13,753
Cover with plastic after applying the remover, it keeps the fumes in and you can leave the stuff on longer without it drying up.
 

Crusader002

Cadet
Joined
Dec 19, 2011
Messages
23
^pro tip. I'll assume I can use something like a drop cloth or trash bag so long as the stripper doesn't melt it on contact.
 

Watermann

Starmada Splash of the Year 2014
Joined
Jan 12, 2013
Messages
13,753
It won't melt plastic drop cloth, that's what I've used.
 

BWR1953

Vice Admiral
Joined
Jan 23, 2009
Messages
5,857
Just be sure to use adequate ventilation. That stuff can be fatal in an enclosed space. There are instructions on the can and more info on the 'net.
 

Crusader002

Cadet
Joined
Dec 19, 2011
Messages
23
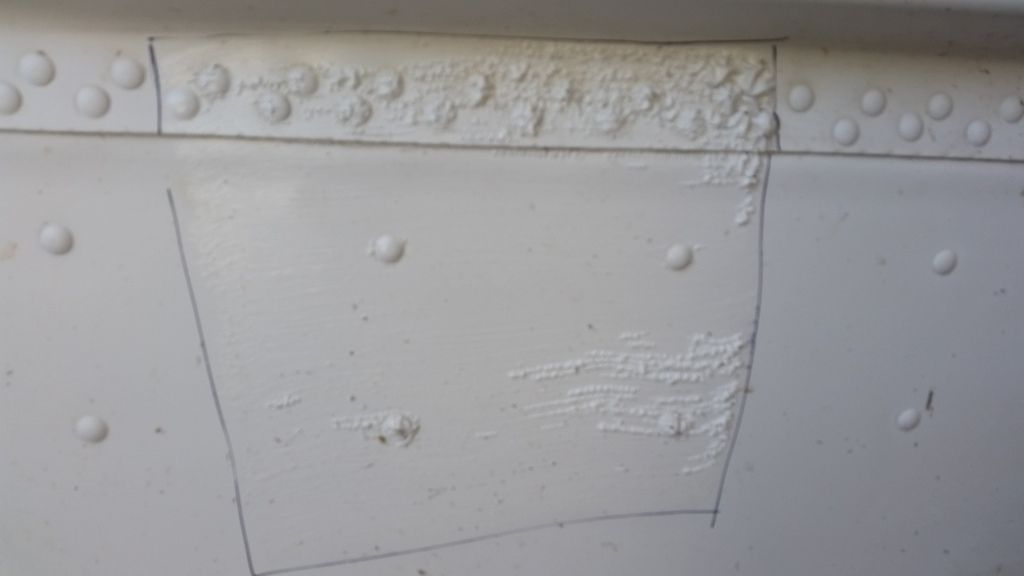
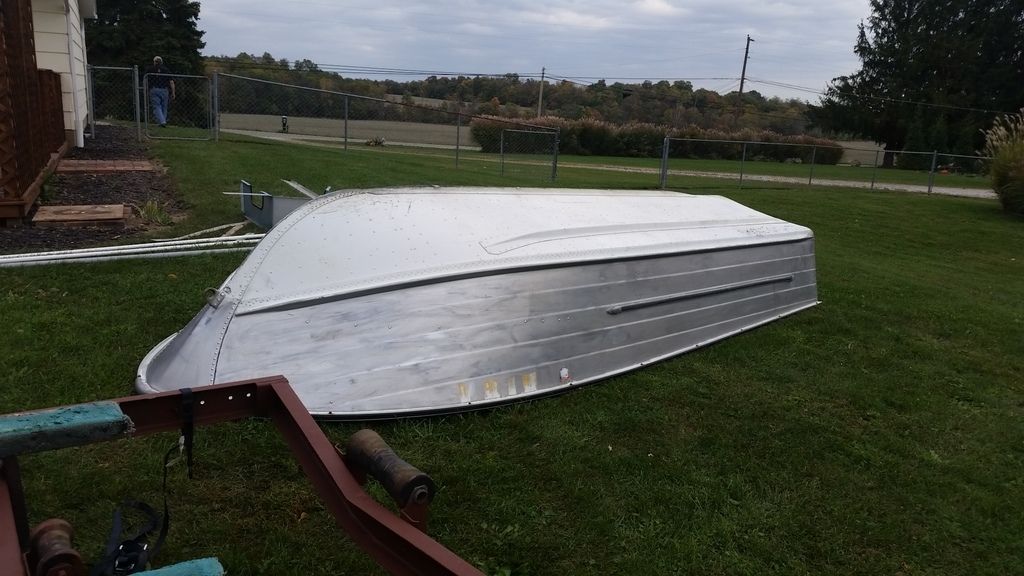
And just before lunch today... we have progress. Last few moments wearing the white paint


Stripper at work. Learned that the Jasco brand stuff works much better and quicker than the orange nonsense someone at Lowes recommended...


A bit of elbow grease and off comes the layers.


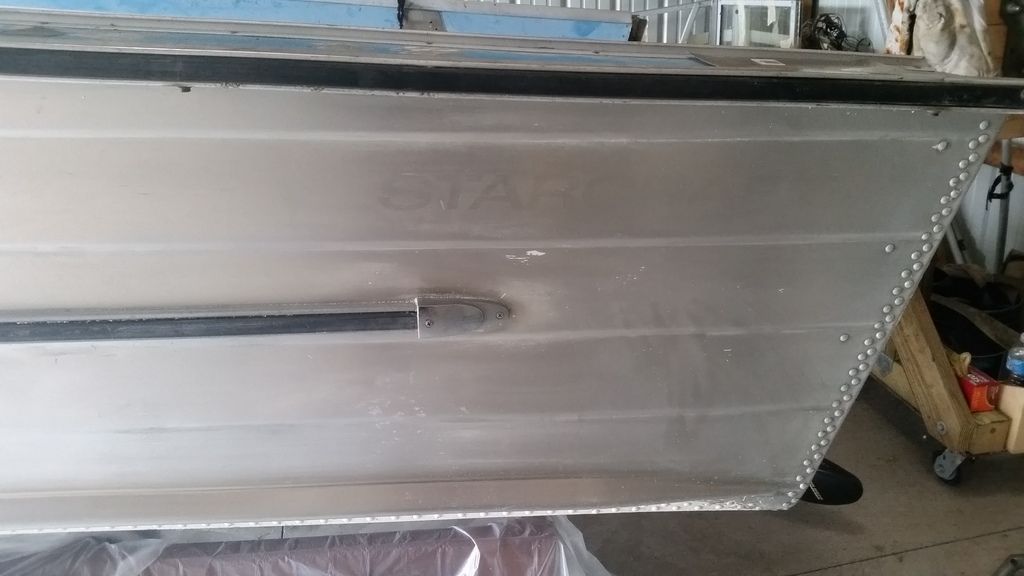
Wipe down with mineral spirits and we have something that begins to look like the finished product.


One more side to go and then to the bottom to finish the job for today. Looks like it's back to the grind...
 

Watermann

Starmada Splash of the Year 2014
Joined
Jan 12, 2013
Messages
13,753
Yeah there ya go, looking real good so far. Paint stripping is a horrible but very necessary step in bonding with the old hunk of tin :lol:
 

Crusader002

Cadet
Joined
Dec 19, 2011
Messages
23
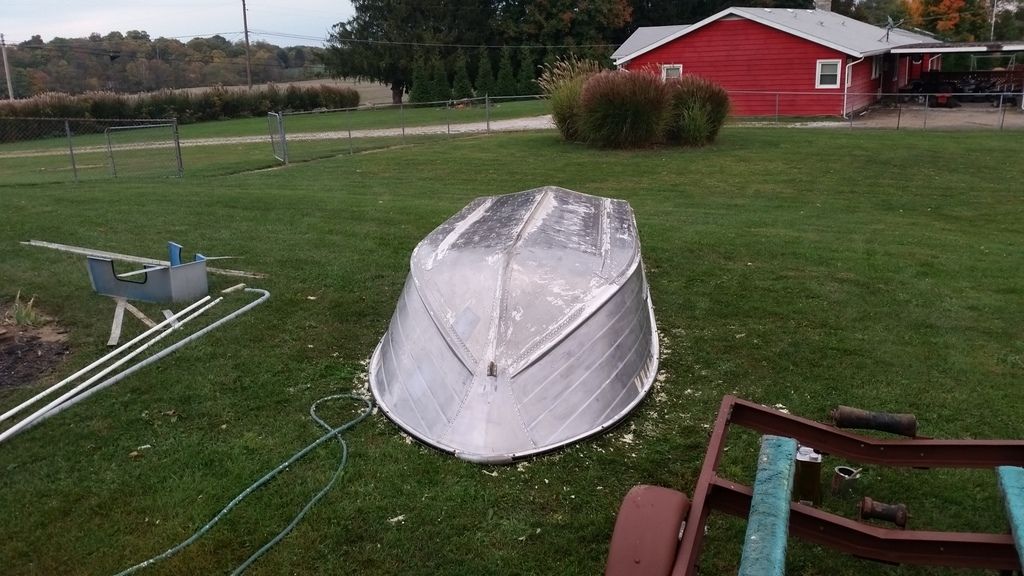
It's 7pm and the rain has helped call it a day. Got the boat flipped and the bottom is 75% finished. Should have plenty of stripper left to finish that tomorrow after the rain showers move on. A few shots for the mob to prove I can earn my keep around here.


Hopefully I can put some spit shine on the old girl tomorrow once the last vestiges of paint are no more.
 

oldhaven

Chief Petty Officer
Joined
Aug 30, 2015
Messages
568
I'm impressed by your quick progress on a nasty job. How are your arms and shoulders doing? Your whole attitude about the restoration will profit from getting that out of the way early.

Ron
 

Watermann

Starmada Splash of the Year 2014
Joined
Jan 12, 2013
Messages
13,753
I went to using my pressure washer over a scraper and would finish up any left over paint using a 3M scrub pad with a handle. That's tough job that'll be nice to have behind you.
 

Crusader002

Cadet
Joined
Dec 19, 2011
Messages
23
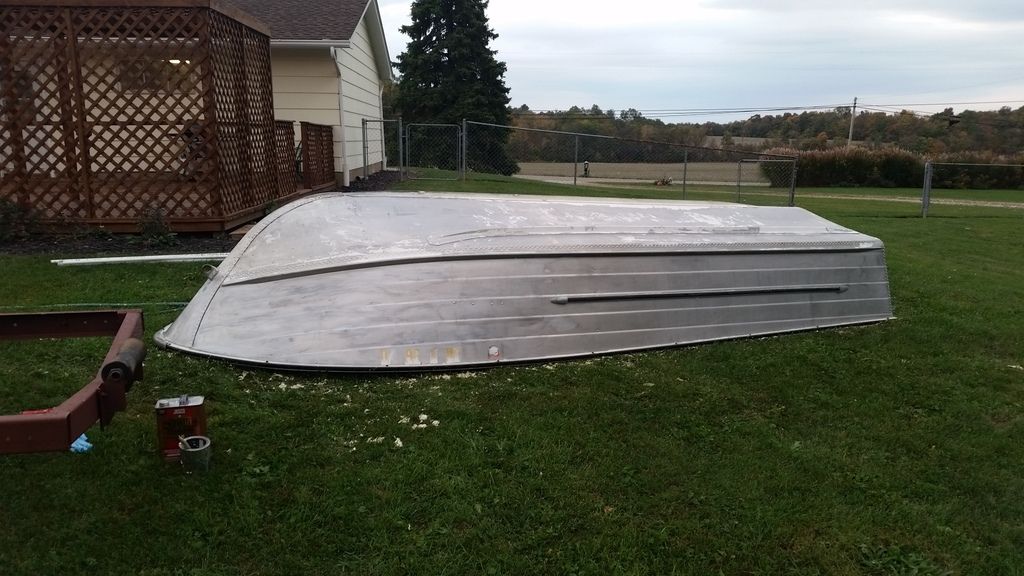
Brought in the cavalry today and the stripping is done. I'm convinced that the glue on this reg numbers would have held together Chernobyl based on how long it held up against wave after wave of stripper and various mechanical abrasive methods. A buddy of mind and I got the paint taken care of in short order. Next up the fun part. Polishing the old girl. A few shots to show some of my progress. Worked until dark tonight so no pictures of the finished product but half of the bottom is done.


Shines up pretty good given all of the pitting and only 3 holes found that I need to deal with. I did get a chance to put some of the protectant on tonight so we shall see how that holds up to the coming rain storm. I figure the bottom is a chance to practice for the big time on the sides and nose of the craft. If anyone has tips or tricks on using Sharkhide or other polishes and protectants feel free to shout. Read most of Dozer's build so I have some pieces but never too much good knowledge out there.
 
Top