21' Chieftain Project

elkhunter338

Master Chief Petty Officer
Joined
Jun 27, 2009
Messages
818
Looks just like my 86, good call on replacing the transom, mine was rotted. One think I changed is my cabin door swings in, much nicer leaving the cabin door open while fishing and still being able to use the passenger seat. If I rebuilt another starcraft I would use marine epoxy and 6 oz fiberglass on all exposed painted wood that will be exposed to the weather. Have fun with the rebuild. The 6 cyl. motor should push that boat 30+, my 140 hp 4 cyl. hits 28-30 @ sea level, wot
If your fuel tank is in the stern I would think of installing one farther forward. I have twin 16 gallon tanks, located just behind the cabin wall. You will want as much weight moved forward as possible.
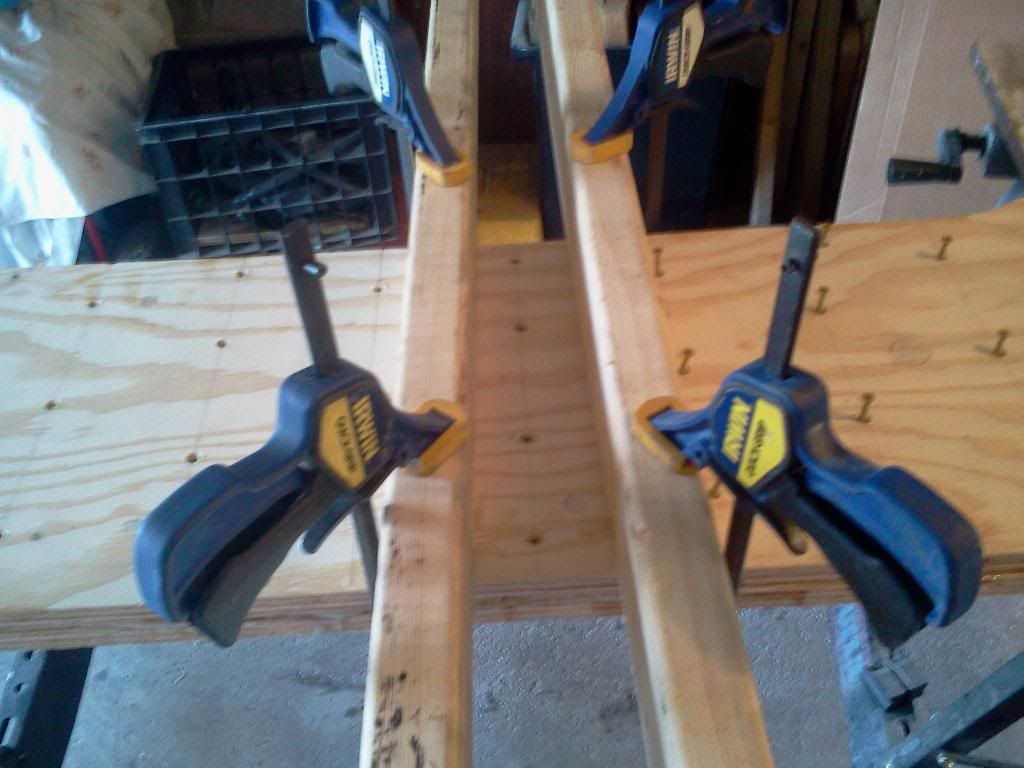
 

Justatech

Cadet
Joined
Apr 24, 2015
Messages
9
So I have been slowly making progress getting the OMC running so I can get the old engine and transom out etc. The points on the OMC were fried so I ordered a Pertronix Ignitor 1163A off of a website for $25.00 since I got such a deal I decided to just buy the flamethrower coil too so I could eliminate the ballast resistor. Installed them this weekend and it fired up second try turning it over. No major leaks that I could see just one small one from one of the winterization plugs which I assume should be an easy fix looks like the thread sealer just dribbles a little. Other than that it sounds pretty good. Here's a link to it running, my girlfriend took it on my phone so it's not great but you can see it run. https://youtu.be/tX7VkUlzLJQ

I also got my rear in gear on getting ready to pull out the transom and get the new one going here are a couple pics of me and my buddy pulling out the old motor. I would have taken more photos but we were trying to work fast in between me getting called out to jobs so the only pictures are the ones my girlfriend thought to take.


Hopefully this week I can get the gimbal housing and transom plate all out and prep for pulling the transom this weekend. We will see how work is as I have been putting in a lot of overtime which takes time and energy away from getting projects done. Finally having a running motor and an empty boat feels like big progress though, and motivates me to keep at it.
 

Watermann

Starmada Splash of the Year 2014
Joined
Jan 12, 2013
Messages
13,753
It's alive! Good feeling to have a nice runner. :thumb:

You have a freeze plug thats leaking? Be sure to replace them all and not with the steel ones for cars, use brass.

I'm wondering why you didn't remove the transom cover so you could get easier access to the motor for the tear down and removal. You still have to remove it to get at the the transom wood. I'm guessing the supports under the cover are needing replaced too.

Don't be surprised if some of the transom assembly bolts snap off on you when trying to get them out. Old corroded AL bolts like to stay put.

Keep moving forward and before you know it you'll be on the water. :happy:
 

dozerII

Admiral
Joined
Oct 25, 2009
Messages
6,527
Great to see you got the OMC running and some progress on the boat. A little at a time and you will be boating.
 

elkhunter338

Master Chief Petty Officer
Joined
Jun 27, 2009
Messages
818
I am not sure what your expertise level is on outdrives, the mistake I made at your point replacing the transom is taking a good look at the engine coupler and driveline splines. I thought mine were ok, I aligned the engine with an alignment tool, greased the splines. well about 200 hrs or so on the motor and the drive coupler spun out. I was 5 miles out at sea and it was a slow rough trip in with the kicker.
Make sure and seal the top of the transom well with something to prevent water from getting your new transom wet, mine rotted because starcraft never sealed the joint at the top of the transom, so water just leaked in. Have fun.
 

Justatech

Cadet
Joined
Apr 24, 2015
Messages
9
Hey guys, been really slow going as I've been super busy but I did get the transom out and also cut the two new transom pieces out as well here are a couple of pictures of the progress.


I had to cut these to get the transom out I think I can just put a bracket to hold them on the transom. Hopefully I didn't create a big problem by doing this? But I didn't want to remove the whole cap as I don't really have the space to do that.

Cutting the new one out, I cut them a little big because the marine plywood was so expensive I didn't want to come up short so I will have to sand maybe an 1/8 inch off all the way around but the two pieces are pretty close matching.


I have a couple questions about bonding the 2 pieces together, as this is my first time doing this. I am going to use epoxy to bond them as I ordered the 2 gallon kit from US composites for doing the transom and the deck. I have read from some of the other threads that I want to use epoxy on each bonding surface first so that it soaks in then use epoxy with some cabosil and a notched spreader to put on the epoxy to join them.

Do I need to let the first epoxy cure or do I want to get it all done before the first application of unthickened epoxy kicks off?
For clamping I could clamp the outsides and the keyhole but that leaves some large spaces that do not have pressure, will that create voids?
Would I be better off using weights of some kind to clamp it or use screws in the spots where I can't clamp?
I don't want to mess this up as the 3/4 marine ply was $$$

Thanks for the help, hopefully i will be making more progress
 

classiccat

"Captain" + Starmada Splash Of The Year 2020
Joined
Dec 20, 2010
Messages
3,405
Progress is progress there justa!

I used epoxy / cab on my transom.

I first applied a primer coat to each surface and allowed that to get tacky. Then I applied the cabosil mixture with the notched trowel.

Some tips...check for any bowing in the individual pieces...it might be too late now that the keyhole is cut. if they are warped, you want to try to have opposing warp so that they can compensate. ) ( or () but not )) or (( <-- if that makes any sense :lol:

also, premark where any through-holes will go...then you can screw the pieces together. I started in the center and worked my way out (starting with post #1069.)

i had the screws predrilled & ready to go...then used clamps to get the right amount of squeeze-out.
2014-04-19%2009.49.52_zpscu5eqebd.jpg


2014-04-19%2010.15.09_zpstolqbnep.jpg


hope that helps!
 

Watermann

Starmada Splash of the Year 2014
Joined
Jan 12, 2013
Messages
13,753
Spendy yeah but that marine ply is some nice wood though! I cut off the ends of my gunnels too, once you put the transom cover back on you won't even know they were cut. I riveted an angle bracket on the inside of the gunnel and screwed into the transom so there would be end support of the gunnel.

Like what CC did above on his cute little transom, ;) you can put a 2x4 across the length of the transom with clamps on the ends and in the middle you can use a lag bolt to sink in where your going to cut out the keyhole.

Looking good so far, just keep pushing forward!
 
Top